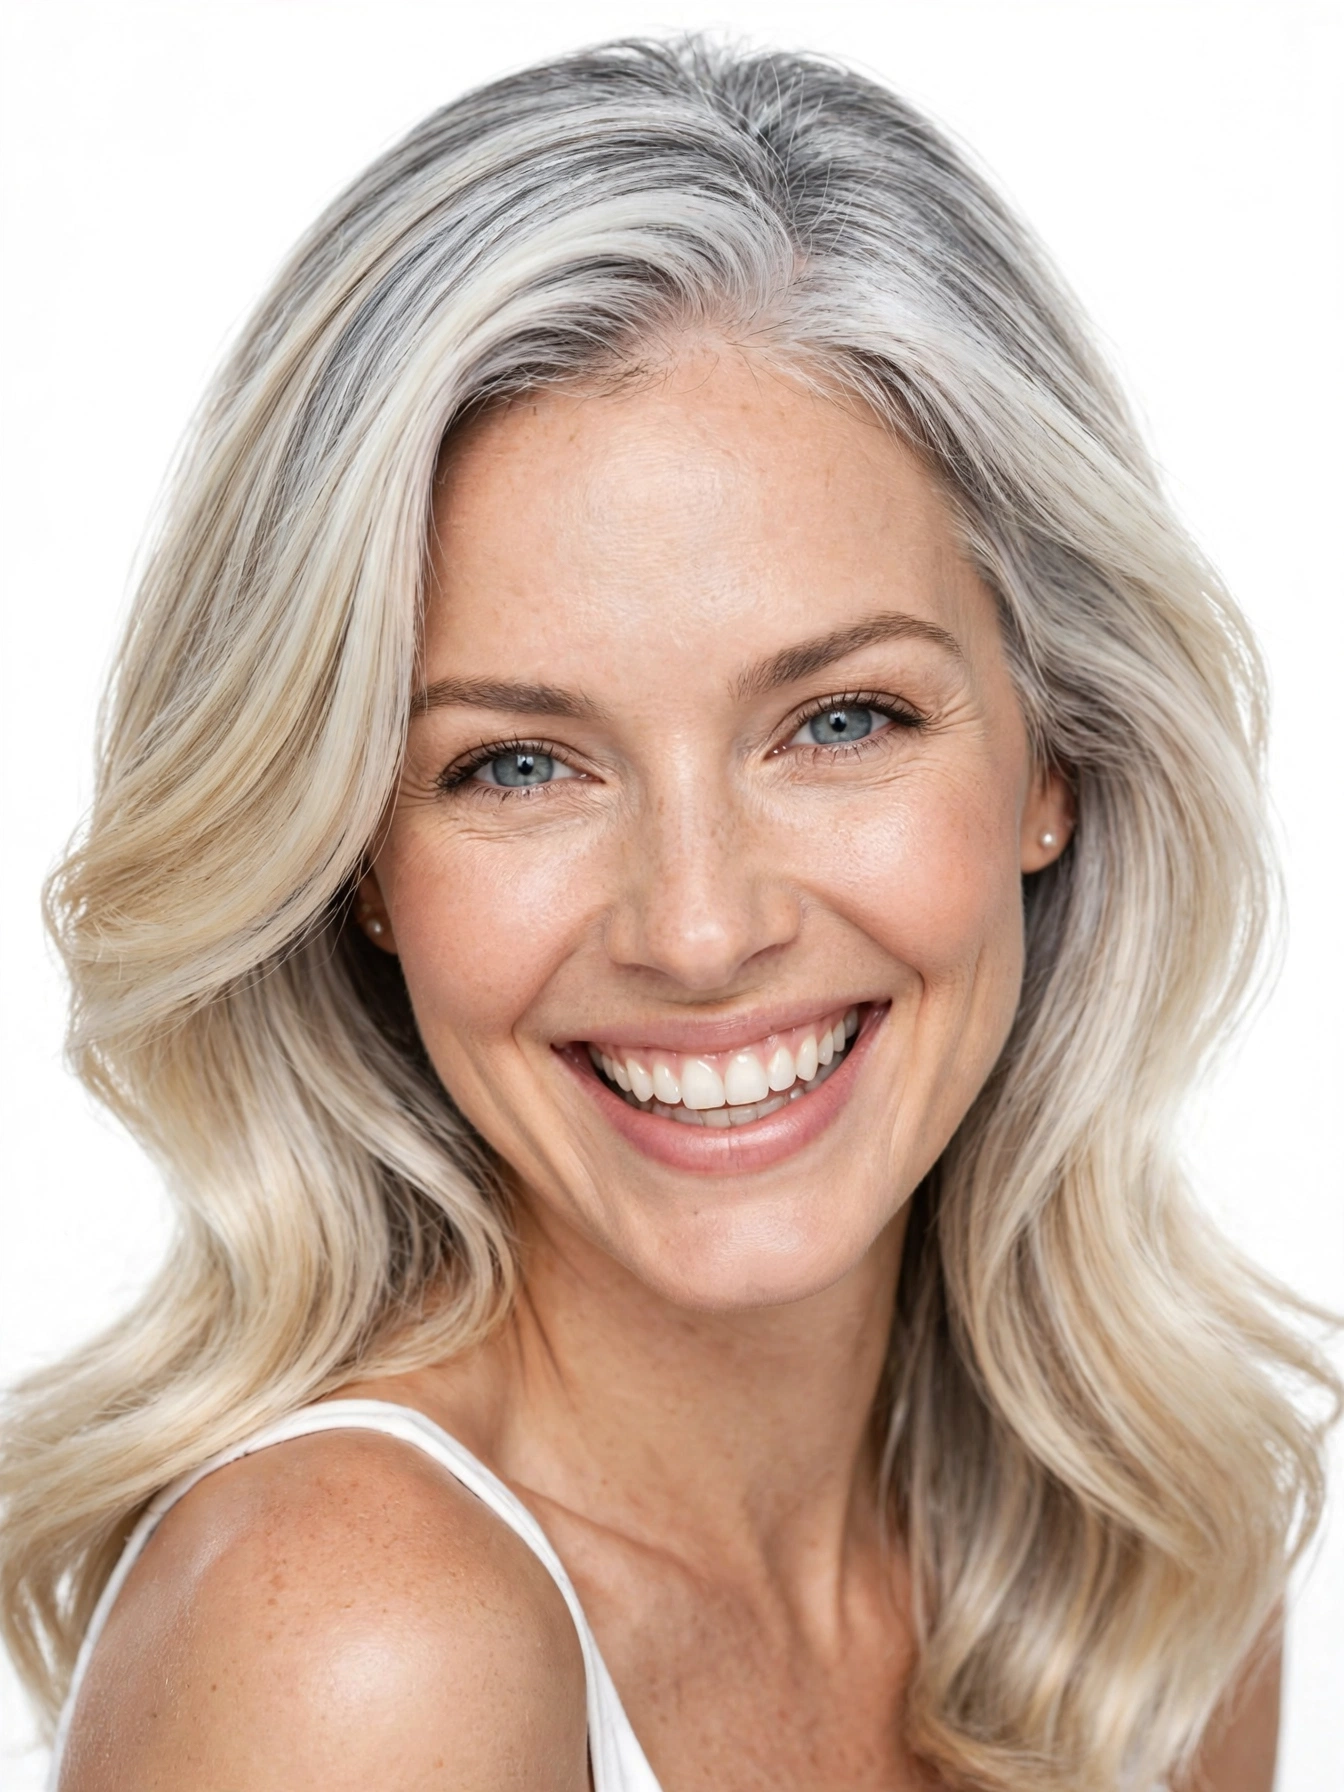
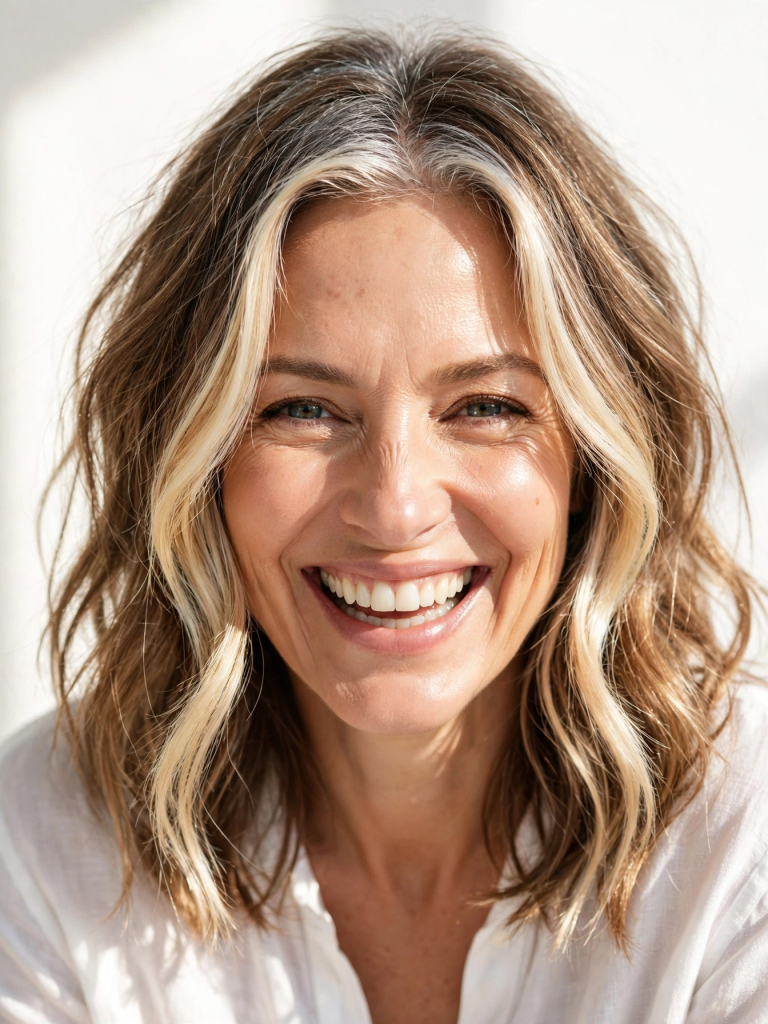
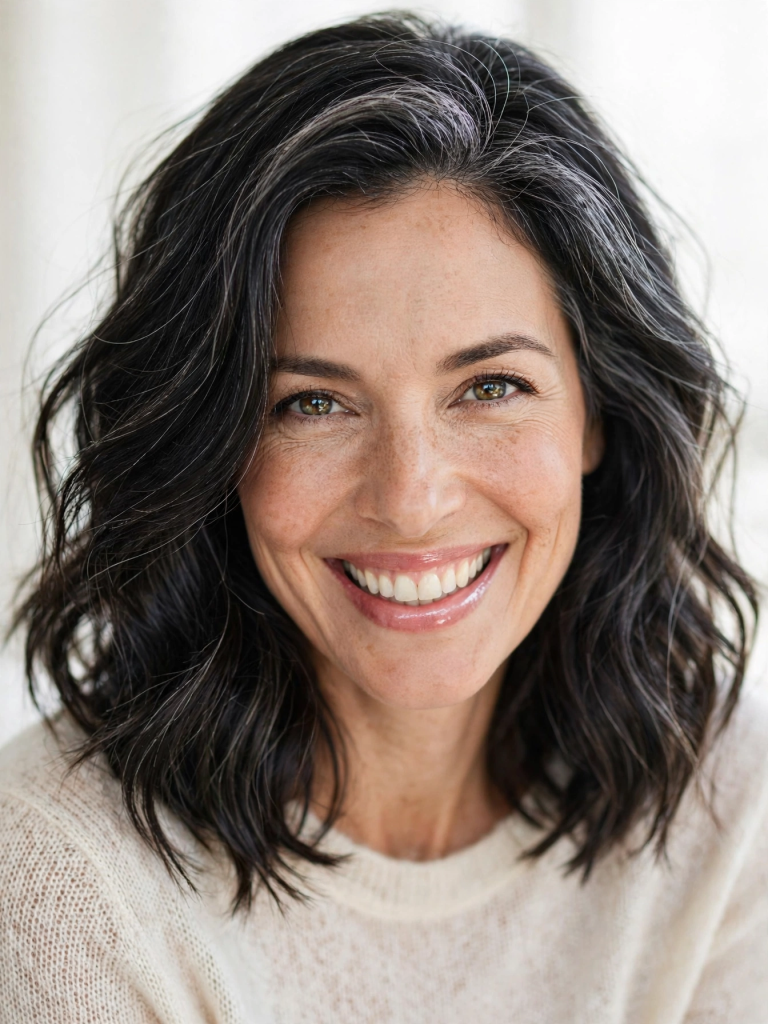
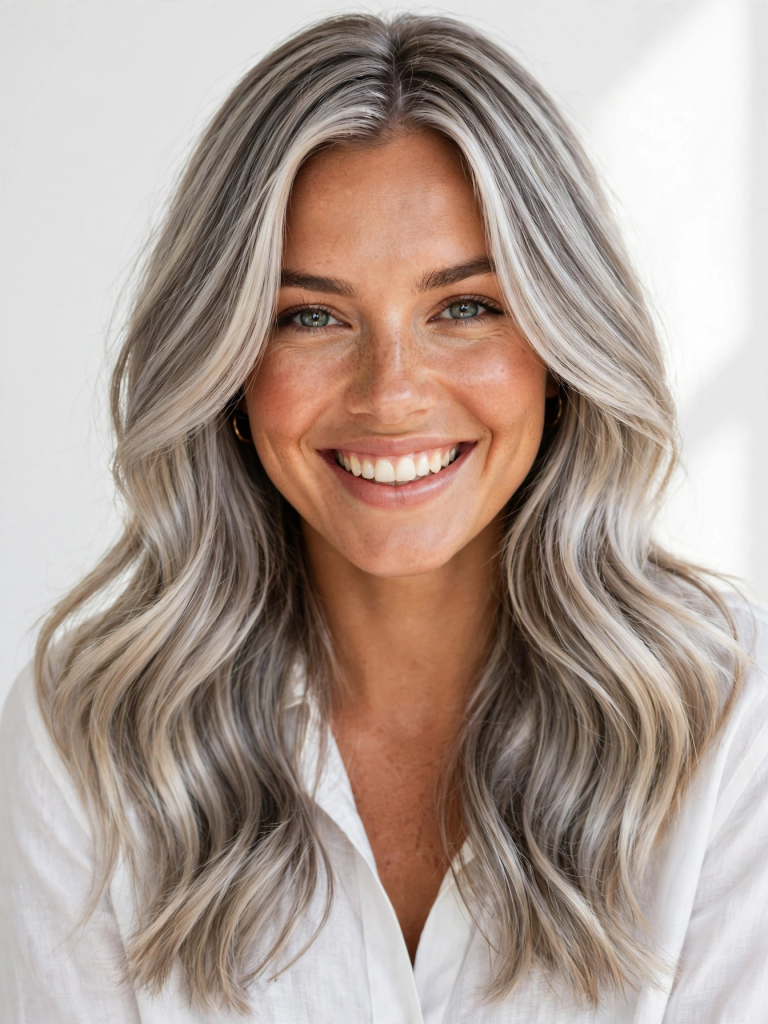
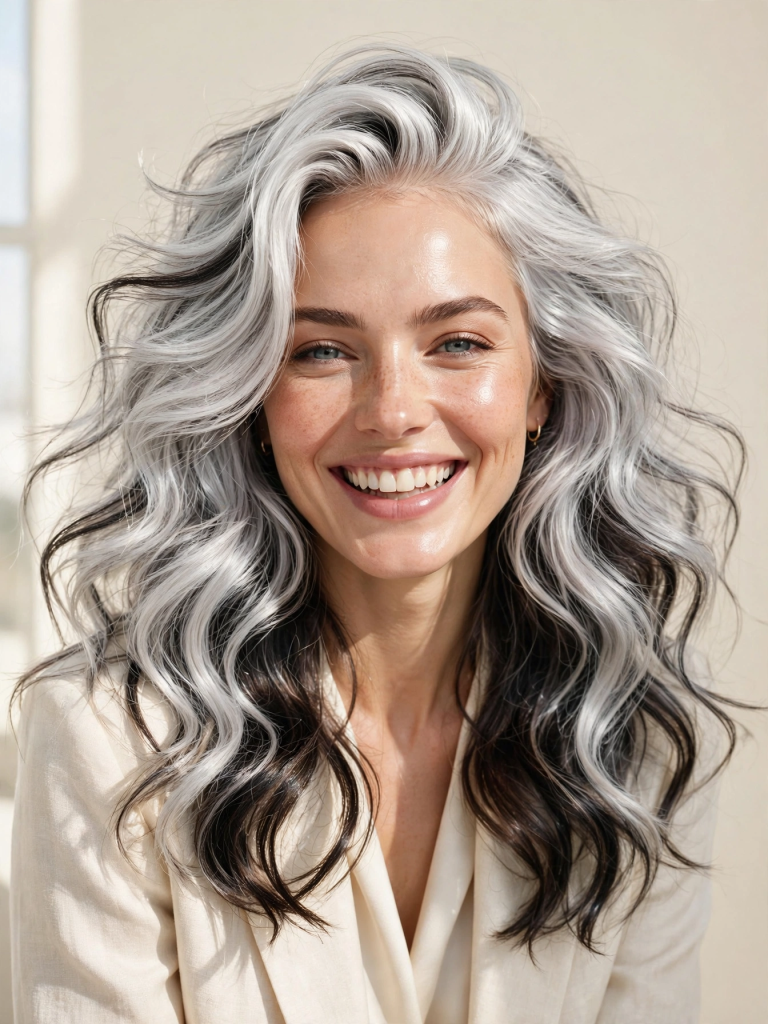
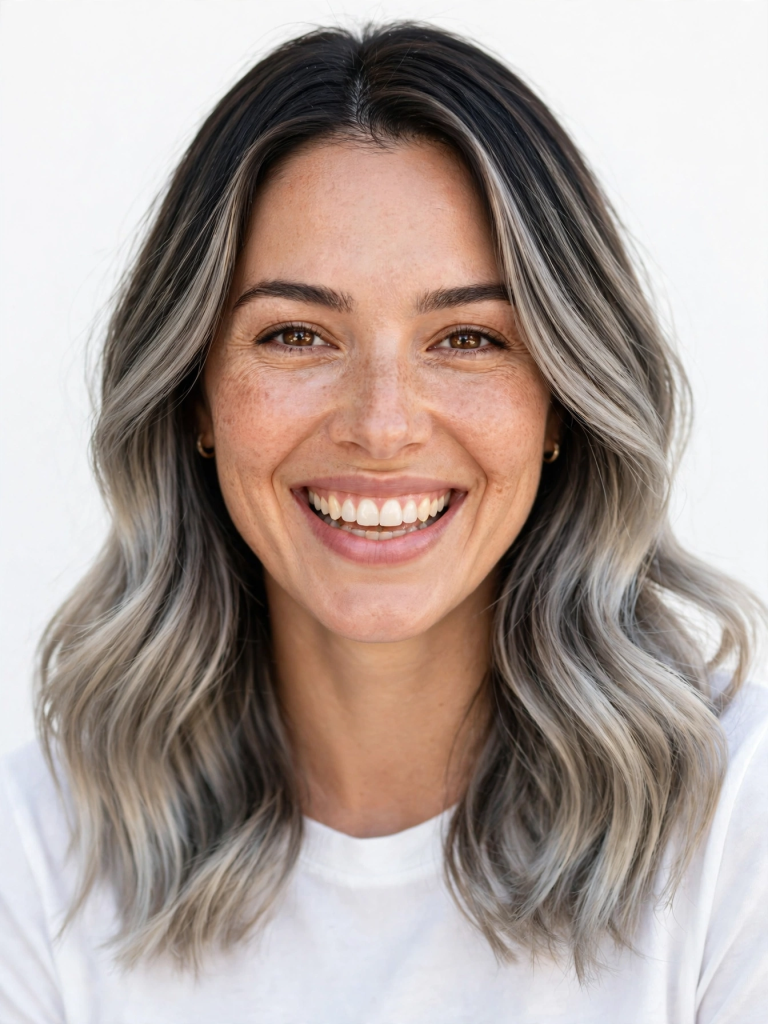
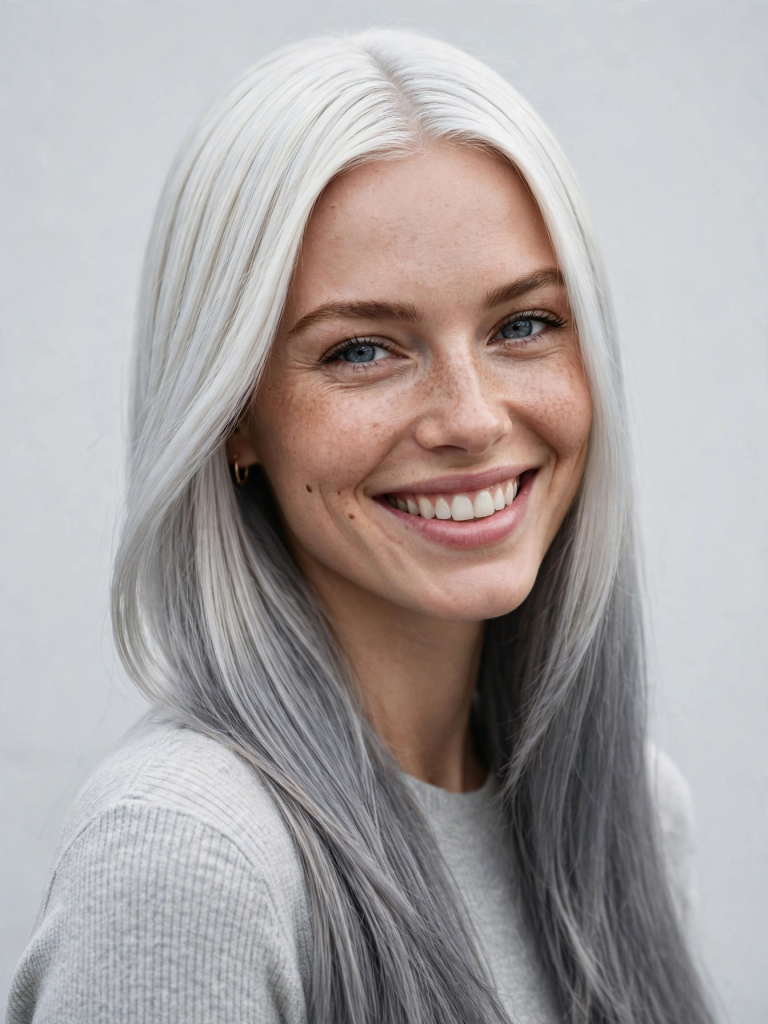
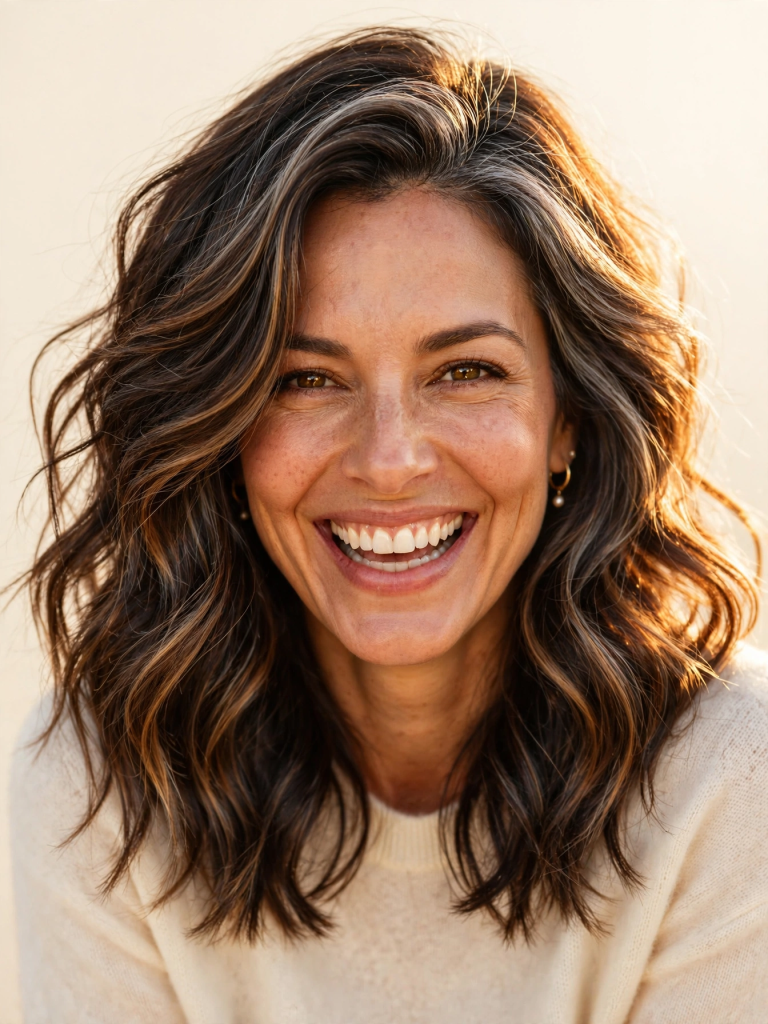
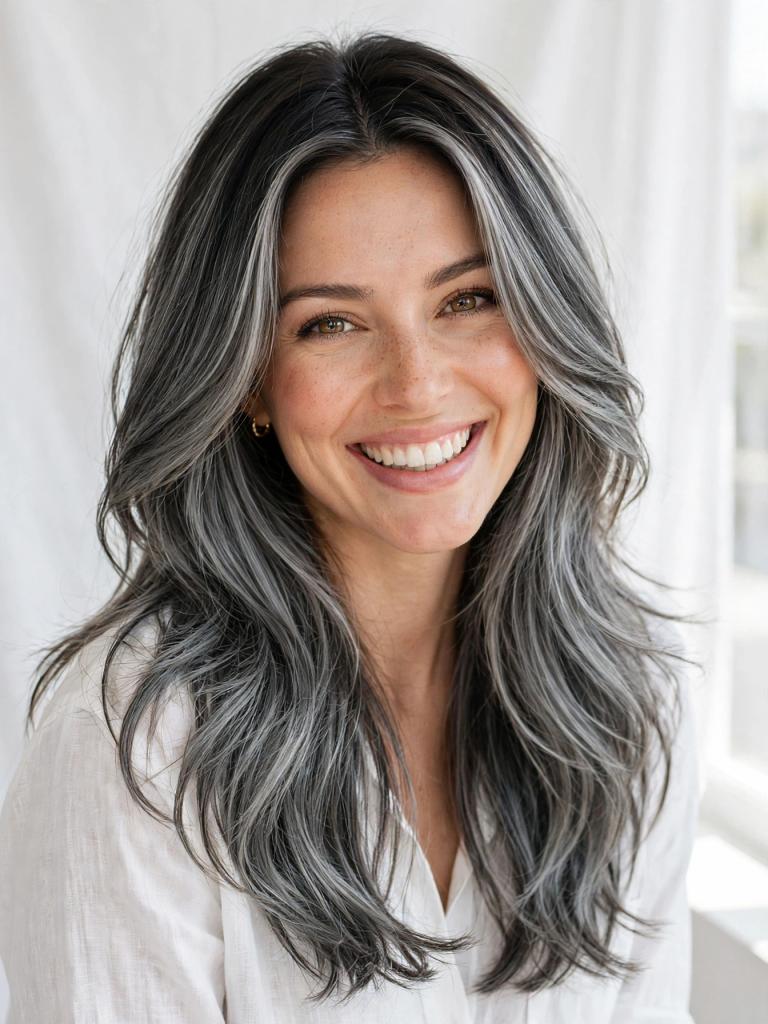
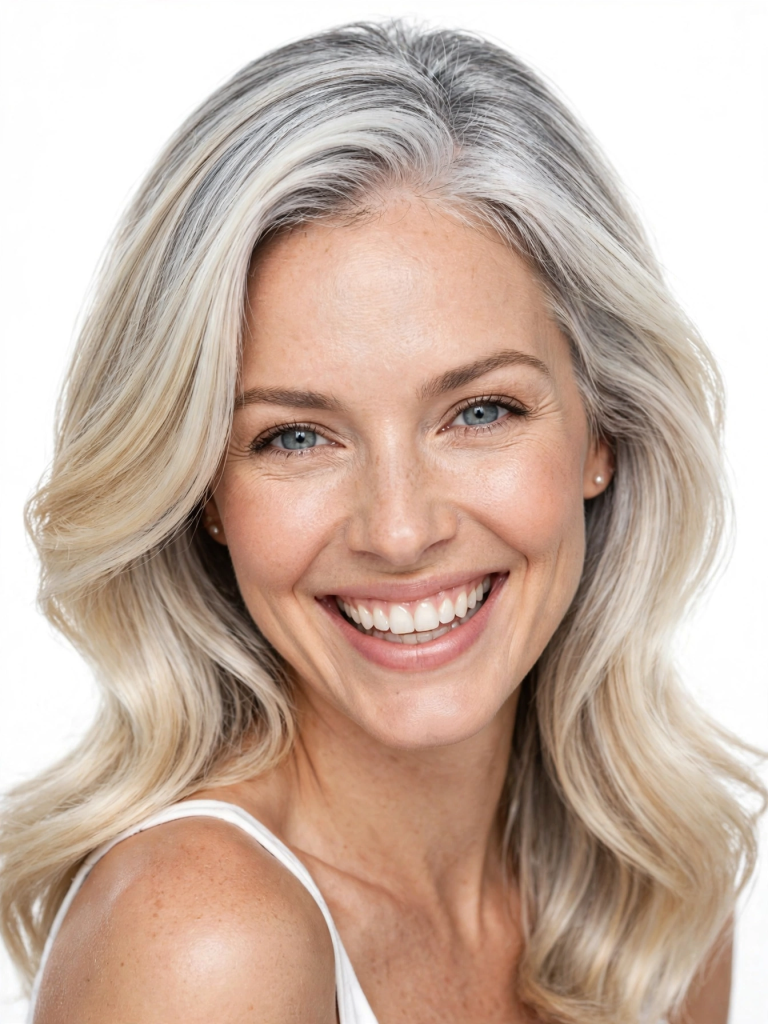
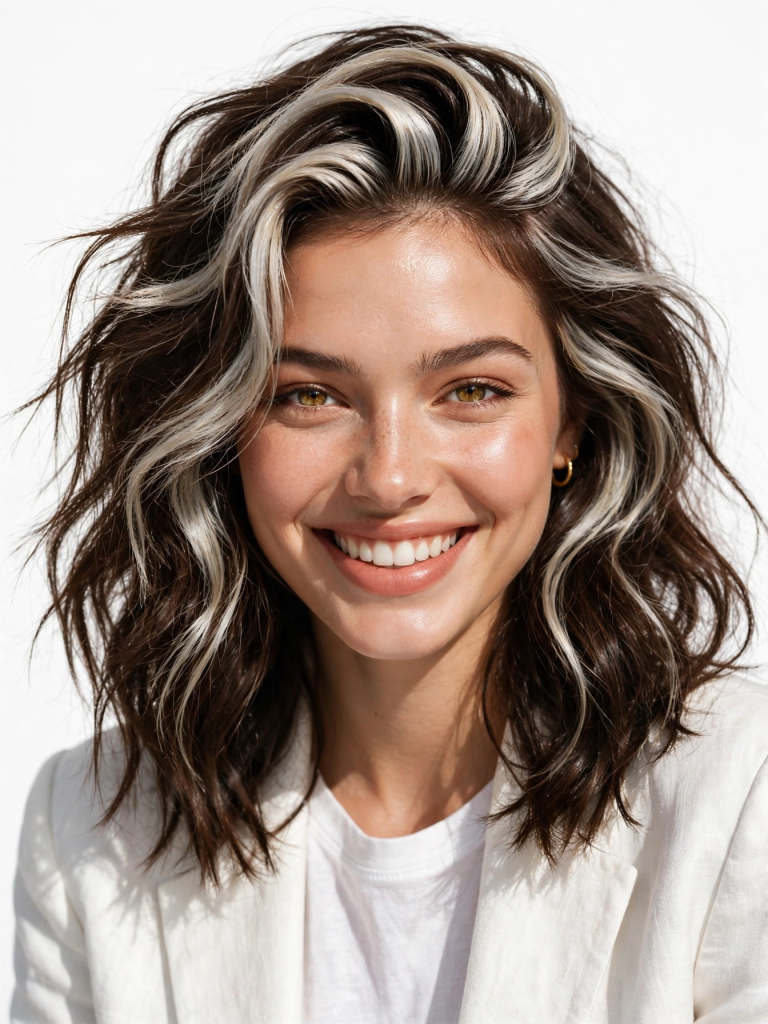
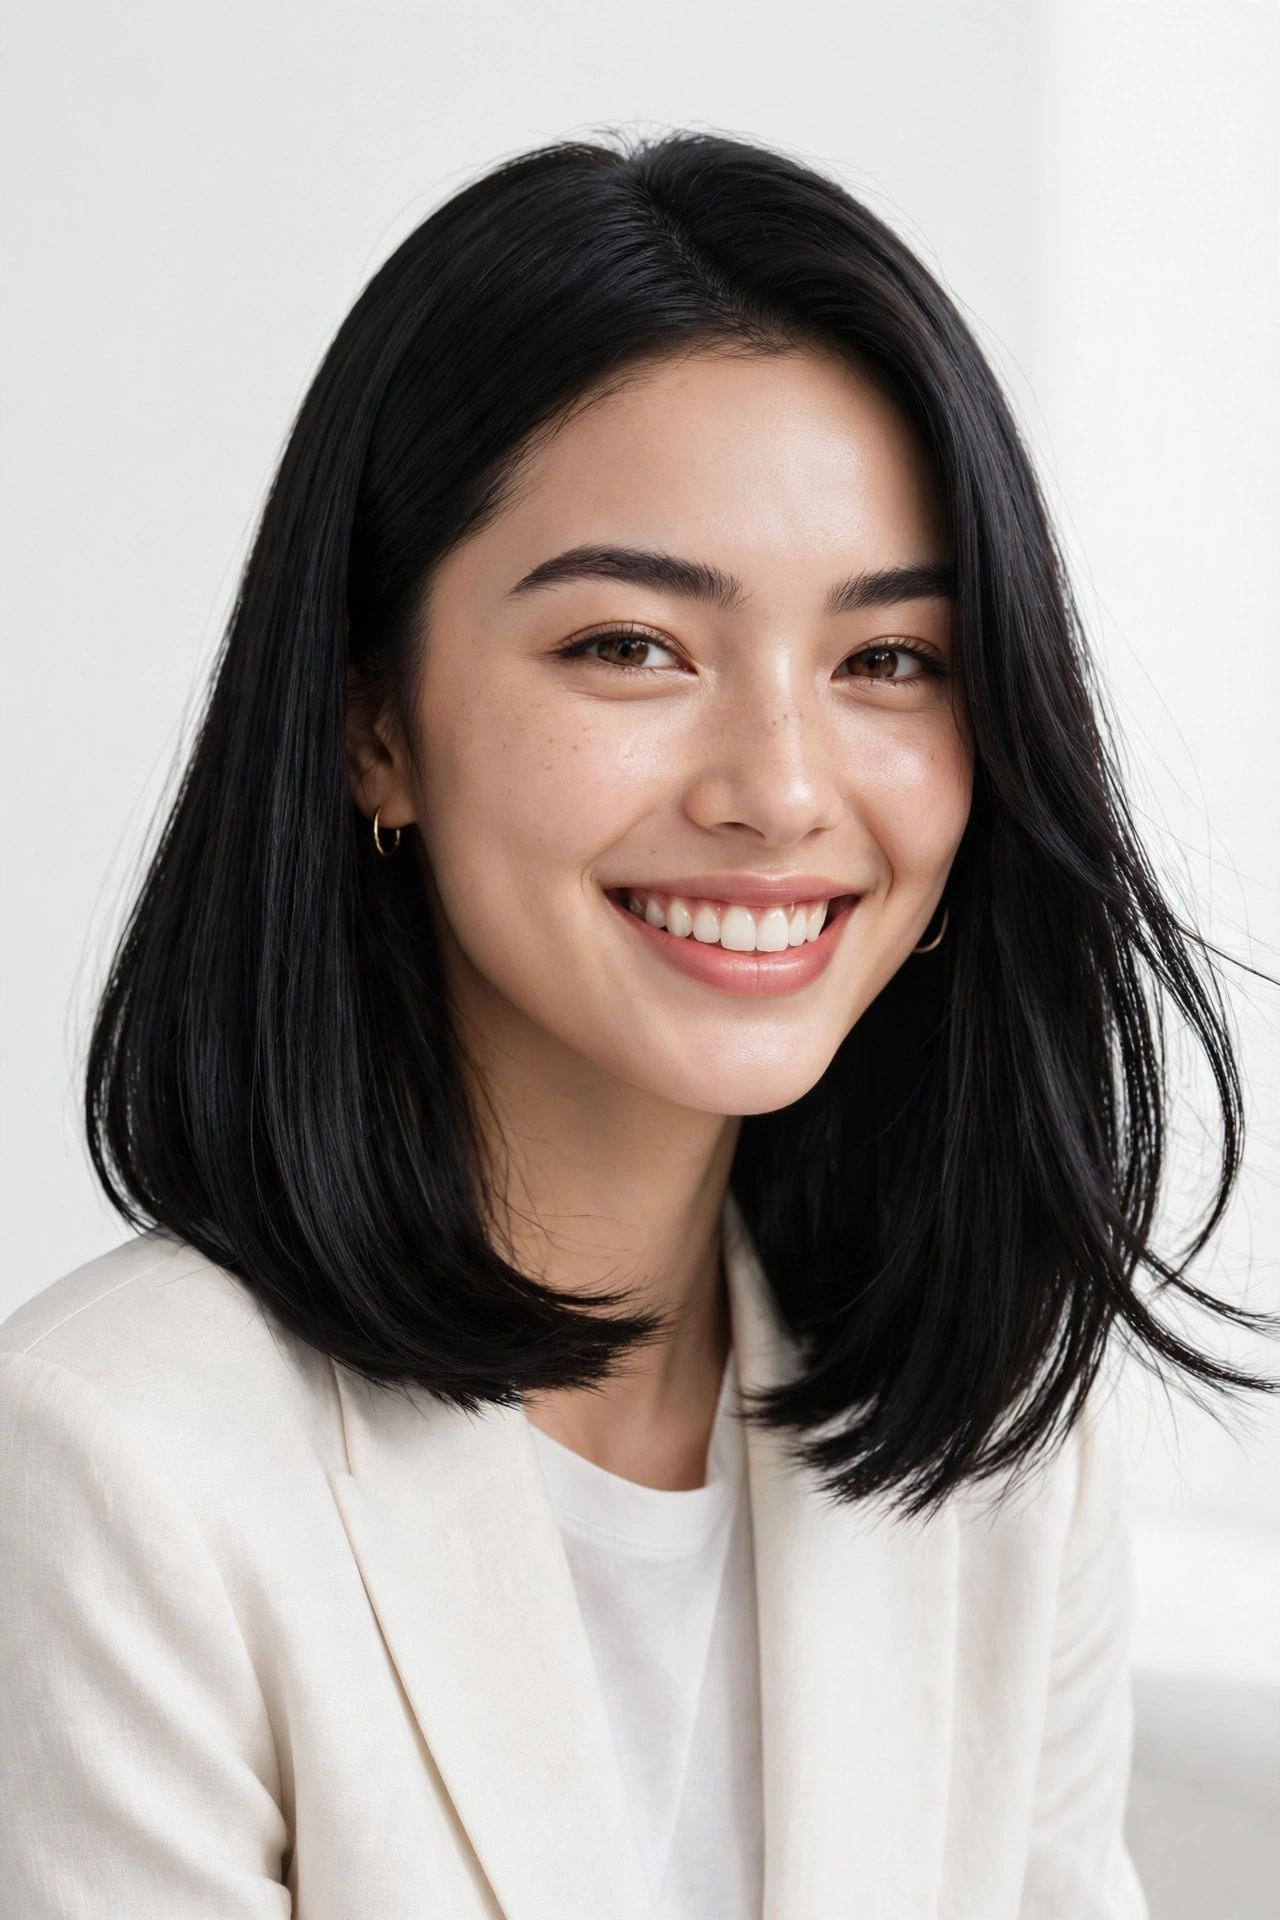
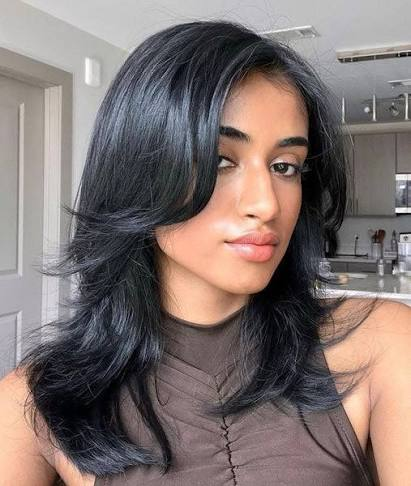
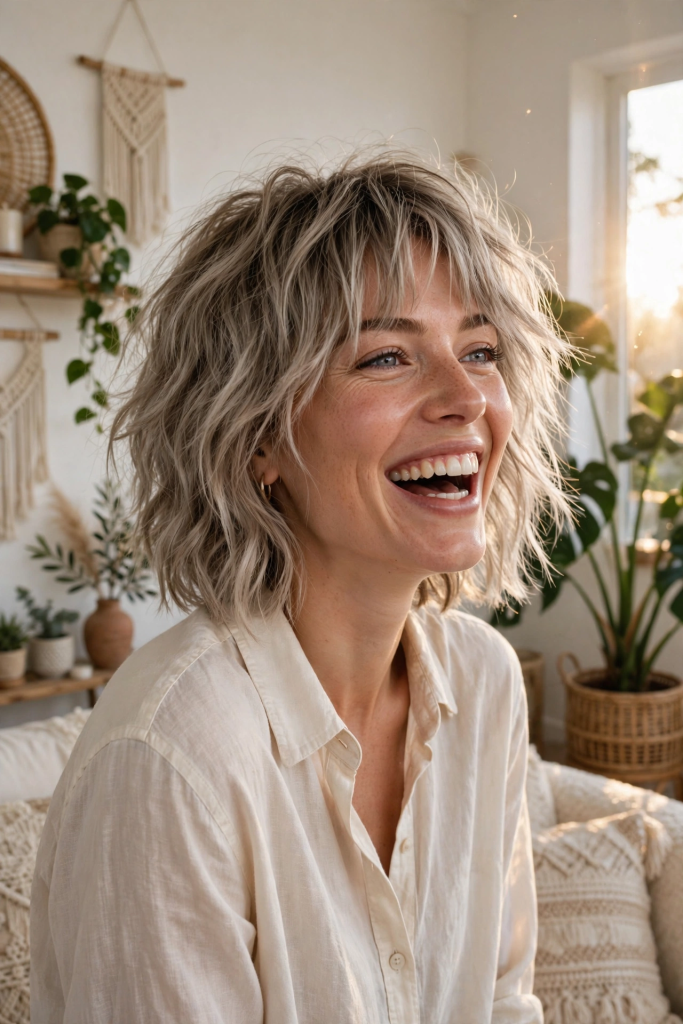
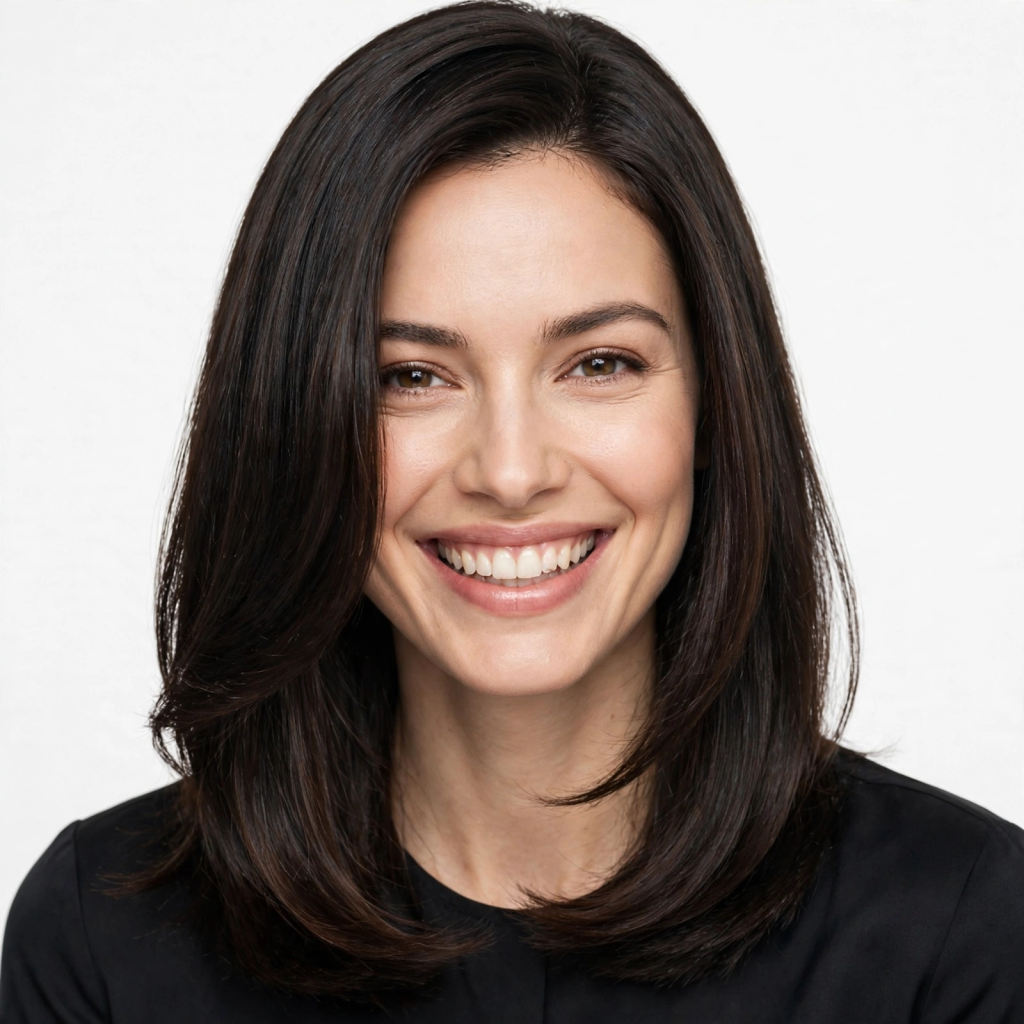
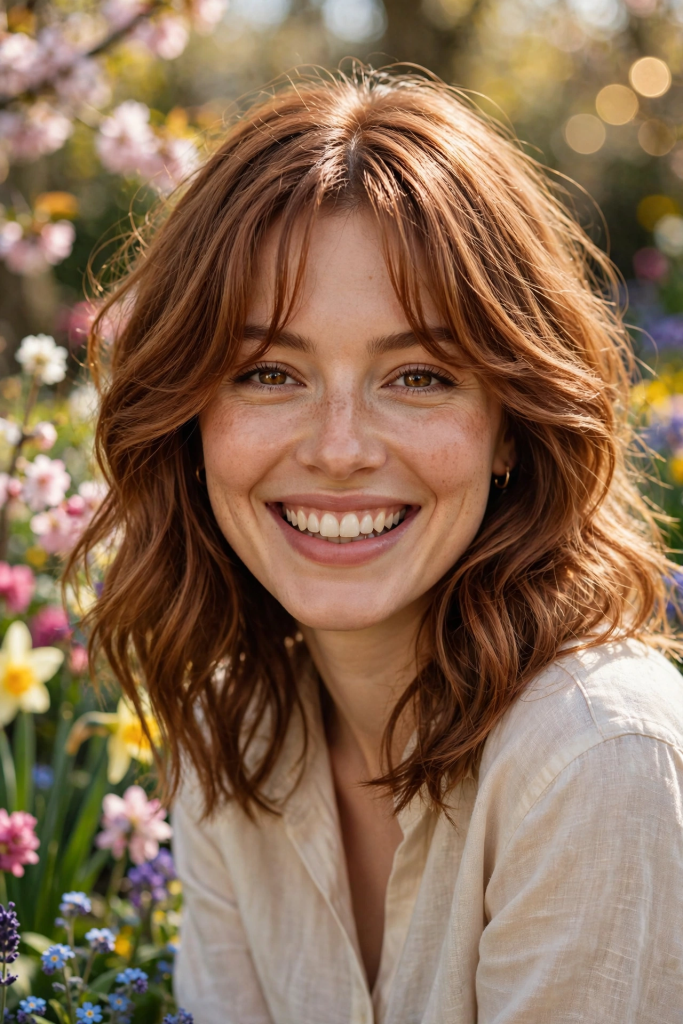
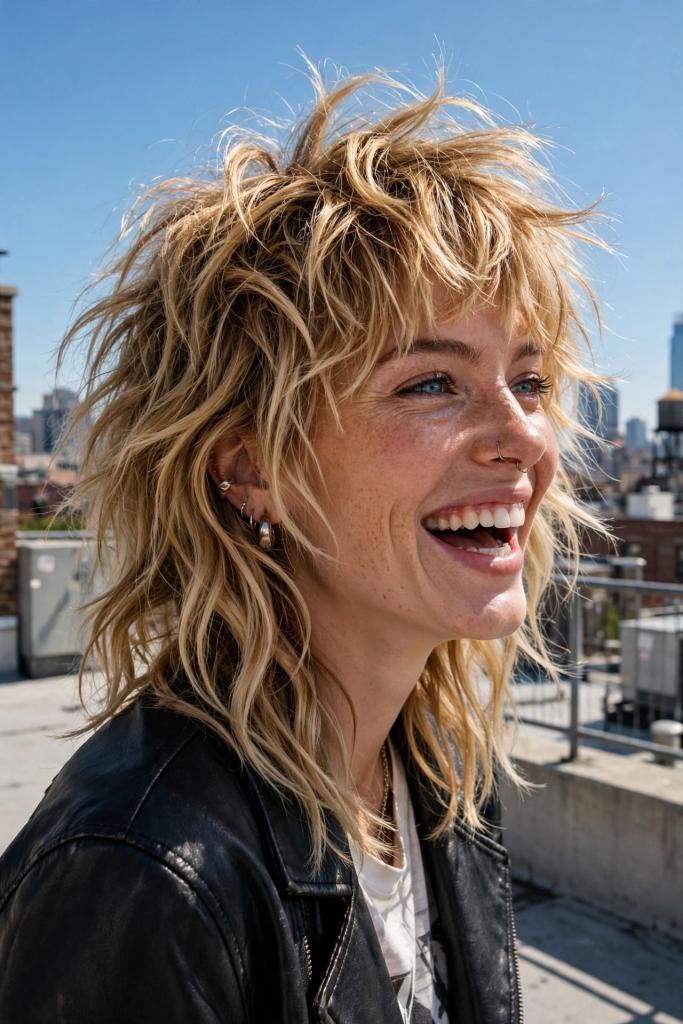
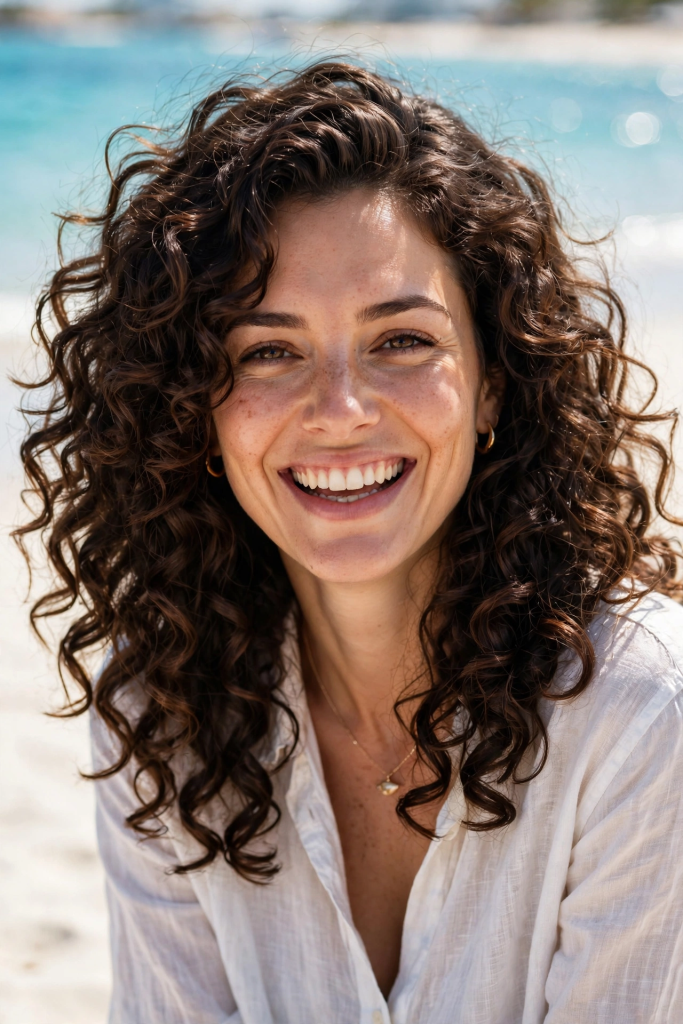
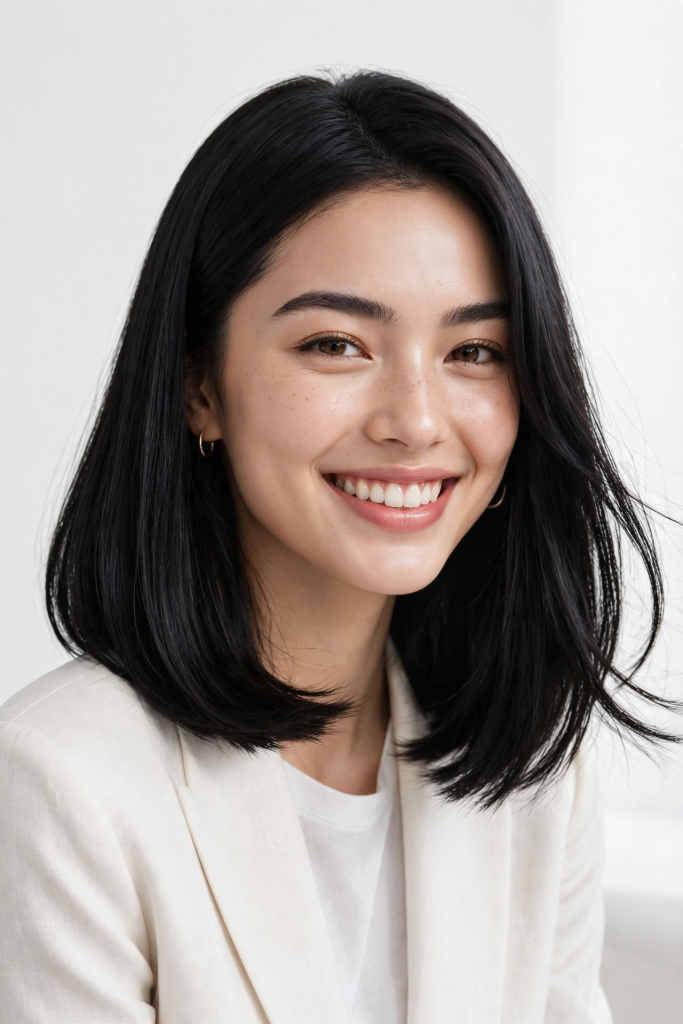
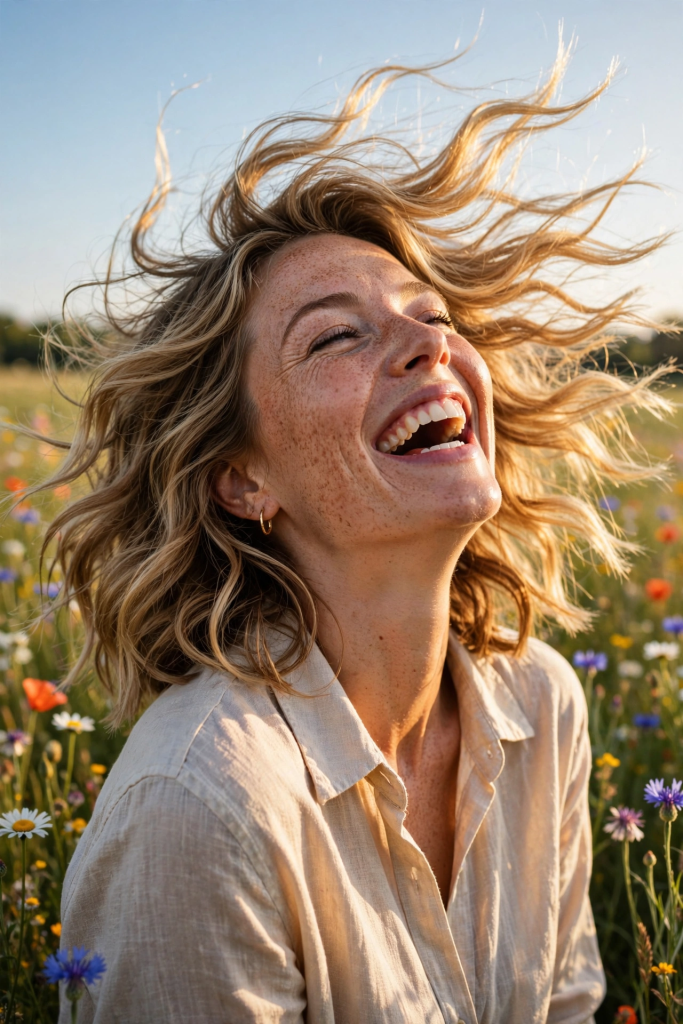
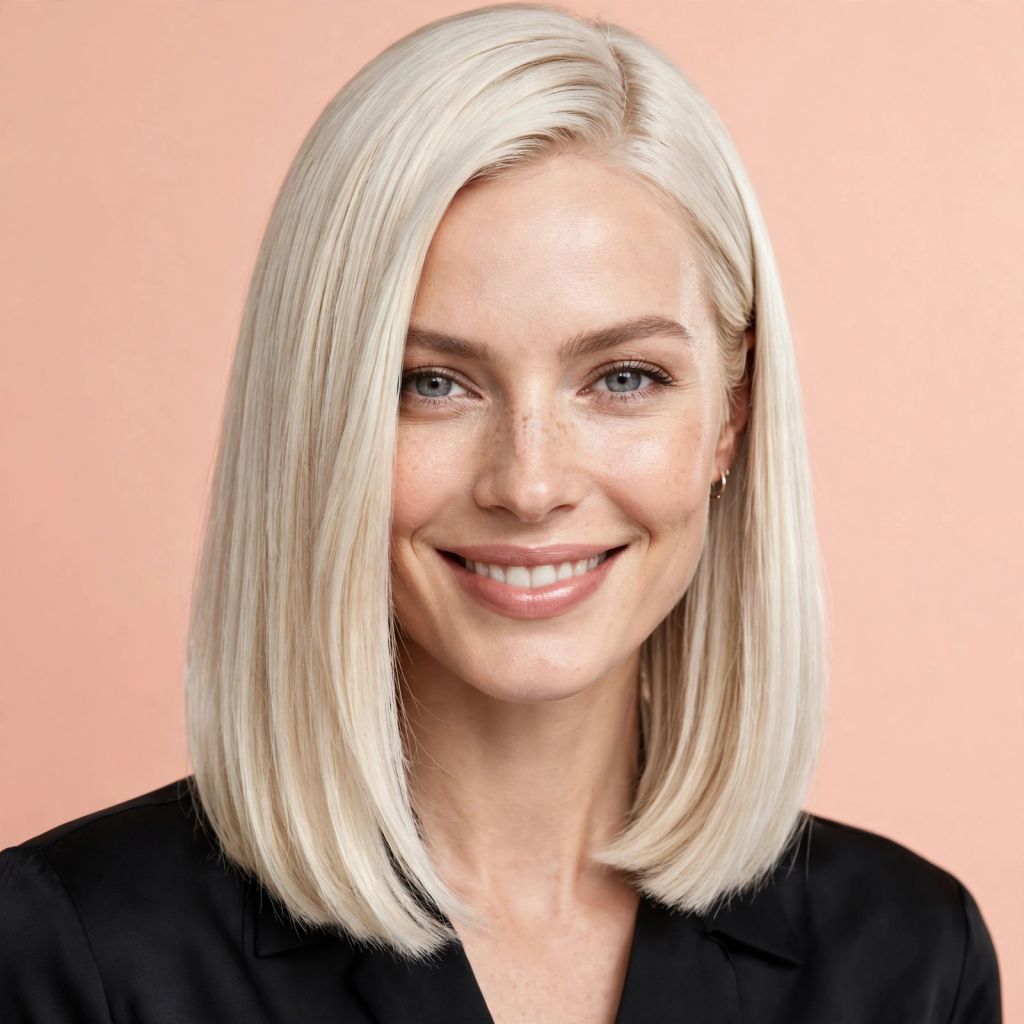
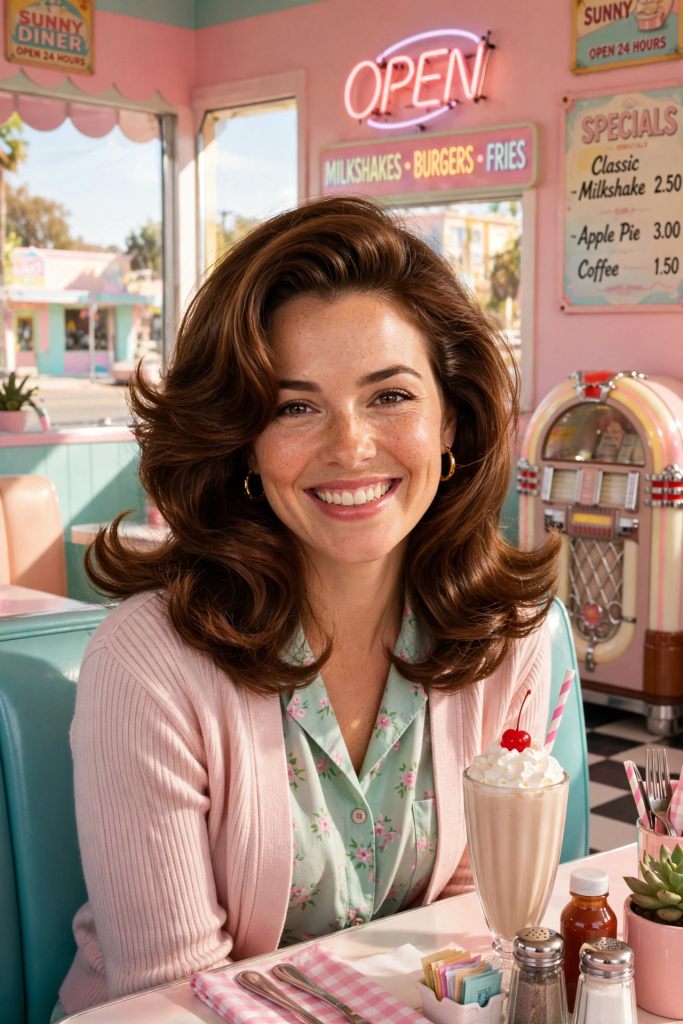
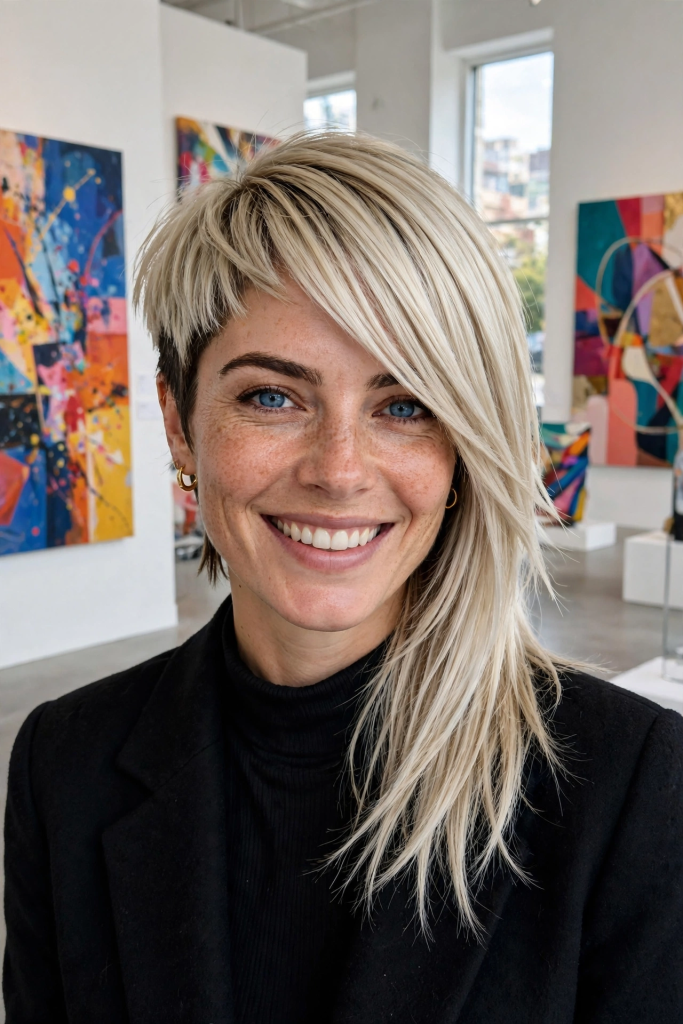
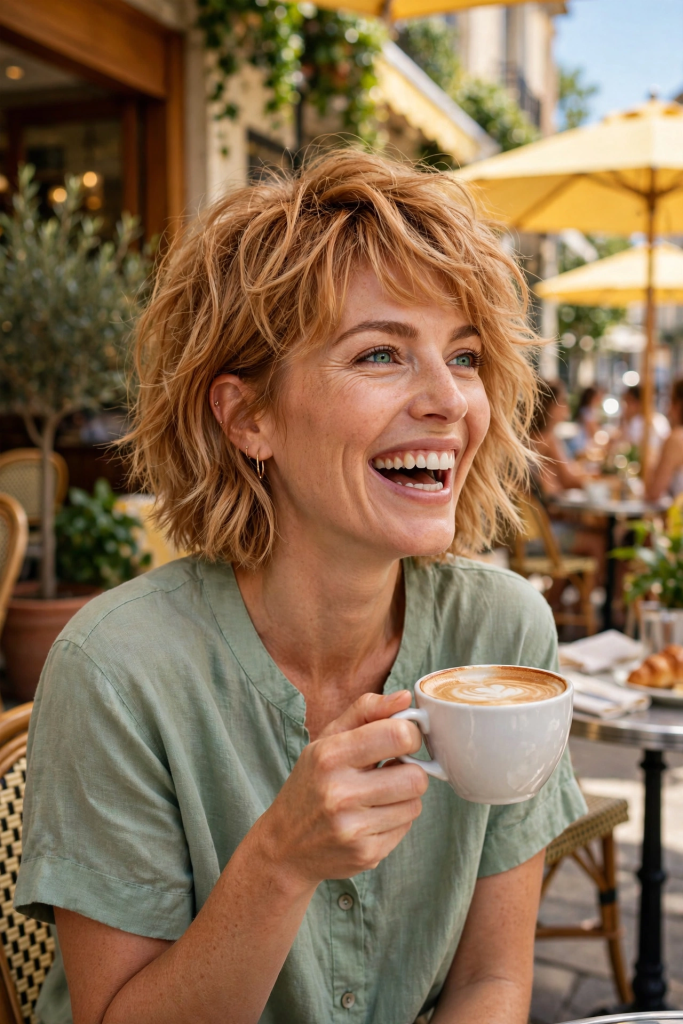
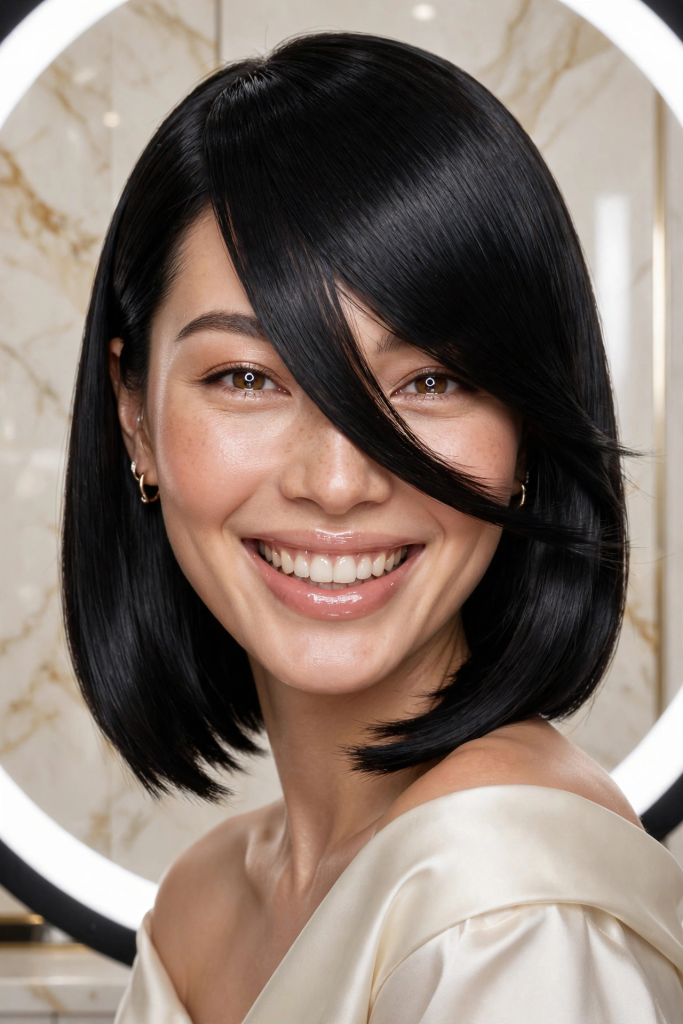
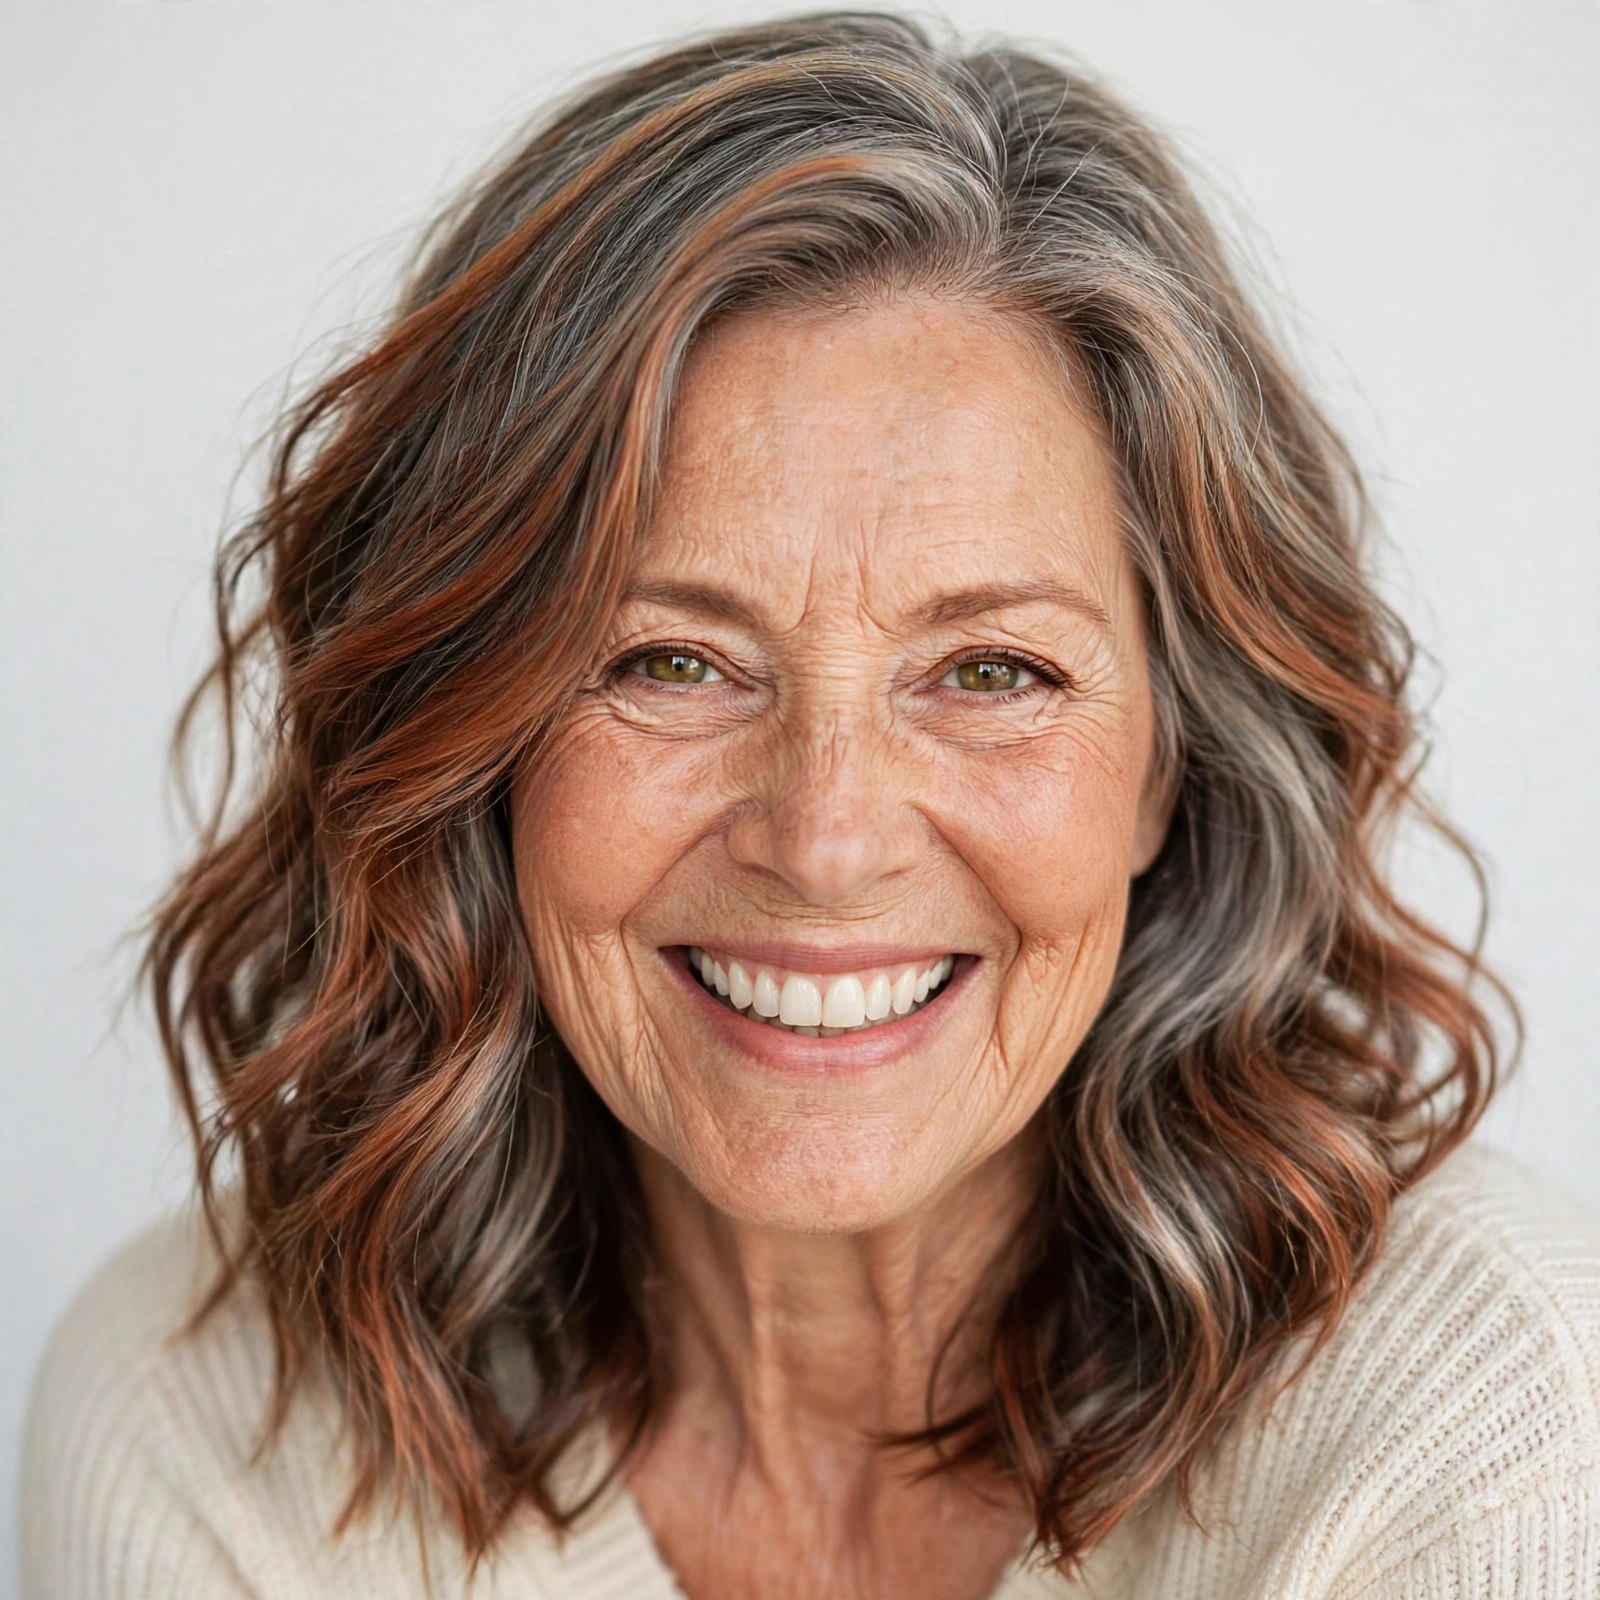
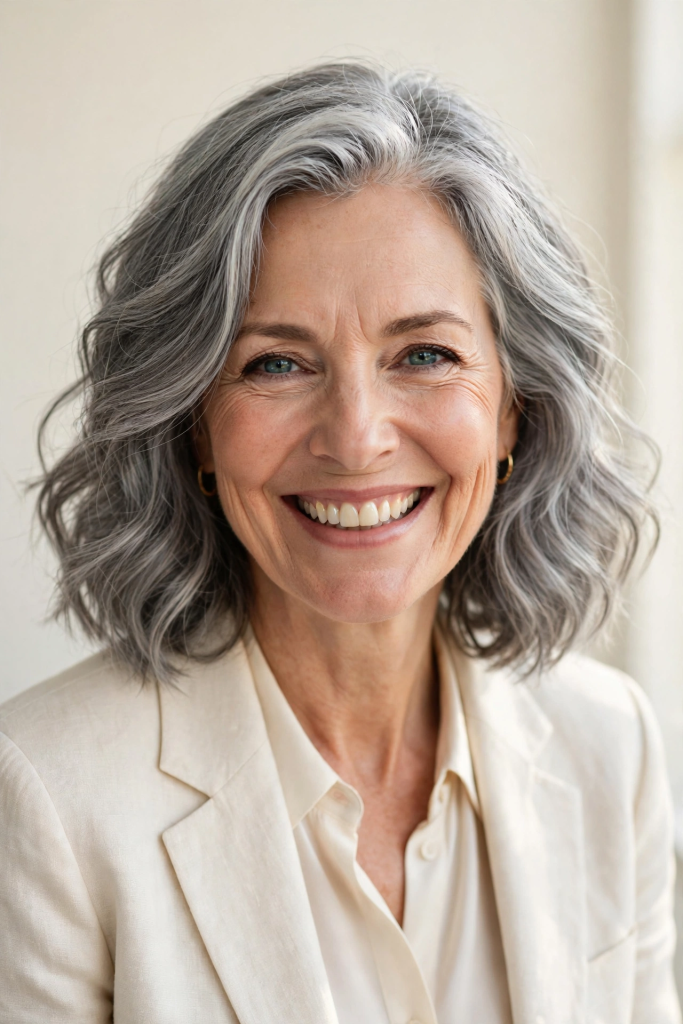
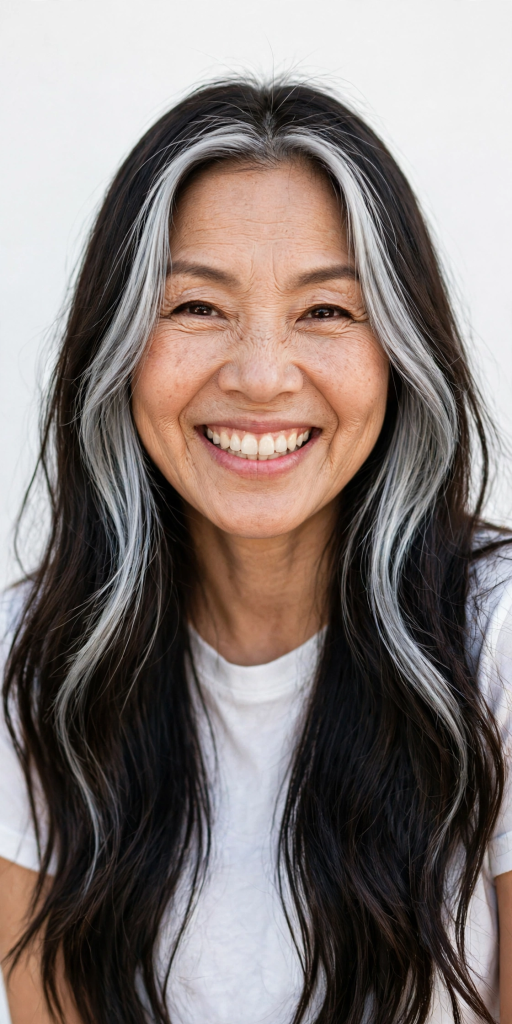
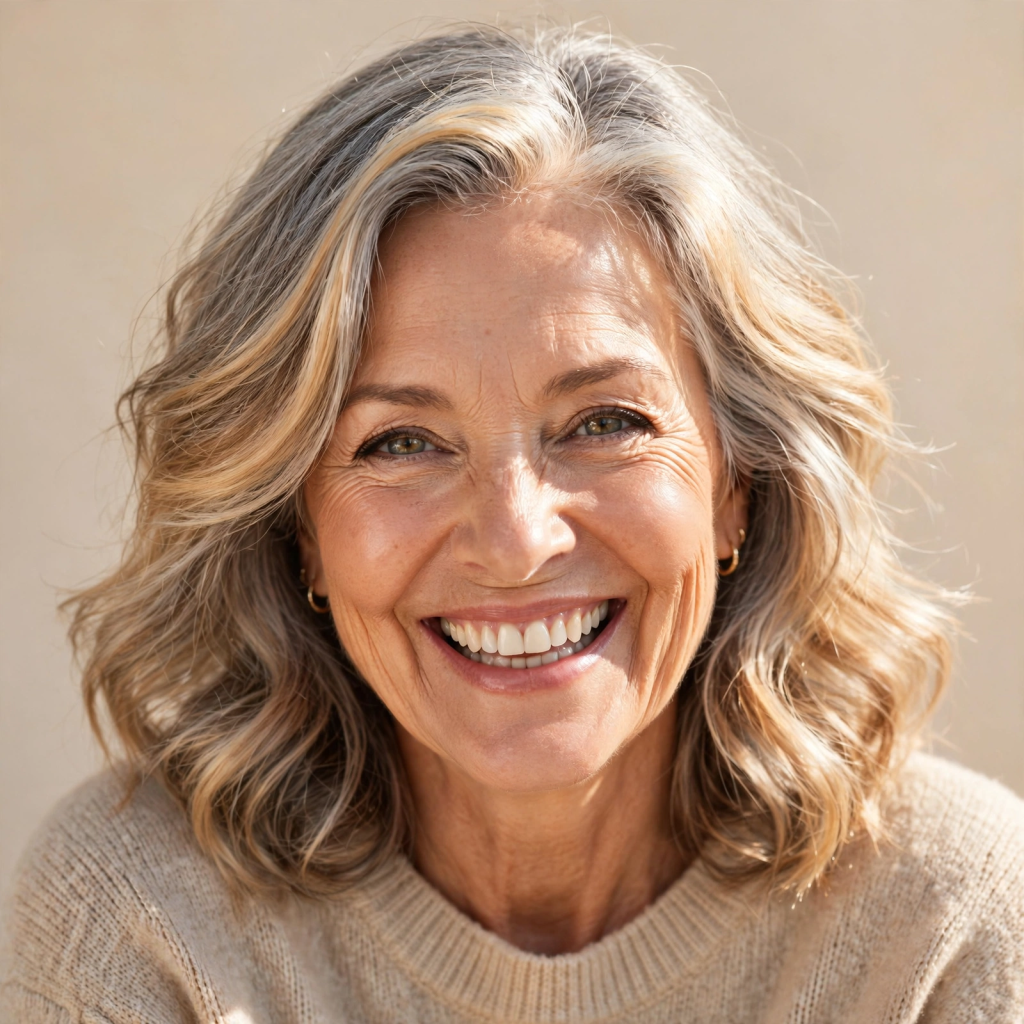
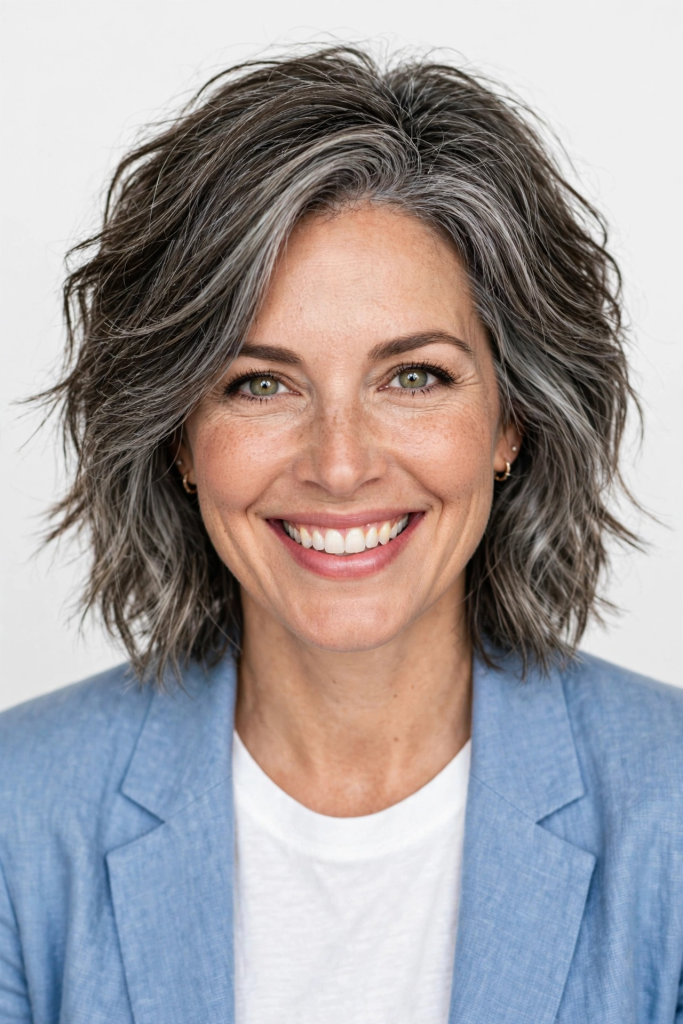
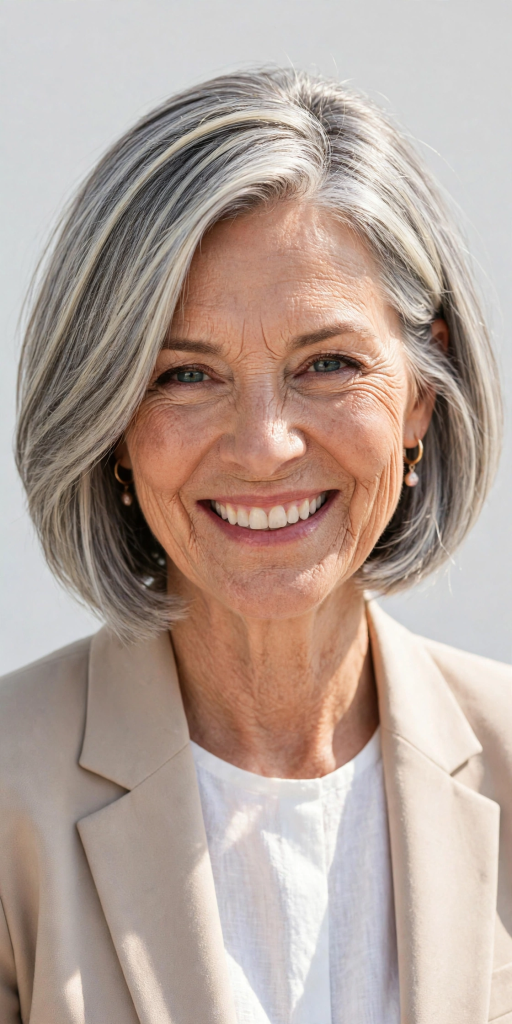
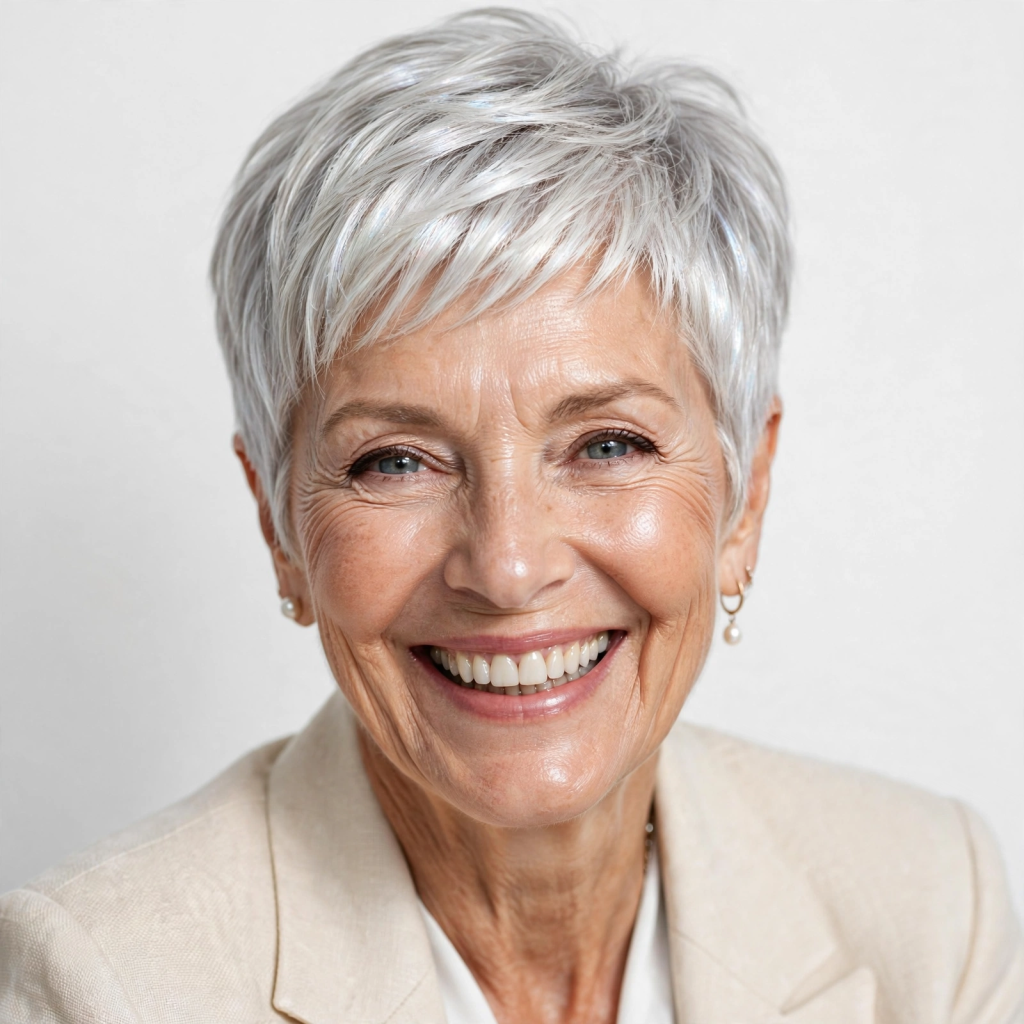
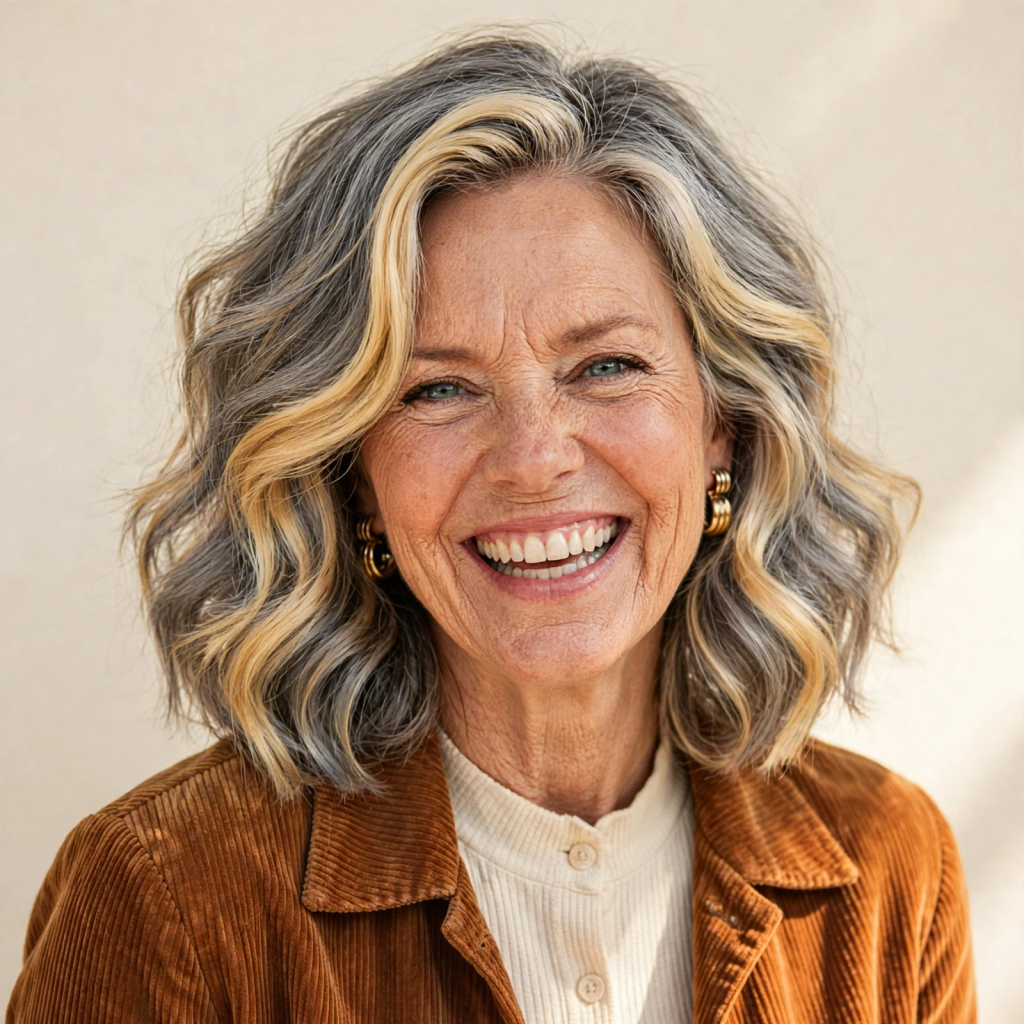
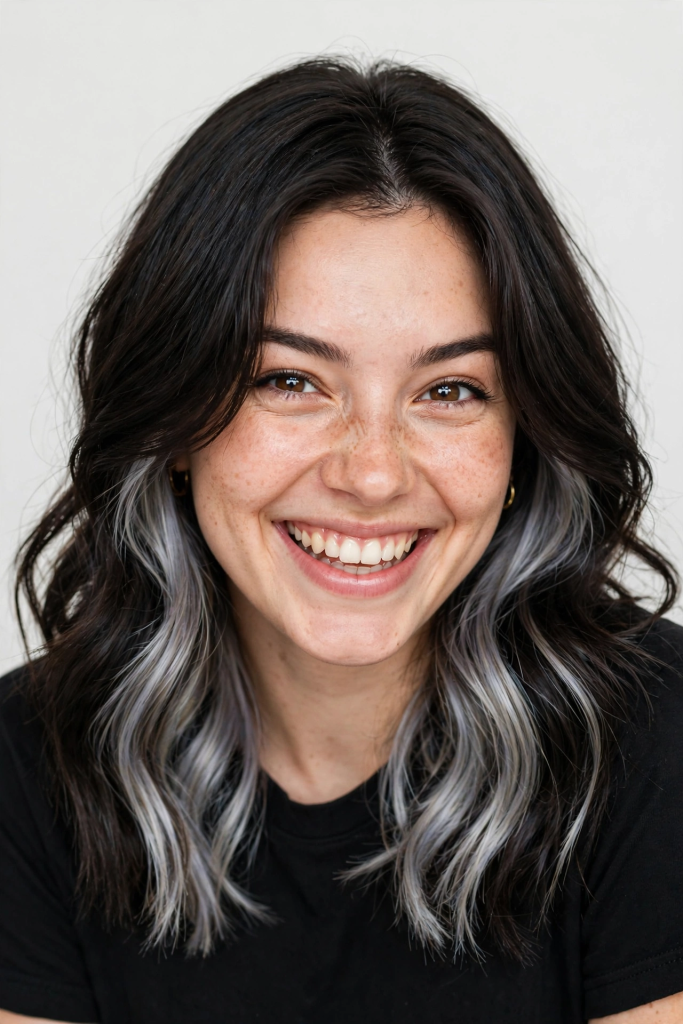
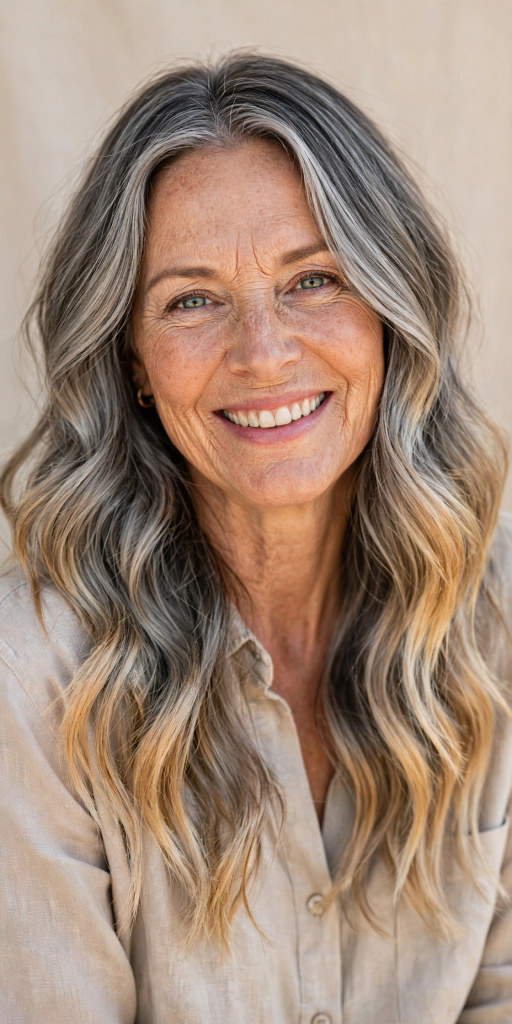
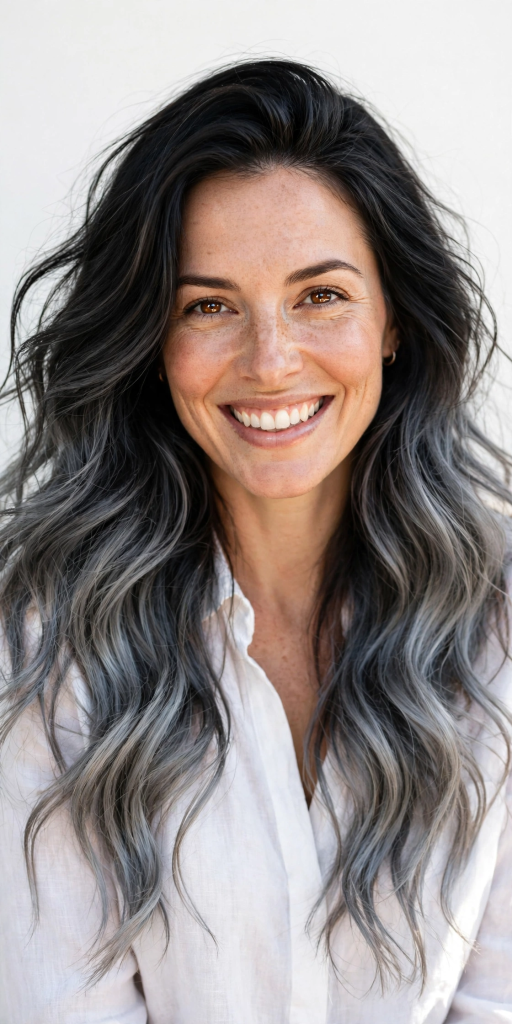
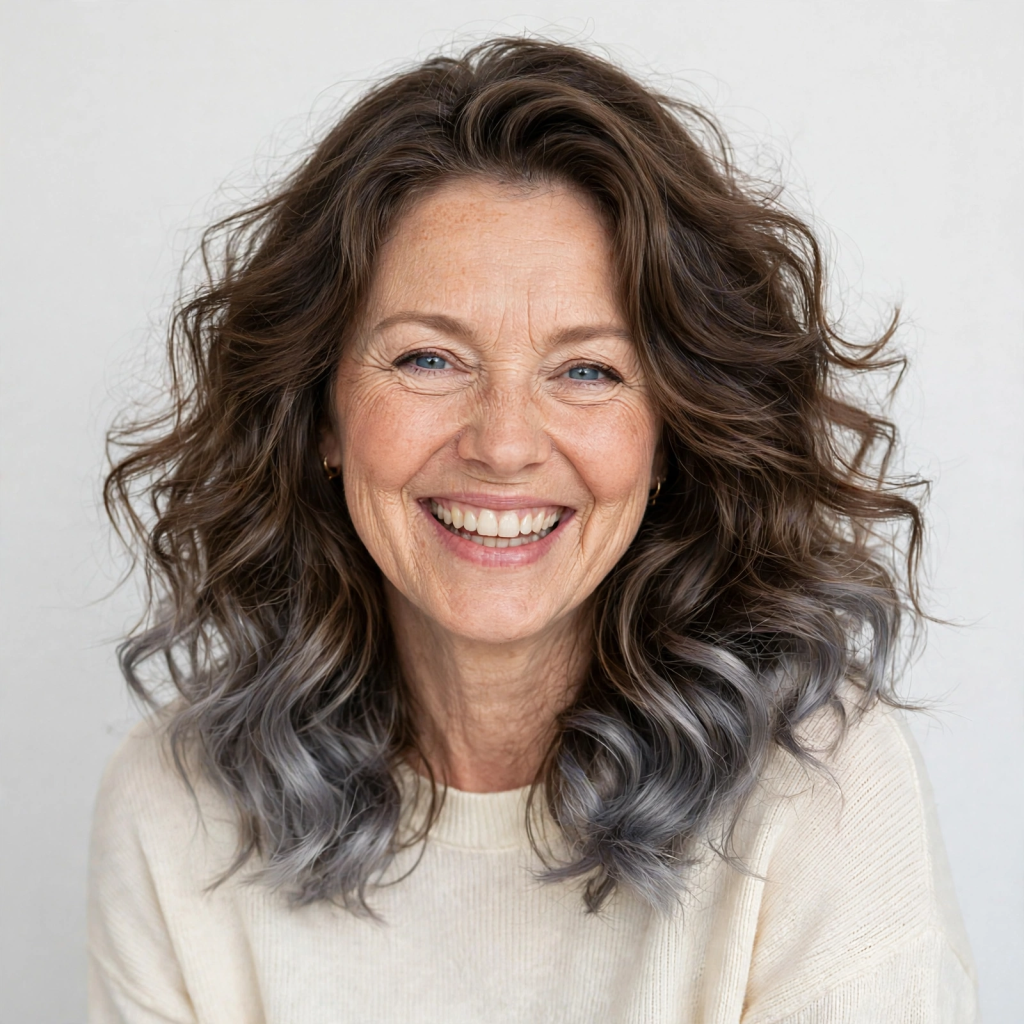
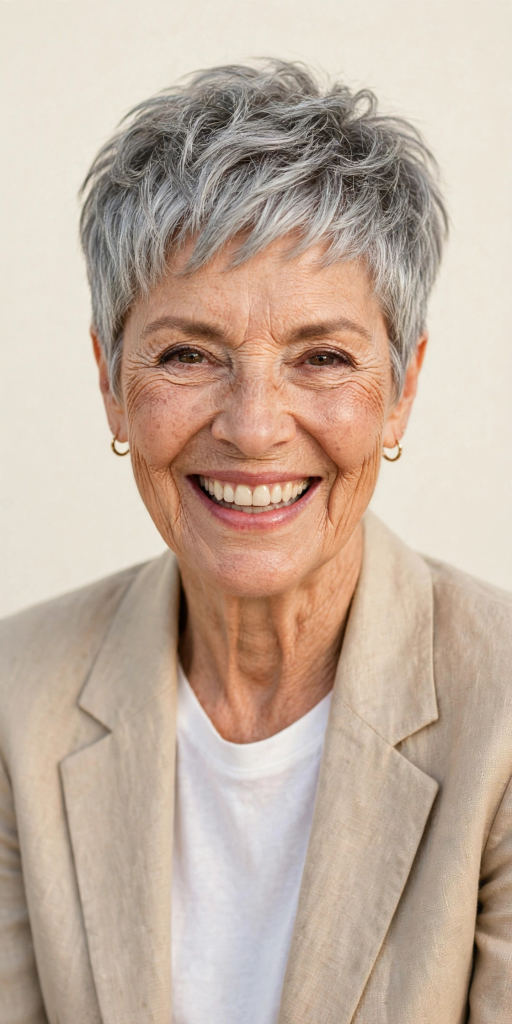
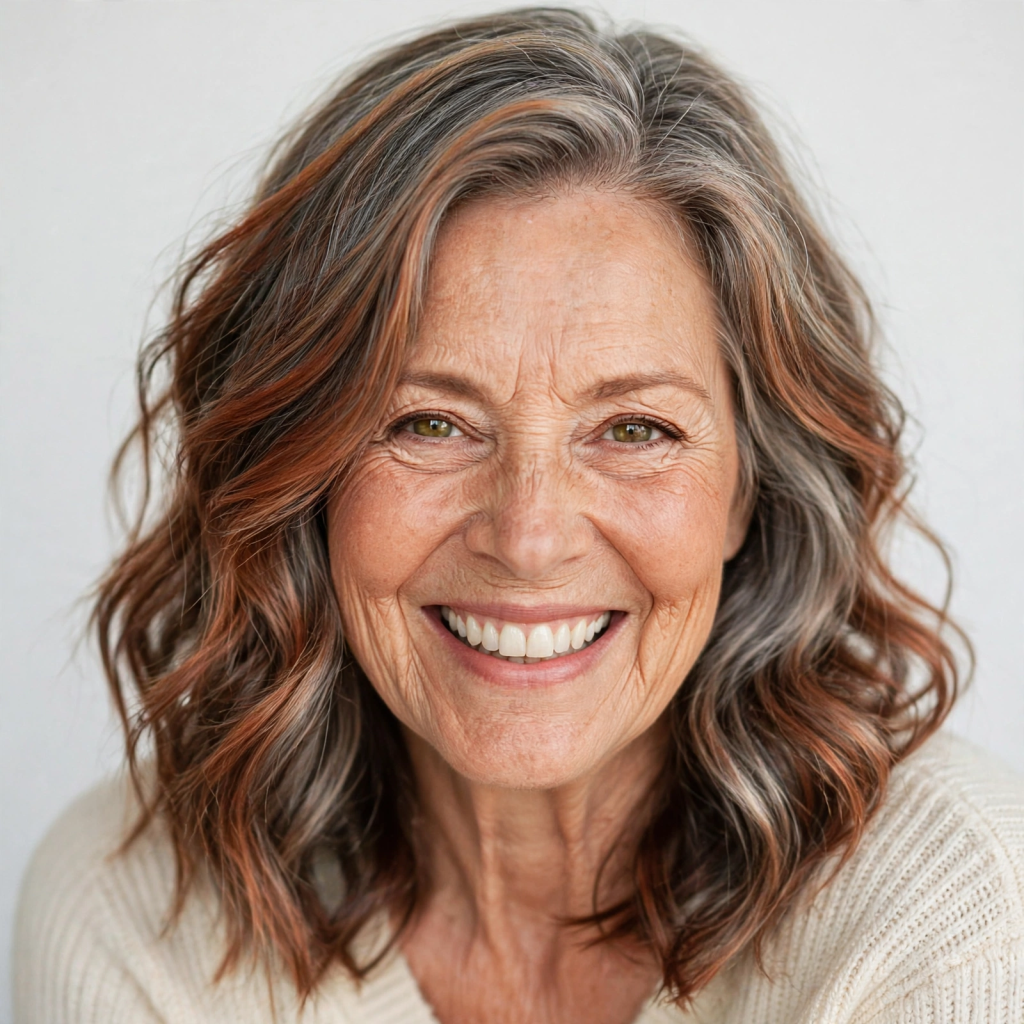
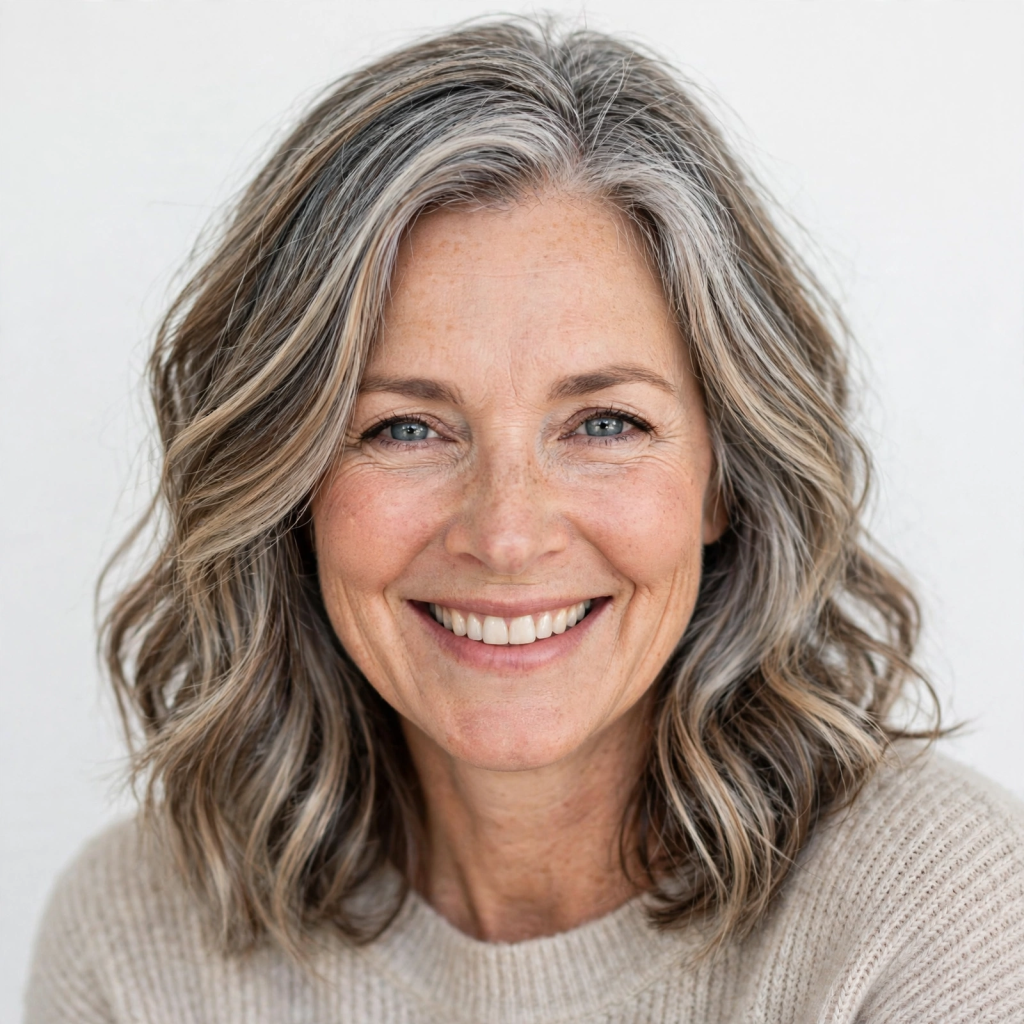
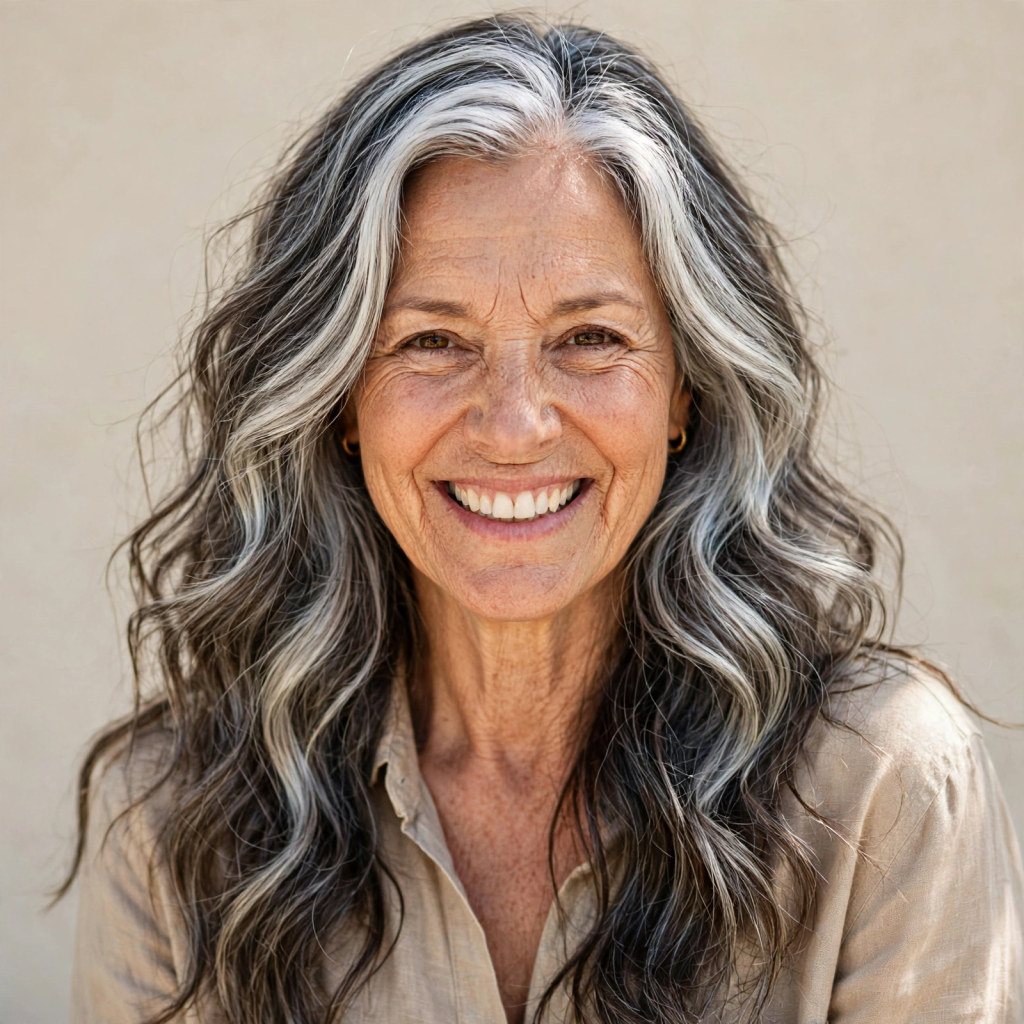
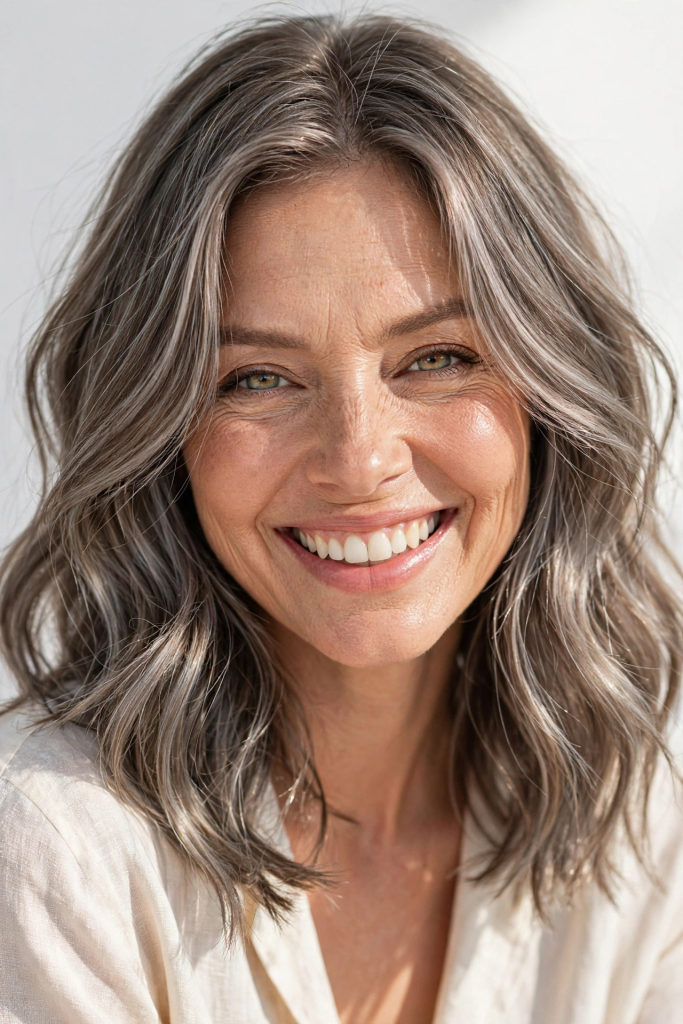
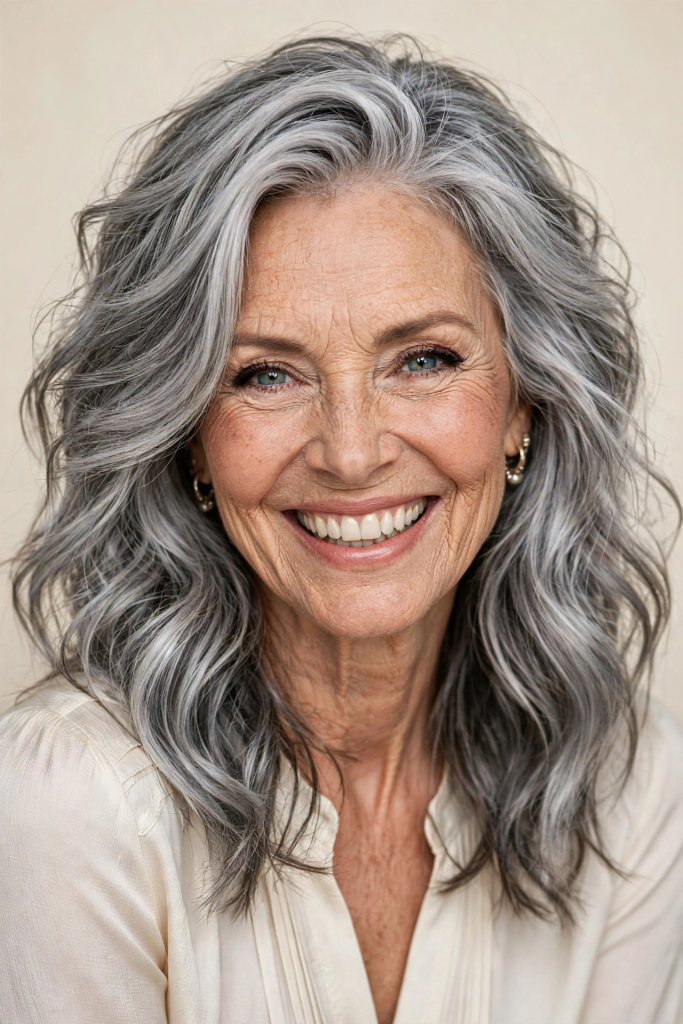
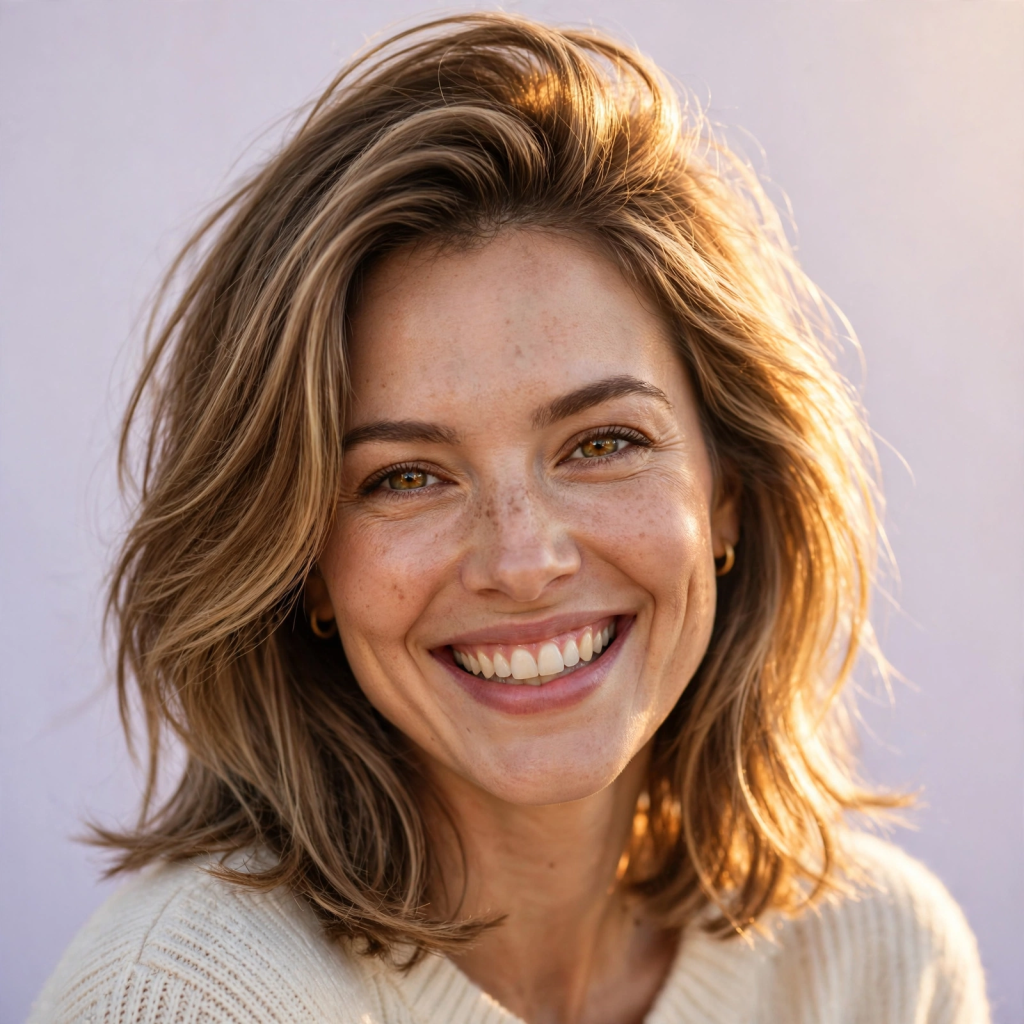
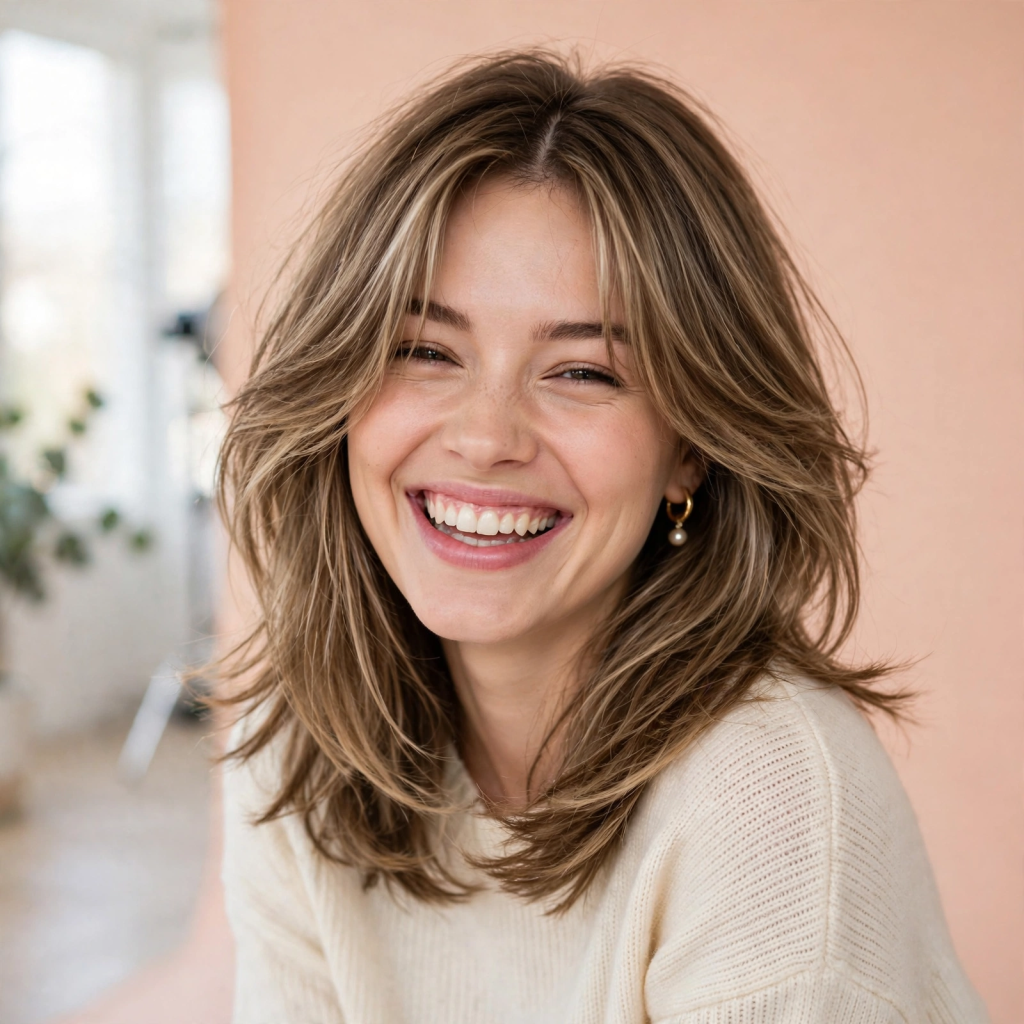
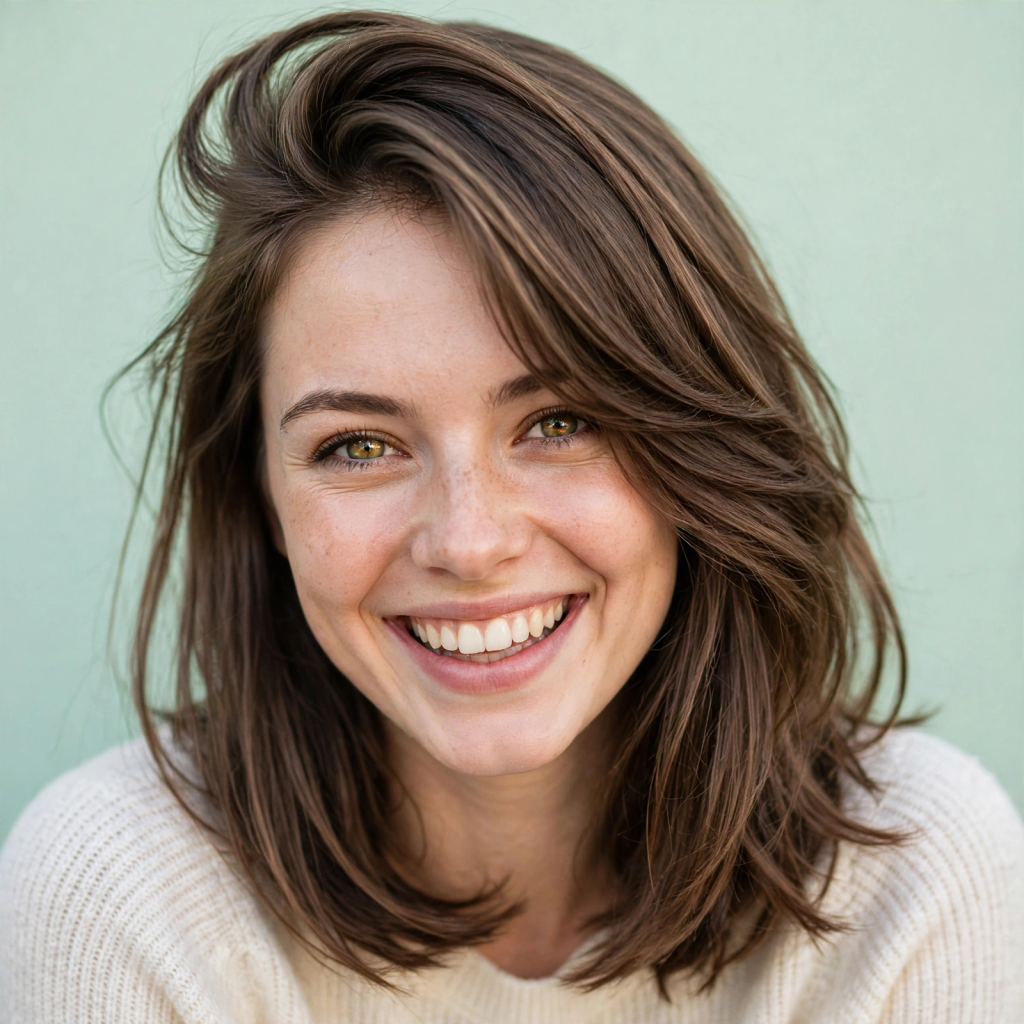
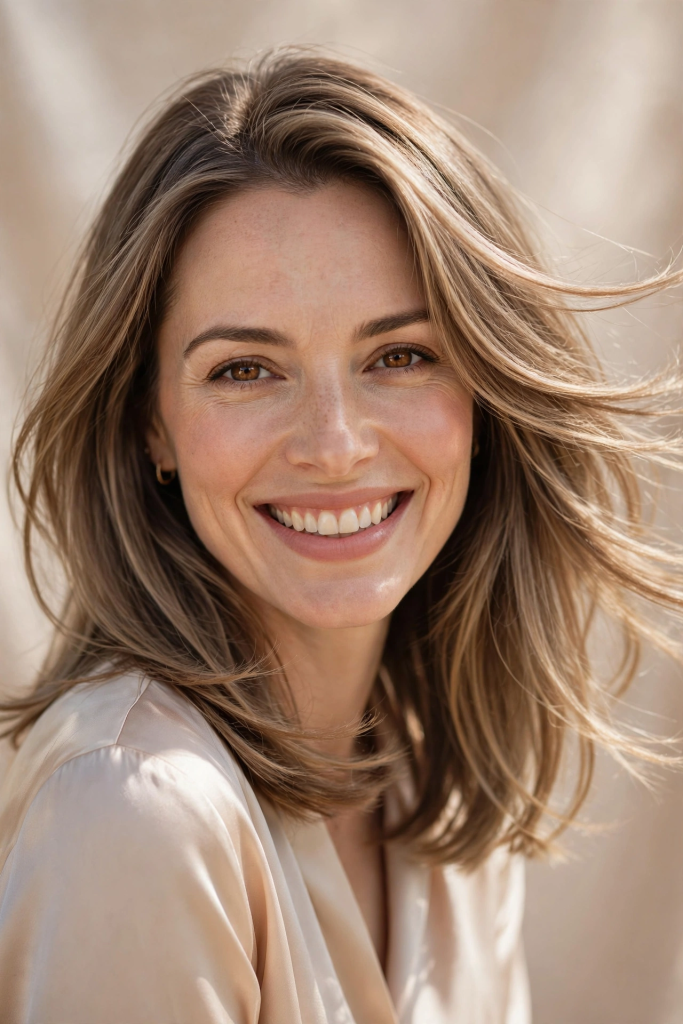
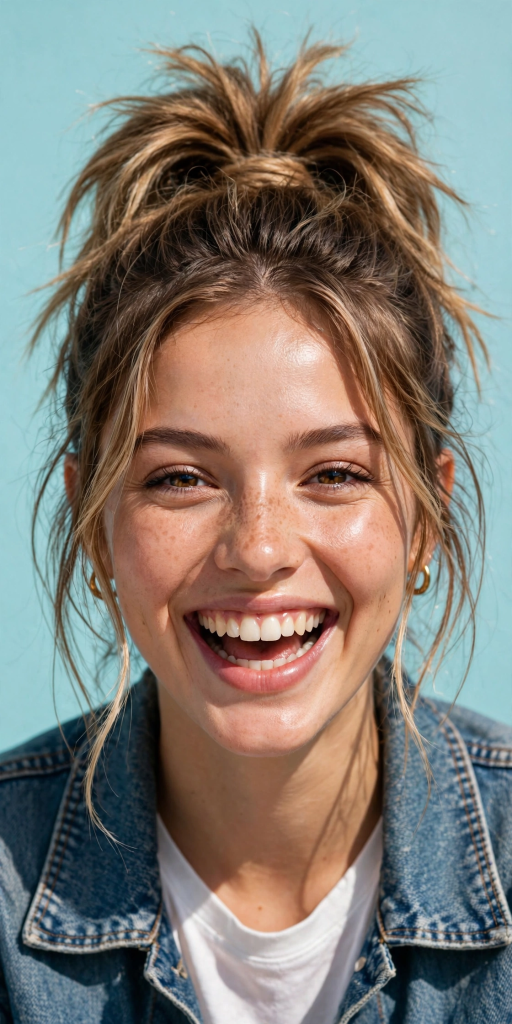
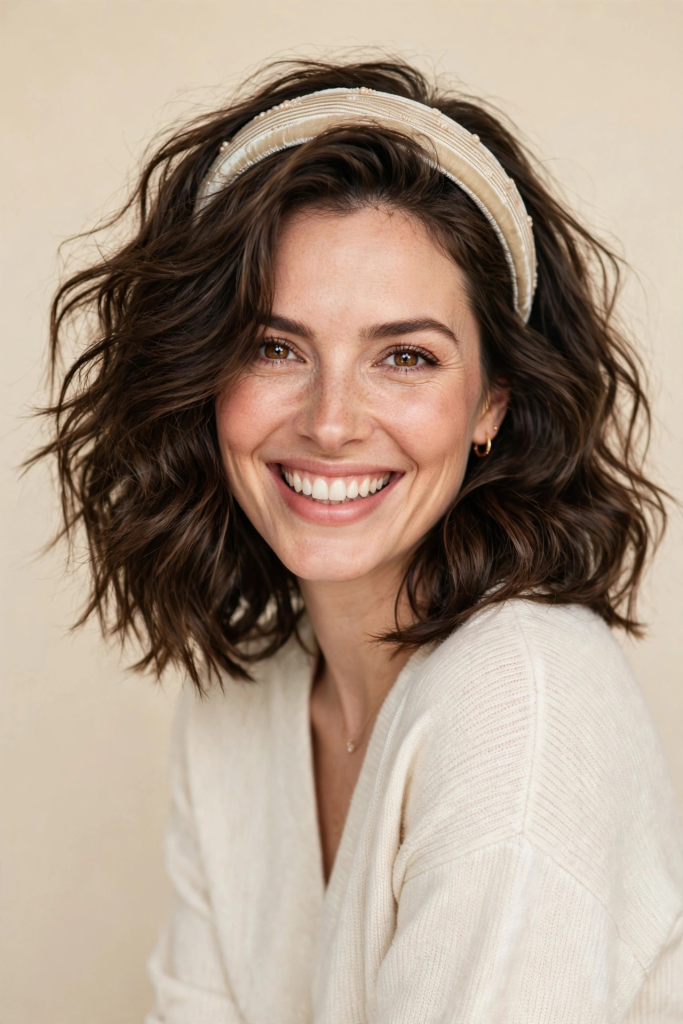
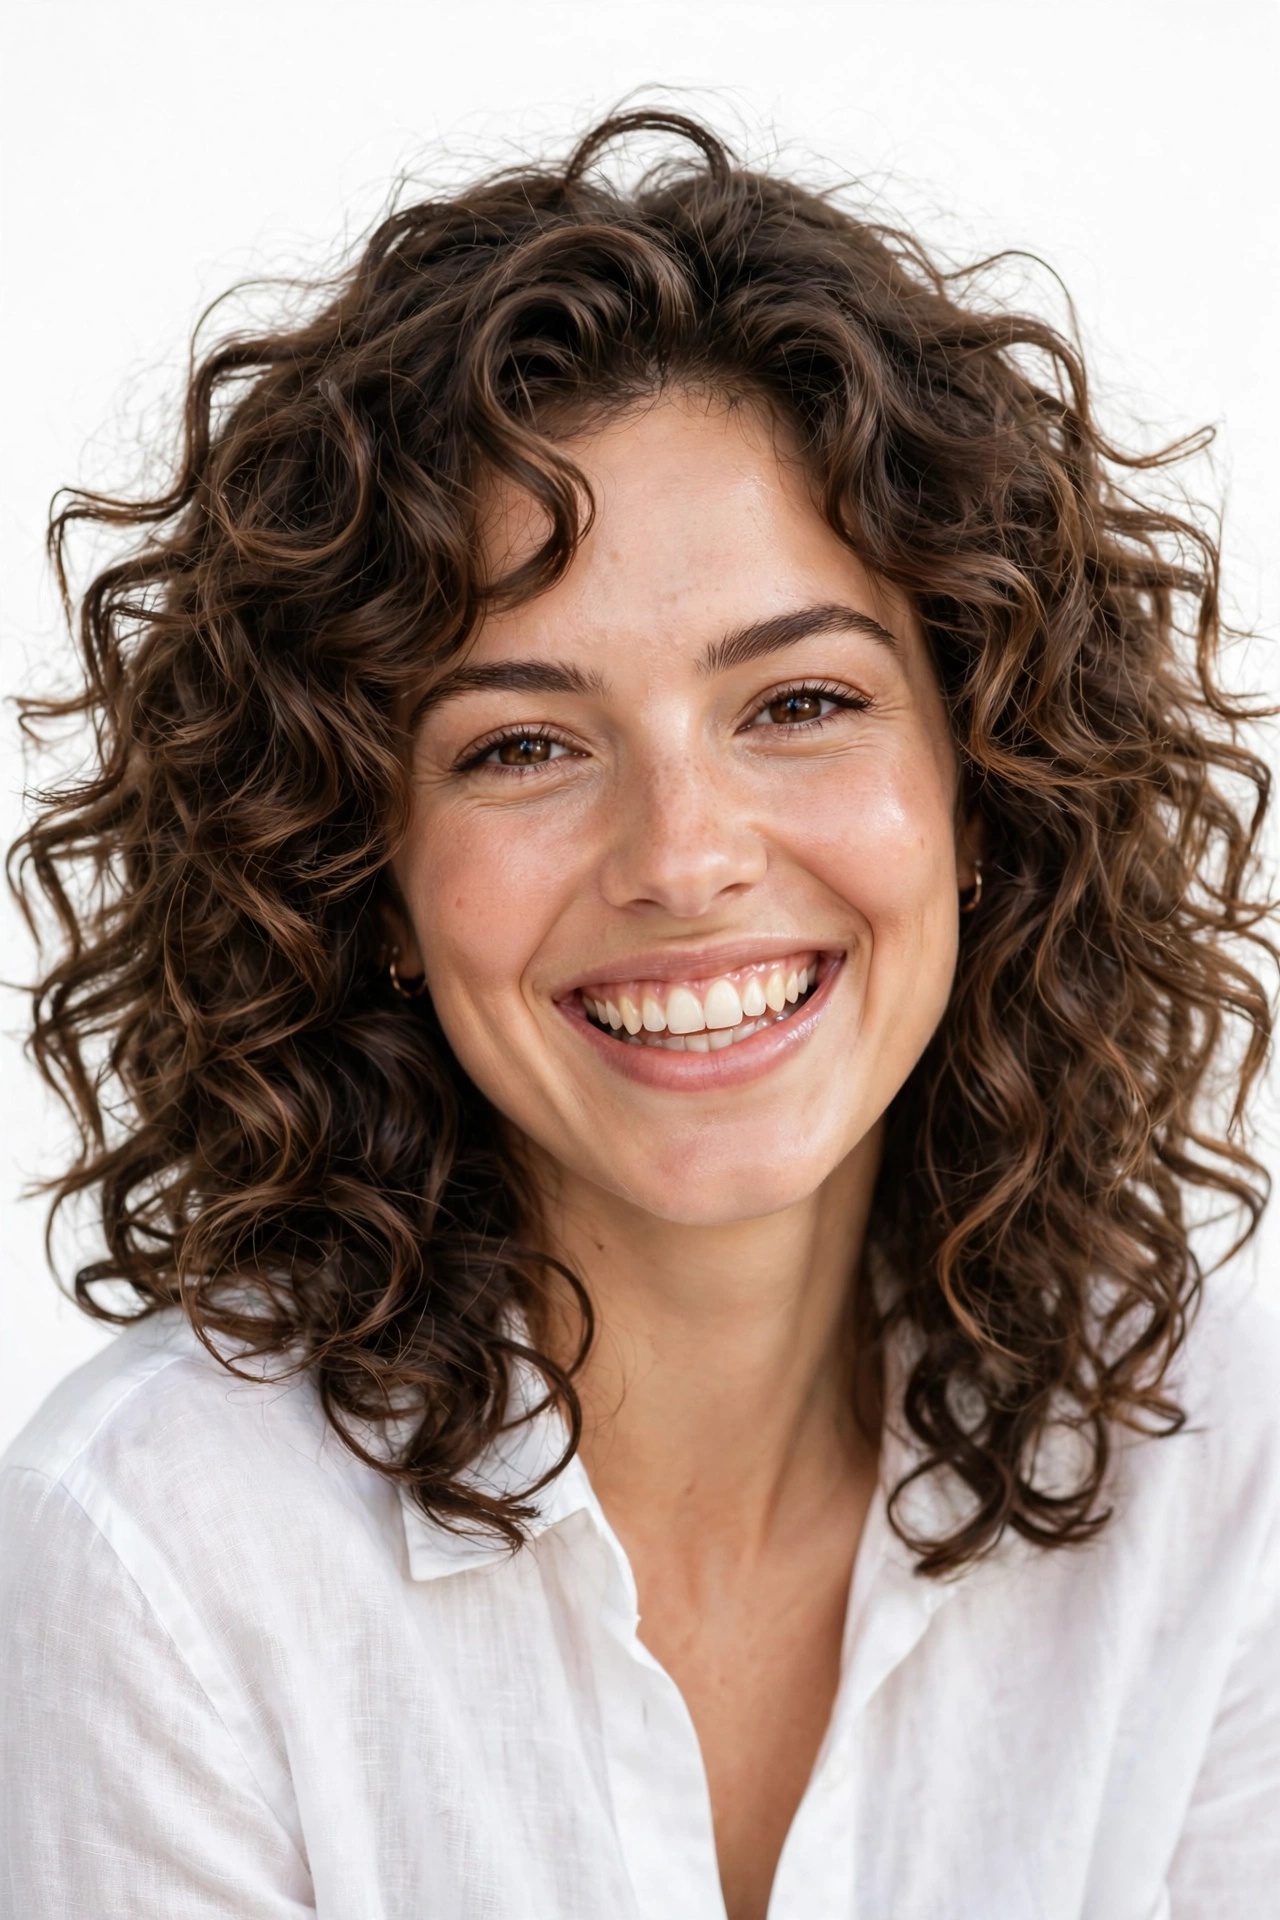
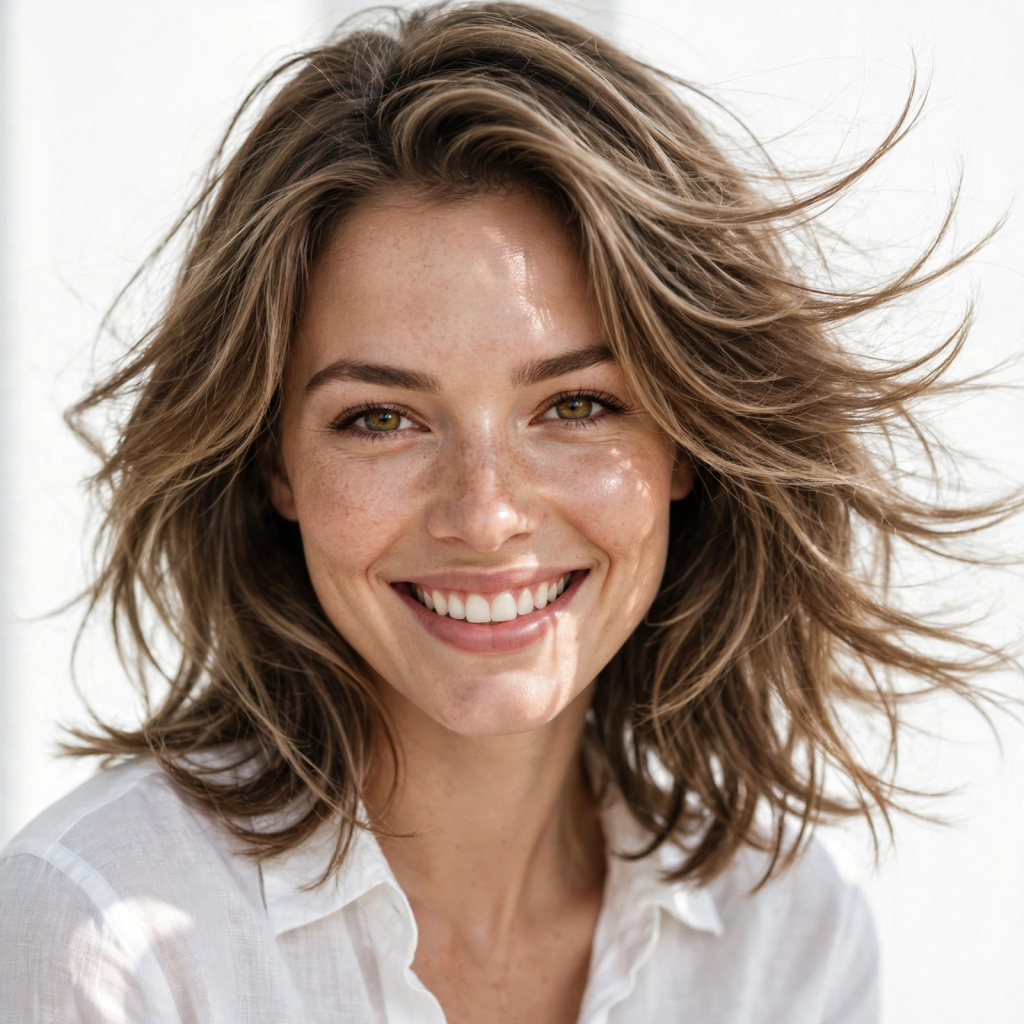
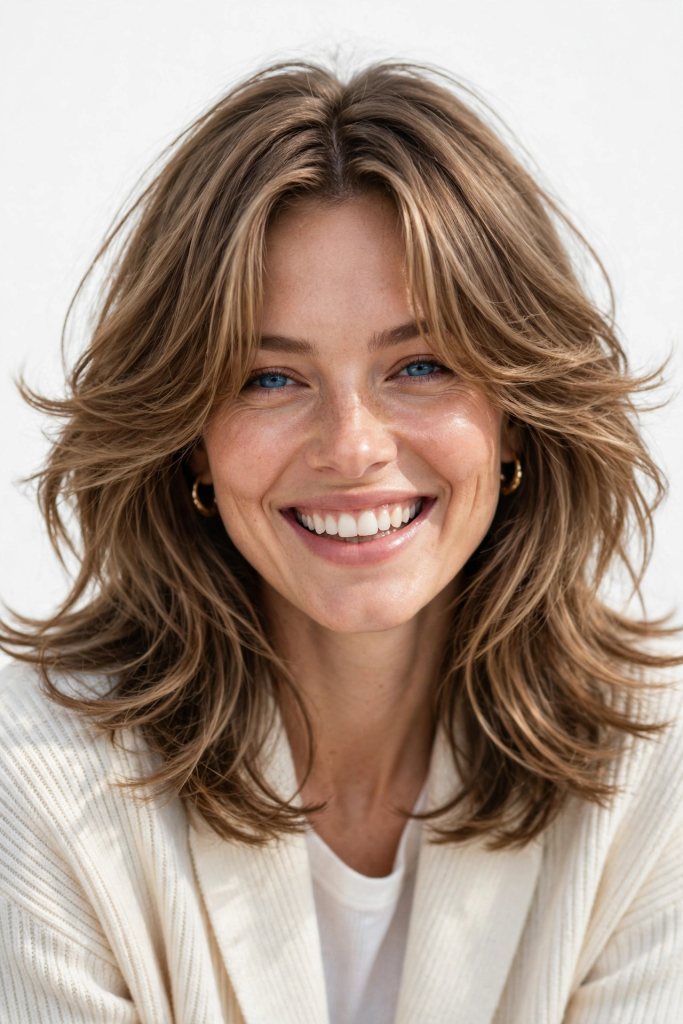
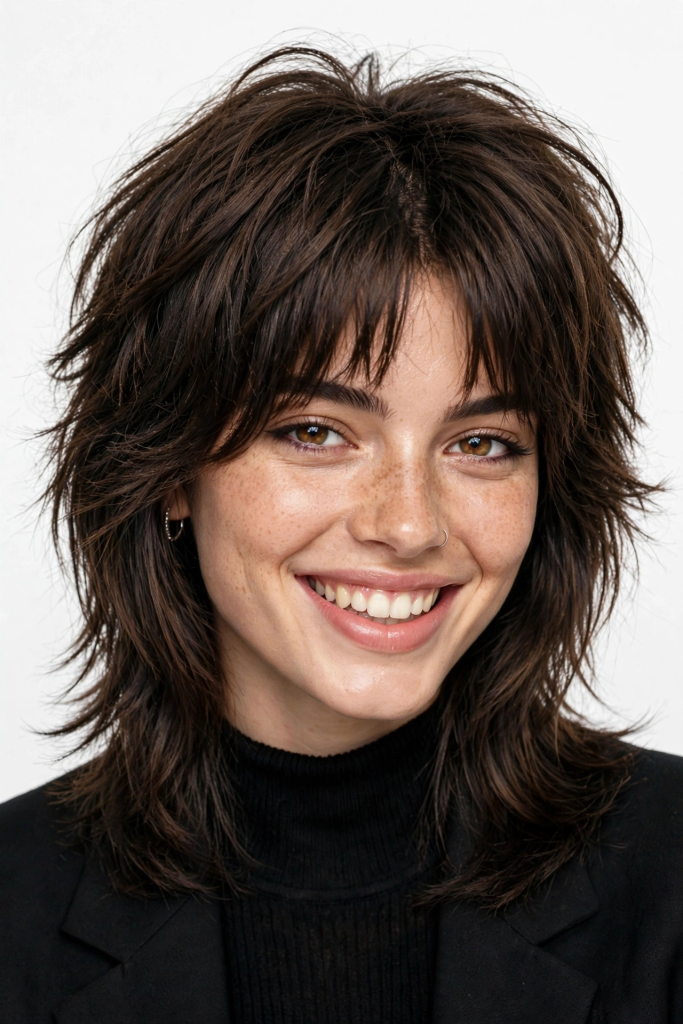
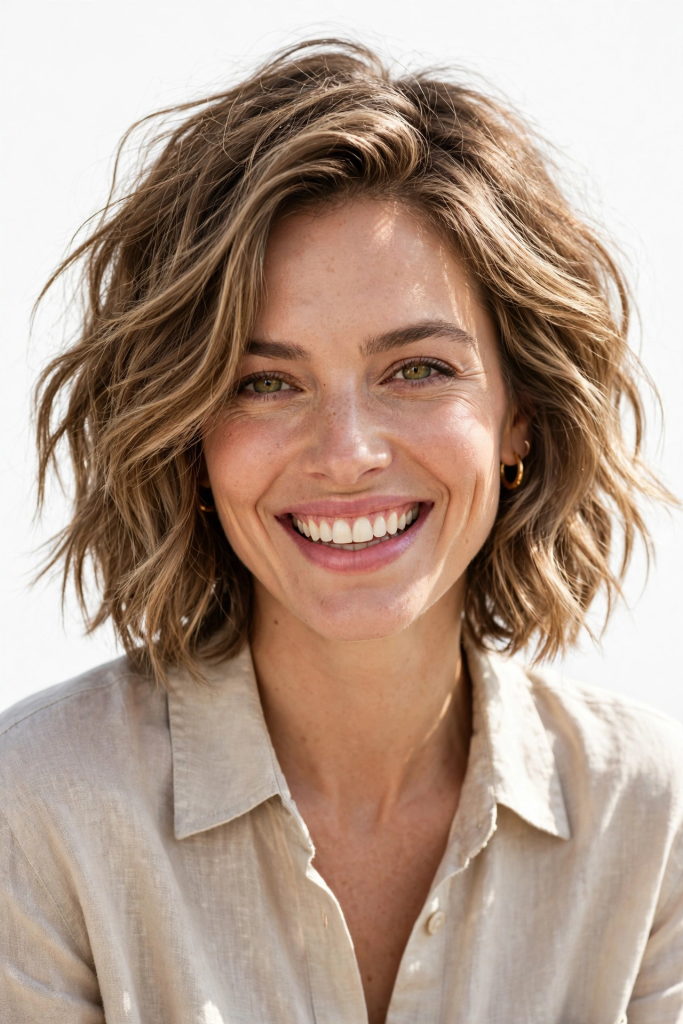
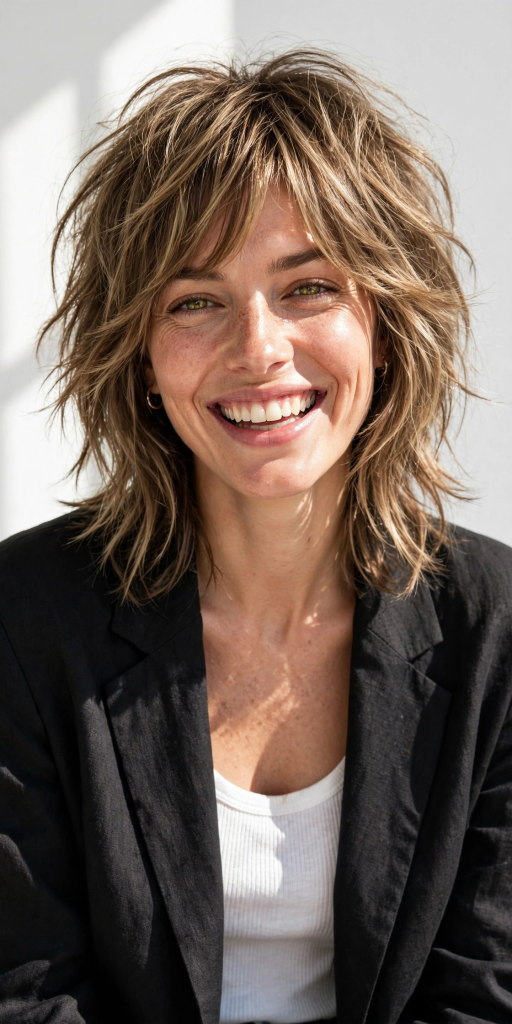
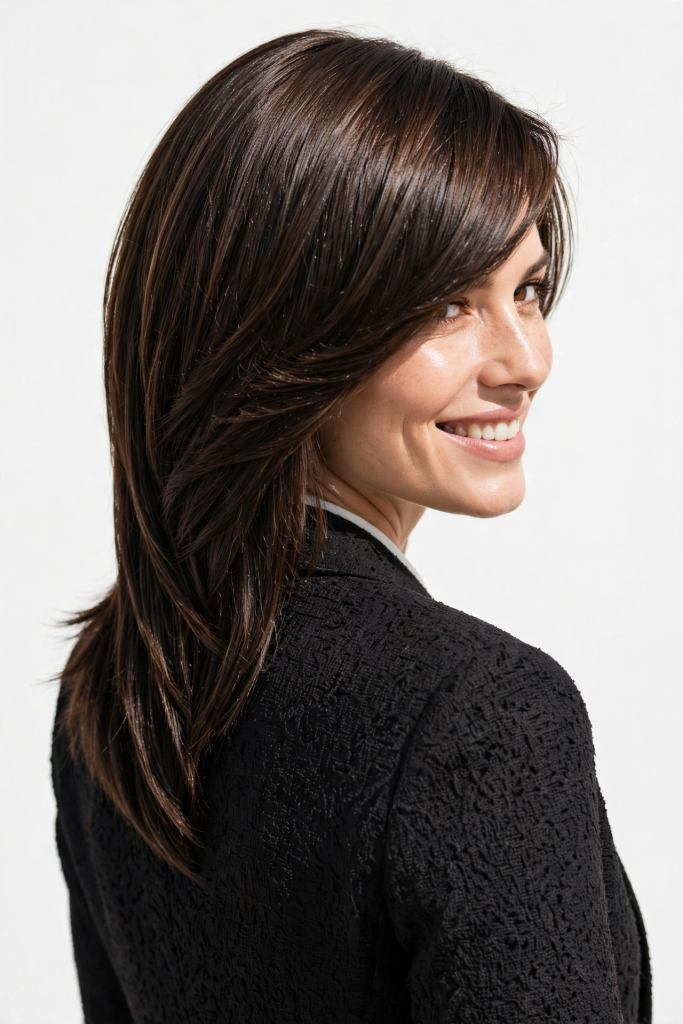
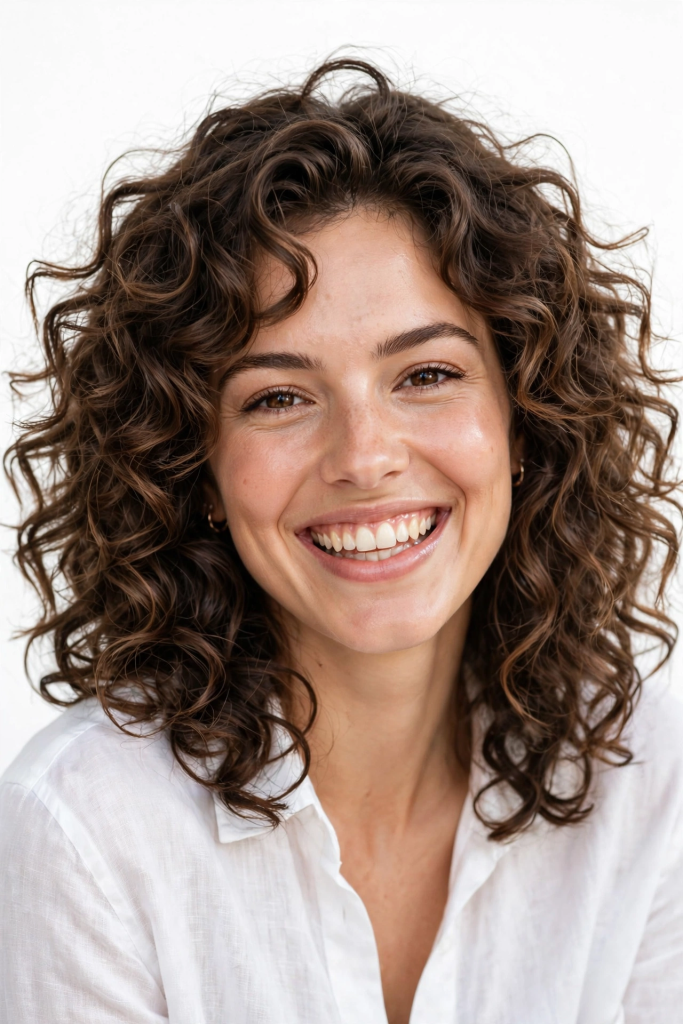
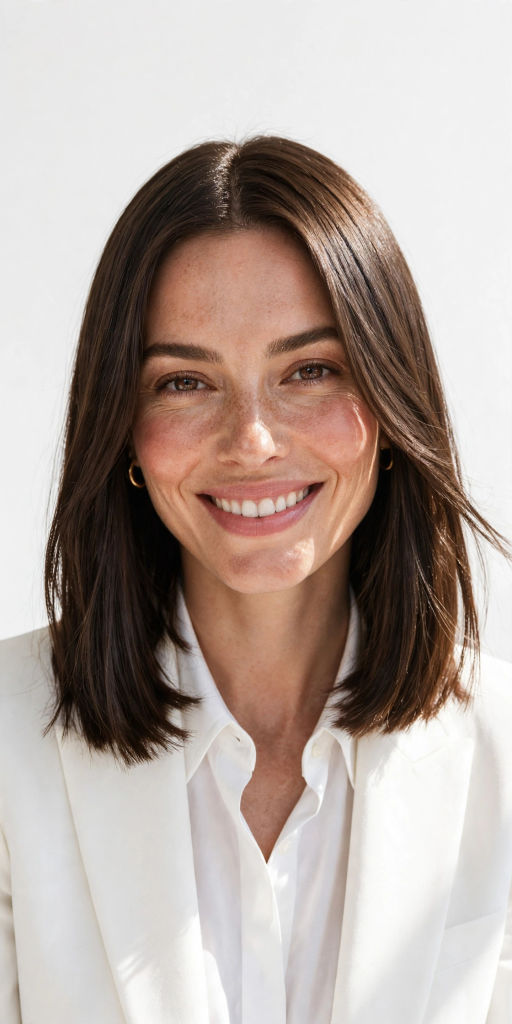
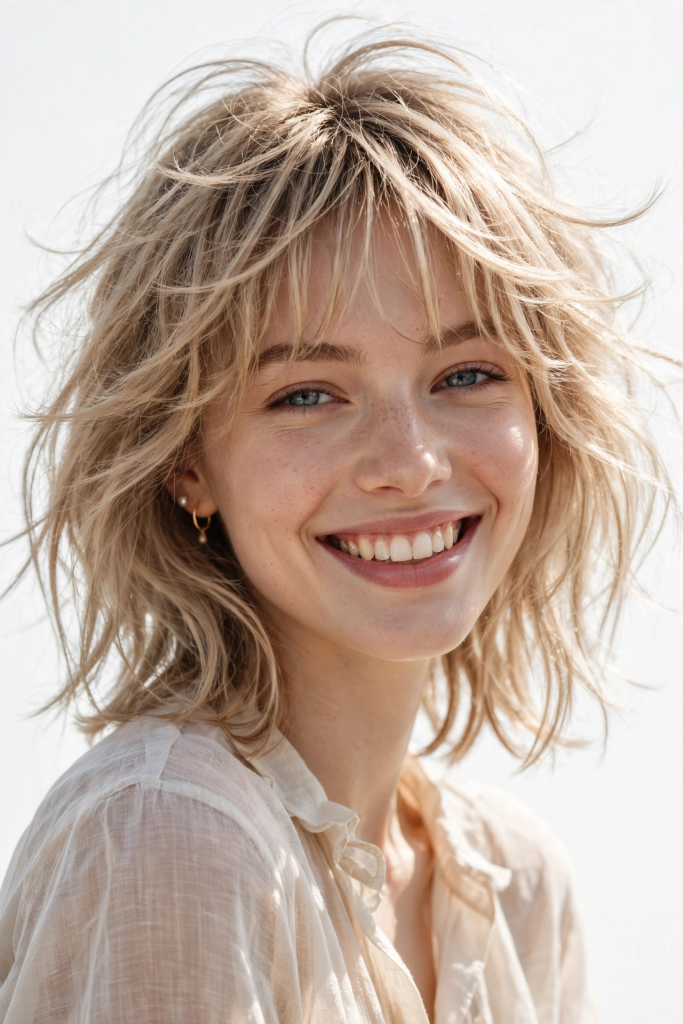
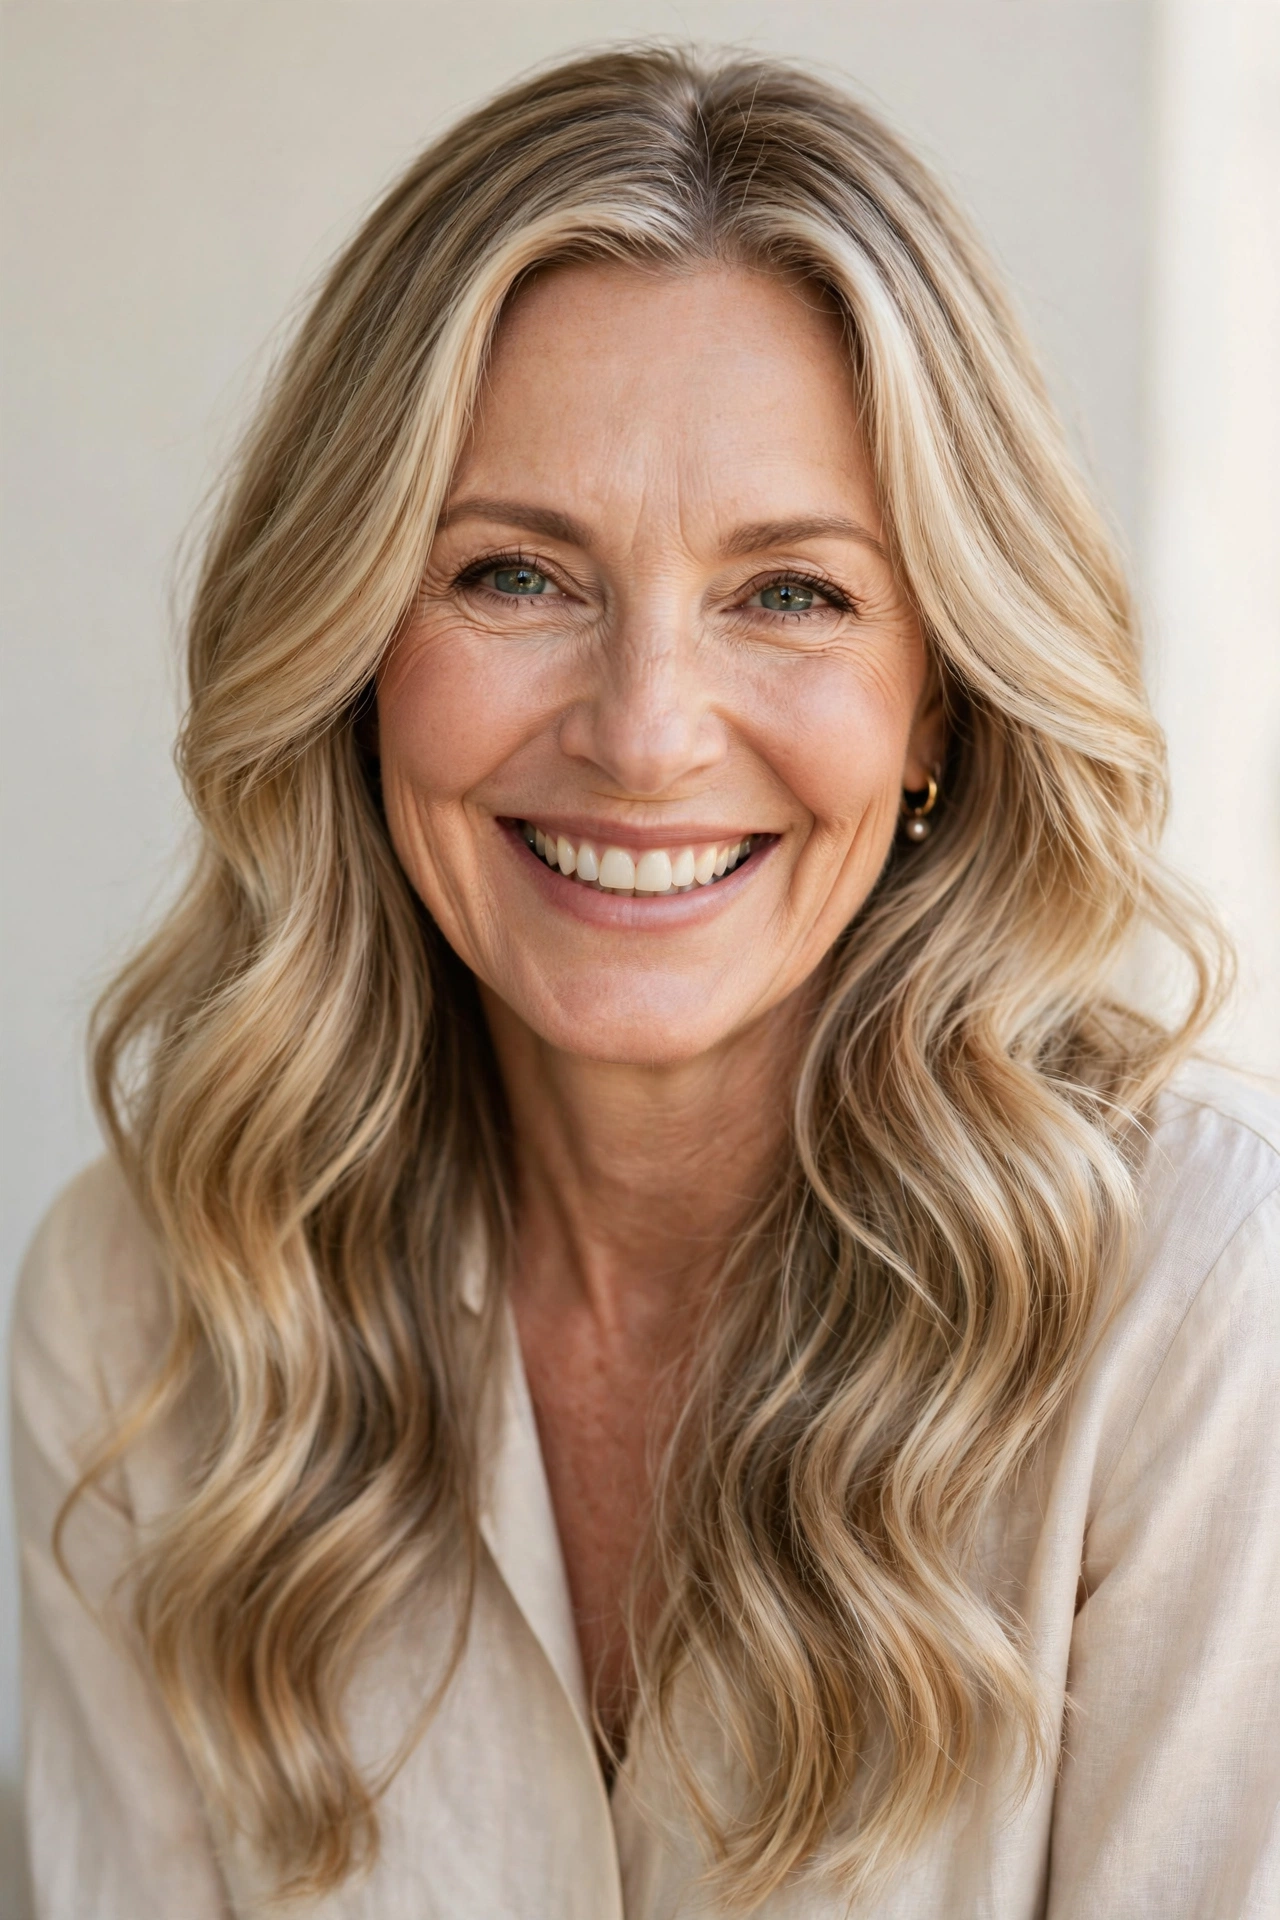
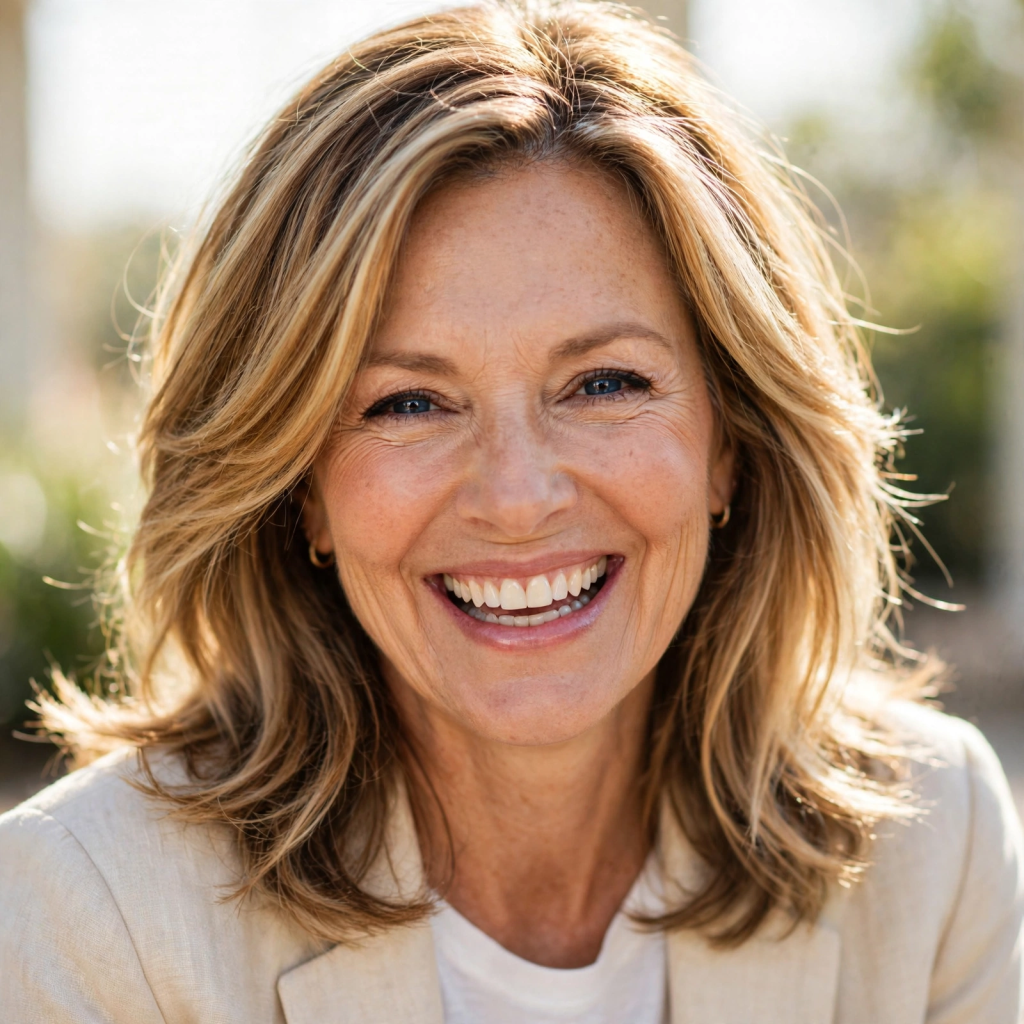
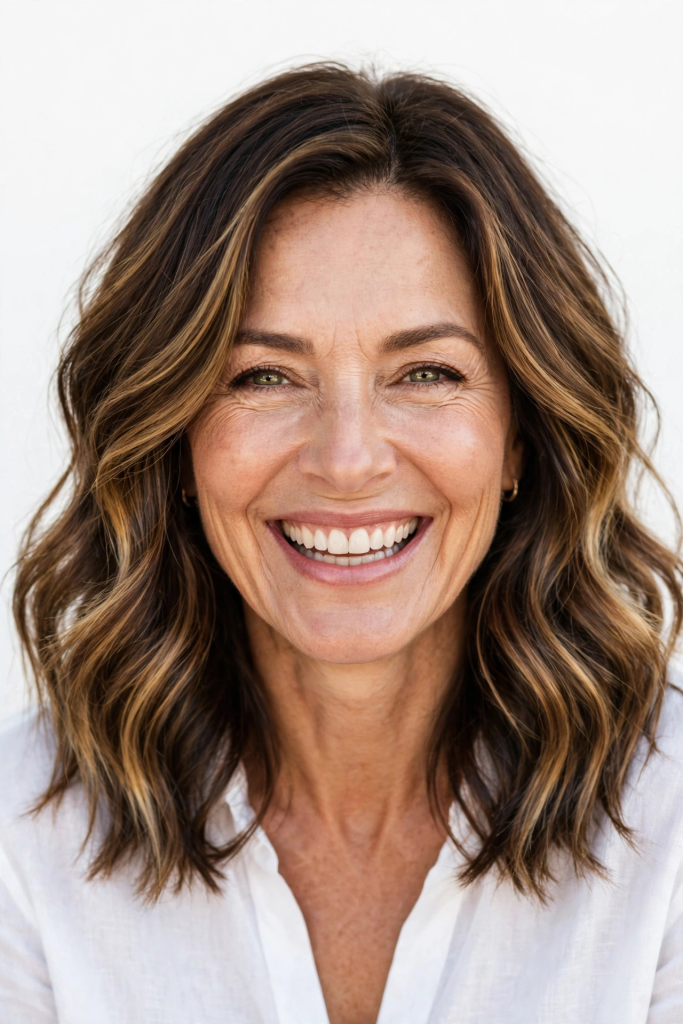
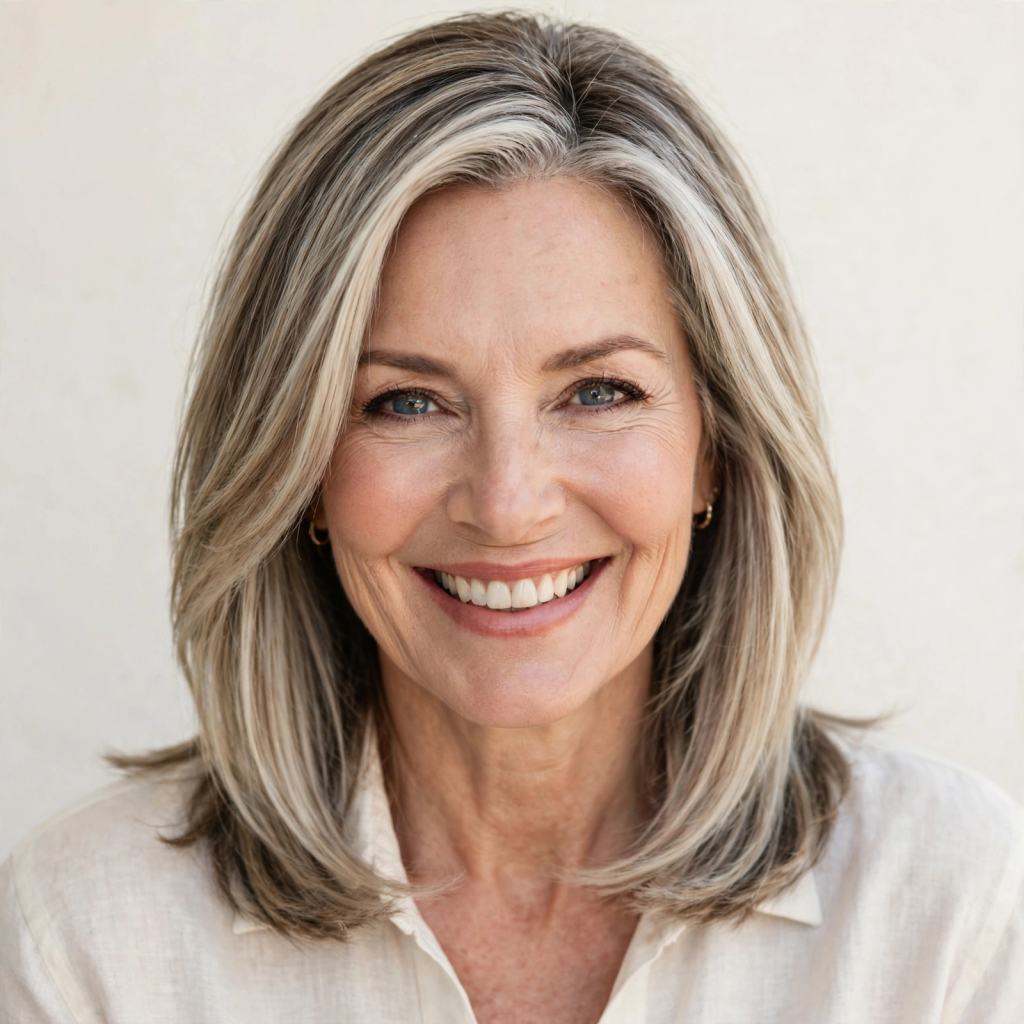
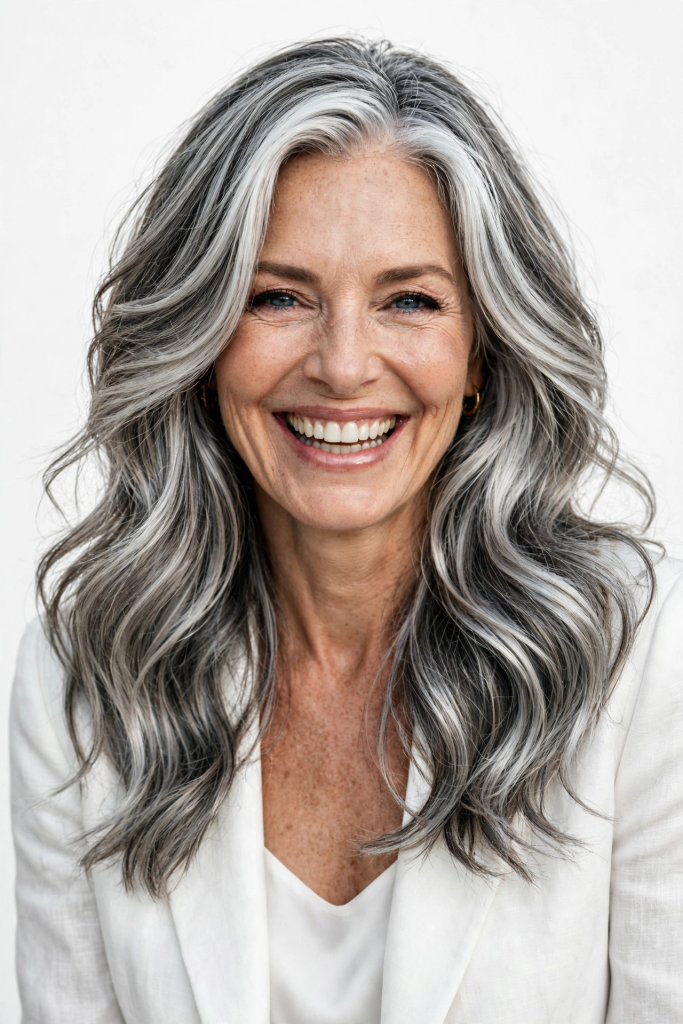
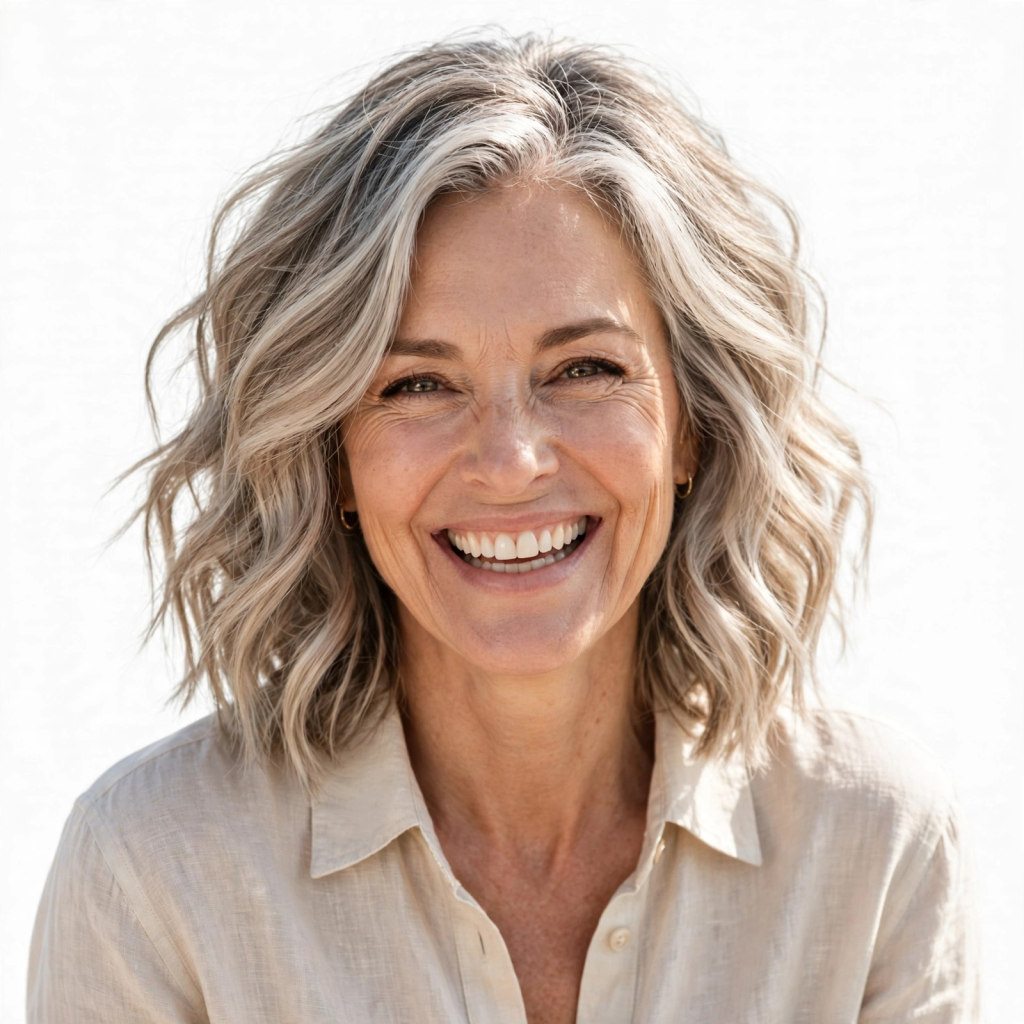
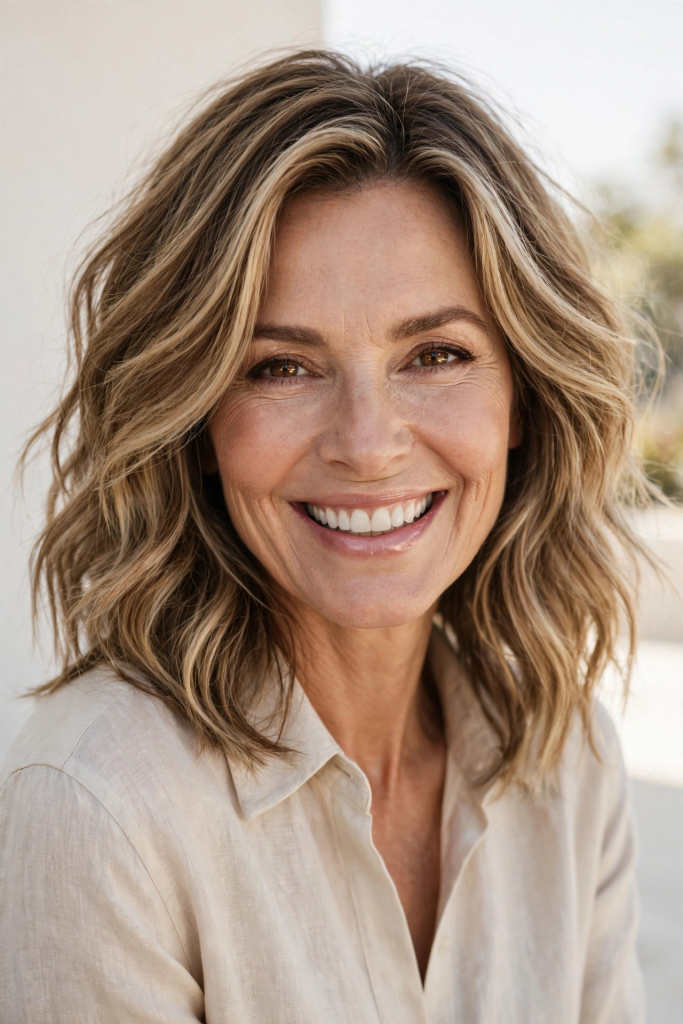
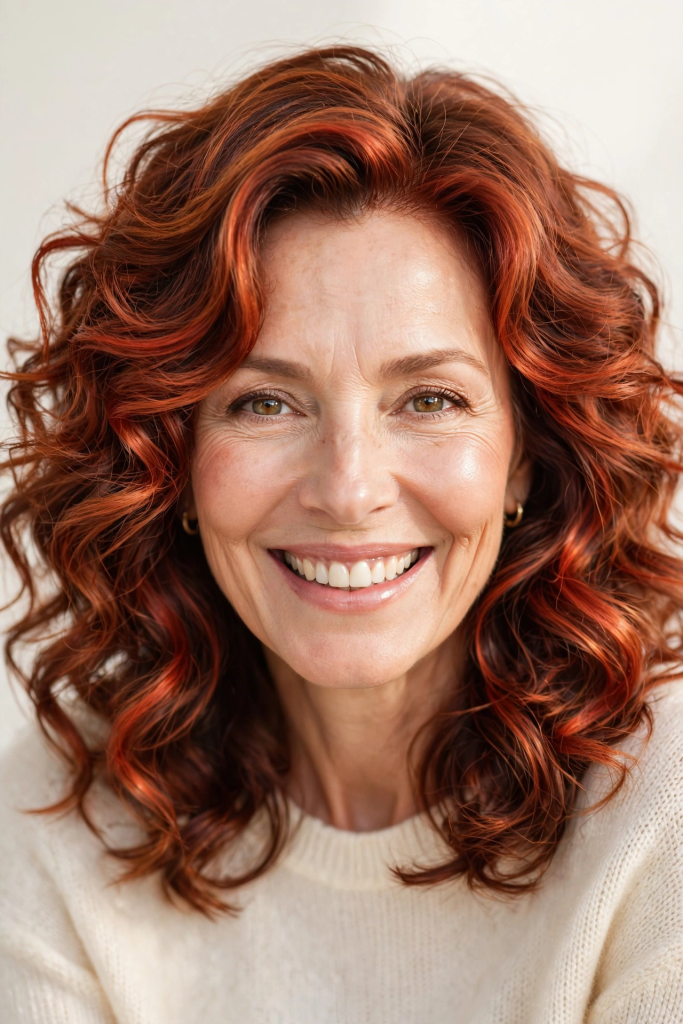
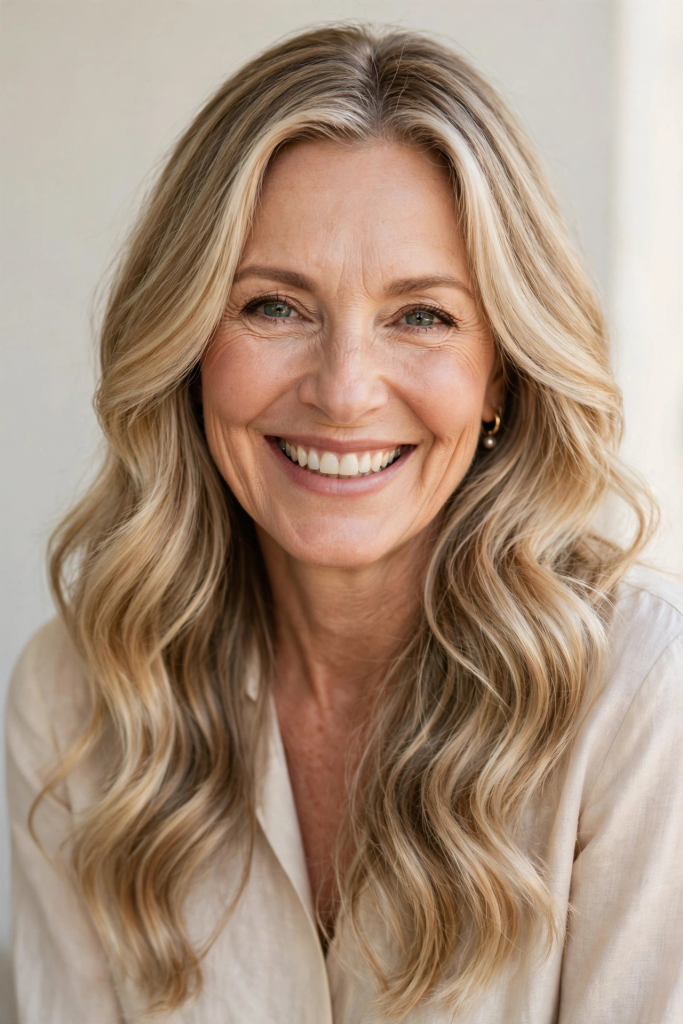
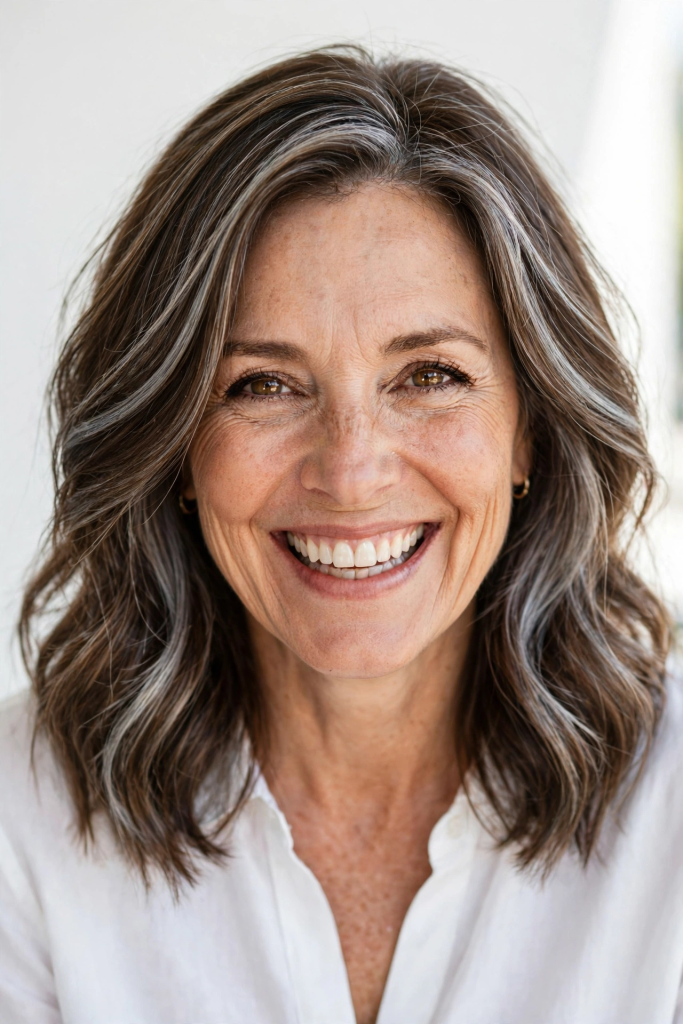
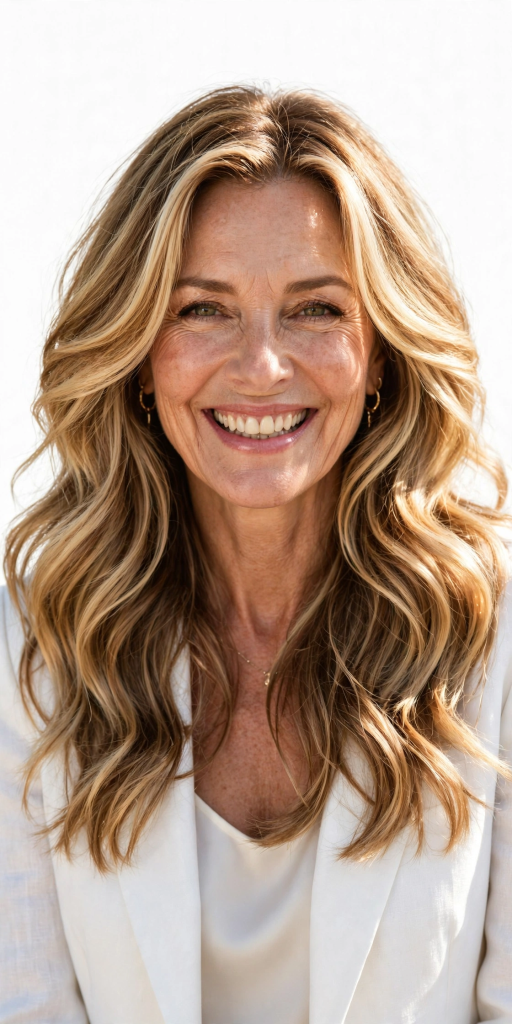
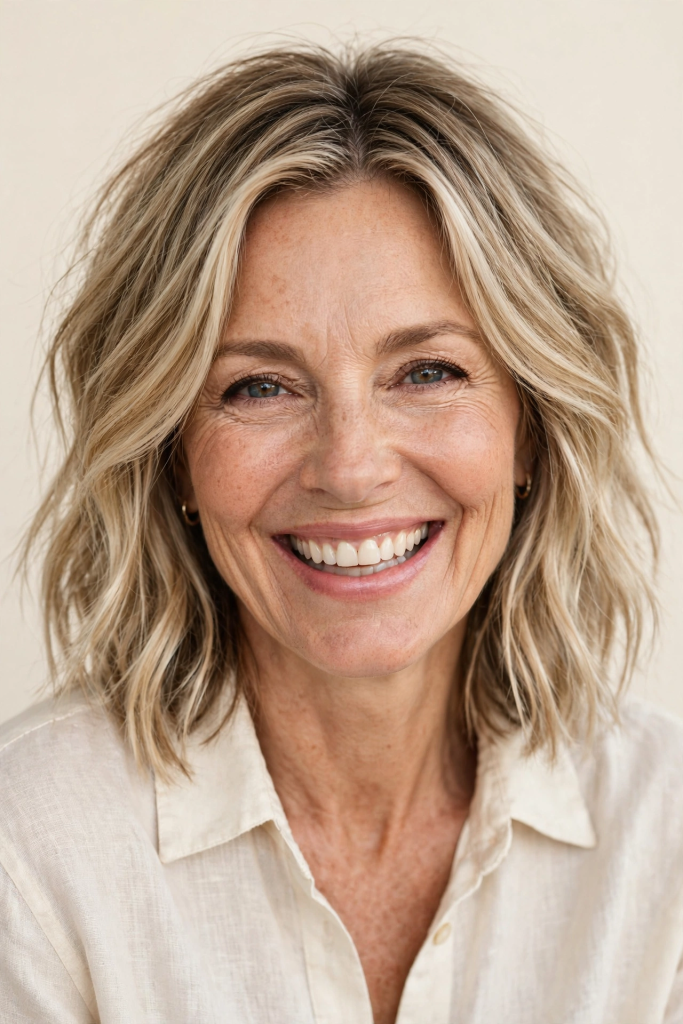
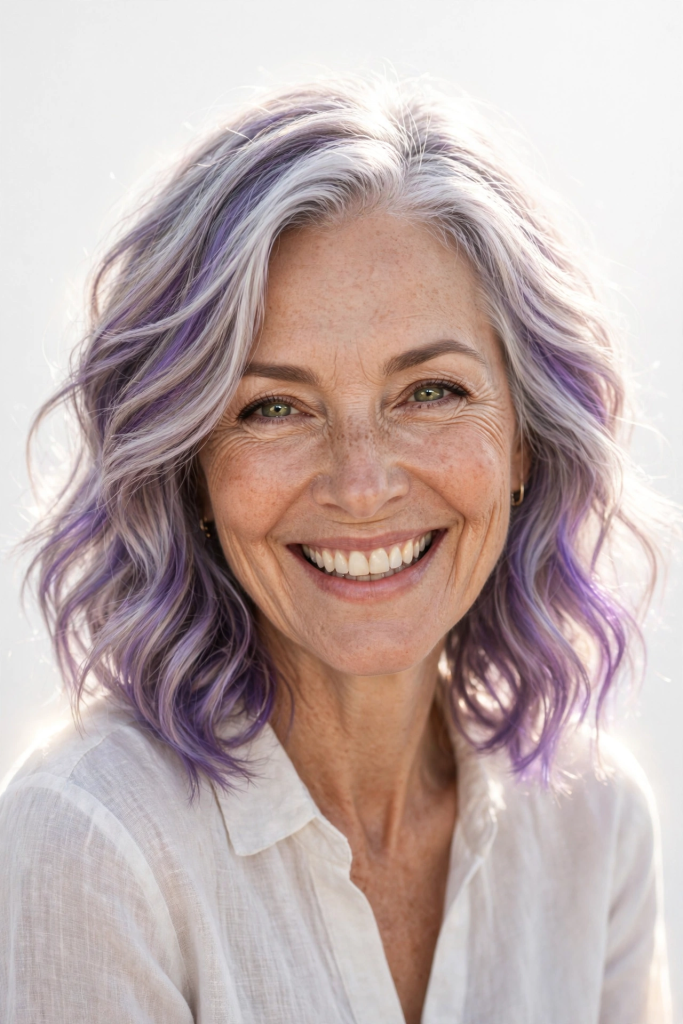
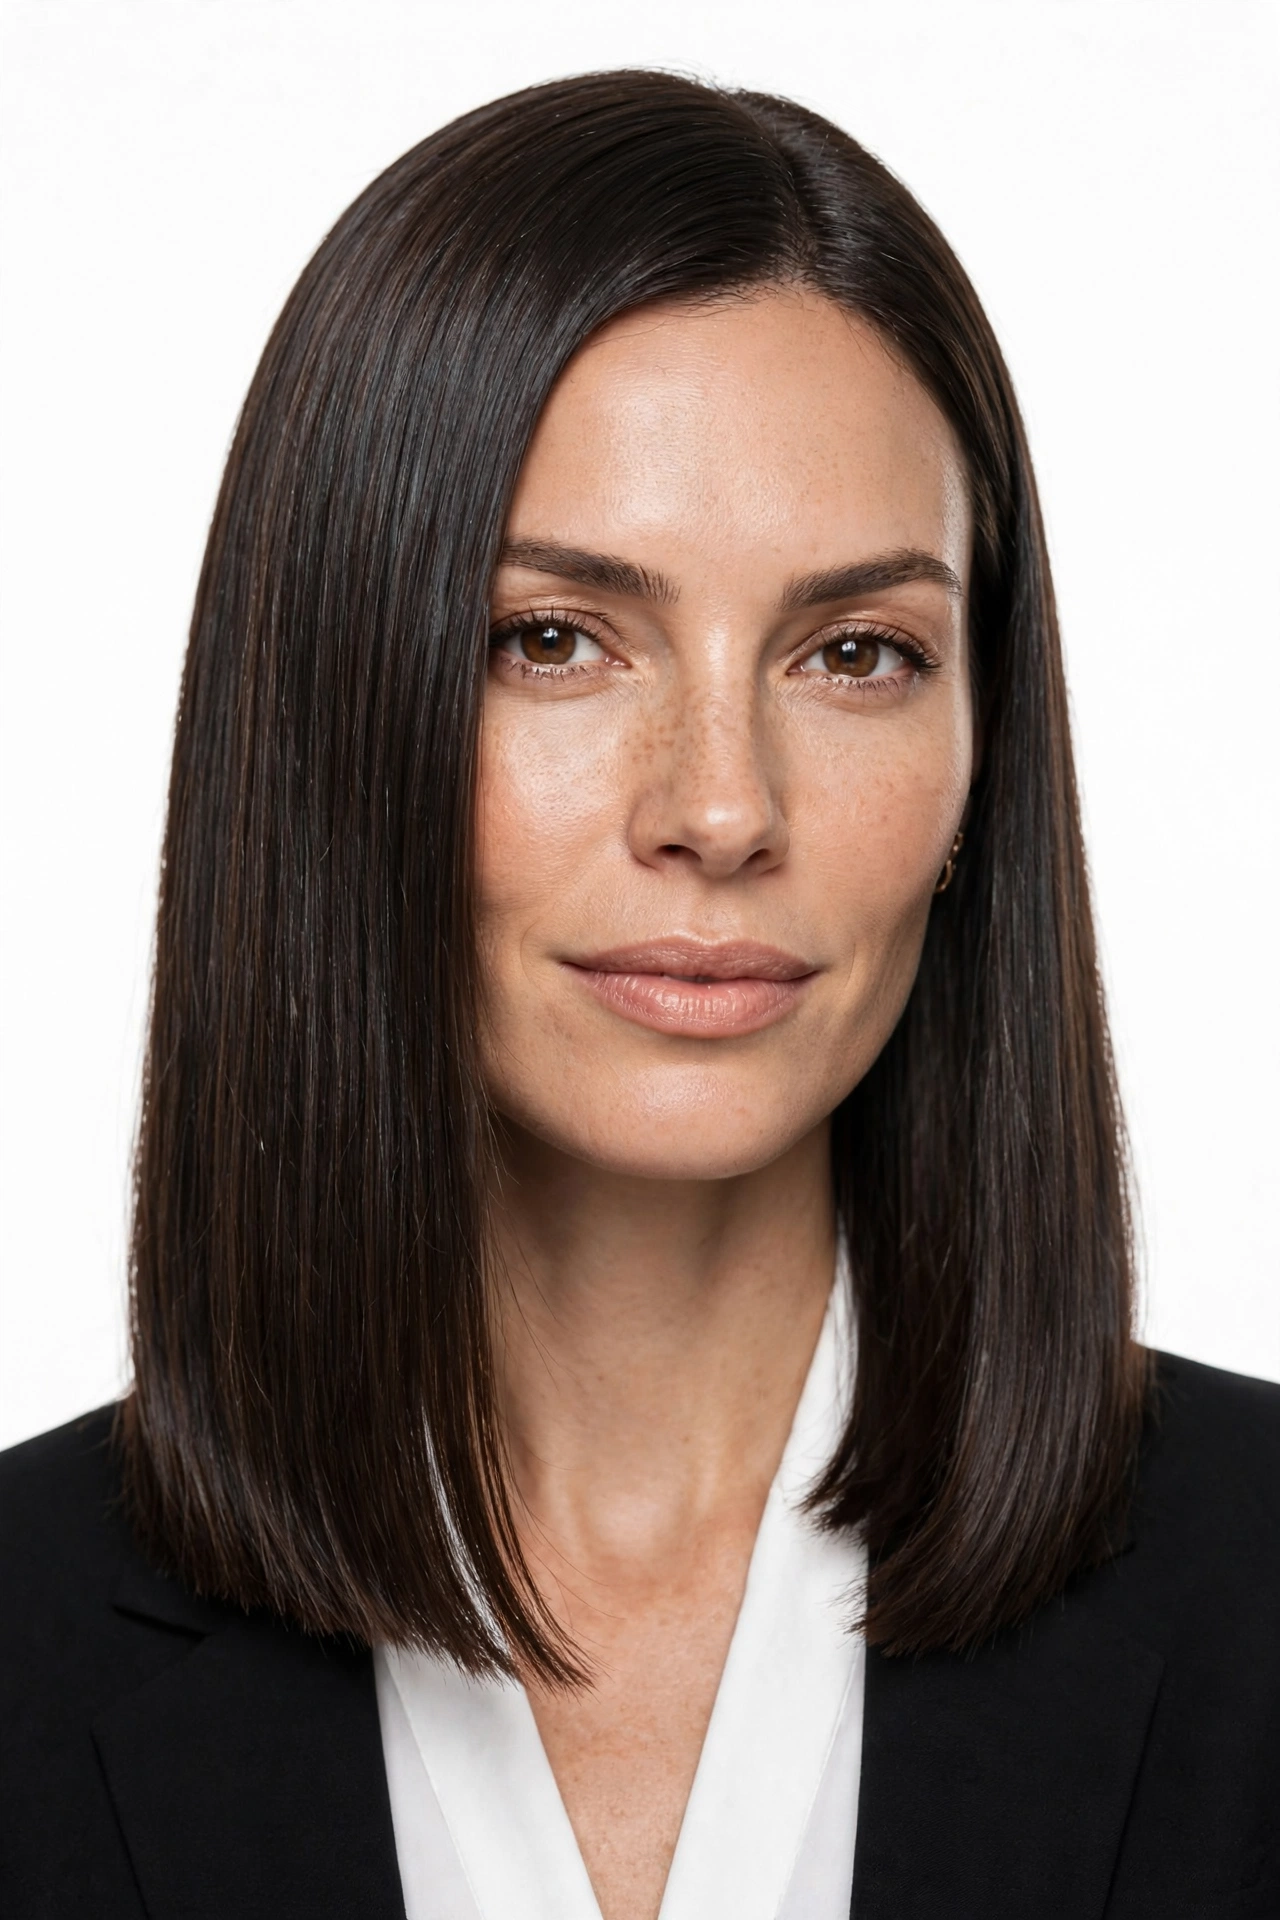
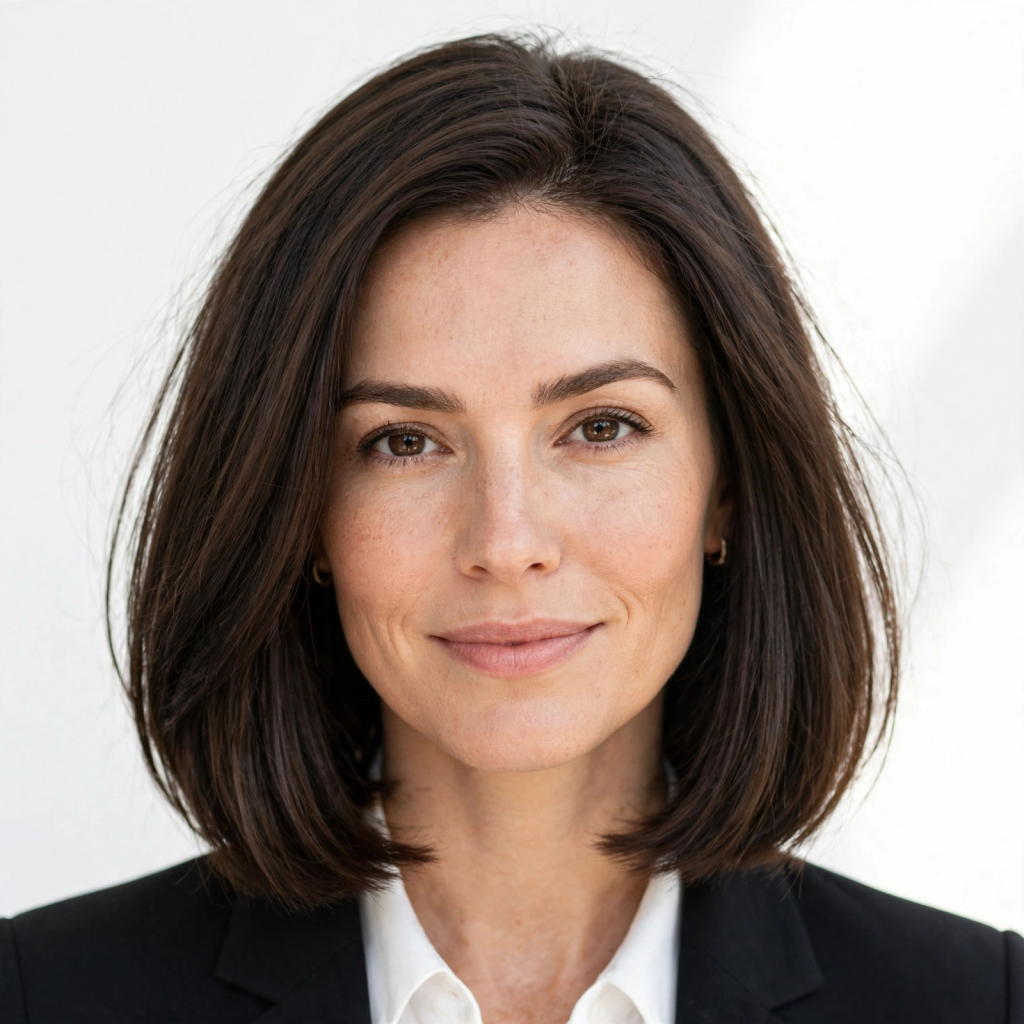
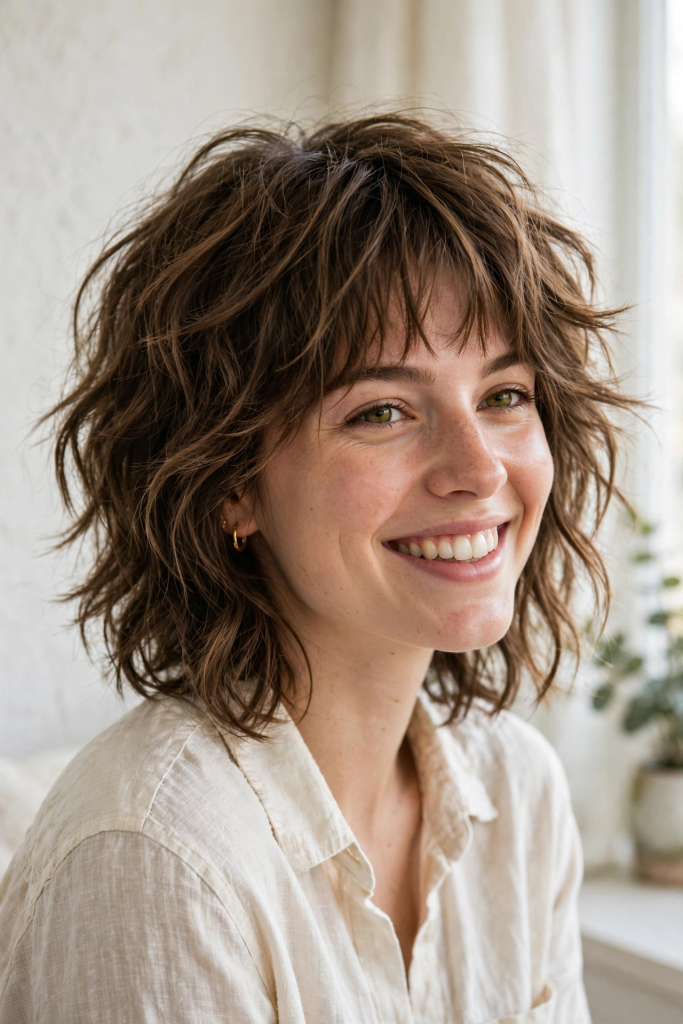
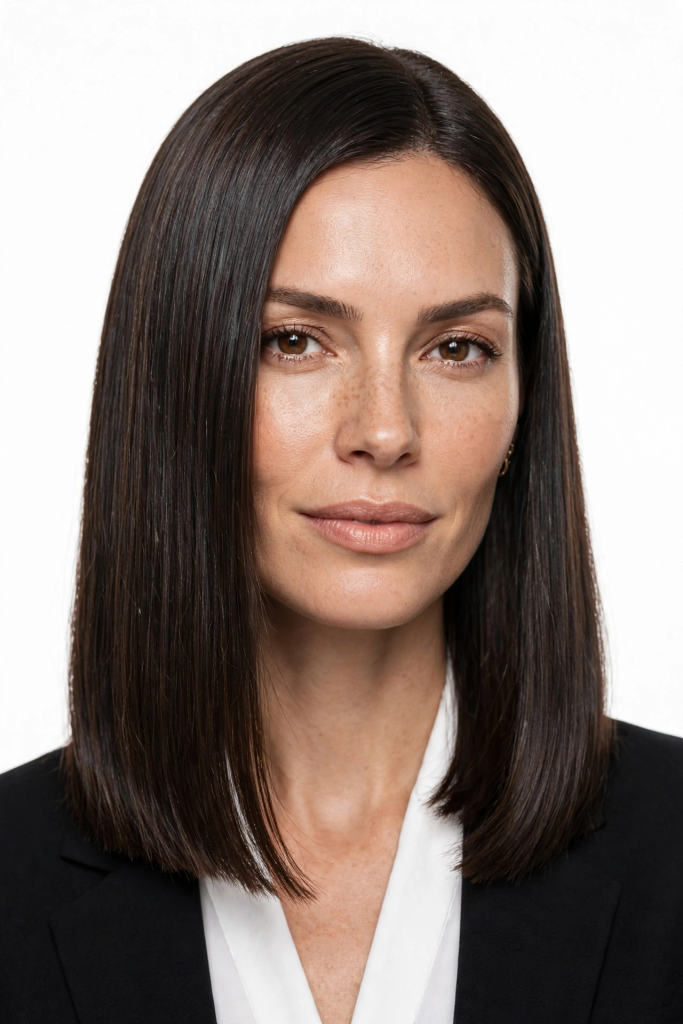
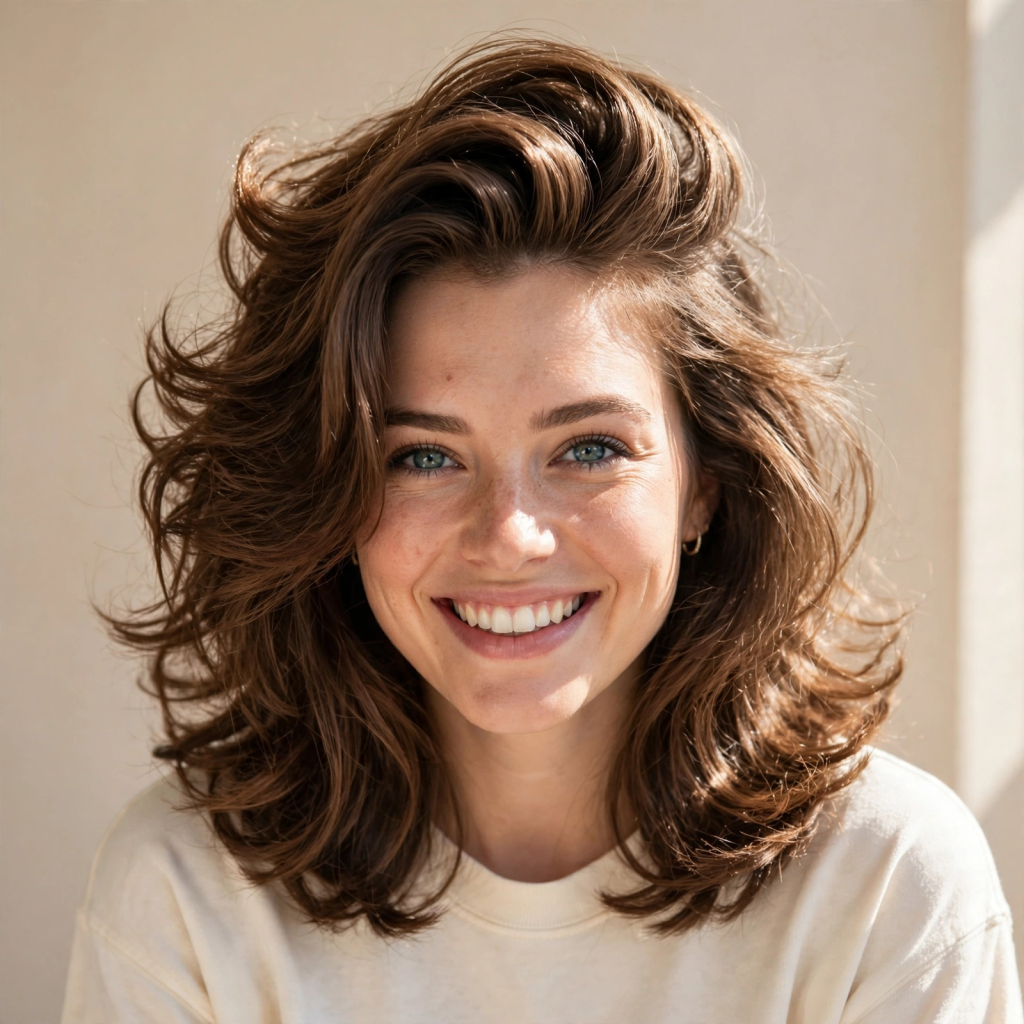
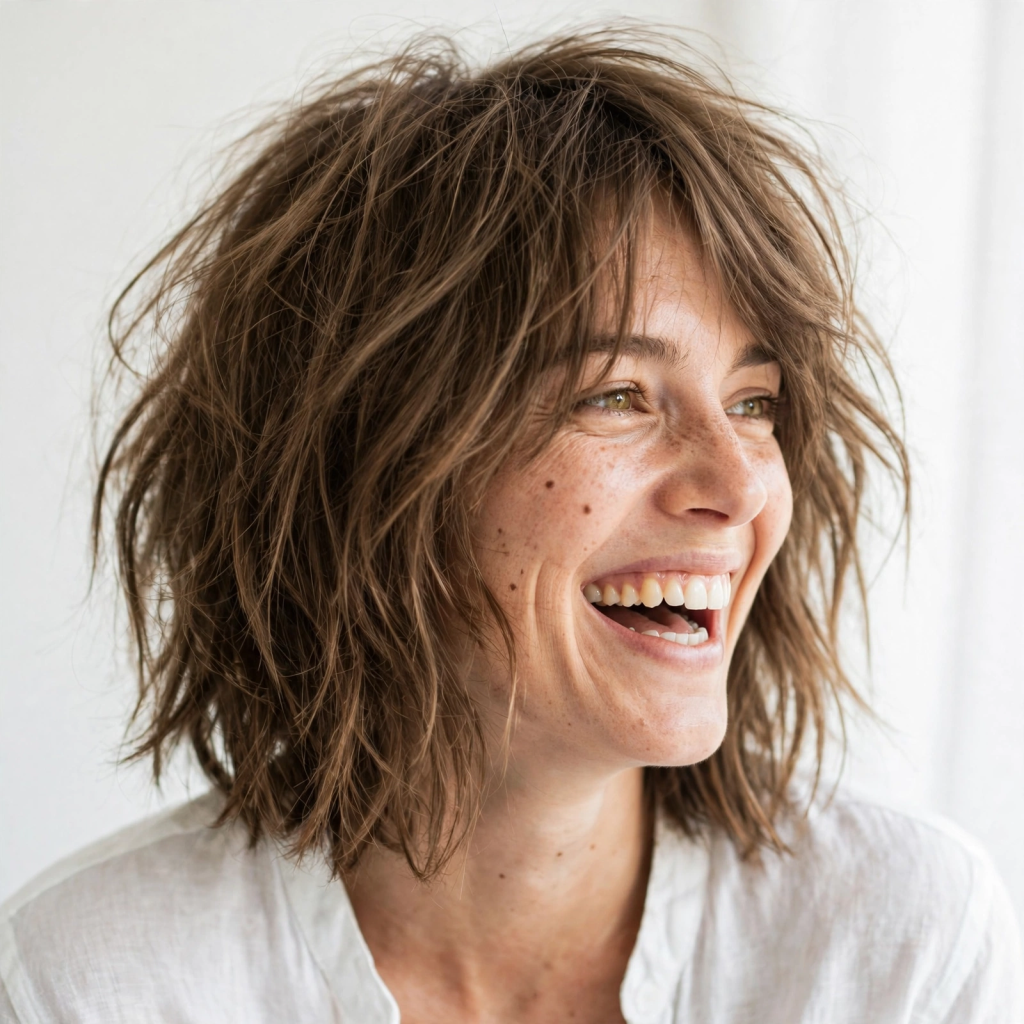
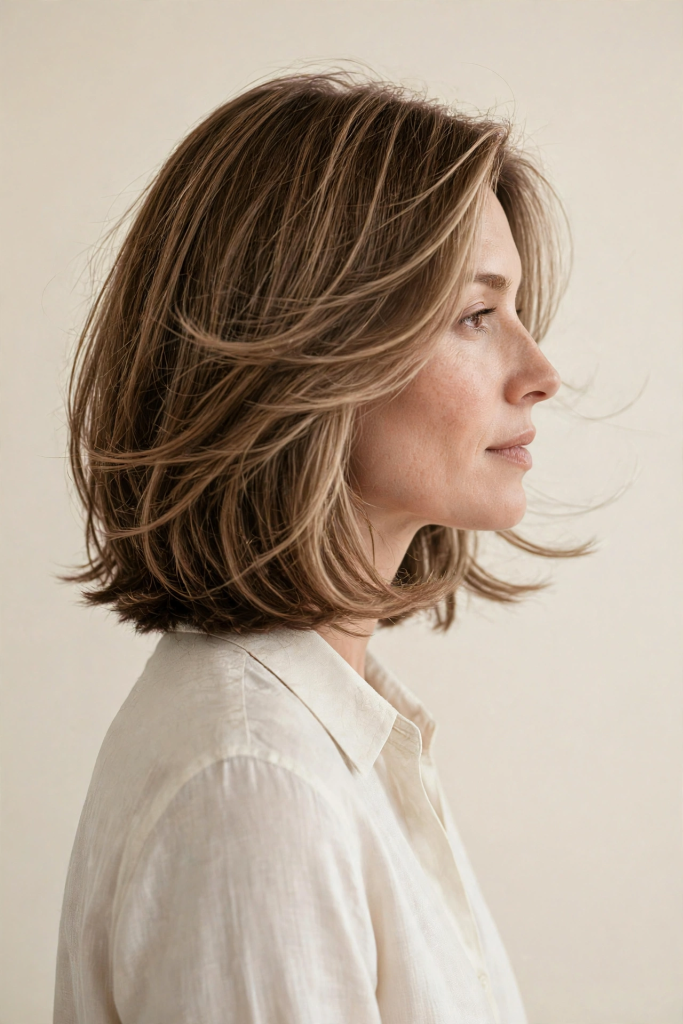
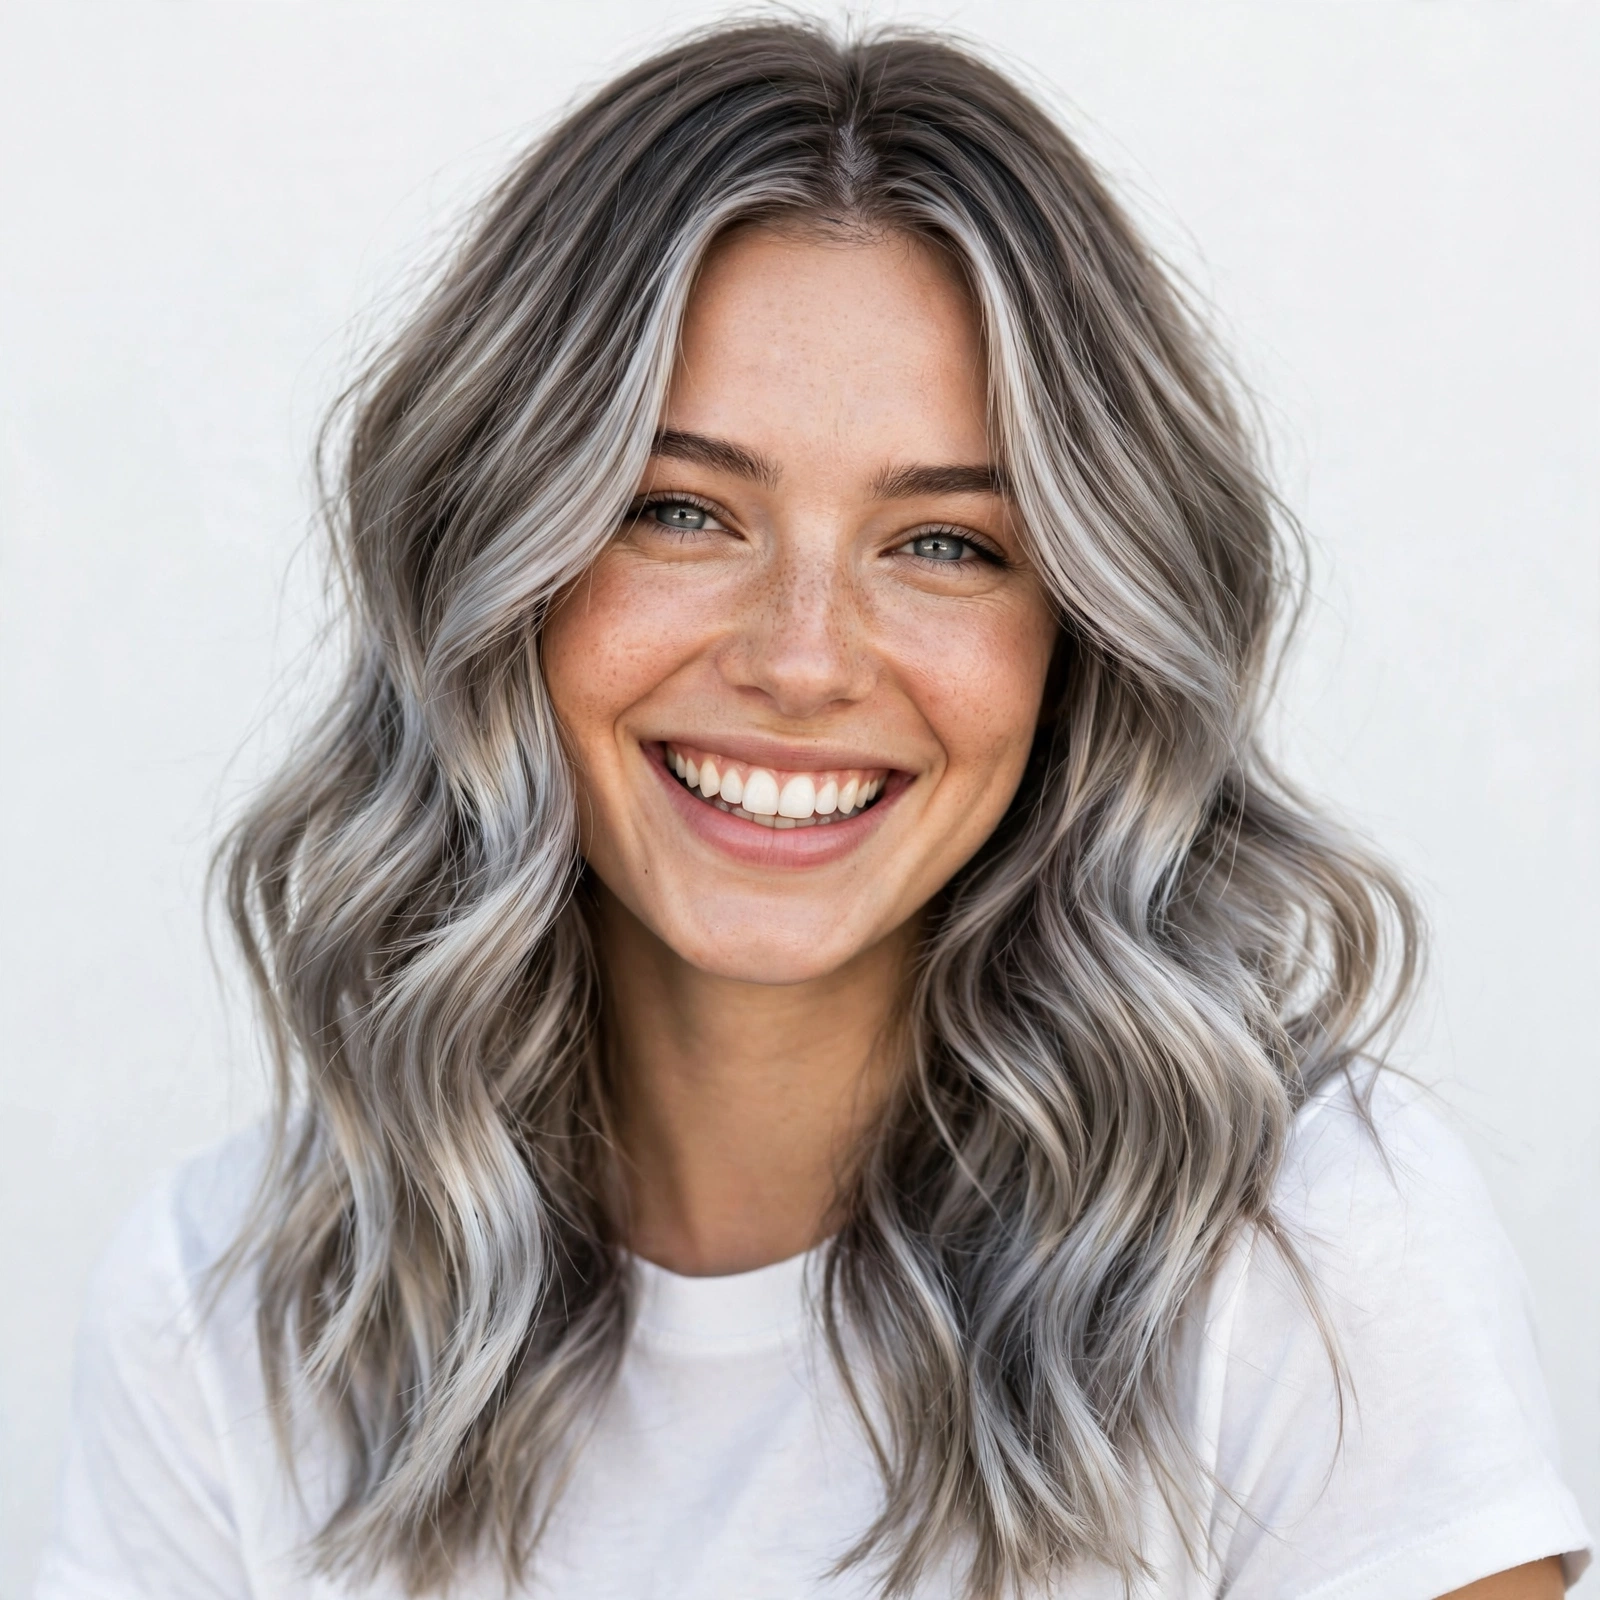
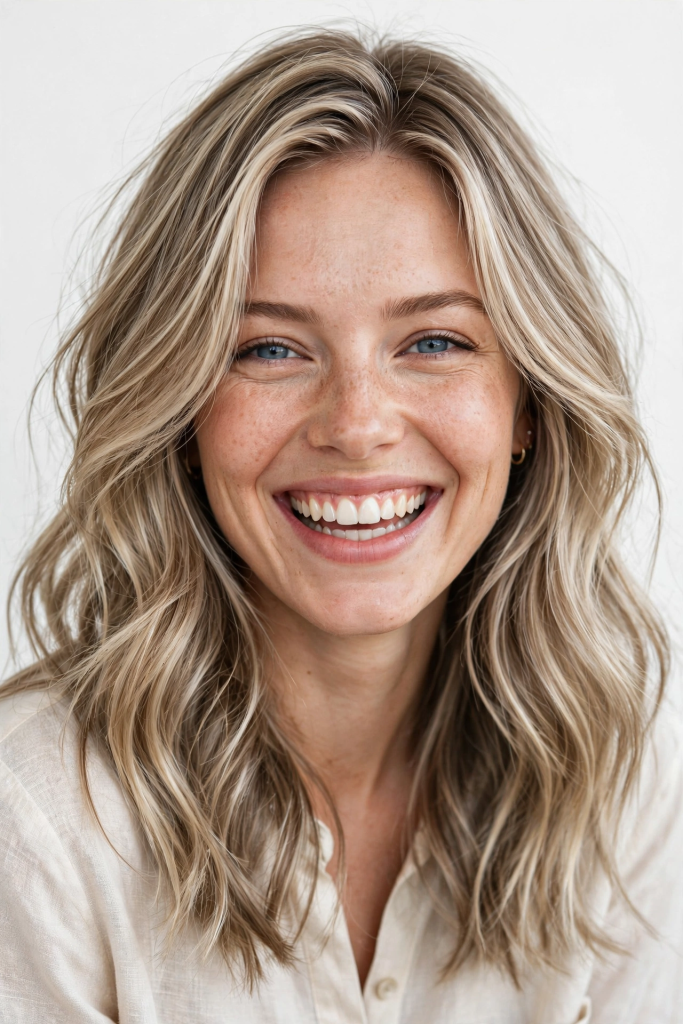
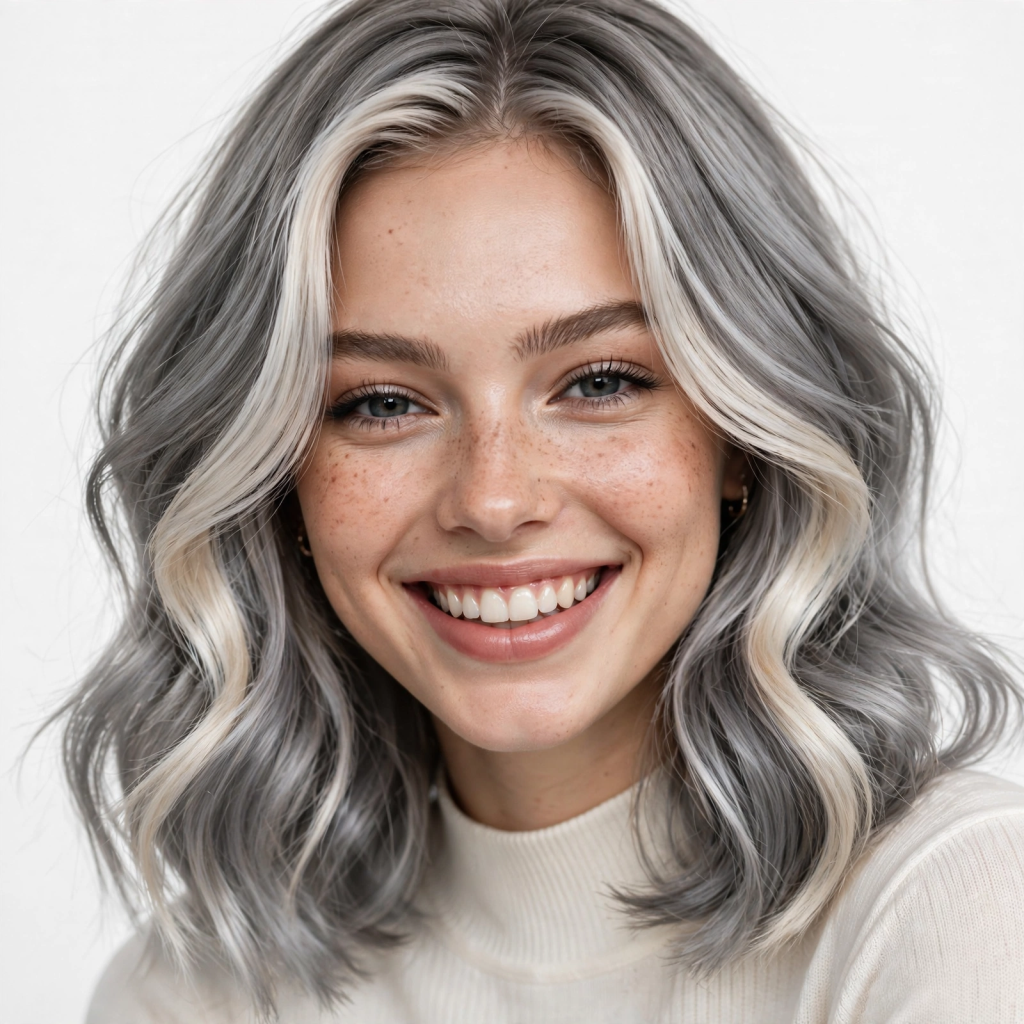
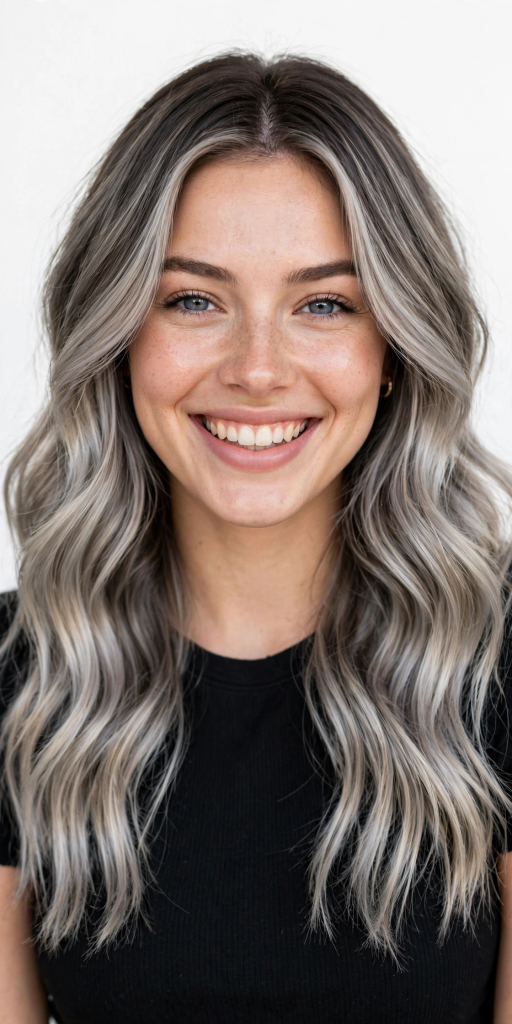
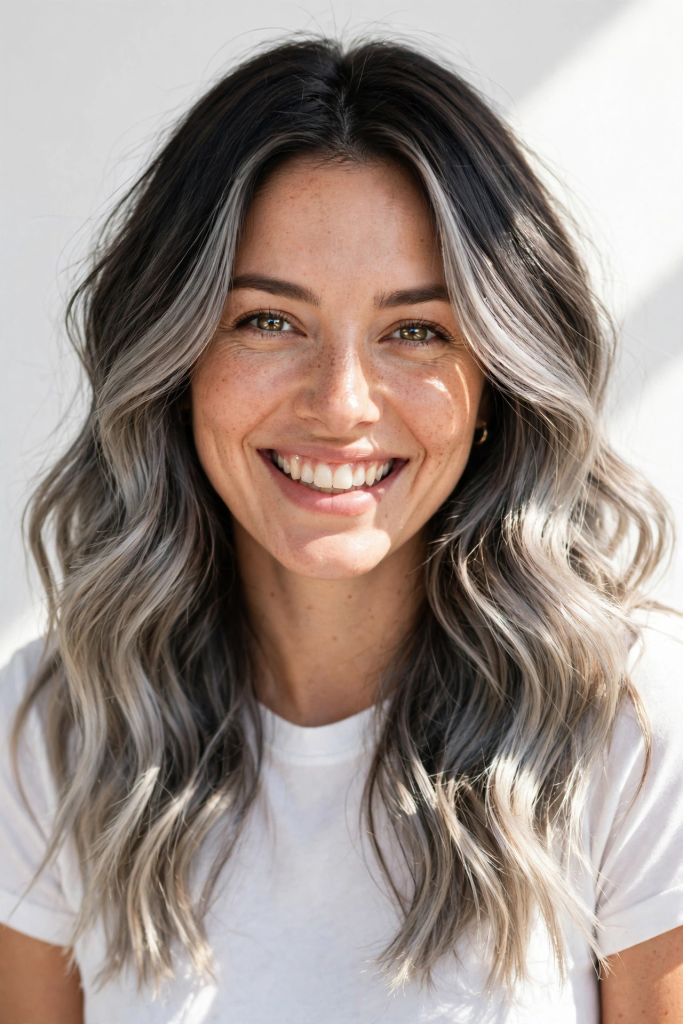
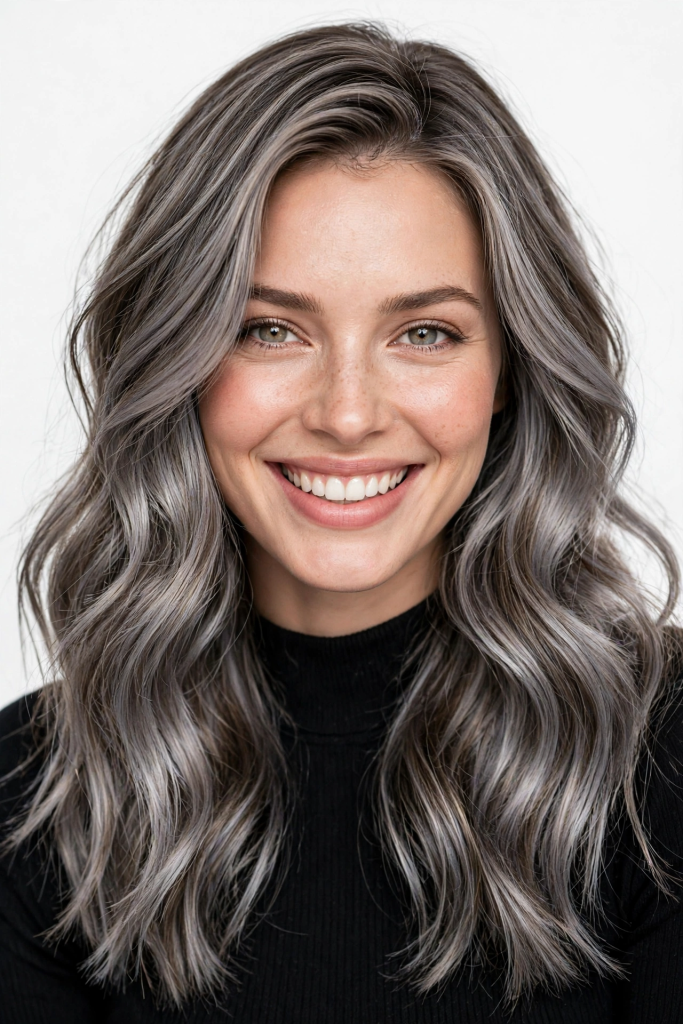
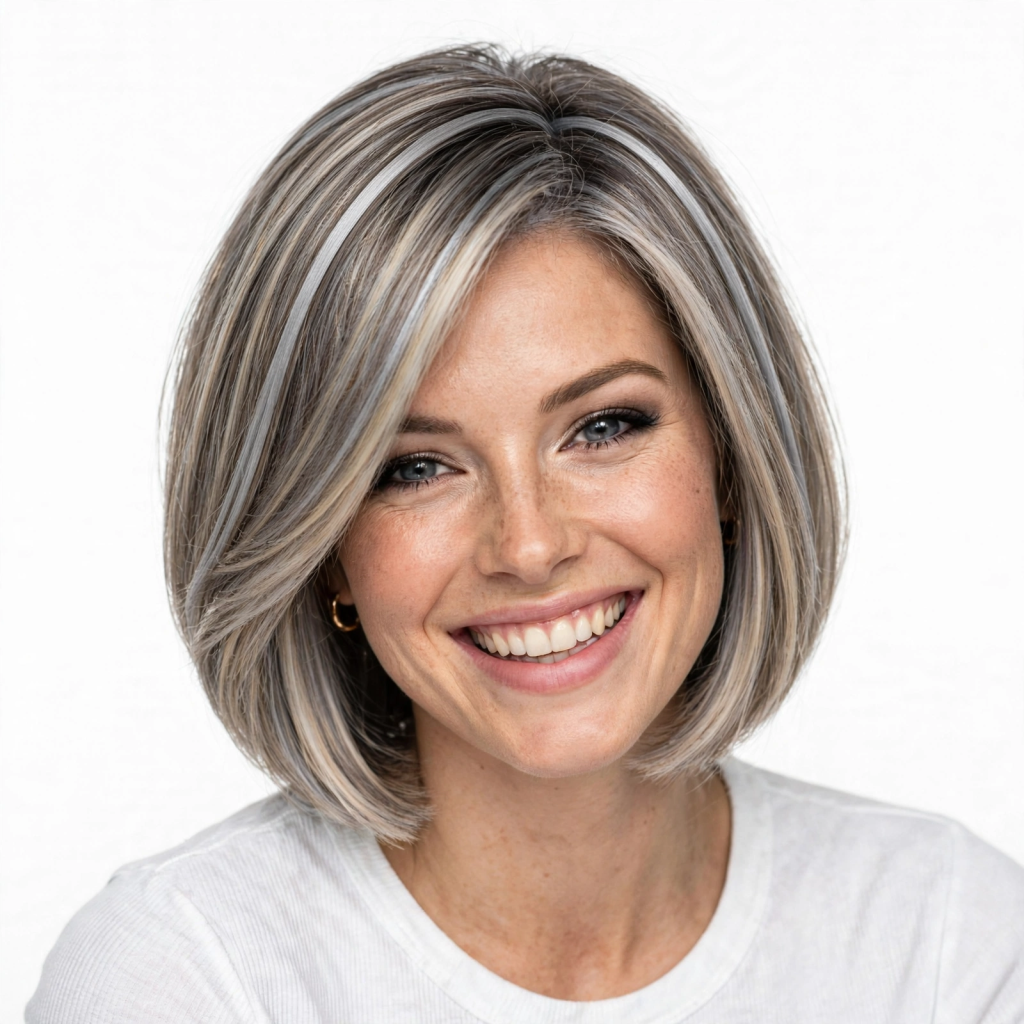
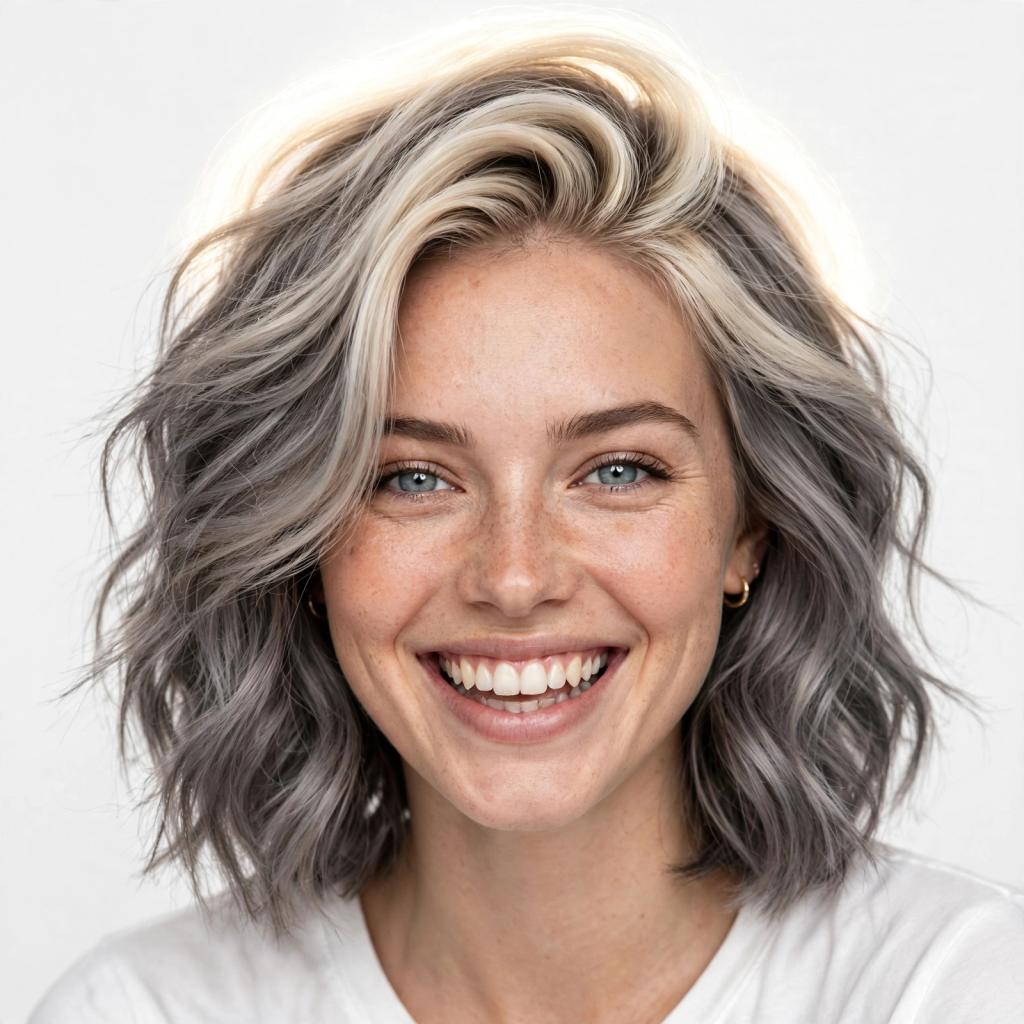
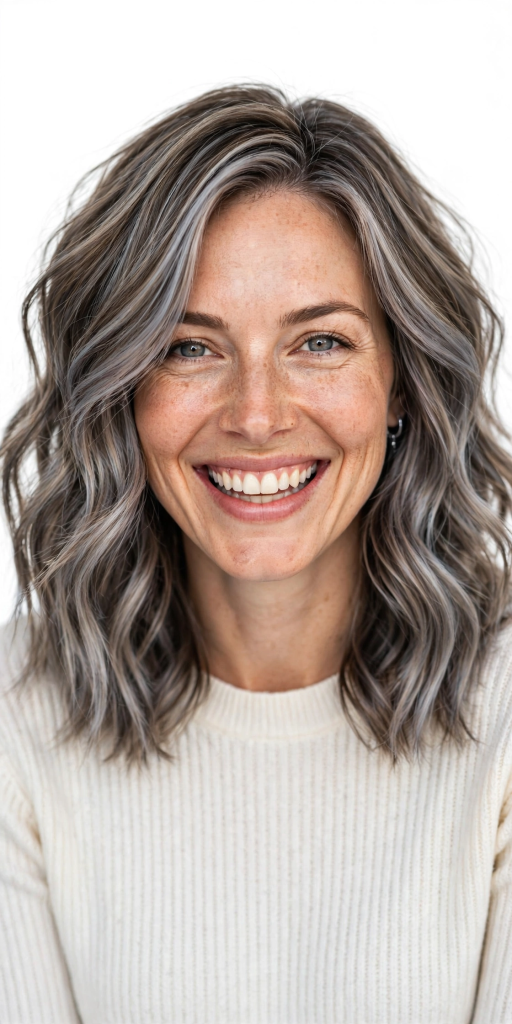
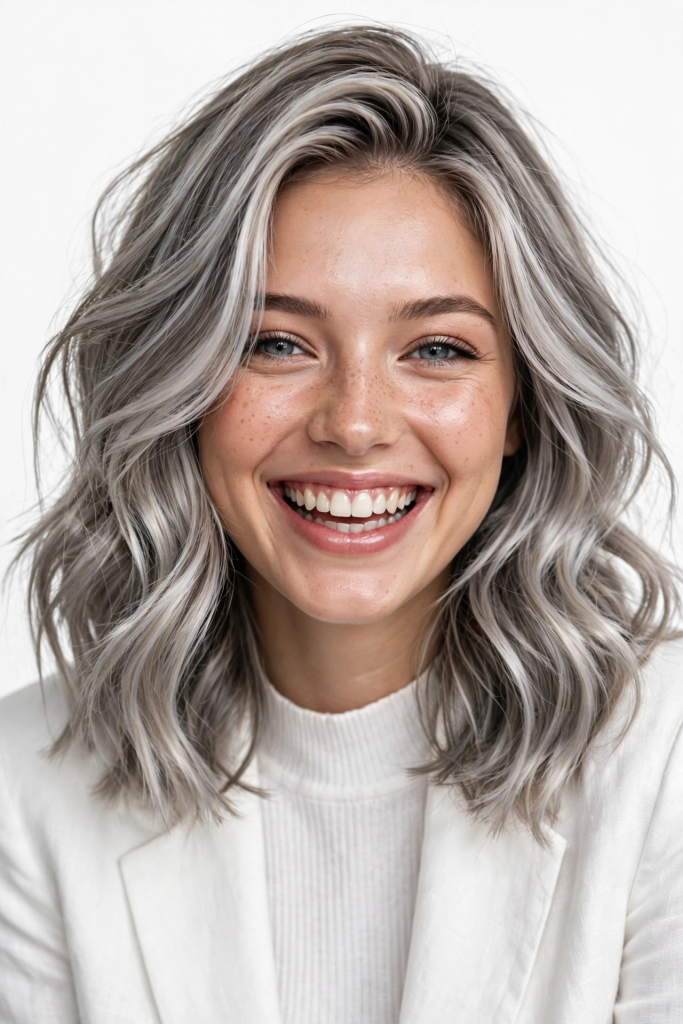
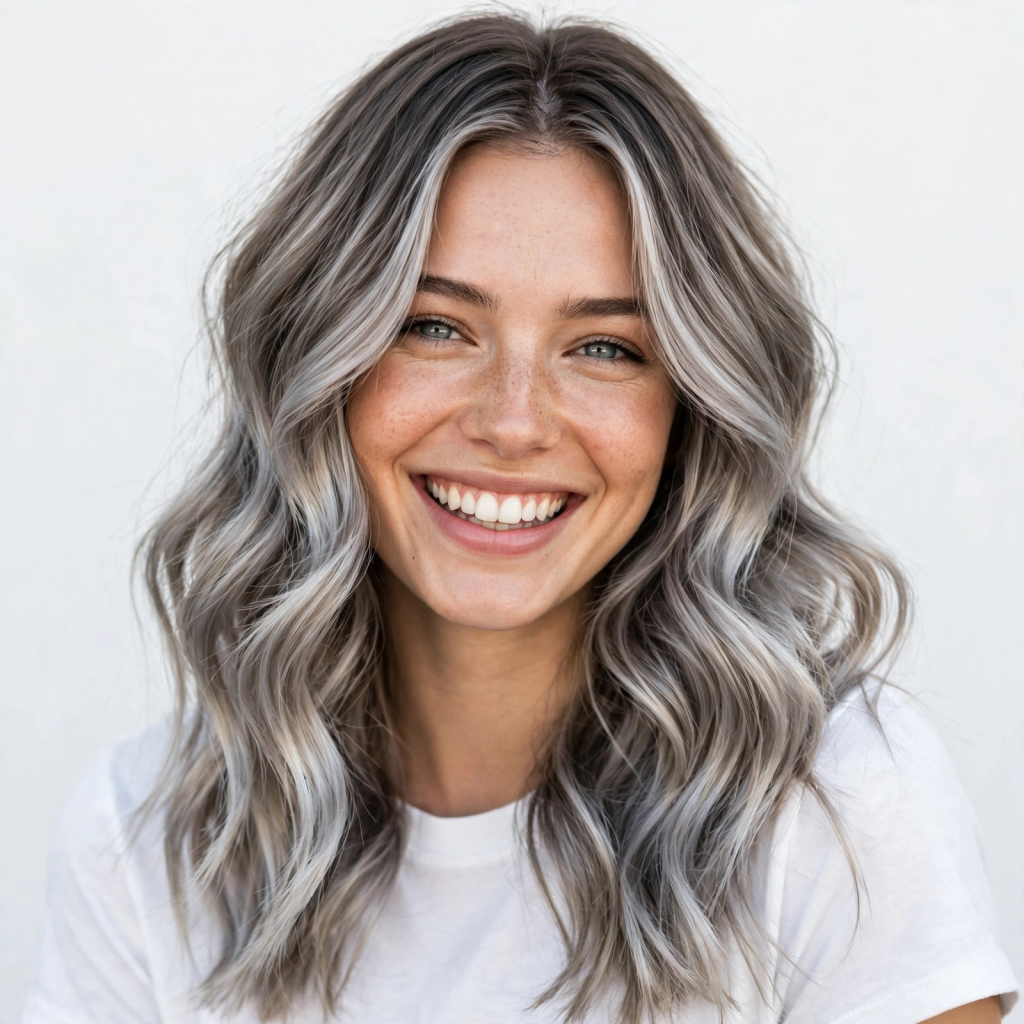
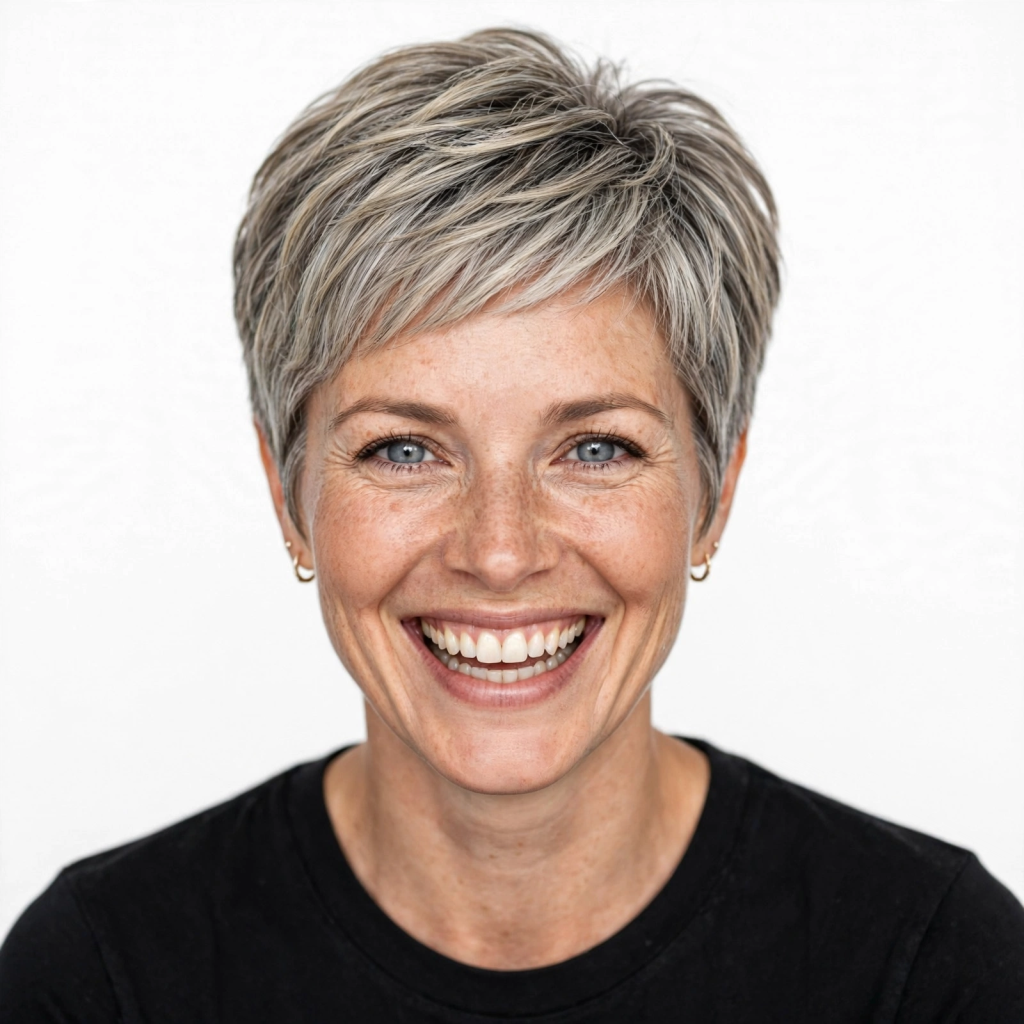
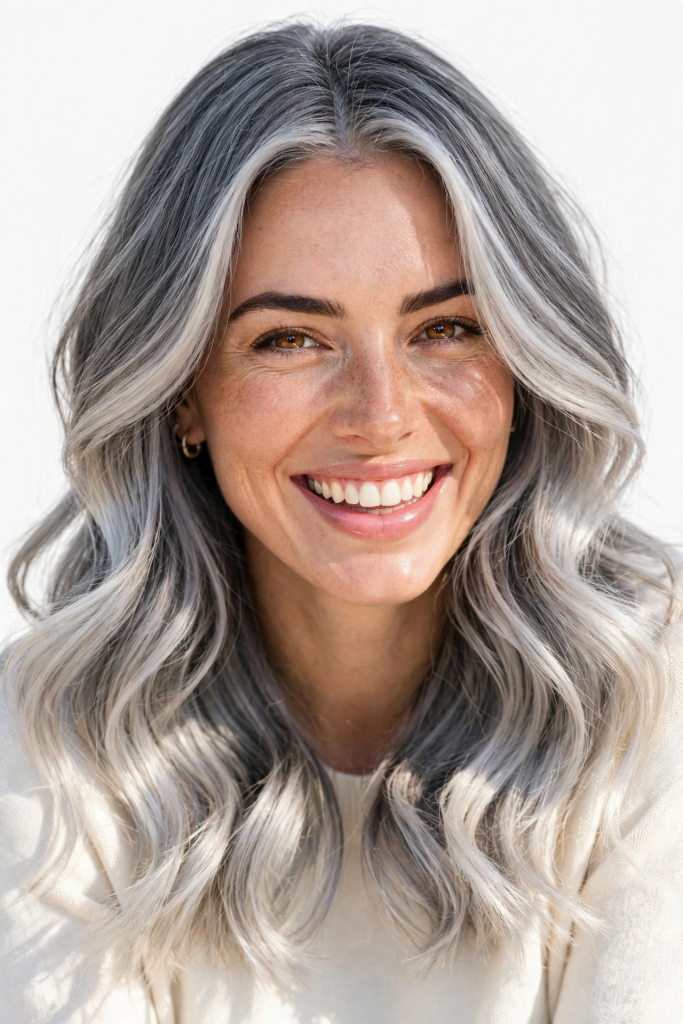
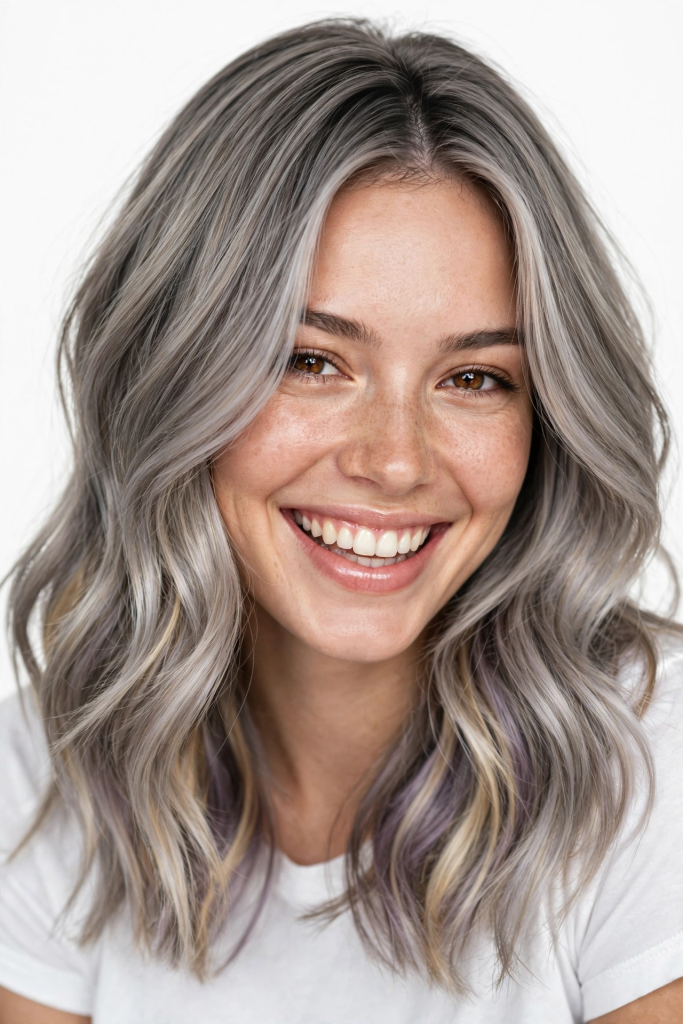
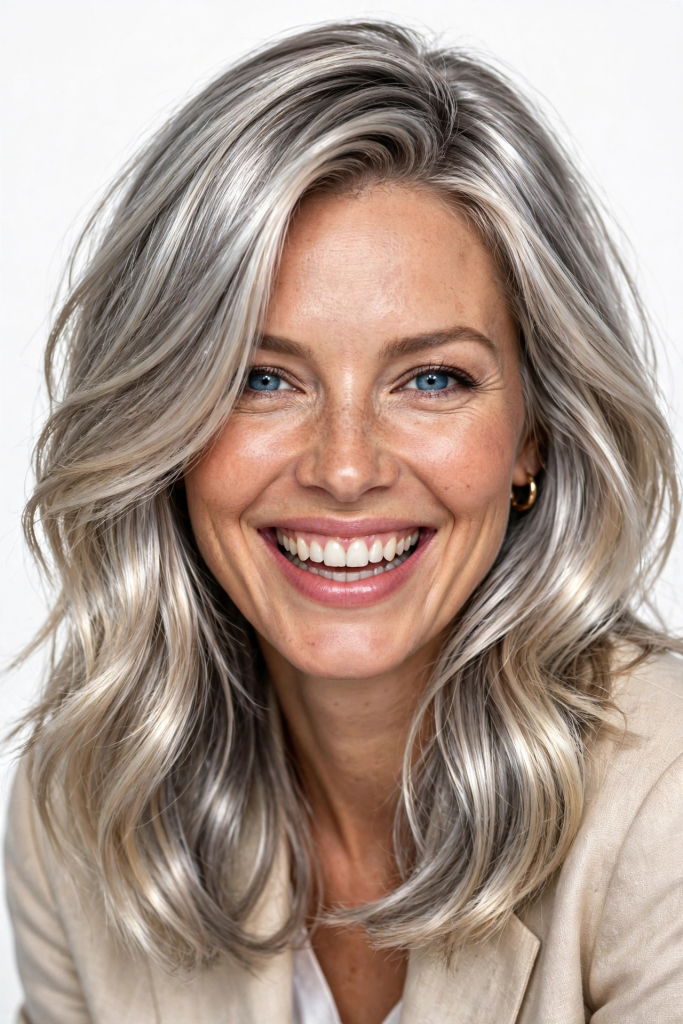
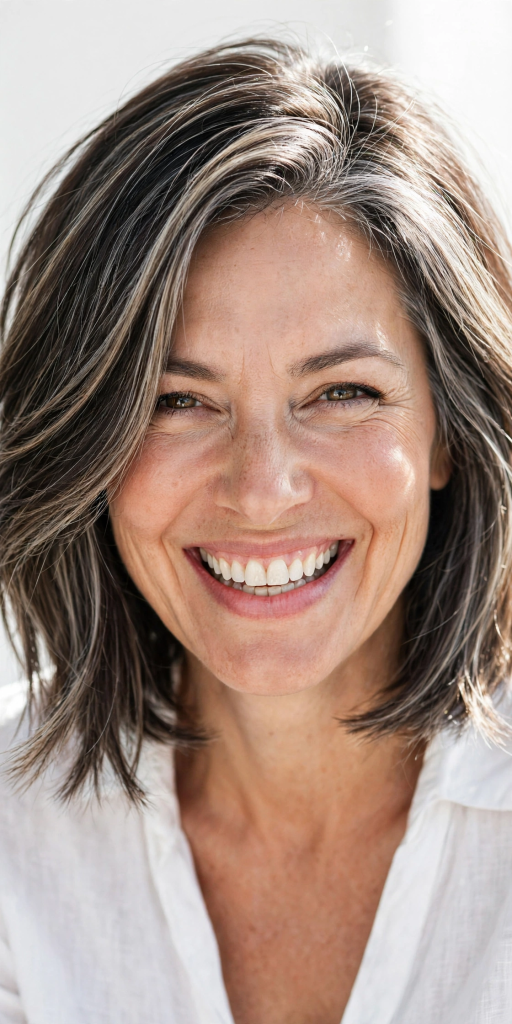
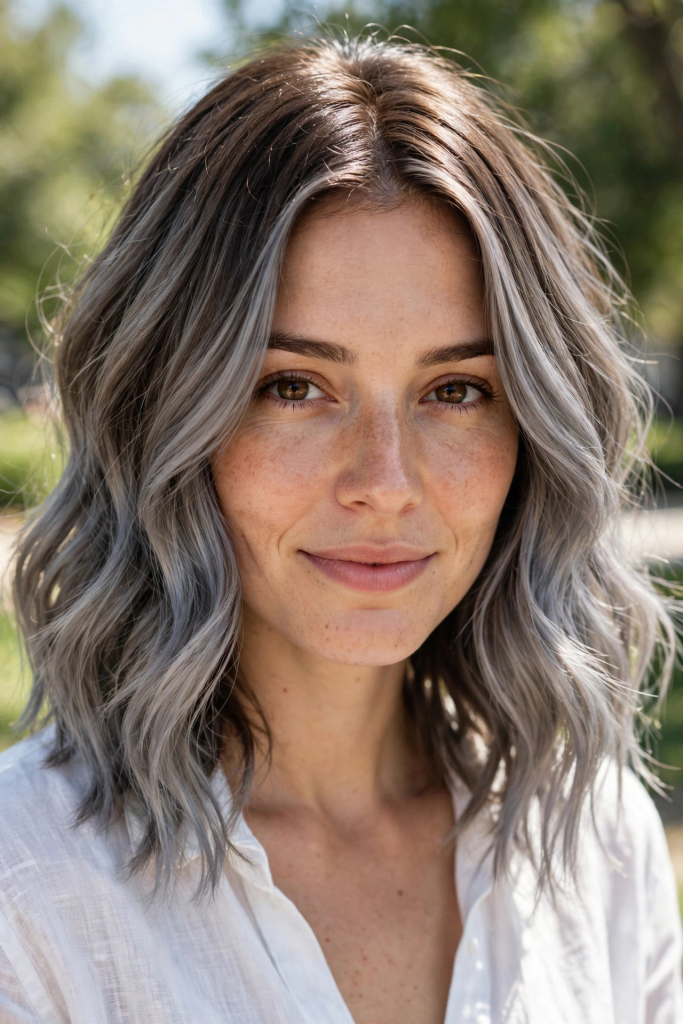
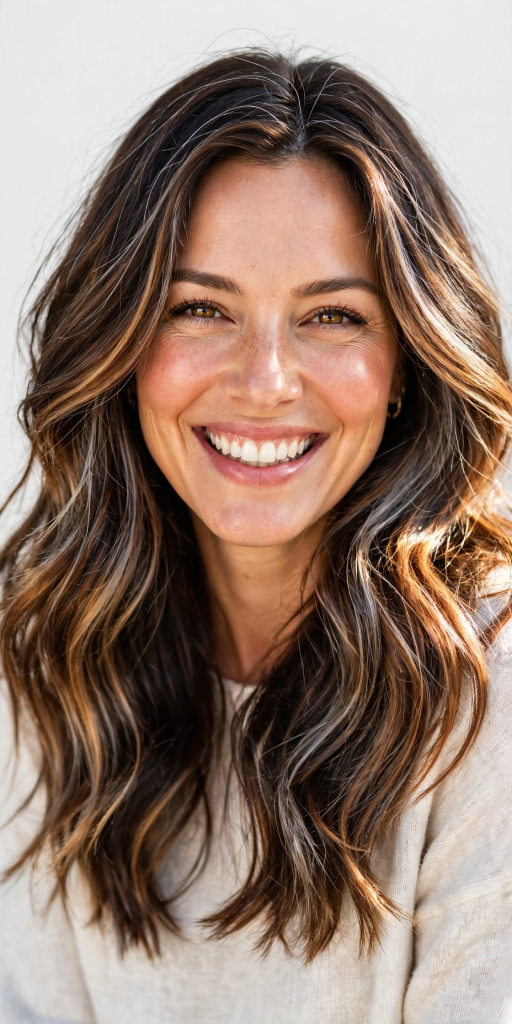
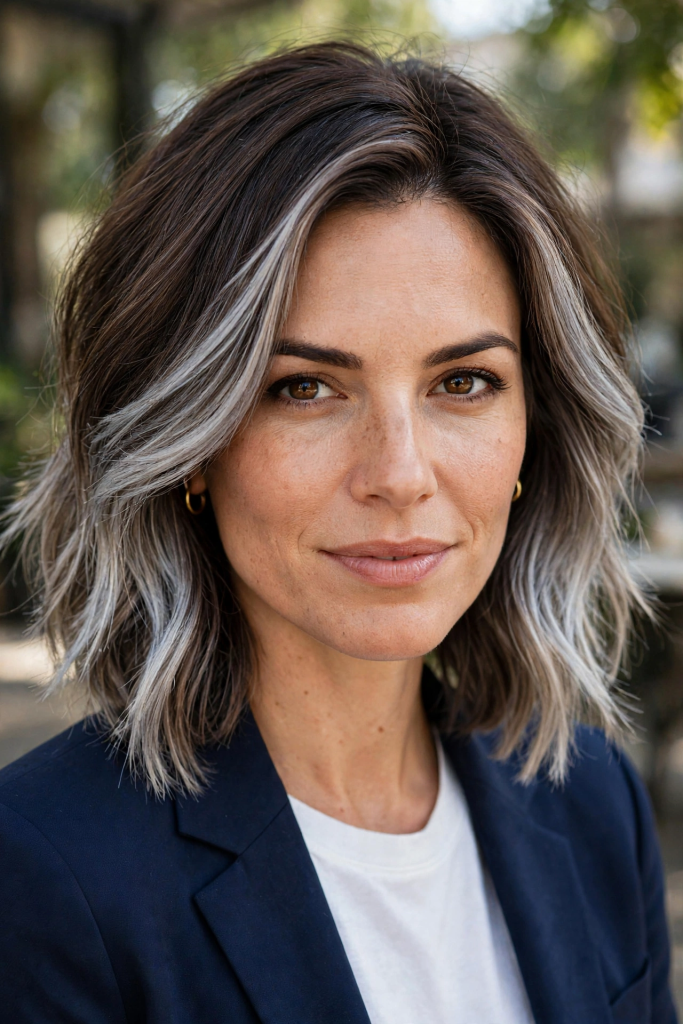
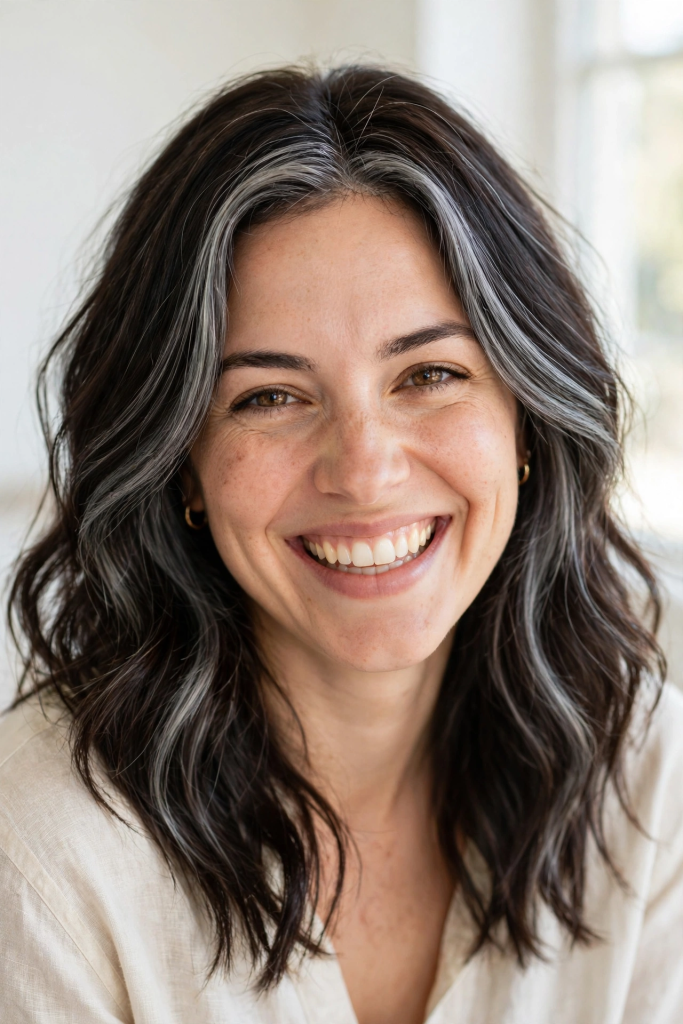
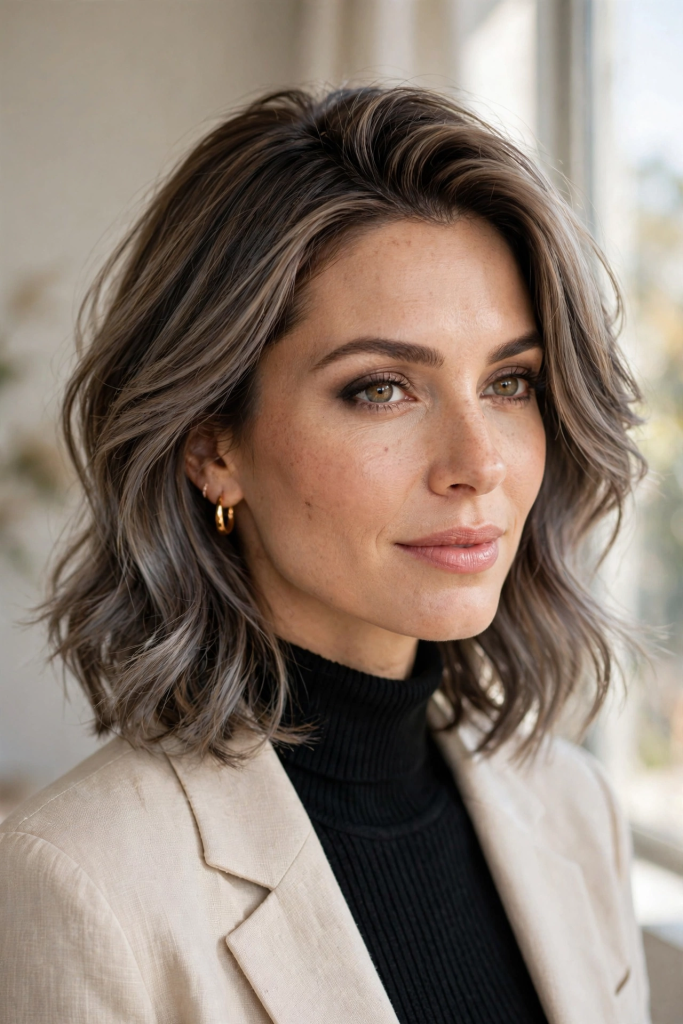
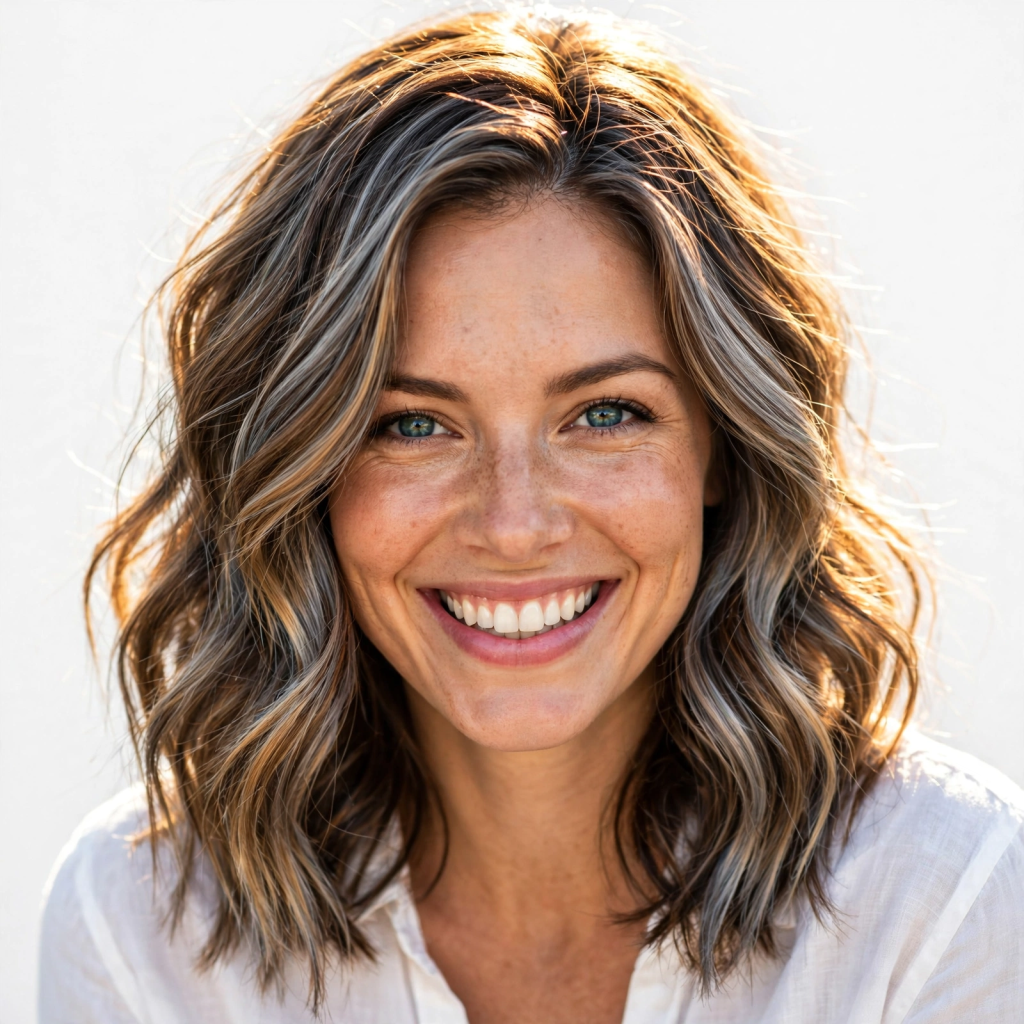
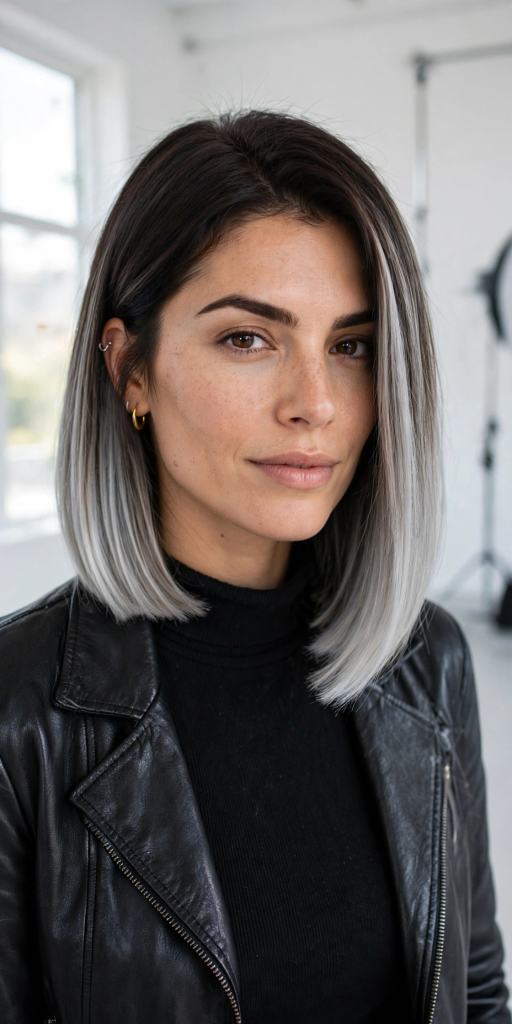
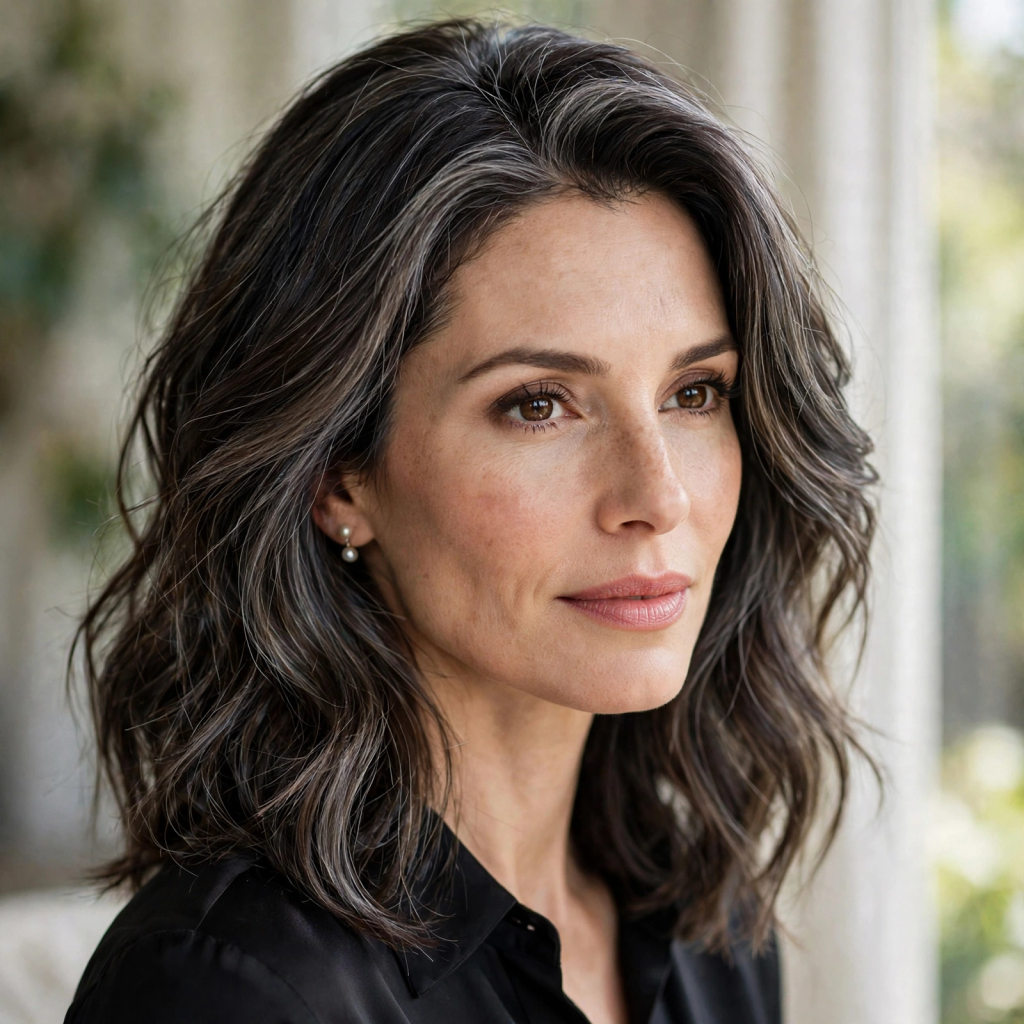
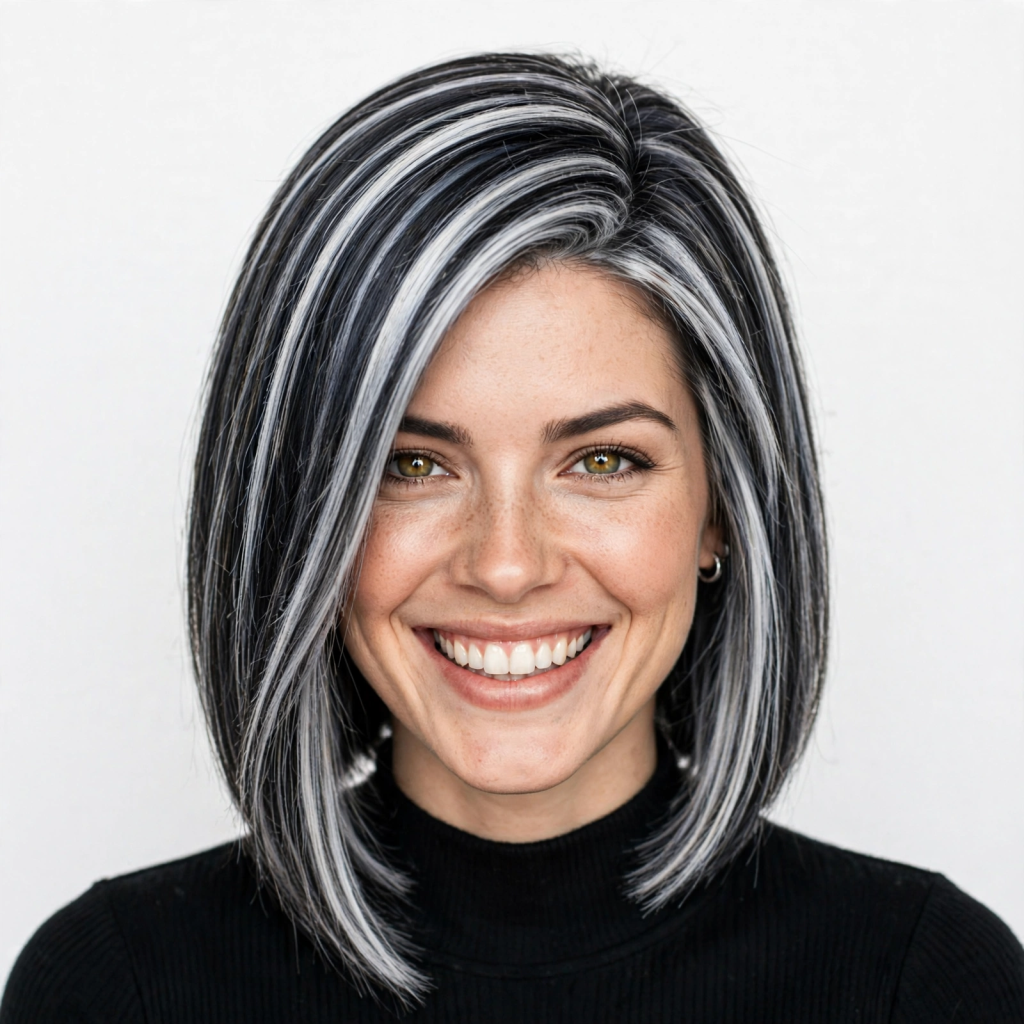
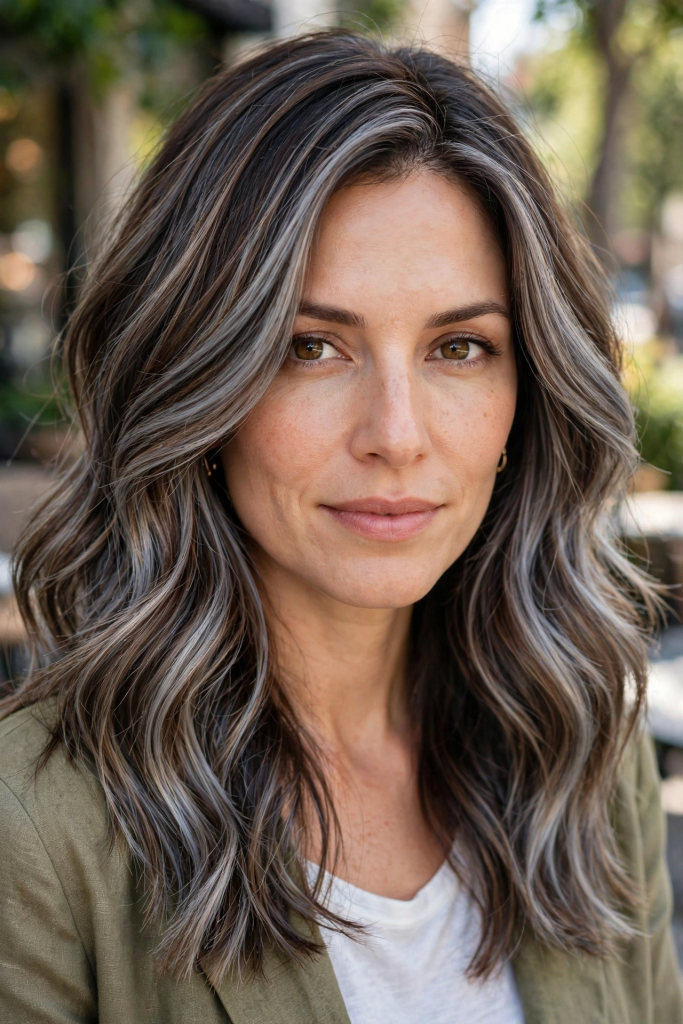
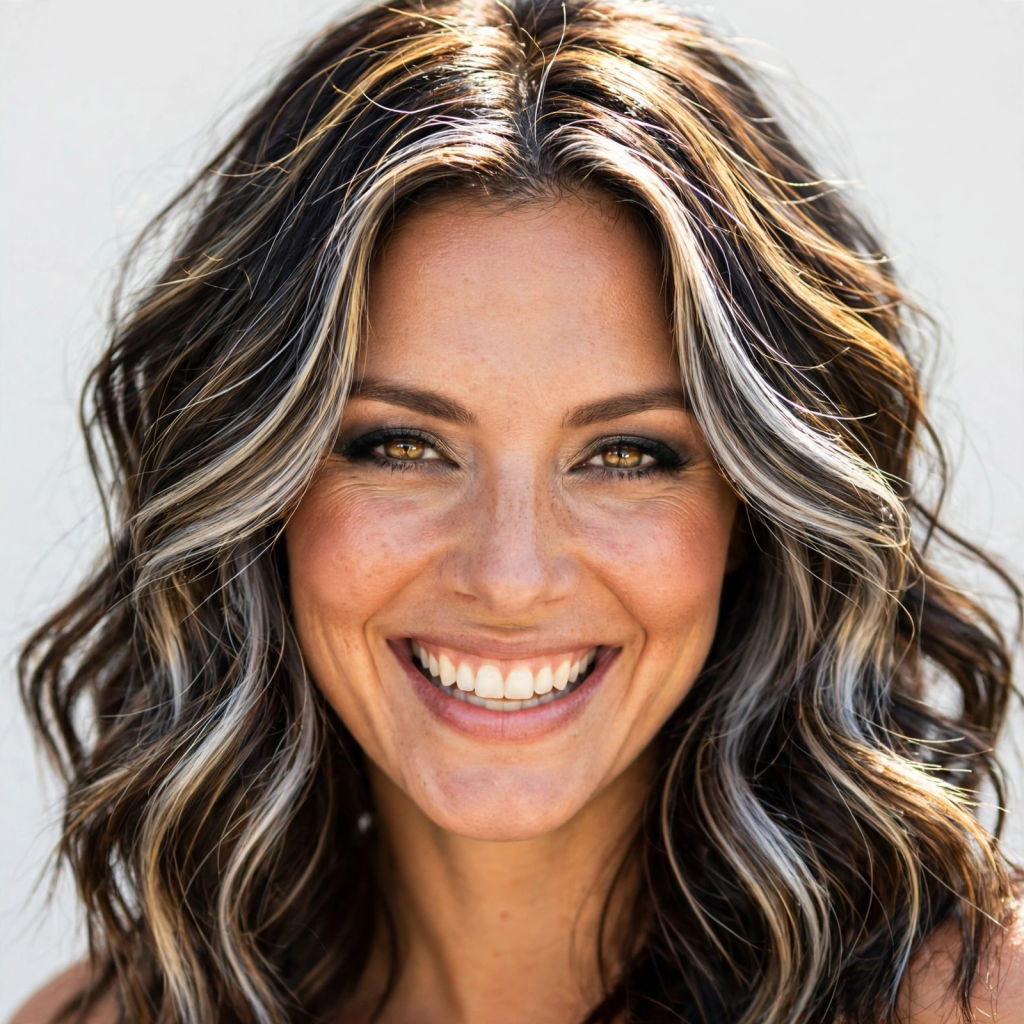
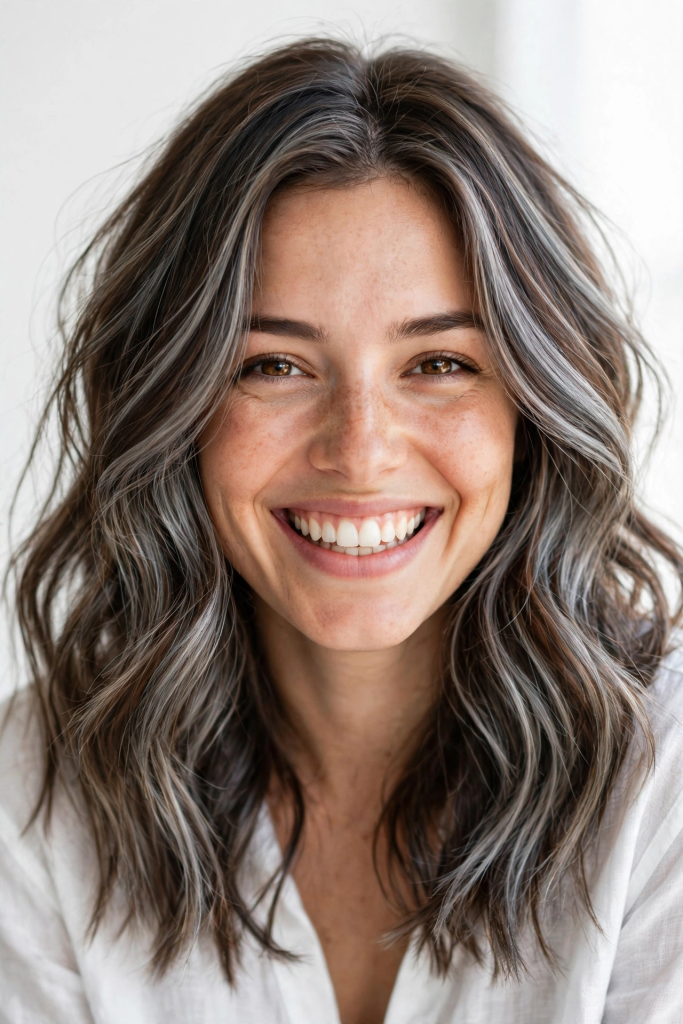
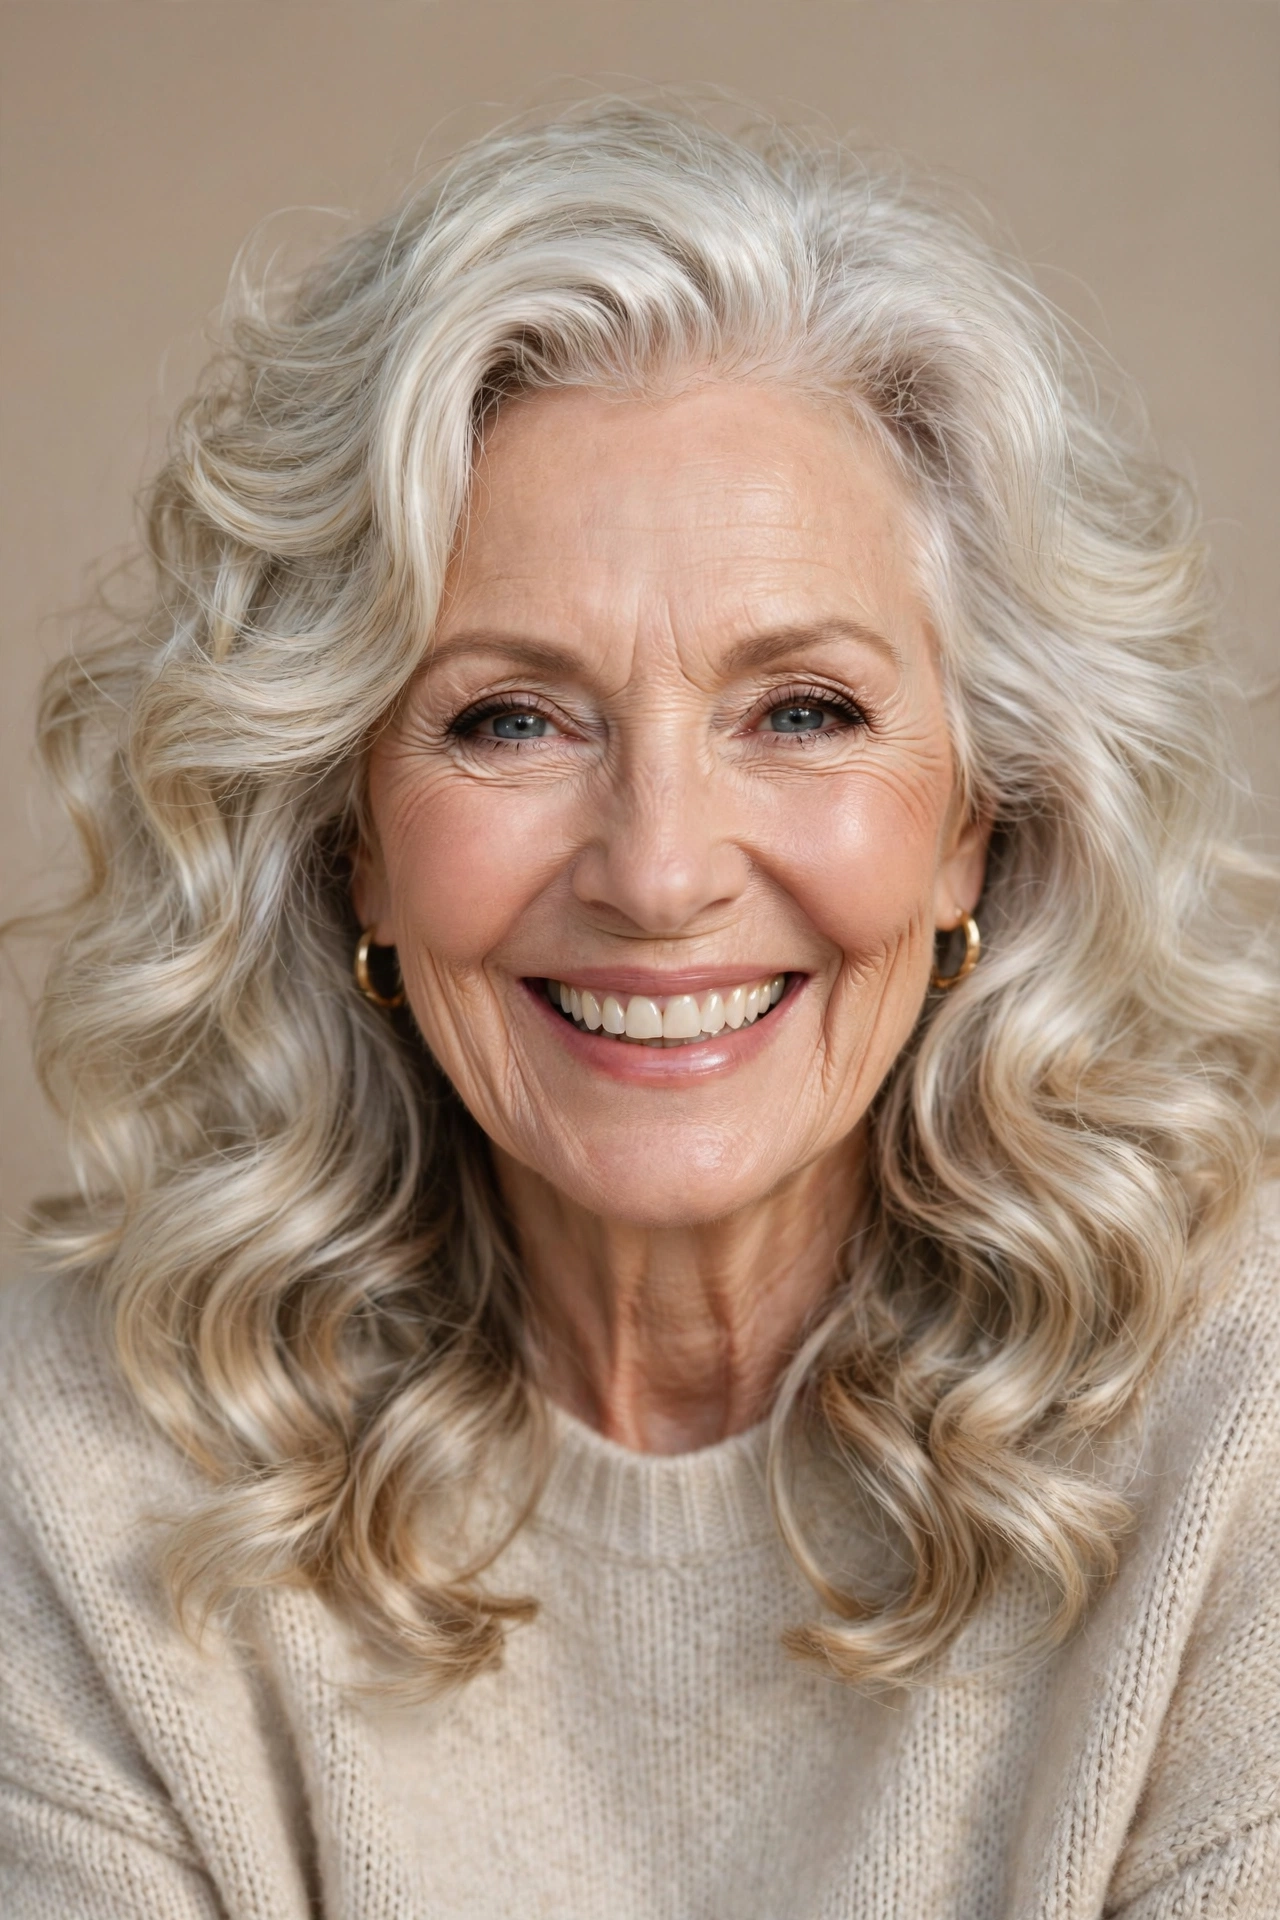
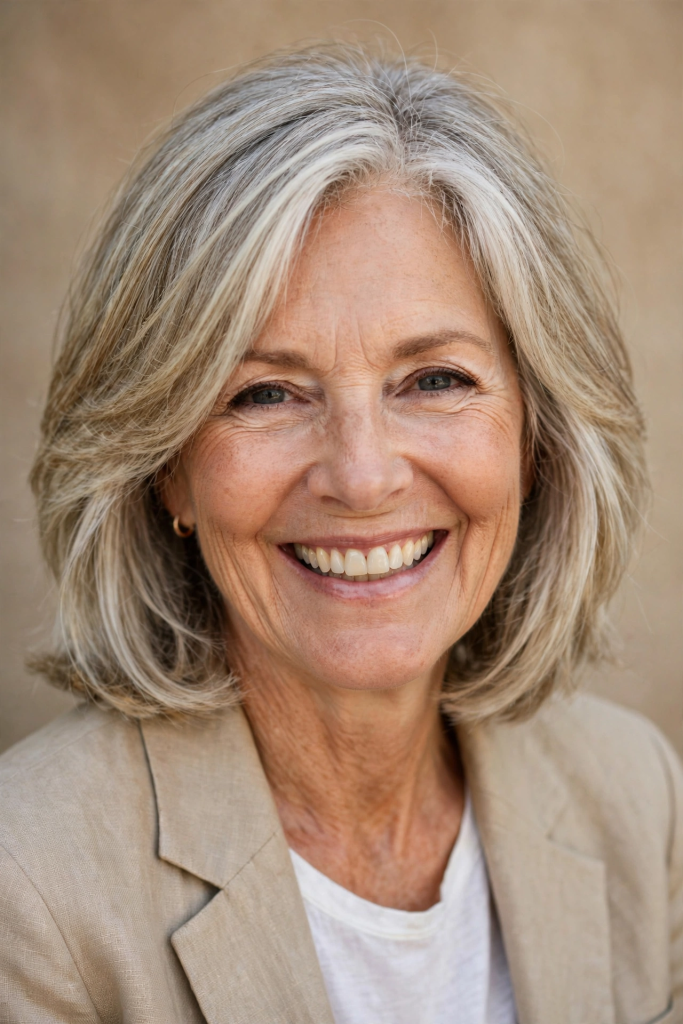
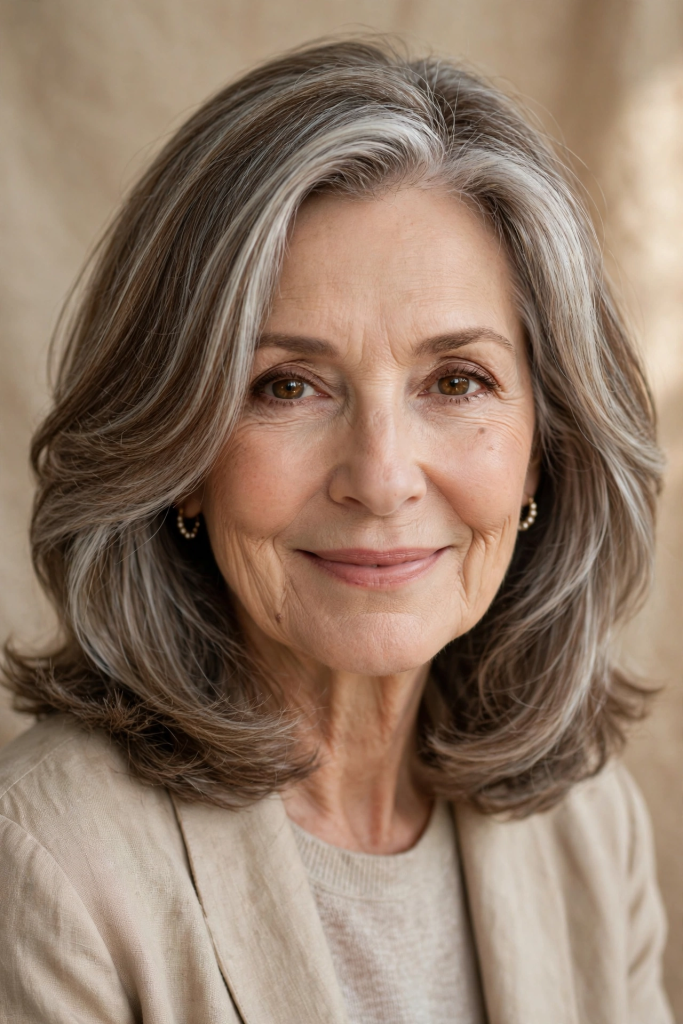
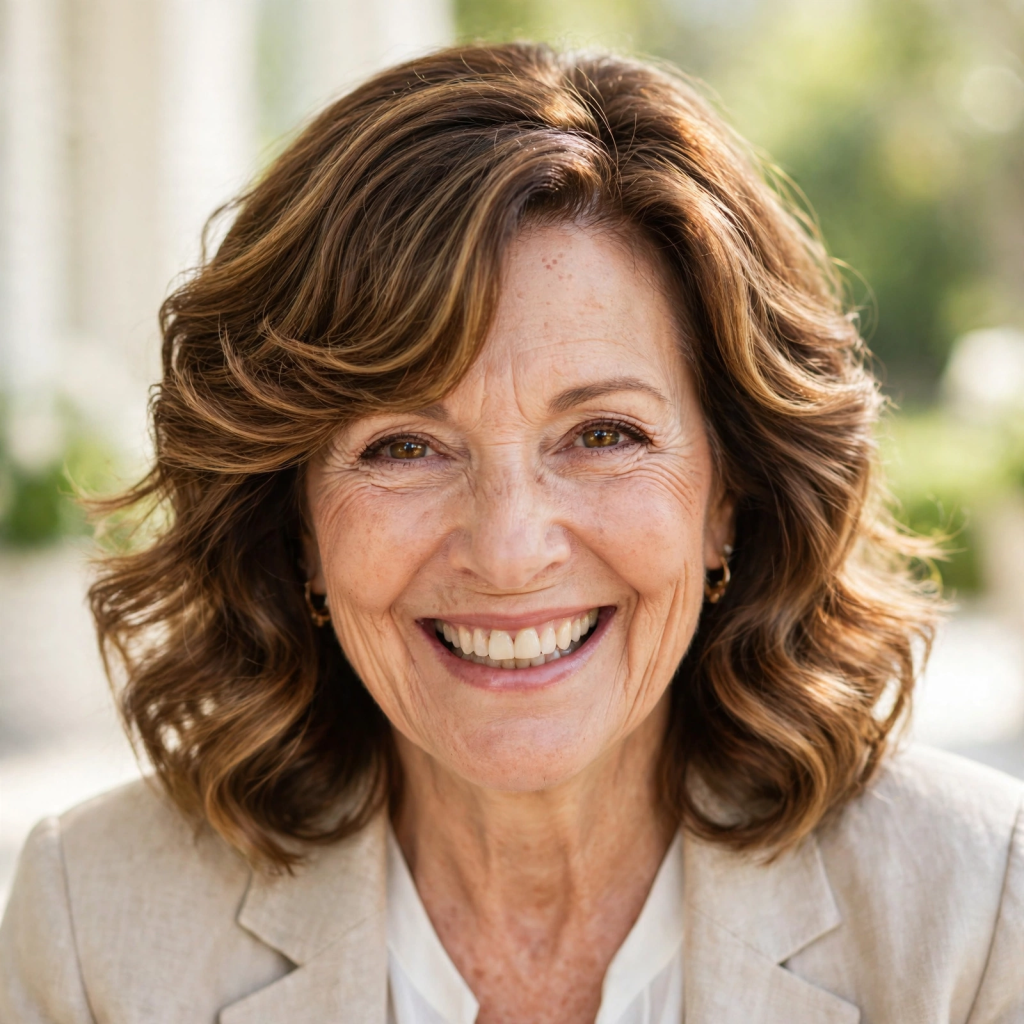
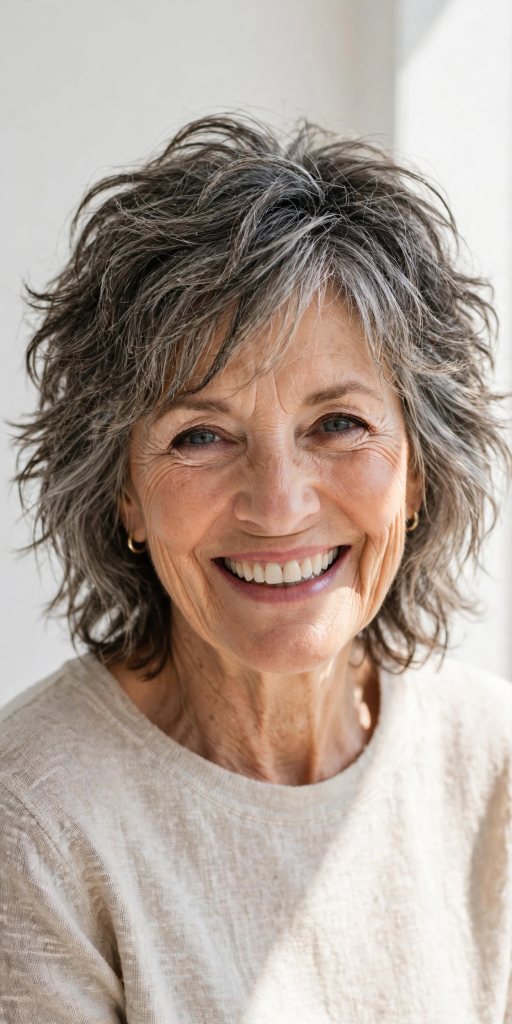
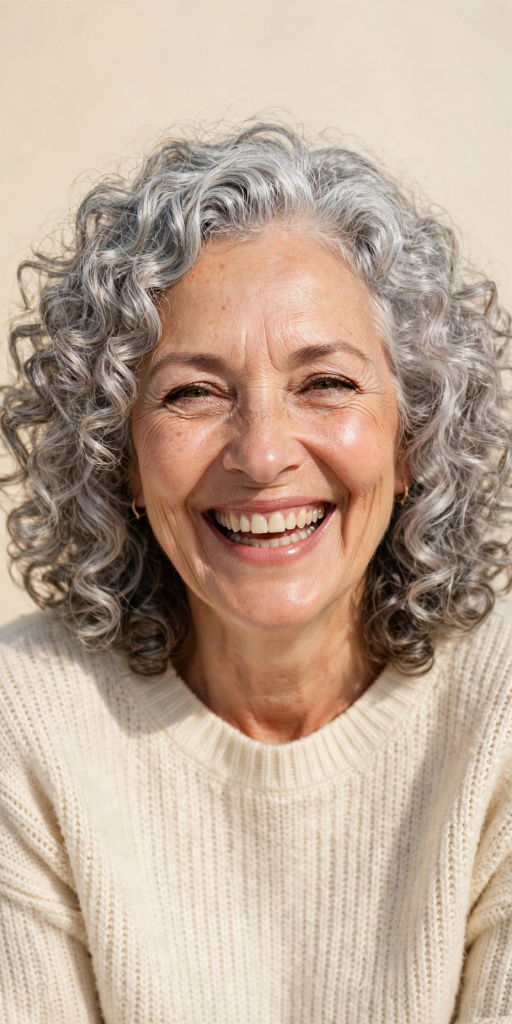
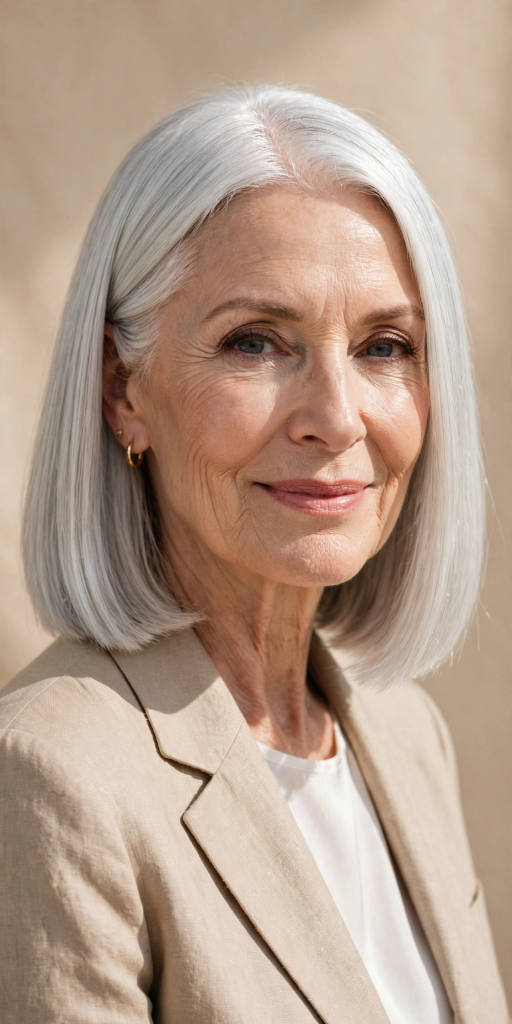
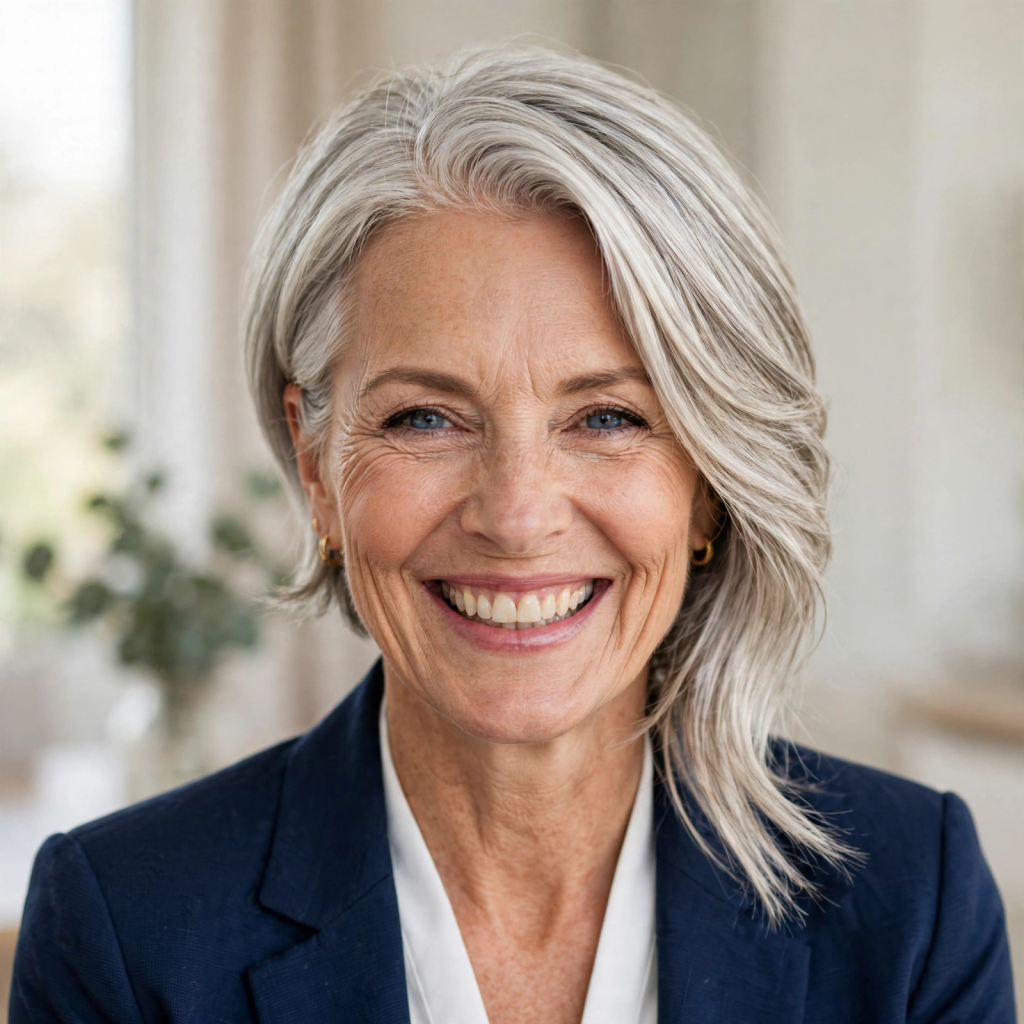
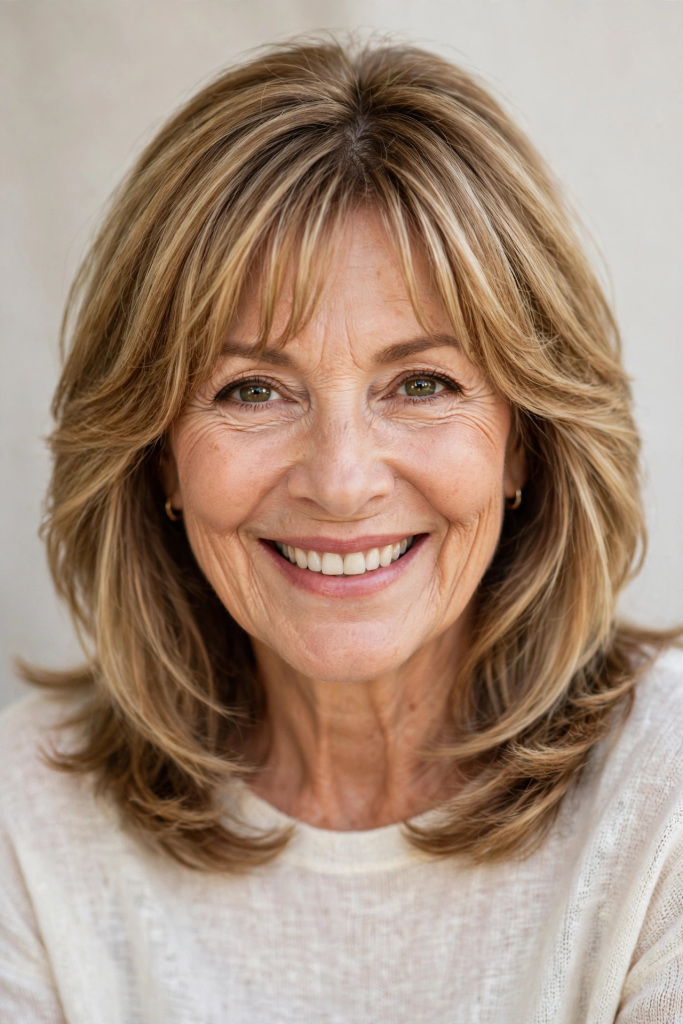
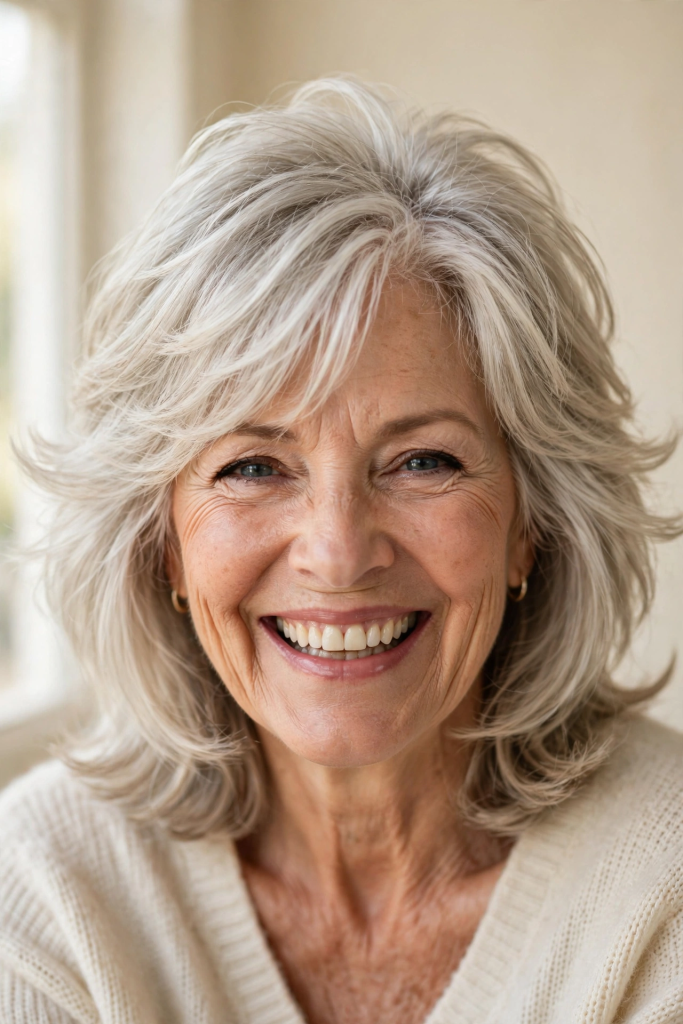
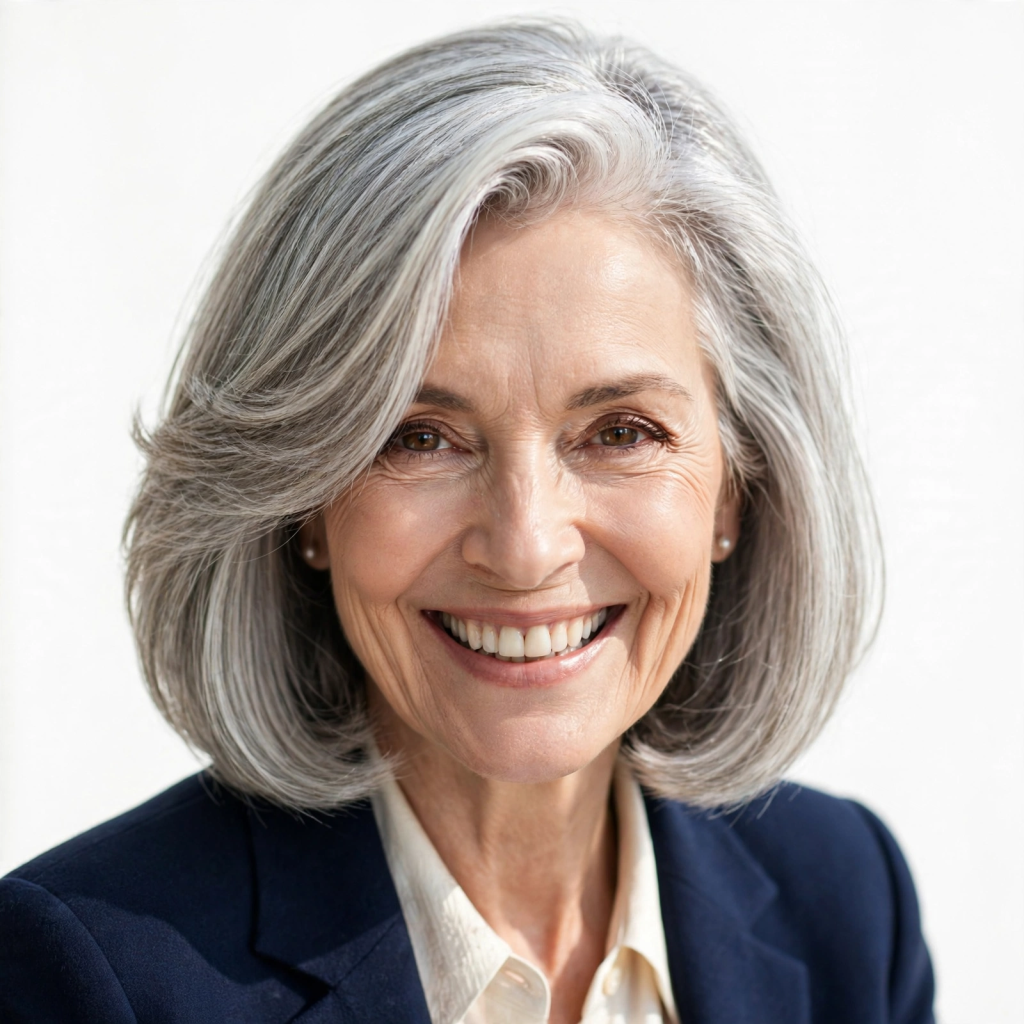
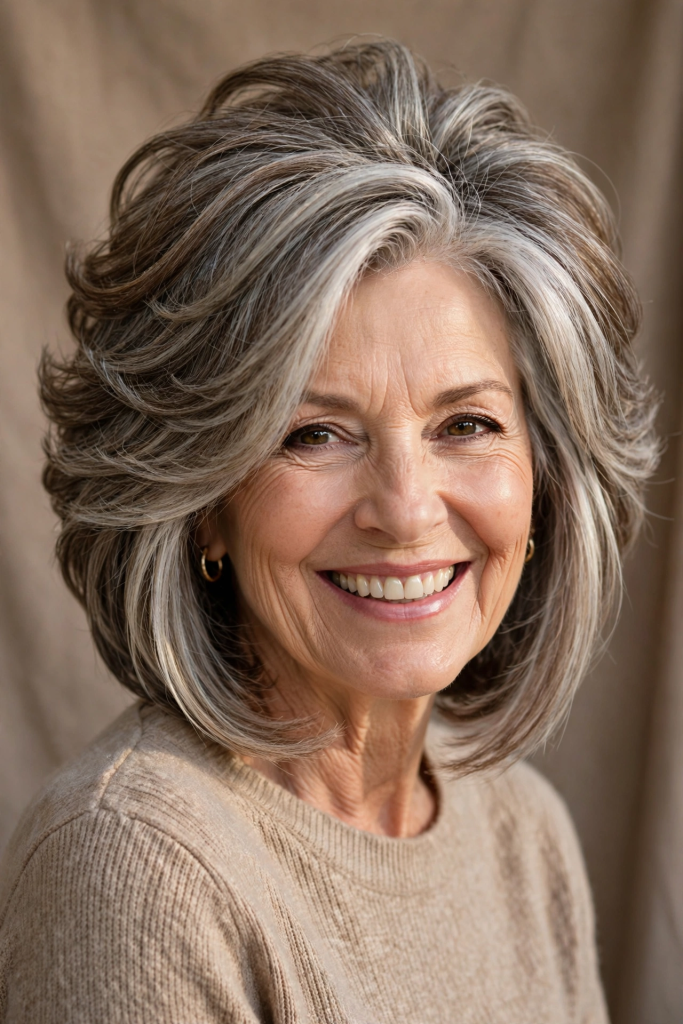
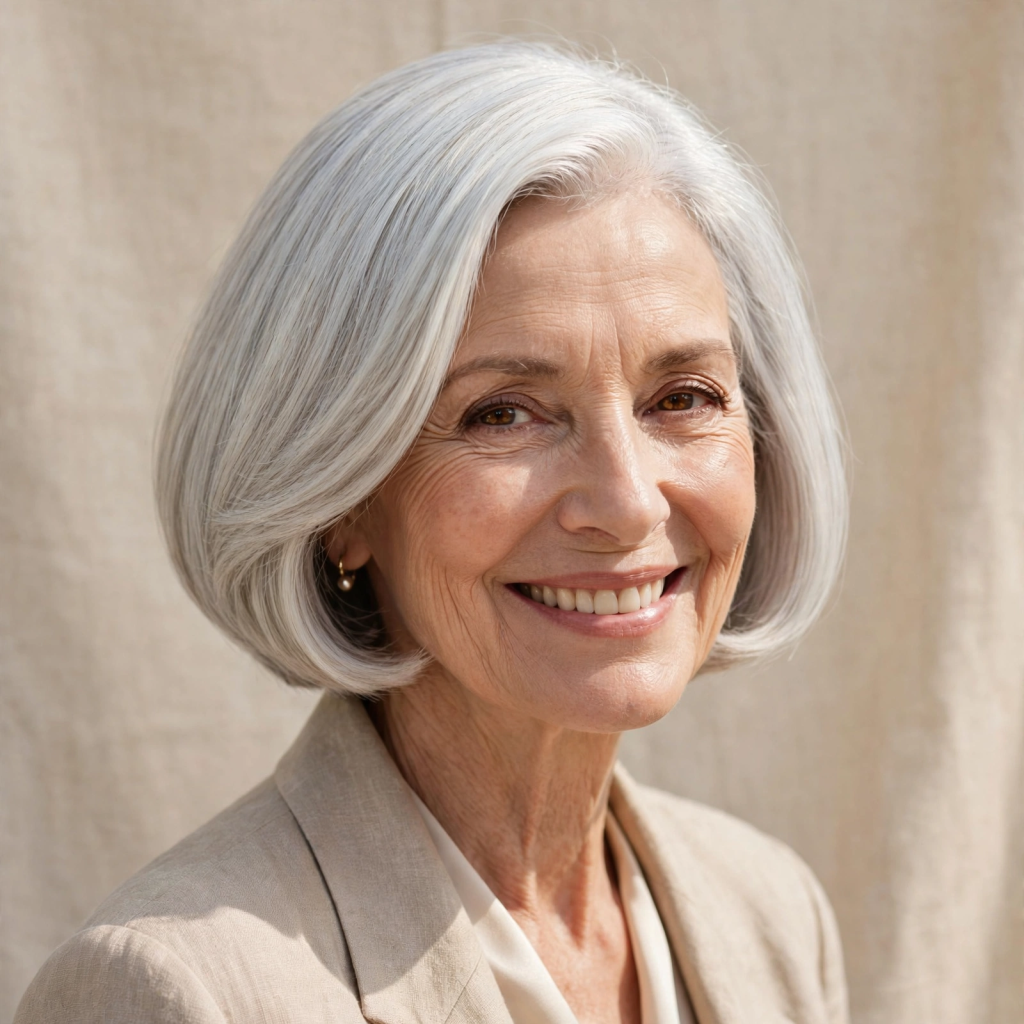
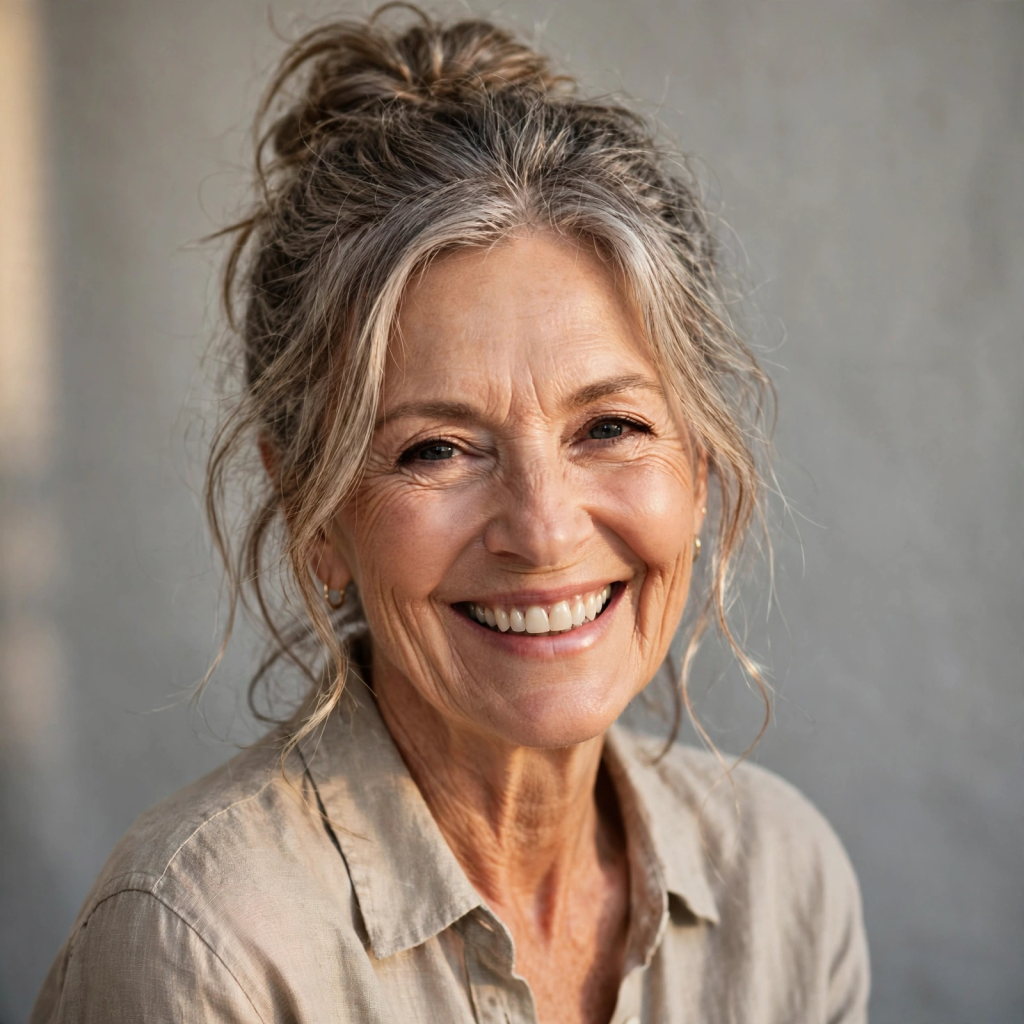
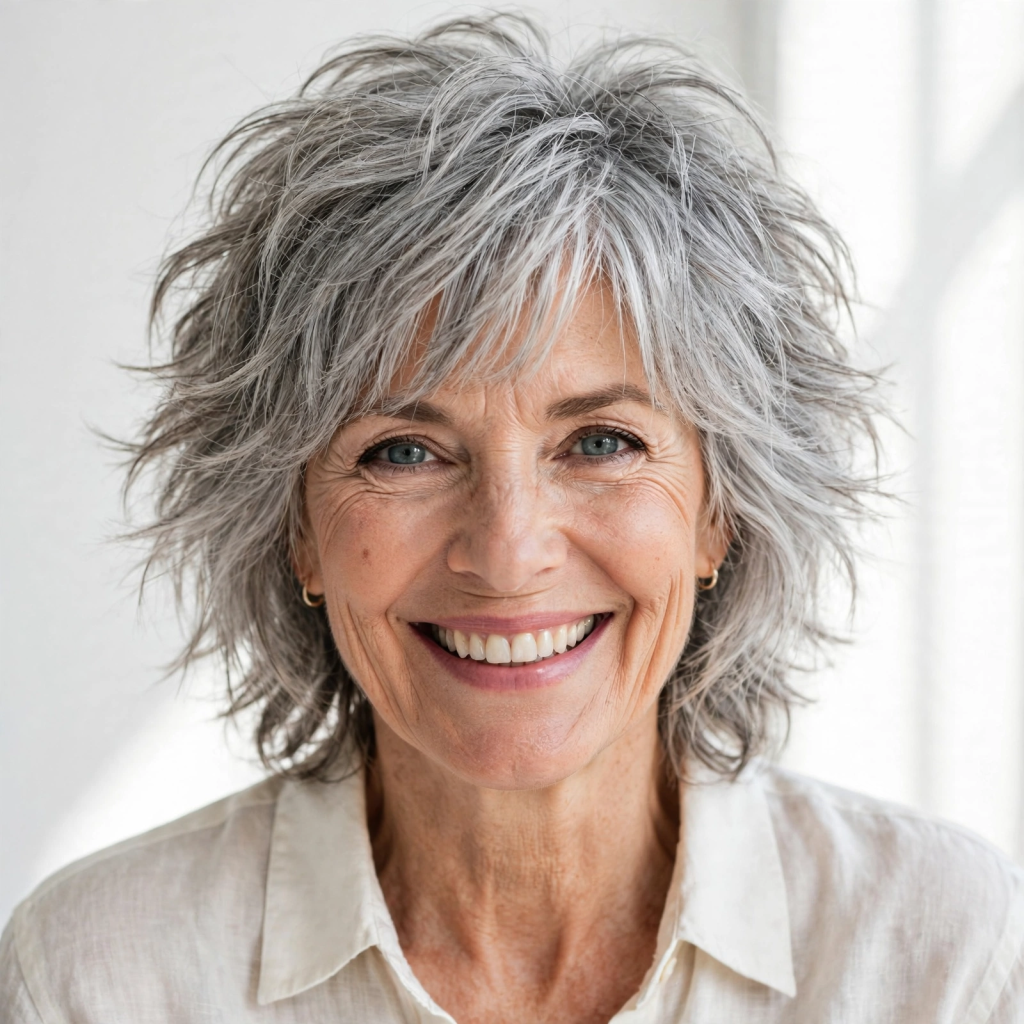
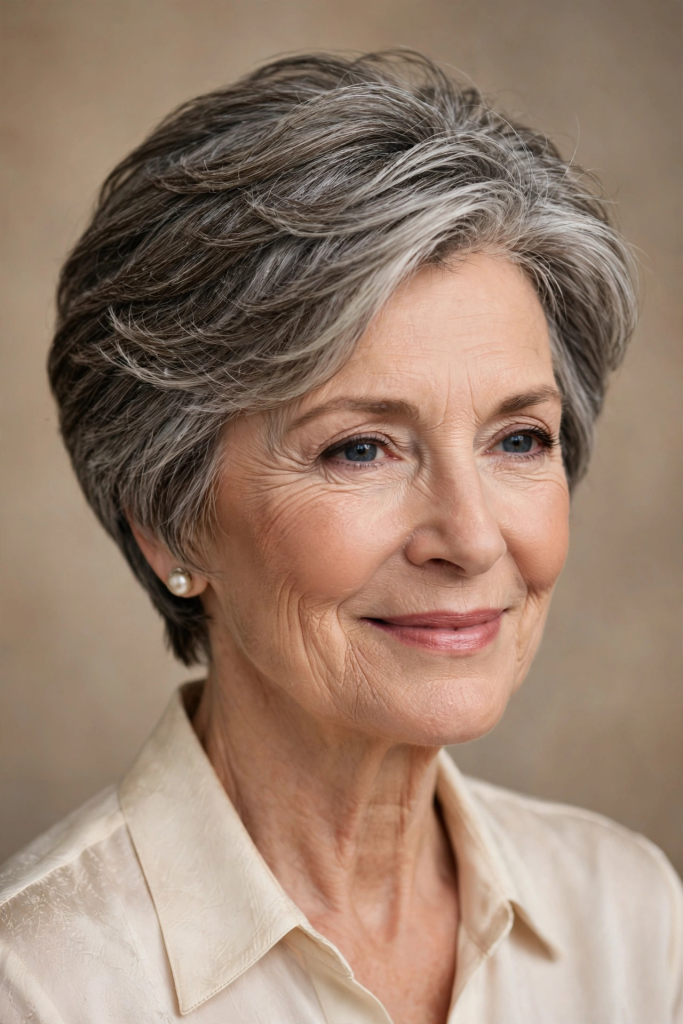
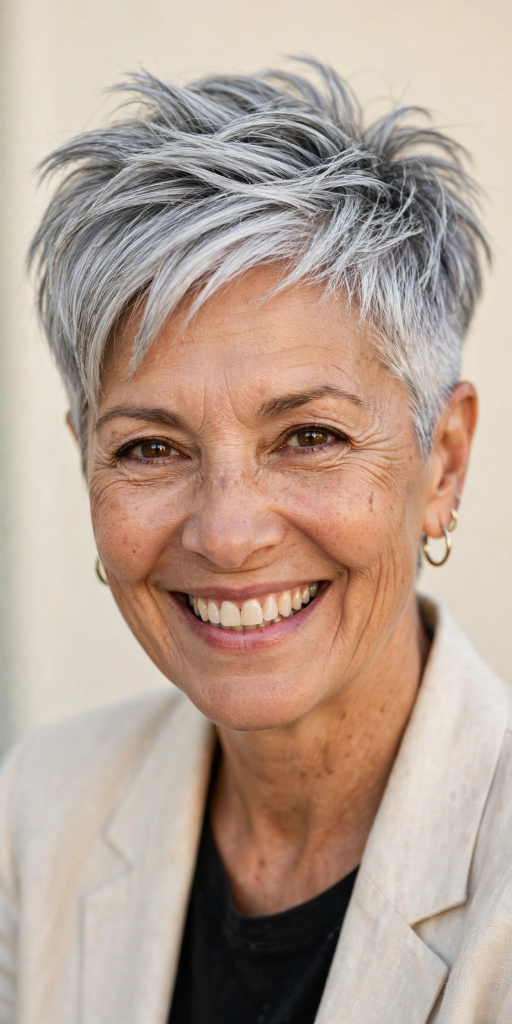
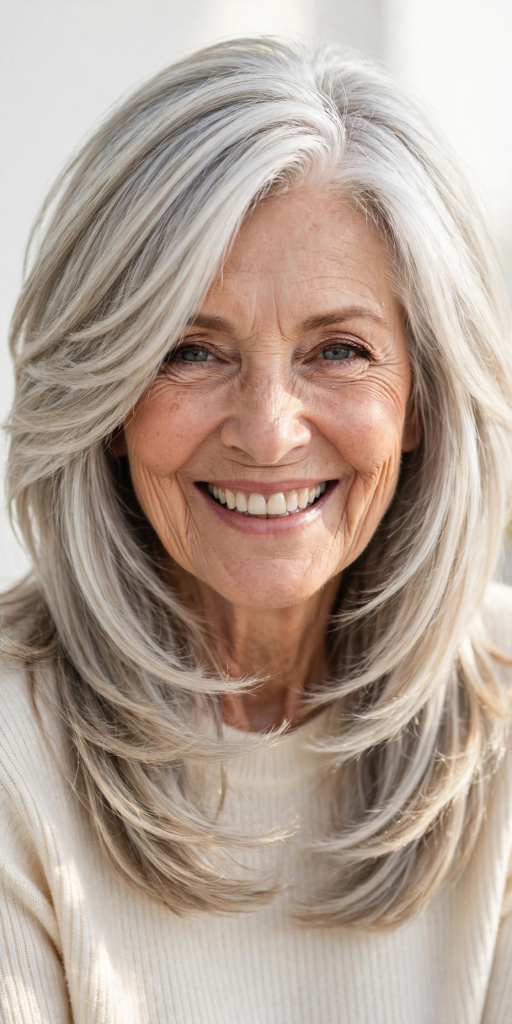
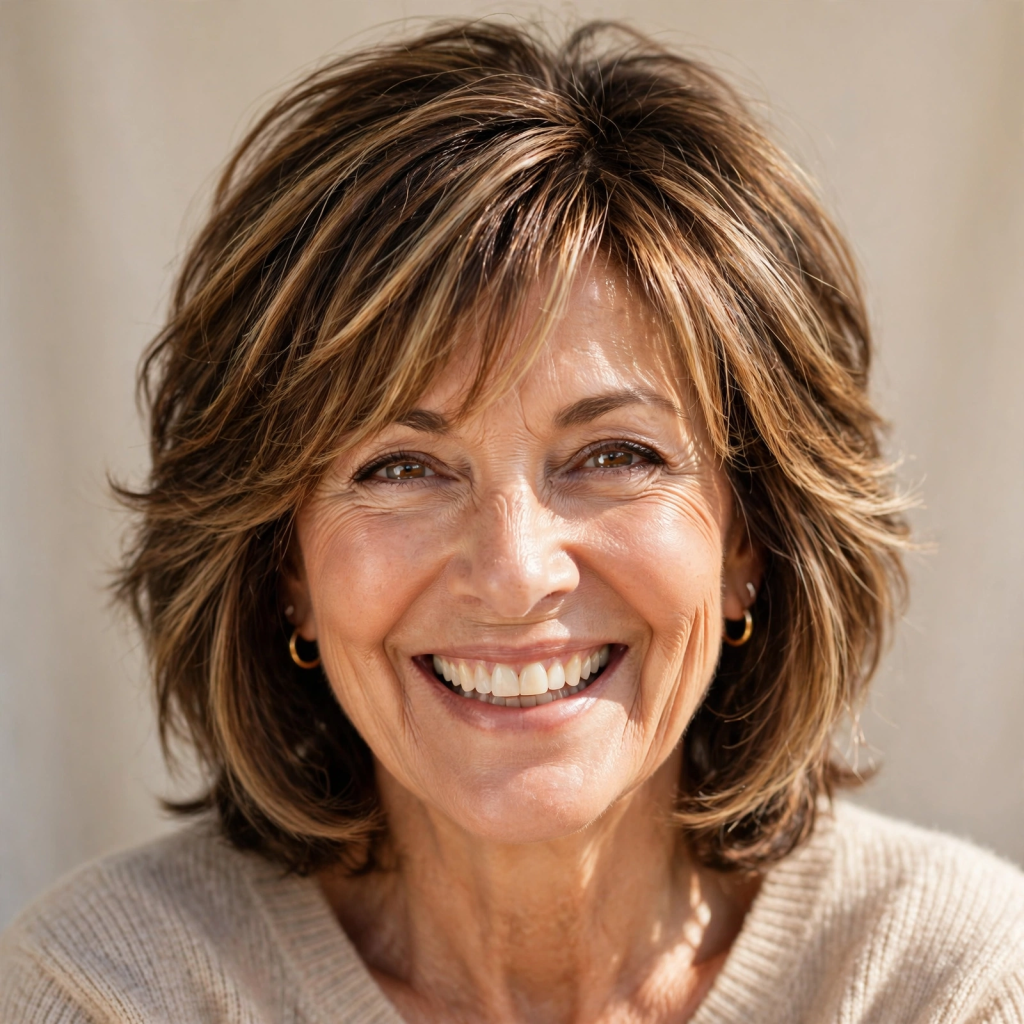
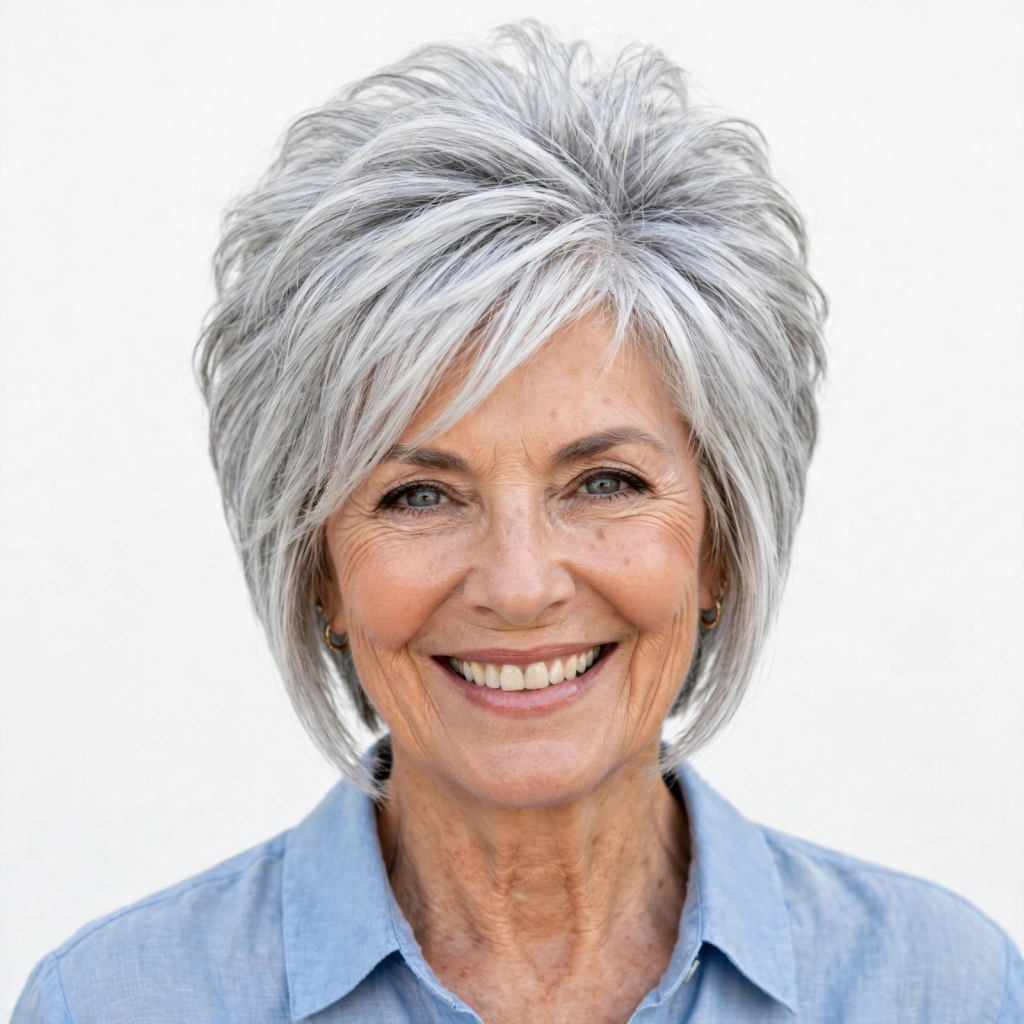
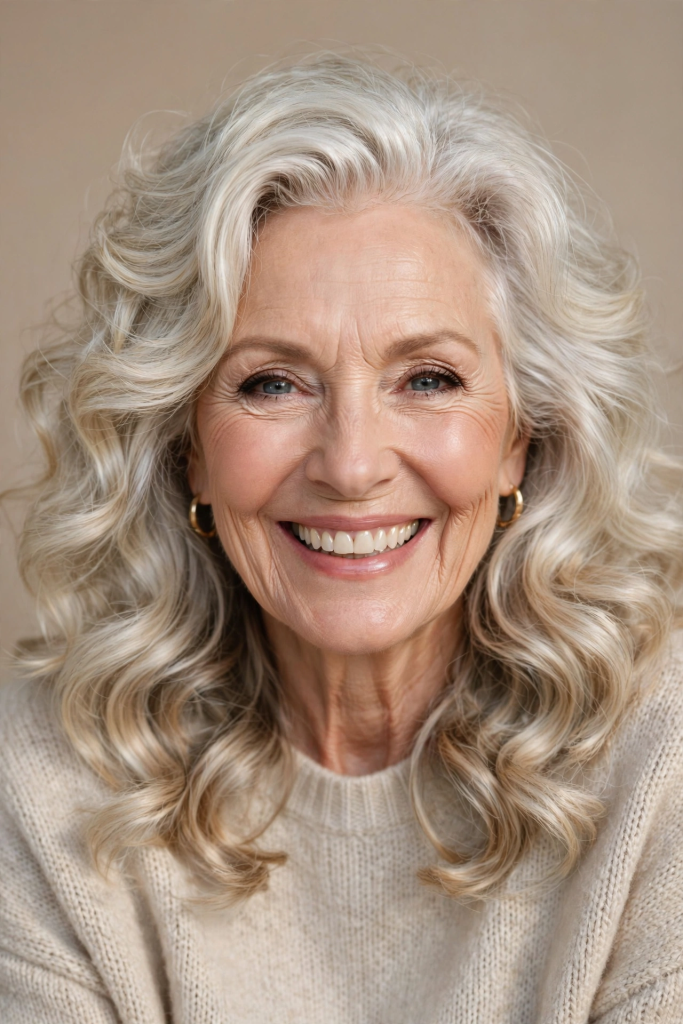
For years, the standard approach to gray hair was a battle—a constant, costly war against the roots. It was a cycle of all-over color, demarcation lines, and the dreaded “skunk stripe” just weeks after a salon visit. But a revolution in hair color has taken place, and the new mantra is one of acceptance and artistry: blending, not covering.
The secret weapon in this modern approach? Highlights. Far from the chunky, dramatic streaks of the past, today’s highlights are a nuanced tool used to seamlessly integrate silver strands with your natural base color. This technique, often referred to as “grey-lighting” or “growing out gracefully,” allows for a softer, more natural transition. It adds dimension, brightens the complexion, and drastically reduces the frequency of salon visits.
Whether you have a sprinkling of salt and pepper or a full head of silver, the right highlighting strategy can turn your gray into an asset rather than an issue. In this guide, we will explore 10 structured ideas to help you blend your gray hair with highlights, covering everything from placement to tone, ensuring your transition is as stunning as it is low-maintenance.
10 Structured Highlighting Ideas for Blending Gray Hair:
1. The Classic Face-Frame (The “Money Piece”)
The Concept: This focuses on the hair framing your face—the front sections that naturally lighten first.
How it Works: By applying bright, fine highlights around the hairline and crown, you create a bright halo effect. This ensures that the grays around your face blend naturally, softening the contrast with your darker base.
Best For: Anyone who wants to brighten their complexion and look instantly younger without committing to a full head of highlights.
2. The Natural “Salt and Pepper” Blend
The Concept: Matching the highlight tone to your existing gray pattern.
How it Works: Your colorist will use fine weaves and baby lights (very thin highlights) to mimic the natural, random distribution of gray. The goal is to create a “lived-in” look where the highlights don’t look like stripes but a natural evolution of your color.
Best For: Women with a high percentage of gray (50% or more) looking for a seamless “grow out” from full color.
3. The Ash Blonde Transformation
The Concept: Lighting up the entire head to match the coolness of the gray.
How it Works: If your natural base is dark and your gray is stark white, this involves lifting the base color to a cool, ashy blonde level. The highlights are then placed to break up the evenness, using cool, silver, or pearl tones.
Best For: Those ready to embrace a mostly blonde or silver palette, leaving very little dark hair showing.
4. Lowlights for the Silver Fox
The Concept: Adding depth back into a head of white or silver hair.
How it Works: This is the reverse approach. For those who have already gone fully gray or white, hair can often look flat or “washed out.” Lowlights (darker pieces) are painted in to mimic the shadows of your original hair color, adding dimension and contrast.
Best For: Women with a full head of white or silver hair who feel it lacks depth or makes them look pale.
5. The “Sombré” (Soft Ombré) Gray Transition
The Concept: A gentle gradient from dark to light.
How it Works: The color is darker and heavier at the roots and gradually transitions into lighter, gray-blended ends. This is the ultimate low-maintenance option, as the “rooty” look is the goal.
Best For: Those who are tired of the harsh line of regrowth and want to extend time between salon appointments to 4-6 months.
6. The Icy Platinum Melt
The Concept: A high-fashion blend of cool tones.
How it Works: This involves melting a cool-toned platinum blonde into your natural gray. The result is a chic, edgy, and incredibly modern blend that eliminates any yellow or brassy tones often found in gray hair.
Best For: Women with a cool skin tone (pink or blue undertones) who want a dramatic, fashion-forward look.
7. The Warm Caramel Contrast
The Concept: Using warmth to combat a “washed out” complexion.
How it Works: Instead of matching the gray, this technique uses face-framing caramel, honey, or butterscotch highlights to add warmth. When placed strategically, the golden tones blend with the gray to create a beautiful, multi-dimensional “bronde” (brown-blonde) effect.
Best For: Women with warm skin tones (yellow or golden undertones) or those with darker brown hair who want a softer transition.
8. Root Shadow & Fine Highlights
The Concept: Hiding the line of demarcation.
How it Works: A demi-permanent gloss or dye is applied at the roots to “shadow” the area. This darkens the regrowth slightly, so when paired with fine highlights that match the gray, the line between new growth and colored hair disappears completely.
Best For: Anyone with a significant amount of regrowth who wants to stretch their salon visits to the absolute limit.
9. The Blonde “Tonal” Highlight
The Concept: Erasing brassiness to match the gray.
How it Works: Many women who try to grow out gray from blonde hair find the old blonde looks yellow compared to the bright new gray. This technique involves refreshing the blonde highlights with a very cool, violet-based toner, blending them directly into the gray.
Best For: Natural blondes transitioning to gray.
10. The “Strategic Panel” Highlight
The Concept: Chunky modern sections that look intentional.
How it Works: While “blending” usually implies subtlety, large panels of bright blonde or silver placed on the top layer and around the face can be used to disguise large pockets of gray. This creates a trendy “block color” effect that actually masks the regrowth.
Best For: Those with a bold, confident style who want to minimize root maintenance while making a statement.
How to Choose the Right Technique (The “Consultation” Section)
Before you book your appointment, consider these three factors to narrow down your choice:
Your Base Color:
Blonde Base: Opt for cool “Tonal” or “Icy” highlights.
Light Brown Base: “Sombré” or “Salt and Pepper” blends work best.
Dark Brown/Black Base: “Caramel Contrast” or “Face-Framing” are ideal to soften the transition.
Your Gray Percentage:
Under 30%: Face-framing or fine baby lights are perfect.
30%-70%: Root shadowing with fine highlights is the holy grail.
Over 70%: Consider lowlights to add depth or the “Silver Fox” approach.
Your Maintenance Desire:
Low Maintenance: Root Shadow + Sombré (visit every 4-6 months).
Medium Maintenance: Tonal Highlights or Panel highlights (visit every 10-12 weeks).
High Maintenance: Full Platinum Card (visit every 6-8 weeks).
The Maintenance Plan
Blending gray hair successfully doesn’t end in the salon. Here is how to keep it looking fresh:
Purple Shampoo is Non-Negotiable: Use it once a week to banish yellow/brassy tones and keep the gray and highlights bright.
Toning Gloss: Between salon visits, use a clear or silver-toned gloss at home to add shine and keep the hair looking healthy.
Heat Protection: Gray hair often becomes coarser; always use a heat protectant before styling to prevent breakage.
Schedule the Next Appointment: Don’t wait until you hate your roots. Book your next touch-up at the end of your current appointment to lock in the schedule.
Conclusion
Blending gray hair with highlights is more than just a color technique; it is a mindset shift. It moves us away from the anxiety of “covering up” and toward the confidence of “enhancing what we have.” It is about embracing the natural texture and wisdom that gray hair represents, while using modern artistry to ensure it looks intentional, dimensional, and incredibly flattering.
Whether you opt for the subtle brightness of a face-frame or the edgy transition of an icy platinum melt, the goal is the same: to simplify your routine and amplify your beauty. Remember, the best approach is a collaborative one—consult with a professional colorist, bring these ideas to the table, and find the blend that makes you feel like the best version of yourself. Aging is inevitable, but looking “done” is a choice; choose the look that lets you shine.
The shoulder-length haircut is the Goldilocks of hairstyles—not too long to be high-maintenance, yet not too short to limit your styling options. It’s the versatile sweet spot that flatters virtually every face shape and hair texture. But what truly elevates this length from simple to sensational? The answer is layers.
Layers are the secret weapon of hairstylists. They inject movement, remove excess weight, add volume where needed, and create a shape that frames your face beautifully. Whether you have fine, straight hair craving body, or thick, curly hair needing a lighter feel, the right layering technique can be transformative. This guide will walk you through 13 distinct, well-structured layered shoulder-length hairstyles, complete with styling tips to help you find the perfect cut for your next salon visit.
Here are 13 distinct styles, broken down by hair texture and styling preference, to help you find your perfect match.
For Fine & Straight Hair (Adding Volume and Body)
1. The “Butterfly” Cut
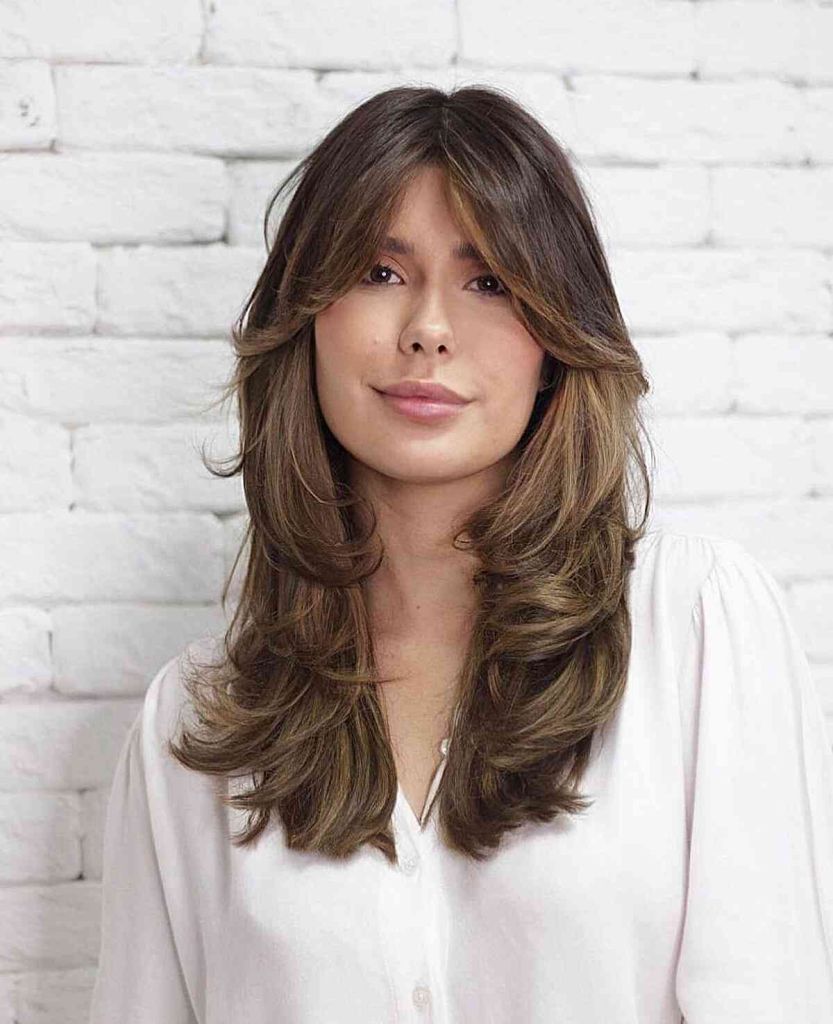
The Cut: This viral trend features a top-heavy layer of shorter, face-framing pieces (the “wings”) that blend into longer layers at the back. It creates a rounded, voluminous silhouette at the crown.
Styling: Blow-dry with a round brush, lifting the roots. Curl the face-framing pieces away from your face for a flattering, feathered effect.
Best For: Adding dramatic volume to fine hair and softening angular face shapes.
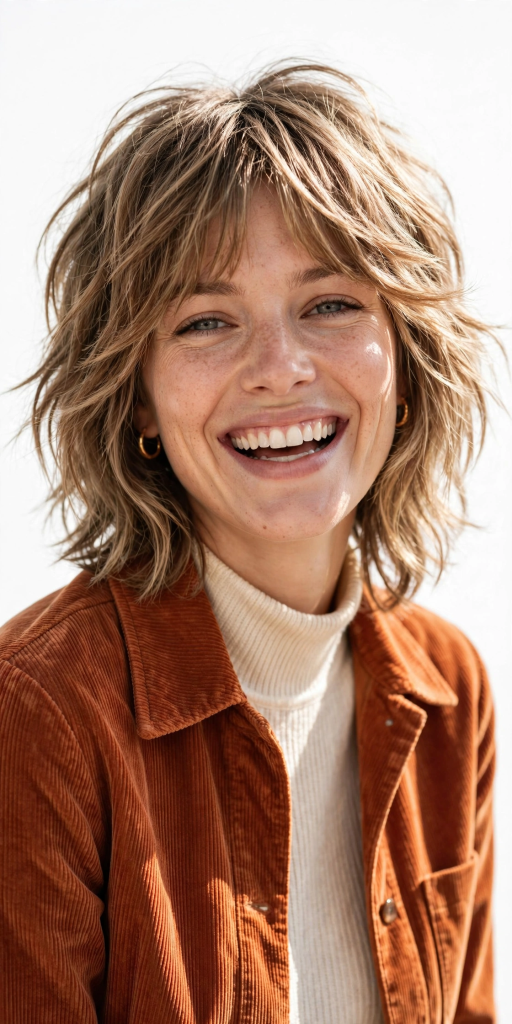
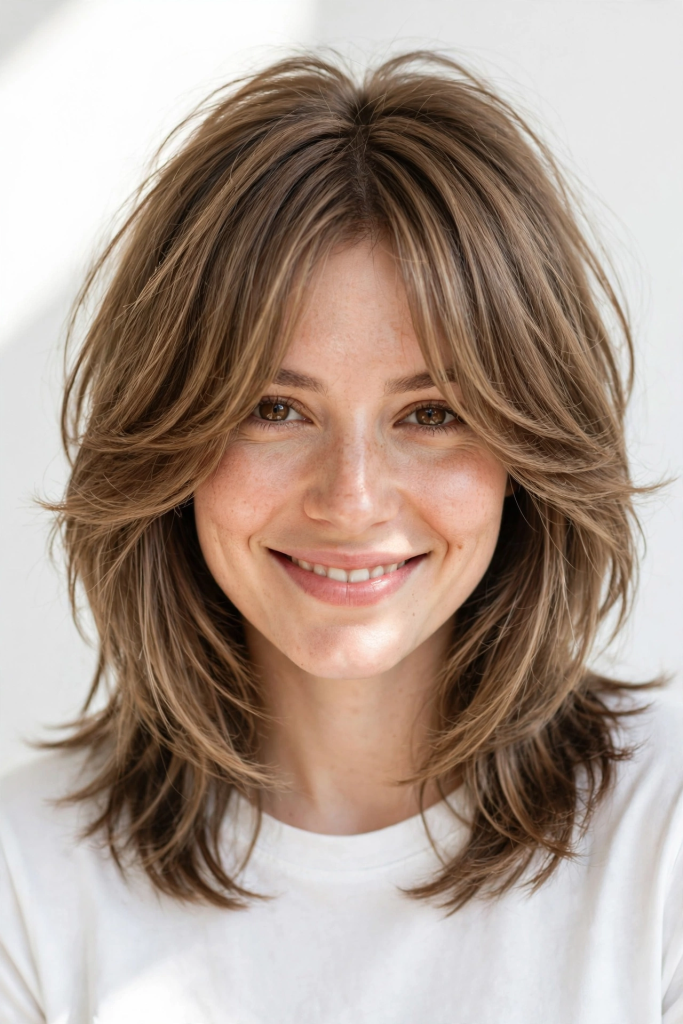
2. Textured Shag
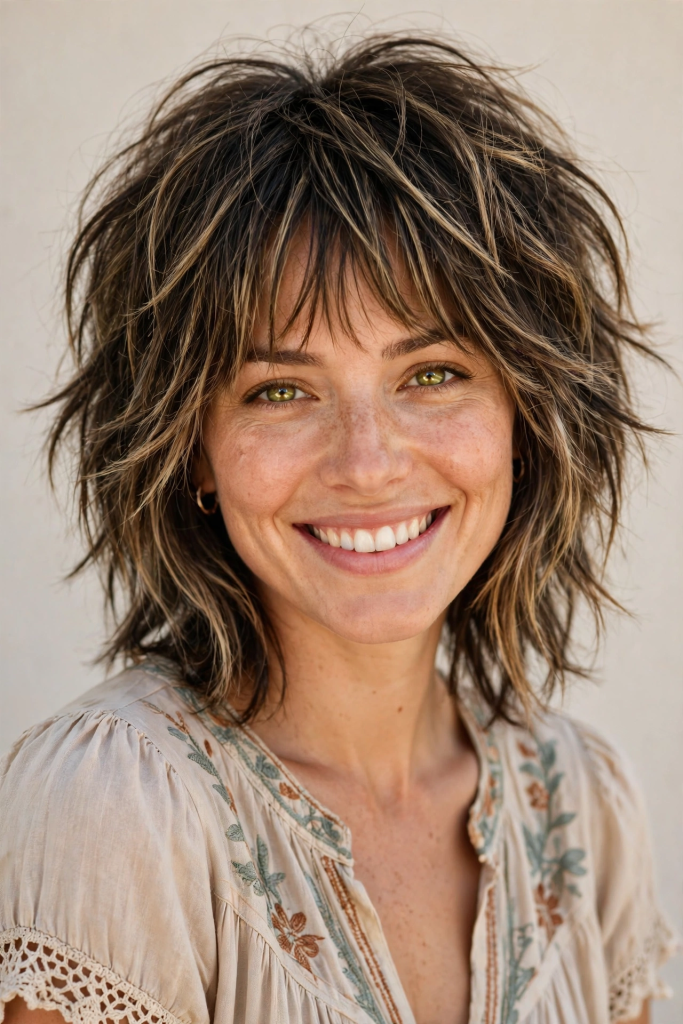
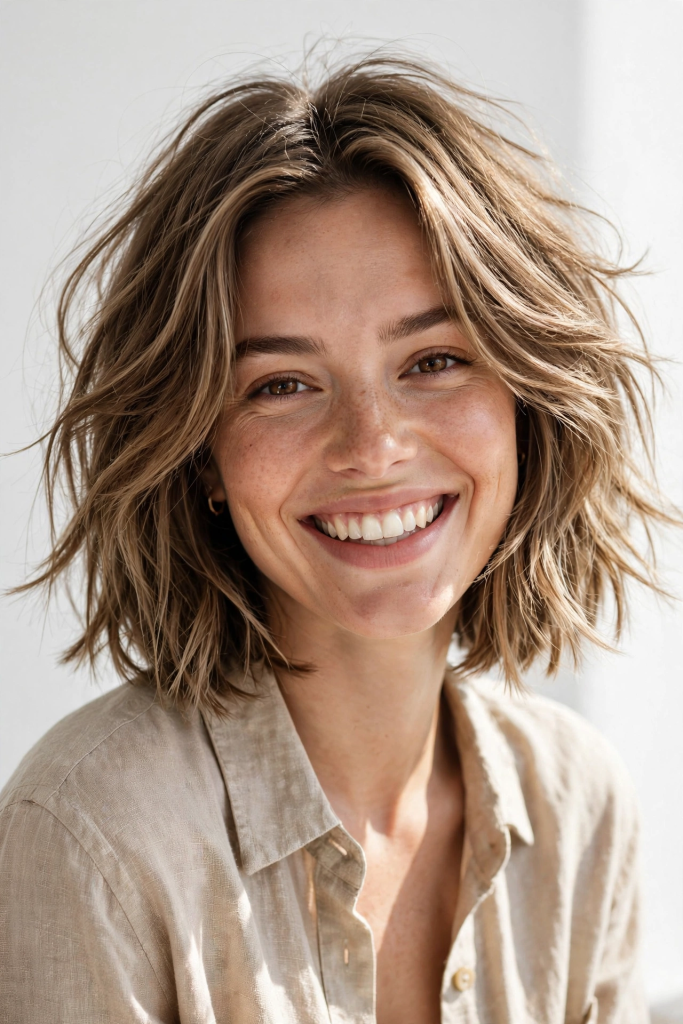
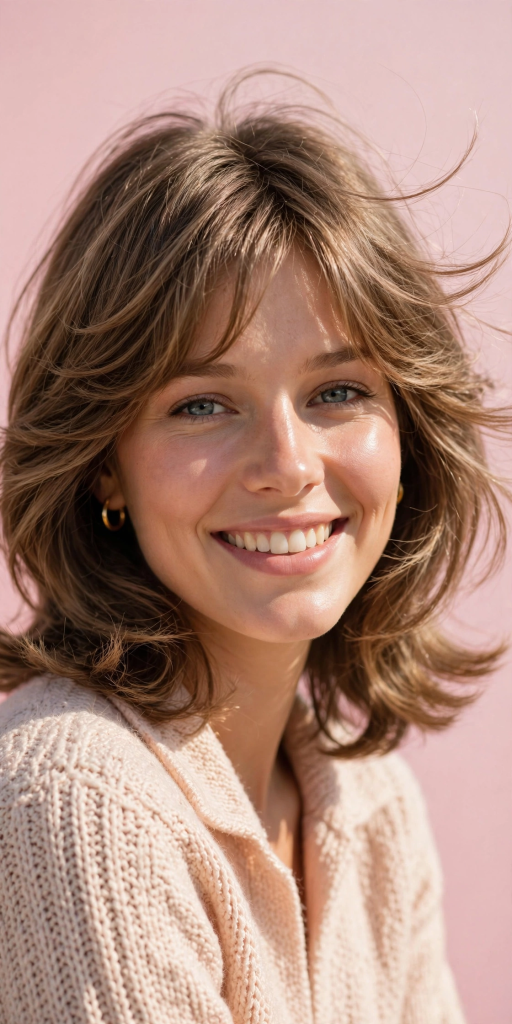
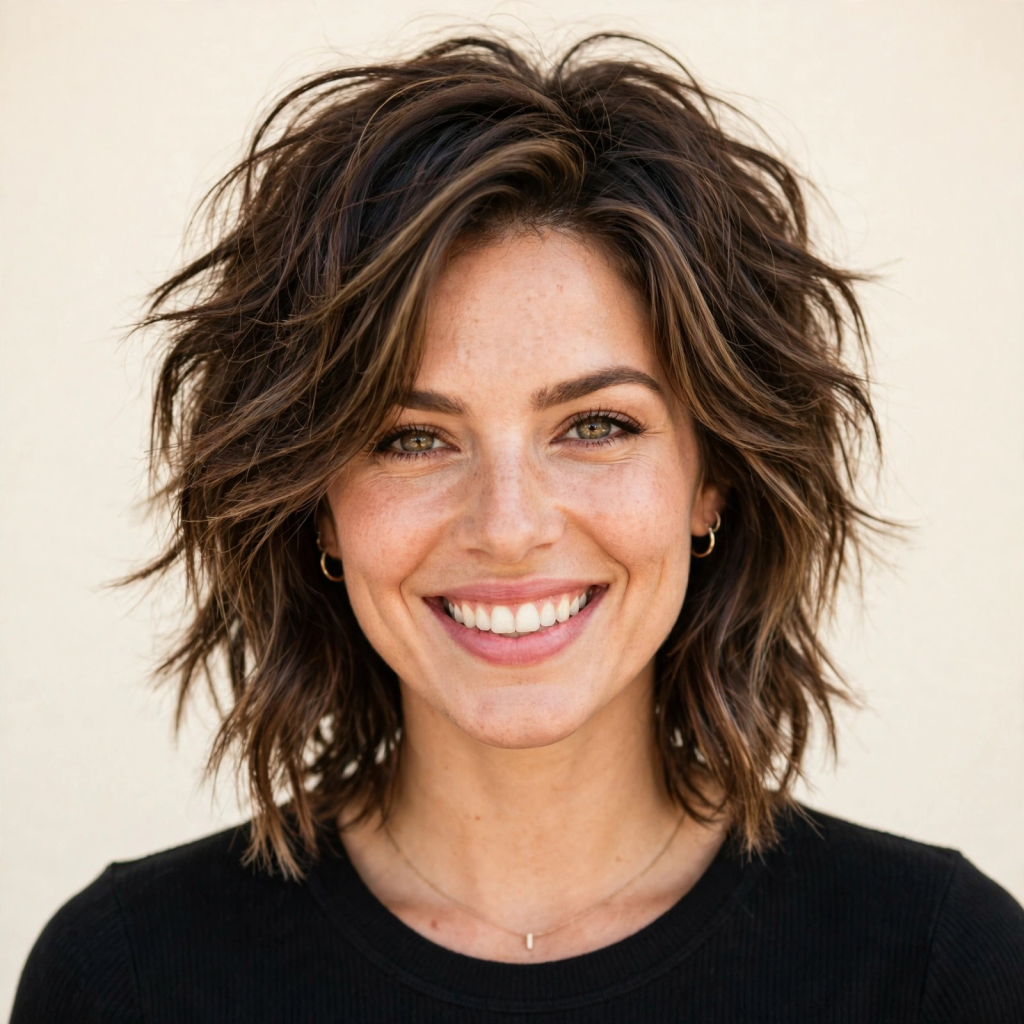
The Cut: Inspired by the 70s, this modern shag features choppy, heavily textured layers throughout. It often includes a wispy fringe and relies on disconnected, piece-y ends.
Styling: Apply a texturizing spray or sea salt spray to damp hair and let it air dry for an effortlessly cool, lived-in look.
Best For: Fine hair that lacks natural movement, as the choppy layers create an illusion of thickness and dimension.
3. Classic Long Layers
The Cut: A subtle, timeless approach where the layers are cut from the chin downwards. This removes bulk without sacrificing the overall length, and the longest layer just grazes the shoulders.
Styling: This is the perfect canvas for sleek, straight styles. Use a flat iron and a shine serum for a polished, glossy finish.
Best For: Those who want a low-maintenance haircut that is simply healthier and more manageable than a blunt cut.
4. Face-Framing Layers with Curtain Bangs
The Cut: The layers are concentrated around the face, starting at the cheekbones and jawline. Combined with a curtain fringe that parts in the middle, this style beautifully highlights your features.
Styling: This style thrives with a blowout. Use a large round brush to curl the bangs and face-framing pieces outward.
Best For: Round or square faces, as the layers visually elongate the face and soften the jawline.
For Thick & Wavy/Curly Hair (Removing Bulk and Defining Curls)
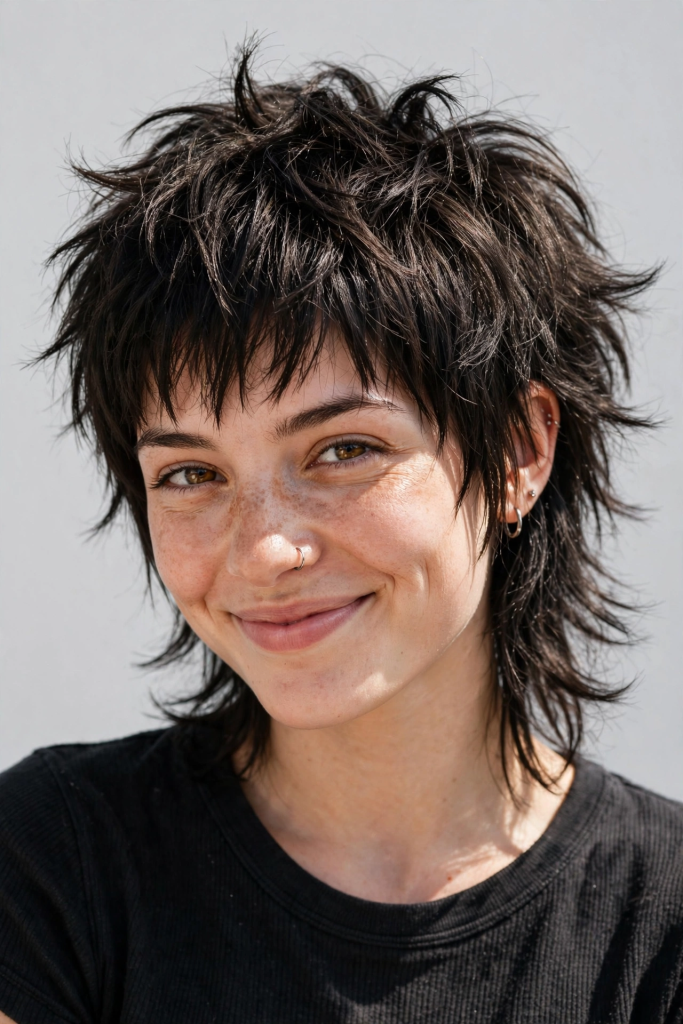
5. The “Wolf” Cut
The Cut: An edgier, more untamed version of the shag. It features heavy layering on the top and around the crown, with wispier, thinner ends. It’s a “mullet-meets-shag” hybrid.
Styling: Enhance natural texture by scrunching in a curl cream or mousse and letting it air dry. The layers will naturally fall into place.
Best For: Wavy to curly hair types looking for a bold, rock-and-roll style that removes significant bulk.
6. Long Curly Layers
The Cut: Hairstylists “point cut” or “slide cut” the ends to create layers that remove weight without creating a “pyramid” shape. The layers are longer and maintain the curl’s natural spring.
Styling: Apply leave-in conditioner and a defining gel. Diffuse or air dry to encourage the curls to clump together and reduce frizz.
Best For: Thick, voluminous curls that need weight removed while maintaining shape and definition.
7. Invisible Layers
The Cut: A very internal technique where layers are cut deep inside the hair, not on the surface. This removes bulk and weight but doesn’t change the outer appearance of the length.
Styling: This is the ultimate “wash-and-go” cut. You just style your hair as you normally would, and it will naturally fall better.
Best For: Very thick, heavy hair that needs to be thinned out but maintains a uniform, one-length look.
8. Razored Layers
The Cut: Using a razor instead of shears creates a soft, wispy texture. The layers are less precise and more blended, which works wonders for waves.
Styling: Use a curling wand to enhance the waves for a tousled, bohemian look, or let it air dry for a soft, natural beach wave.
Best For: Medium-thick wavy hair that needs texture and movement without a harsh line.
For All Hair Types (Looking for a Specific Style)
9. Blunt Lob with Internal Layers
The Cut: A sharp, blunt cut at the collarbone, but with subtle, hidden layers underneath. These internal layers create a slight bend and movement, preventing the style from looking heavy and flat.
Styling: Blow-dry smooth with a paddle brush for a sleek, elegant look. The subtle movement will show through.
Best For: Anyone wanting the chic, on-trend “lob” (long bob) look but with slightly more manageability.
10. The “Flipped” Layered Cut
The Cut: Intentionally cut with shorter layers underneath and longer ones on top, creating a stack that encourages the ends to flip outward or inward.
Styling: This cut is made for a 90s blowout. Use a round brush to curl the ends outwards for a chic, retro vibe.
Best For: A fashion-forward look that adds instant body and a touch of retro glamour.
11. Asymmetrical Layered Cut
The Cut: One side is cut slightly shorter than the other. Layers are added to enhance the asymmetrical shape and create a dynamic, modern edge.
Styling: Sleek and straight shows off the sharpness of the cut best. Use a flat iron for a high-shine finish.
Best For: An edgy, contemporary style that frames the face and draws attention to the jawline.
12. The “Bixie” (Bob + Pixie)
The Cut: This is a shorter shoulder-length style. It has the volume and texture of a pixie but the length of a bob, extending just past the ears to the chin, with heavily textured layers throughout.
Styling: Messy and piece-y. Use a wax or pomade to define the ends and create a textured, undone look.
Best For: Those wanting to go short but not “short-short,” and for adding massive volume to fine hair.
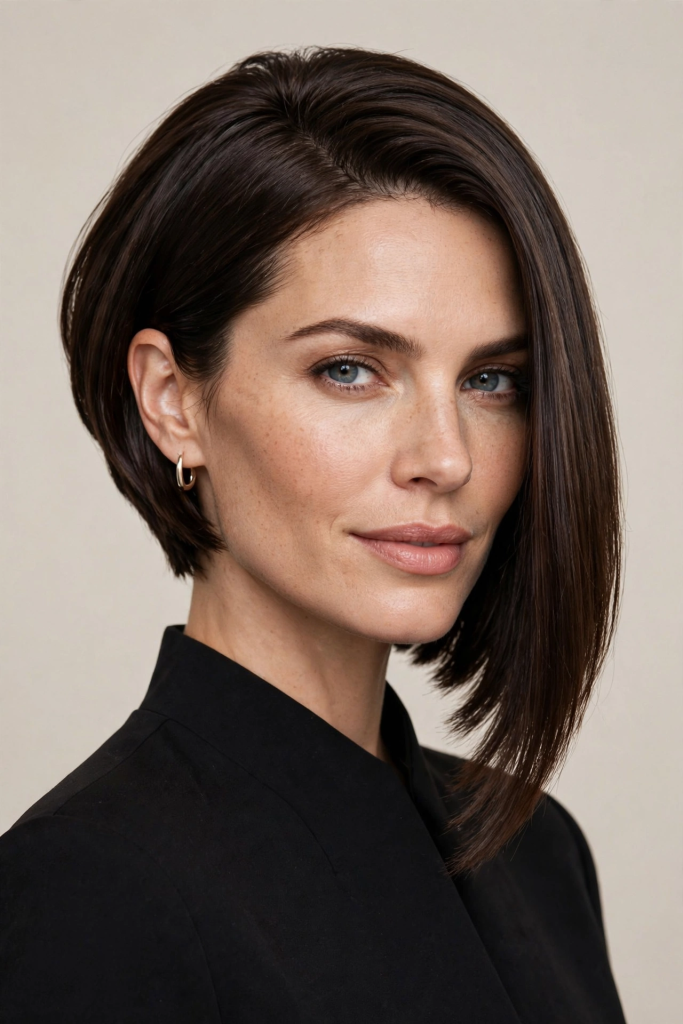
13. Sleek & Sharp Layers
The Cut: A single, long layer that is cut at a sharp, steep angle, framing one side of the face more than the other. It’s a polished, architectural version of a layered cut.
Styling: Must be blow-dried and straightened to perfection. A high-gloss serum is essential for a glass-hair effect.
Best For: A high-fashion, sophisticated look, perfect for the office or a formal event.
How to Choose the Right Layers for You
Choosing the perfect layered cut is about more than just picking a picture. Here’s a quick guide to help you decide.
1. By Face Shape:
Oval: You’re lucky! Almost any layering style works.
Round: Opt for long, face-framing layers that start below the chin to elongate the face. Avoid short, blunt layers at the jawline.
Square: Soft, wispy layers and curtain bangs that hit around the cheekbones will soften a strong jawline.
Heart: Choose layers that are heavier around the jawline to balance a wider forehead and narrower chin.
Long: Consider shorter layers on the top and sides to add width and volume, avoiding long, heavy layers that drag your face down.
2. By Hair Texture:
Fine: Go for blunt cuts with internal or top-heavy layers to create volume. Avoid over-layering, which can make hair look wispy and thin.
Thick: Thick hair needs internal or deep layers to remove weight. A wolf cut or razor cuts work beautifully to thin out the bulk.
Curly/Wavy: Emphasize long, shape-retaining layers (like the curly layers or invisible layers) to allow curls to bounce without creating a triangular shape.
3. By Lifestyle:
Low Maintenance: Choose styles you can air-dry. Invisible layers or the classic long layers are perfect for a “wash-and-go” lifestyle.
High Maintenance/High Style: If you love styling your hair, a butterfly cut, flipped layers, or the sleek, sharp layers will give you the best canvas for your heat tools.
Styling & Maintenance Tips
Essential Products: A good volumizing mousse (for fine hair), a texturizing spray (for wave/curl definition), and a smoothing serum (for sleek looks) are must-haves.
Styling Tools: A large round brush (for volume), a paddle brush (for smoothing), and a ceramic straightener/curling wand are your best friends.
At-Home Tips:
For Volume: Blow-dry your hair upside down.
For Waves: Twist your hair into a bun while damp and let it dry.
For Texture: Don’t be afraid to mix wet and dry products for a “second-day” look.
Maintenance Schedule: To keep layers looking fresh and sharp, plan for a trim every 6 to 8 weeks. This prevents the ends from looking straggly and maintains the shape of your cut.
Conclusion
Layered shoulder-length hairstyles offer an incredible range of possibilities, proving that this “middle length” is anything but boring. Whether you’re drawn to the bouncy volume of a butterfly cut, the edgy texture of a modern shag, or the refined elegance of a blunt lob with hidden layers, there is a style perfectly suited for you.
The key is to consider your hair’s natural texture, your face shape, and your daily routine. By choosing a cut that works with your hair, not against it, you’ll unlock a level of manageability and style you never thought possible. So, take this guide to your stylist, have a conversation, and get ready to fall in love with your hair all over again. Your most versatile, flattering cut is just a salon visit away.
For decades, grey hair was treated as something to hide—a tell-tale sign of ageing that needed to be “corrected” with full-coverage dye. But the conversation has shifted dramatically. Today, grey isn’t a problem to solve; it’s a colour to celebrate. And one of the most sophisticated ways to do that is with strategically placed highlights.
The beauty of grey highlights for older women lies not in covering up your natural silver, but in enhancing it. As celebrity colorist Chase Kusero puts it, “I love working with grey hair because it creates such a chic, natural base to build on” . The right highlights can add dimension, brighten your complexion, soften fine lines, and transform a flat or “salty” look into something intentional, modern, and powerfully elegant .
Whether you’re in your forties and just starting to see silver strands appear or you’re fully grey and craving a refresh, this guide will walk you through 17 well-structured ideas, expert-backed advice on choosing the right tones, and practical maintenance tips.
17 GREY HIGHLIGHT IDEAS FOR OLDER WOMEN
The following ideas are organised by technique and effect, making it easy to find a style that suits your base colour, hair texture, and personal aesthetic.
1. Grey Blending with Soft Silver Highlights
For: Women transitioning to grey or those who want a natural, seamless look.
Grey blending is the technique that’s taking the hair world by storm . It involves integrating your natural grey with lighter and darker strands to create a multi-tonal, seamless finish. Instead of hiding the grey, you’re turning it into a sophisticated feature . Soft silver highlights blend effortlessly into natural grey, adding light and movement without looking “done.” This is perfect for medium to long hair with waves .
2. Face-Framing “Money Piece” Highlights
For: Anyone wanting a youthful glow with minimal commitment.
This technique involves placing brighter highlights only on the front strands that frame your face. It brightens your complexion, draws attention to your eyes, and can make your face look slimmer . A silver or champagne money piece on dark hair creates a striking but soft contrast . Celebrity examples like Kelly Hu show how face-framing silver melts beautifully into a darker base .
3. Warm Blonde or Champagne Highlights
For: Women with warm skin undertones who find cool greys harsh.
If cool-toned silver washes you out, consider warmth. Honey, champagne, or soft beige highlights can “take years off your appearance without screaming ‘I’m trying to look younger’” . Celebrity colorist Richy Kandasamy loves using champagne tones for grey blending because they “soften the contrast while still looking polished and dimensional” . This option is particularly flattering for those with warm or neutral complexions .
4. Salt and Pepper with Ash Lowlights
For: Those wanting a modern, edgy look with depth.
The classic salt-and-pepper look gets a modern upgrade with ash-toned lowlights. Rather than just adding lighter pieces, incorporating deeper charcoal, smoky grey, or “mushroom” brown lowlights creates contrast and makes your hair look fuller . This is especially helpful if you have fine or thinning hair, which is common after 50 .
5. Ash Blonde Highlights on Grey Hair
For: A sophisticated, cool-toned aesthetic.
Ash blonde highlights are sophisticated and blend beautifully into grey hair while helping neutralise any unwanted yellow tones. This option is great if your grey tends to look dull or flat—the highlights add dimension without adding warmth, keeping the overall look refined . Pair this with a blunt bob for maximum impact.
6. Pearl or Icy Silver Highlights
For: Hair that’s leaning more white or snow-silver.
Pearl highlights are soft, luminous tones that add shine and elegance, almost like a natural glow effect . If your texture has changed and feels drier, pearl highlights reflect light beautifully, making hair look healthier and more vibrant. This look is breathtaking on shorter cuts like pixies or cropped bobs . For a bolder look, smoky grey with icy highlights is a fashion-forward choice that’s dramatic yet sophisticated .
7. Chunky Grey and Blonde Highlights
For: A retro-inspired, confident statement.
Chunky highlights, popular in the 90s, are making a comeback—but with a modern twist. Today’s chunky highlights often incorporate different shades (grey, blonde, silver) and techniques like balayage to create a more natural, seamless look . This style visibly makes hair look fuller and is a great option for darker bases .
8. Peekaboo Highlights
For: Those who want an edgy, surprising element.
This technique applies the grey colour to the bottom layer of your front strands. When you run your fingers through your hair or create curls, the shade “peeks” through the top layer, adding a pop of unexpected colour . It’s an excellent way to experiment with grey without a full commitment.
9. Balayage for Low Maintenance
For: Women who don’t want frequent salon visits.
Balayage is a freehand painting technique that creates a soft, graduated, natural-looking transition. Because the highlights are focused at the ends and painted subtly through the mane, there’s no harsh line of demarcation as your roots grow out . A grey balayage allows you to extend time between appointments significantly .
10. Ombré from Black to Grey
For: Dark-haired women wanting a striking, gradual change.
Fans of grey highlights on dark hair who want minimal maintenance should consider a black-to-grey ombré. The black base gradually transitions into grey at the ends, creating a stunning gradient. Since your roots remain your natural colour, you won’t need rushing to the salon for touch-ups .
11. Highlighted Ends Only
For: Rounder face shapes and medium-length hair.
Highlights don’t have to start at the scalp. Applying them only to the lower section of your hair creates a playful, bouncy effect. This style is particularly flattering on women with rounder faces and medium hairstyles .
12. Grey Highlights on a Short Pixie Cut
For: Women with fine hair or those wanting a confident, low-maintenance cut.
Short hair and highlights are a powerful combination. Highlights add texture and dimension, making a pixie or cropped bob look intentional and chic rather than plain . They also reflect light, which can make thinning hair appear fuller and define layers . A short spiky pixie with grey tips adds a badass, subtle depth .
13. Copper or Red Tones with Grey Highlights
For: Redheads or those with warm auburn bases.
If you’re a natural redhead or have auburn hair, subtle copper, strawberry blonde, or golden highlights can help greys blend naturally while adding warmth and dimension . The richness of reds is balanced by grey strands for a harmonised look .
14. Mocha or Beige Highlights
For: A soft, neutral look that tones down stark grey.
Beige or mocha highlights are soft, neutral, and incredibly flattering. They tone down stark grey while adding warmth and brightness. This is a great option if pure silver washes you out, bringing balance and softness, especially for mature skin .
15. Salt and Pepper with Silver and White Streaks
For: Long hair lovers wanting an eye-catching colour.
Featuring a combination of black, grey, silver, and white, this creates an eye-catching look that’s best showcased with waves or curls. It’s a more dramatic take on the traditional salt-and-pepper .
16. Silver Babylights on Ash Brown Hair
For: A sun-kissed, subtle effect.
Babylights are ultra-fine highlights that mimic the natural lightening of hair from the sun. Adding silver babylights to an ash brown base gives an all-over lighter, cooler head of hair that’s incredibly natural .
17. Dimensional Silver with Lowlights and Highlights
For: Full-grey women wanting to mimic natural depth.
If you have 100% grey or white hair, adding a combination of highlights and lowlights is crucial for dimension. Celebrity colourists recommend using deeper, dimensional lowlights to “reintroduce richness and contrast” into the overall look, preventing it from appearing flat . This is how Andie MacDowell’s stunning silver looks so rich .
HOW TO CHOOSE THE RIGHT HIGHLIGHTS
Before heading to the salon, consider the following expert-backed factors:
Skin Undertone: If you have warm undertones, opt for golden, beige, or champagne highlights. If you have cool undertones, silver, ash, and icy tones will be more flattering .
Maintenance Level: If you dislike frequent salon visits, ask for balayage, ombré, or grey blending techniques. These grow out gracefully and require fewer touch-ups .
Hair Texture: Fine hair benefits from dimension (highlights and lowlights) to create the illusion of fullness. Thick hair can handle more contrast .
Your Personal Style: Be honest with your stylist about whether you want a classic, modern, edgy, or relaxed look .
MAINTENANCE TIPS FOR GREY HIGHLIGHTS
Use Purple Shampoo: To keep your silver and grey highlights looking bright and to neutralise brassiness, use a violet-toning shampoo once a week .
Hydrate Regularly: Mature hair often has less elasticity and shine. Prioritise moisturising shampoos, conditioners, and leave-in treatments .
Gloss or Toner: A gloss or toner treatment between salon visits can neutralise warmth and boost shine .
CONCLUSION
Grey hair is no longer a sign of giving up—it’s a statement of confidence, wisdom, and authentic style. As hairstylist Vipul Chudasama says, “Grey blending shifts the conversation from hiding to working with what you have” .
Whether you choose subtle babylights, bold chunky streaks, or warm champagne tones, the goal is the same: to make your grey look intentional, beautiful, and uniquely you. The days of fighting the silver are over. Now is the time to embrace it, elevate it, and let it shine. Book a consultation with a colourist who specialises in grey blending, bring your favourite ideas from this list, and get ready to fall in love with your hair all over again .
For women with fine hair, the quest for the perfect hairstyle can often feel like a balancing act. You want length and femininity, but too much hair can weigh your strands down, leaving you with a look that is flat and lifeless. On the other hand, going too short can feel drastic and limit your styling options.
Enter the shoulder-length haircut—the ultimate “Goldilocks” solution for fine hair. It’s the perfect middle ground. This versatile length provides just enough weight to allow for beautiful movement and styling, without being heavy enough to drag your roots down. It offers the perfect canvas for creating texture, body, and the illusion of fuller, thicker hair.
Whether you prefer a sleek, polished look, effortless waves, or a choppy, edgy cut, this guide will walk you through the best shoulder-length hairstyles for fine hair, complete with 18 well-structured ideas to inspire your next salon visit.
The Golden Rules for Shoulder-Length Fine Hair
Before we dive into the ideas, it’s crucial to understand the “why” behind these styles. Here are the golden rules for any shoulder-length cut on fine hair:
Layering is Your Best Friend: Strategic layers are the key to removing weight and adding movement and volume.
Avoid Blunt, Heavy Ends: A heavy, one-length cut will pull the hair down and make it look thinner. Textured ends are a must.
Root Volume is Everything: The cut should encourage and support volume at the roots.
Work with Your Natural Texture: Fighting your natural wave or curl is a losing battle. Find a cut that complements it.
Regular Trims are Non-Negotiable: Fine hair shows split ends more readily, making it look wispy and unhealthy. Trim every 6-8 weeks.
Here are 18 fantastic ideas, categorized by their primary styling technique or benefit.
Category 1: The Textured & Choppy Looks (For Maximum Volume)
1. The Shag Cut:
A modern shag with choppy layers, wispy bangs, and a lot of texture is a powerhouse for fine hair. The layers create so much movement and volume that the hair appears significantly thicker and fuller.
2. The Soft, Textured Lob:
A classic long bob (lob) is elevated with lots of internal layering and a textured, point-cut finish at the ends. The weight is removed from the bottom, creating a light, airy shape that bounces with every step.
3. The Feathered Cut:
Inspired by the 70s, the feathered cut features soft, wispy layers all around the head. This style is gently thinned to create a soft, ethereal look that moves beautifully and never looks heavy.
4. Piece-y Layers:
Ask your stylist for “piece-y” layers. This technique uses a texturizing shear to create disconnected, chunky ends. The separation between the pieces creates the illusion of volume and prevents the hair from clumping together into a flat sheet.
Category 2: The Face-Framing Favorites (For Instant Lift & Polish)
5. Face-Framing Layers:
This is a non-negotiable for any cut. Layers that start around the chin and cheekbones add instant shape and lift to the front of the hair, making it look fuller and drawing attention to your best features. It’s a simple addition with a massive impact.
6. The Curtain Bang Combo:
Long, wispy curtain bangs paired with a layered shoulder-length cut is a match made in heaven. The bangs part in the middle, sweeping to the sides to create volume at the crown and frame the face beautifully, all without adding heavy weight to the front.
7. The Long, Side-Swept Bang:
A deep side part with long, sweeping bangs is an instant volume booster. The elevation of the hair on one side creates height at the root, and the bangs add a stylish, asymmetrical element to the overall look.
Category 3: The Soft, Subtle Styles (For Elegance & Ease)
8. The “Invisible” Layer Cut:
For those who prefer a more classic and polished look, ask for a cut with subtle “invisible” layers. These are long, blended layers that are cut into the interior of the hair to add movement and volume without creating obvious, choppy steps. It’s the perfect low-maintenance option.
9. The Rolled Under Lob:
Style a blunt-cut lob with the ends gently rolled under using a round brush and a blow-dryer. This creates a classic, polished silhouette that gives the appearance of thicker, denser ends, masking fine, wispy tips.
10. The Wet-Look Blowout:
This is a fantastic styling trick rather than a specific cut. After washing, apply a lightweight gel, brush the hair smooth, and let it air dry or use a diffuser on low heat. The slicked-back look gives a sleek, modern finish that makes the hair appear denser and more uniform.
Category 4: The Wave & Curl Champions (For Effortless Body)
11. The Beachy Wave Lob:
The ultimate low-maintenance style. A lob with long layers is perfect for effortless, textured beach waves. The layers provide the perfect foundation for the waves to hold their shape, and the wavy texture instantly adds volume and body. Use a salt spray for best results.
12. The Bendy, S-Wave:
For a softer, more polished look, create loose, “S” shaped waves with a wide-barrel curling iron. This soft bend adds volume without making the hair look too curly or messy. It’s a sophisticated and voluminous style for any occasion.
13. The Slightly Messy Curl:
If you have naturally curly or wavy fine hair, a shoulder-length cut is a blessing. By removing weight, your curls will spring up to their full potential, looking bouncier, fuller, and more defined. A shag or layered cut is ideal for this.
Category 5: The Styling Tricks (To Maximize Volume)
14. The Volumizing Blowout:
This is a technique as much as a style. Using a volumizing mousse at the roots and a large round brush, blow-dry sections of hair in an upward direction to create maximum lift at the scalp. Finish with a blast of cool air to set the volume.
15. Root-Lifted Half-Up Style:
A simple half-up style can create significant volume. Tease the crown section gently before gathering it into a small ponytail or twist. This lifts the hair off the face and instantly adds height and fullness at the top of the head.
16. The Pin-Curl Set:
For a glamorous, old-Hollywood look, set your damp hair in pin curls. After drying, you’ll have a head full of beautiful, voluminous waves that look incredibly thick and luxurious. This is a great overnight style for special events.
17. The Textured Ponytail/Pineapple:
When you need your hair out of your face, go for a high, messy ponytail or a “pineapple” topknot. By piling the hair on top of your head, you create instant volume and lift. Don’t smooth it down; embrace the texture!
18. The Accessorized Style:
Sometimes the best way to add volume is with a little help. A chic headband, a stylish scarf, or a bold barrette can visually add “width” to your hair and draw the eye away from any thinness. A well-placed accessory can be a fun and instant style upgrade.
FAQ: Everything You Need to Know
Q: Is shoulder-length hair better for fine hair than very long or short hair? A: Yes, for most people. Very long hair pulls down on fine strands, making them look flat. Very short hair can sometimes lack the weight needed to create shape. The shoulder-length “sweet spot” offers the best of both worlds.
Q: What should I ask my stylist for? A: Be specific. Say: “I have fine hair and want a shoulder-length cut that maximizes volume. I’d like layers for movement, but please keep the ends textured, not blunt. What style do you think would work best for my face shape and texture?”
Q: What products should I use for fine, shoulder-length hair? A: Stick to lightweight, volumizing products. Good options include:
Volumizing Mousse or Spray: Applied to wet roots for lift.
Texturizing Spray or Dry Shampoo: To add grip and texture to the mid-lengths and ends.
Lightweight Sea Salt Spray: For effortless, beachy waves.
A High-Quality Heat Protectant: To prevent damage.
Q: What should I avoid? A: Avoid heavy oils, butters, or serums that can weigh hair down. Also, steer clear of over-washing, which can strip natural oils and make hair look limp.
Conclusion
Choosing a shoulder-length hairstyle for your fine hair isn’t just about a shorter length; it’s a strategic decision to embrace volume, movement, and style. It’s the length that allows you to play with texture, experiment with layers, and create the full, bouncy hair you’ve always wanted.
Remember, the key is finding the right cut and style for your personal face shape and hair texture. Don’t be afraid to take these ideas to your stylist and have a conversation about what will work best for you. With the right cut and a few styling tricks up your sleeve, your fine hair can be transformed into your crowning glory.
There’s something undeniably magnetic about medium-length hair. It occupies that sweet spot—long enough to feel feminine and versatile, yet short enough to be practical and lightweight. Add layers into the equation, and you have a style combination that experts agree is “set to become one of the major hair trends of 2025-2026”.
Layered medium-length hairstyles have earned their reputation as the ultimate crowd-pleaser. Whether your hair is pin-straight, bouncy-wavy, or beautifully curly, layers introduce movement, dimension, and a fresh energy that transforms even the most lifeless strands into something spectacular. As one stylist puts it, layers are the “architecture for your hair”—they create volume at the top, texture in the middle, and softness at the ends.
The appeal goes beyond aesthetics. These cuts offer “a rare fluidity and versatility,” seamlessly transitioning from the office to sophisticated evenings without demanding a complete restyle. They suit all face shapes, hair textures, and lifestyles, making them a timeless investment rather than a fleeting trend. Whether you’re a busy professional seeking a polished yet low-maintenance look or someone craving a style refresh that won’t require hours in front of the mirror, layered medium-length haircuts deliver.
In this guide, we’ll explore 17 stunning layered styles, each broken down by styling tips, face shape suitability, and hair type compatibility. By the end, you’ll have all the inspiration you need to find your perfect cut.
17 Layered Medium-Length Hairstyles:
1. Feathered Layers
Feathered layers create a light, airy appearance with soft, wispy ends that blend seamlessly into one another. The cutting technique involves holding scissors at a 90-degree angle to produce that signature feathery effect. This classic style adds movement and texture while reducing bulk in thicker hair without sacrificing length.
Styling Tips: Apply volumizing mousse to damp hair before blow-drying with a medium-sized round brush. Finish with a lightweight texturizing spray to separate and highlight the feathered sections.
Best Face Shape: Oval and heart-shaped faces particularly benefit, as the softness complements cheekbones and jawlines. For round faces, start layers below the chin to create length.
Hair Type Compatibility: Works beautifully on straight to wavy hair textures. For thick or coarse hair, feathering reduces bulk while maintaining volume.
2. Angled Lob
The angled lob—a long bob that’s shorter at the back and gradually lengthens toward the front—offers the perfect middle ground between keeping length and gaining the benefits of a shorter style. It creates an illusion of more volume and movement, especially beneficial for finer textures.
Styling Tips: Keep it simple—this cut looks most chic when not over-styled. Air-dry with a slight natural wave, adding just a touch of pomade or styling spray. For extra definition, use a flat iron to create gentle bends around the face.
Best Face Shape: Round faces benefit as longer front pieces elongate and slim the face. Square faces look softer with this cut as it balances strong jawlines.
Hair Type Compatibility: Straight hair showcases the precise cutting line, while wavy or curly hair enhances the cut beautifully. For thick hair, the angle naturally reduces bulk.
3. Butterfly Cut
The butterfly cut features high-contrast layering that creates a face-framing effect resembling butterfly wings. Its distinctive two-tiered structure—shorter face-framing layers combined with longer lengths throughout—creates the illusion of having two haircuts in one. This cut gained significant attention when Kim Kardashian sported it at the 2026 Super Bowl.
Styling Tips: Use a round brush to direct shorter layers away from your face, creating that signature “butterfly wings” effect. For maximum volume, flip your head upside down while drying. Apply volumizing mousse at the roots and finish with a light flexible-hold hairspray.
Best Face Shape: Oval faces enjoy enhanced balance; heart-shaped faces benefit from longer layers beginning around chin length to soften wider foreheads; round faces appear more elongated with layers starting at the cheekbones.
Hair Type Compatibility: Straight hair gains movement and dimension, wavy hair naturally enhances the layered effect, and curly hair benefits as the layers remove weight, allowing curls to maintain bounce.
4. Textured Shoulder-Length Bob
This chin-to-shoulder length cut features ends cut softly to create natural movement without obvious layers. It looks intentional yet relaxed—short enough to appear fresh yet styled enough to look deliberate.
Styling Tips: Apply root lifting spray on damp hair, then use a texturizing spray or cream to enhance natural movement. For naturally wavy hair, simply scrunch in styling cream and air-dry with the front tucked behind ears to frame the face.
Best Face Shape: Heart and diamond faces can go shorter to showcase the jawline. For round or square faces, keep the length closer to the collarbones to soften angles or elongate the face.
Hair Type Compatibility: Works amazingly well on wavy and naturally curly hair since you can embrace your texture with minimal styling. Excellent for thin or fine hair as it creates the appearance of thickness and fullness.
5. Face-Framing Layers
Unlike full-layered cuts, these strategic shorter pieces are cut specifically around the perimeter of your face, creating definition that highlights your best features. They function as a personal spotlight, drawing attention exactly where you want it.
Styling Tips: Begin blow-drying at your neck, brushing upward with a paddle brush. When hair is 75% dry, switch to a round brush for smoothness and volume. Create two or three outward-facing curls on each side of your face.
Best Face Shape: Works regardless of face shape—layers can be customized to soften or accentuate any facial structure.
Hair Type Compatibility: Adaptable to virtually any cut, making it more flattering regardless of hair length or texture.
6. Soft Shag / Modern Shag
The Soft Shag is “the undisputed star of the moment,” according to expert hairdresser Delphine Courteille. Inspired by the 70s shag while remaining much lighter, it features mid-length layers around the face with subtle tiered cuts that offer natural volume and a feminine look without excessive blow-drying.
Styling Tips: A lightweight blow-dry cream and a round brush are usually enough to keep the shape polished. For wavy hair, scrunch in a little mousse and leave it to air-dry for that effortless “woke up like this” finish.
Best Face Shape: Particularly flattering on oval and heart-shaped faces. For round faces, the layers can be adjusted to create verticality.
Hair Type Compatibility: Ideal for fine or slightly wavy hair. Sophie Marceau is one of its most iconic ambassadors.
7. Clavicut
The Clavicut delicately grazes the collarbones with a straight line that requires impeccable technique. This cut gives immediate density to the hair and visually lengthens the neck while allowing for easy hair tying.
Styling Tips: This chic, minimalist look transcends seasons. Air-drying with a little foam is often enough to activate its light layers.
Best Face Shape: Universally flattering; particularly suited to those seeking a clean and versatile cut for everyday wear.
Hair Type Compatibility: Particularly suited to fine hair. For thick hair, it’s the ultimate “less is more” approach.
8. Midi Bob
The Midi Bob is an elongated version of the bob, falling between the chin and shoulders. Its low maintenance and sophisticated look make it an ideal option during a hair transition, without ever sacrificing style.
Styling Tips: One of 2026’s key shapes because it only needs light styling. Works equally well sleek or tousled, rough-dried or air-dried.
Best Face Shape: Flatters most face shapes.
Hair Type Compatibility: For straight or fine hair, minimal layering keeps fullness through the ends. Ask for subtle “ghost layers” if you want movement without losing weight.
9. Airy Layers / Invisible Gradient
The “Soft Layers” trend—also known as Airy Layers—relies on subtle layering that creates a fluid and natural movement without an overly structured effect. It reflects an evolution in beauty where the goal is to “enhance the natural texture of hair rather than radically transform it”. The lengths are worked gradually to create an impression of lightness with no harsh lines between strands.
Styling Tips: Air-drying with a little foam is often enough to activate its light layers. This cut is designed for women who want a relaxed yet sophisticated style.
Best Face Shape: Adaptable to all face shapes due to its subtle nature.
Hair Type Compatibility: Particularly recommended for thick hair to avoid a helmet-like effect. Also works well on straight, wavy, and curly textures.
10. Layered Hair with Curtain Bangs
Incorporating curtain bangs with medium layers offers a vintage, stylish look that’s “timeless and edgy,” skimming the cheekbones and showing off the face’s best features. The layers blend seamlessly into the bangs, creating a soft, flowing effect.
Styling Tips: Blow-dry curtain bangs with a small round brush and a light styling spray. Bangs need air, not weight.
Best Face Shape: Oval and round face shapes wear this cut well as curtain bangs can help elongate the face and add a sophisticated touch.
Hair Type Compatibility: Curtain bangs are far easier to live with than a full fringe and melt naturally into the rest of the cut as they grow, avoiding awkward in-between stages.
11. Wolf Cut
The Wolf Cut is a fusion of the mullet and the shag, concentrating volume at the crown and keeping the lengths tapered over the shoulders. It’s described as “bold, daring, and chic” when packed with subtle layers.
Styling Tips: This cut thrives on the right texture products. Apply a texturizing spray to enhance the choppy, lived-in effect.
Best Face Shape: Works well for those who love edgy, personality-driven styles. The volume at the crown can balance longer face shapes.
Hair Type Compatibility: Particularly flattering on wavy and curly hair, as layers remove weight and allow natural texture to shine.
12. Textured Lob (Long Bob)
A longer version of the bob, the textured lob creates “a lot of movement and character” thanks to its layered cut. It’s ideal for straight or wavy hair, subtly balancing sharpness and softness.
Styling Tips: Texturizing sprays are all that’s needed to enhance this cut. Air-dry or rough-dry for that effortless, “I woke up like this” finish.
Best Face Shape: Universally flattering; the textured lob works wonders for nearly all face shapes.
Hair Type Compatibility: Especially flattering on wavy hair—scrunch in a little mousse and leave it to do its thing. For straight hair, it adds instant movement.
13. Shaggy Layers with Bangs
Shaggy layers are all about bringing about an effortless, cool, relaxed appearance. This style consists of disproportionate and jagged layers that add a sporty touch to medium-length hair. When paired with side bangs, it creates a “mature, stylish look that is perfect for professional women”.
Styling Tips: Works well with curtain bangs or textured ends. Embraces a tousled, undone aesthetic without looking messy.
Best Face Shape: Wavy or curly hair girls can opt for this cut as the layers help manage and enhance natural texture.
Hair Type Compatibility: Excellent for adding movement and volume; manages and enhances natural waves and curls.
14. V-Cut Layers
V-cut layers form a V-like figure when seen from the back, creating a dramatic and long appearance. This style adds length, depth, and volume without reducing overall length—a bold but classy decision.
Styling Tips: For those who possess a flair for drama. The layers create a sleek and modern look.
Best Face Shape: Suitable for those who prefer a more polished, sophisticated look with minimal layering.
Hair Type Compatibility: Works well on various hair textures; the V-shape adds visual interest and movement.
15. Curly Layered Cut
For naturally curly-haired women, layered haircuts can emphasize and accentuate curls and help them not appear too bulky. Adding layers to medium-length curly hair “spreads the volume to make it appear balanced and flattering”. The cut should ideally be done on dry hair since curls shrink considerably after cutting.
Styling Tips: A diffuser preserves natural texture without frizz. A generous layering frees the curls without an undesirable triangular effect.
Best Face Shape: Face-framing layers can be customized to suit any face shape, softening features while maintaining curl integrity.
Hair Type Compatibility: Curly or frizzy hair—cutting on dry hair allows you to see the natural bounce and achieve a controlled result.
16. Blunt Cut with Soft Layers
This style combines a straight, blunt cut with subtle layers to add dimension while maintaining a clean, sharp edge. The blunt perimeter gives the haircut weight and presence, while the interior remains light enough to move.
Styling Tips: For upkeep, hydration is key. Keep thick strands smooth without flattening the shape. Less frizz means the cut does the talking.
Best Face Shape: Those who prefer a more polished, sophisticated look with minimal layering will appreciate this cut.
**Hair Type Compatibility: Perfect for thick hair that needs structure without heaviness.
17. Wispy Layers with Bangs
Wispy layers combine soft, airy layers with light, playful bangs. The hair is cut into layers that are light and textured, creating a soft, feathered effect that adds volume and movement without being too bulky.
Styling Tips: Wispy bangs are cut to be soft and light, often with a slightly uneven or tousled texture. They can be worn straight across, side-swept, or curtain-style depending on your preference and face shape.
Best Face Shape: Suitable for a variety of face shapes; the light texture adds softness and dimension.
Hair Type Compatibility: Best suited to straight or thin hair, providing some volume and movement without dominating the natural formation of the hair.
How to Choose the Right Layered Cut for You
Consider Your Face Shape
Face Shape
Recommended Approach
Oval
The most versatile—almost all layered cuts suit without a hitch
Round
Favor verticality and longer strands at the front; avoid excessive volume on the sides. Layers starting below the chin create the illusion of length
Square
Opt for soft, airy layers with a side or curtain fringe to soften the jawline
Heart
Gradients adding volume to the lower part of the face balance proportions
Long/Rectangular
Create volume on the sides to rebalance; avoid overly straight lengths which lengthen further
Consider Your Hair Texture
Hair Type
Recommended Approach
Fine/Thin
Subtle layering with texturizing at the ends creates the illusion of desired density. Avoid excessive layering that makes hair appear sparse
Thick
Targeted thinning and progressively longer layers avoid a helmet-like effect. Internal layering helps hair sit closer to the head
Wavy
Layering naturally amplifies the waves. Soft shag or textured lob makes the most of natural bend
Curly
Dry cutting preserves the curl pattern. A generous layering frees curls without a triangular effect
Consider Your Maintenance Mood
Low maintenance: Subtle, long layers grow out gracefully and behave with minimal effort. Blunt lobs and midi bobs air-dry beautifully.
High maintenance: High-contrast, choppy cuts require more love—blow dryers, brushes, and texturizing sprays.
Maintenance Tips
Trim Schedule: A gradient loses its shape as it grows. Visit your hairdresser every eight to twelve weeks to maintain the dynamism of the cut. Fast-growing hair requires an appointment every six to eight weeks.
Washing and Conditioning: Use a gentle, moisturizing shampoo to preserve shine. Apply conditioner with every wash and use a hair mask weekly, focusing on the ends.
Product Selection: Volumizing mousse applied to the roots adds body to fine hair. Texturizing spray creates a tousled, undone effect and highlights texture. A lightweight serum on the ends defines and preserves suppleness. Avoid heavy oils or silicones that weigh down hair.
Heat Protection: Always use a heat shield before using heating tools such as an iron or diffuser. Colored or highlighted ends dry out faster—regular care preserves shine and suppleness.
Sleep Care: A silk pillowcase or a loose top bun keeps things smooth and frizz-free overnight.
Conclusion
Layered medium-length hairstyles have earned their place as a timeless favorite for good reason. They offer the perfect trifecta: versatility, manageability, and style. Whether you’re drawn to the soft romance of feathered layers, the bold edge of a wolf cut, or the effortless polish of a textured lob, there’s a layered style that will enhance your natural beauty and fit seamlessly into your life.
The beauty of these cuts lies in their adaptability. As experts note, “the best layered haircut is the one that lives with you”. They work with your natural texture rather than against it, grow out gracefully, and free you from daily heat-styling battles. From the office to evenings out, these styles offer a “rare fluidity and versatility” that transcends occasions and seasons.
The 2025-2026 landscape of layered medium-length haircuts reveals a rich and inspiring diversity of styles. But perhaps the most important trend is the shift toward cuts that enhance your natural texture rather than fight it. Whether you choose the subtle “soft layers” trend that’s set to dominate summer 2026 or a more dramatic butterfly cut, the goal is the same: hair that looks beautiful, feels authentic, and works for your real life.
Try different styles, consult your stylist, and find the perfect layered look that makes you feel confident and radiant. After all, the best accessory you can wear is hair that makes you feel like yourself—just a little more polished.
Let’s get one thing straight—turning 50 doesn’t mean your hair colour options suddenly disappear. If anything, this is when you finally know what works for you and have the confidence to own it .
Balayage grey hair ideas for women over 50 are having a serious moment right now. This isn’t about trying to look younger or covering up every last grey strand. It’s about adding dimension, brightness, and life to your hair in a way that actually flatters mature skin tones .
What makes balayage so perfect for this stage of life? It’s the forgiveness factor. No harsh lines, no obvious roots, no commitment to salon visits every six weeks. Just natural-looking, sun-kissed colour that grows out beautifully and works with your greys rather than against them .
Whether you’re ready to fully embrace your silver or just want to dip your toes into grey blending, these 12 balayage ideas offer something for every style and confidence level.
Why Balayage Works So Well After 50
Before diving into the ideas, it’s worth understanding what makes balayage different from regular highlights.
Balayage is a freehand painting technique where your colourist literally paints colour onto your hair. No foils, no caps, no harsh lines. The result is a gorgeous, natural gradient that looks like you spent months in the sun .
For women over 50, the benefits are compelling:
Grow-out is graceful. Balayage “eliminates harsh regrowth lines” because the colour is blended from darker roots to lighter ends. You’re not dealing with that obvious stripe of roots after a few weeks .
It adds dimension to finer hair. The lighter pieces catch light and create the illusion of fuller, thicker hair—a significant bonus as hair texture changes with age .
It works beautifully with grey. Instead of covering every strand, balayage can blend with your natural silver, creating a gorgeous salt-and-pepper effect that’s totally on-trend .
Maintenance is minimal. Most women can go 3-4 months between appointments, sometimes longer .
Choosing the Right Tone for Your Skin
Not all balayage colours work equally well on mature skin. As we age, our skin tone can lose some natural pigmentation, and colours that looked great at 30 might wash you out at 50 .
For warm skin tones: Golden blonde, honey, caramel, and copper balayage work beautifully. These warm shades complement golden or peachy undertones .
For cool skin tones: Ash blonde, champagne, cool brown, or silver balayage shine. These cooler shades harmonise with pink or blue undertones .
Not sure about your undertone? Look at the veins on your wrist. Blue or purple veins mean cool undertones. Green veins indicate warm undertones. If you can’t tell? You’re probably neutral and can pull off both .
12 Balayage Grey Hair Ideas for Women Over 50:
1. Soft Honey Blonde Balayage
Honey blonde balayage adds gorgeous warmth that makes your whole face glow. The golden tones are rich enough to complement mature skin without washing you out, adding brightness around your face while keeping depth at your roots .
This is perfect if you want to lighten up without going full platinum. It’s warm, flattering, and incredibly low-maintenance .
Best for: Warm skin tones, light brown to dark blonde bases.
2. Caramel Balayage
Caramel balayage brings rich, buttery warmth that’s absolutely stunning on mature women. The colour is deep enough to add dimension without being too light, creating movement and depth that makes hair look fuller and healthier .
For those with medium to dark brown hair, the contrast is subtle but definitely noticeable .
Best for: Warm and neutral skin tones, brunette bases.
3. Ash Blonde Balayage
Ash blonde balayage creates a cool, sophisticated look that’s very modern and chic. The cooler tones prevent brassiness or yellow, keeping everything looking fresh and intentional. This works especially well if you’re transitioning to grey or already have silver coming in .
The silvery-blonde pieces brighten your face without adding warmth .
Best for: Cool skin tones, blonde to light brown bases.
4. Silver Balayage – Embracing Your Grey
Silver balayage is for women who are ready to own their grey hair with style and confidence. Instead of covering grey, this technique enhances it by adding dimension with lighter silver pieces. The result is a gorgeous salt-and-pepper effect that looks totally intentional .
The darker roots blend seamlessly into lighter silver ends, creating depth and movement. It’s bold but sophisticated .
Best for: Cool skin tones, women ready to embrace their natural silver.
5. Greige Balayage
Greige—a contraction of grey and beige—is a hybrid colour born from the incorporation of cool and warm pigments. Applied in light veils on the lengths, it brings light and blurs the root, instead of creating a clear regrowth line like classic colouring .
On a blonde or light brown base, greige is particularly flattering because it blends easily with emerging silver hair. For brunettes, the colourist simply chooses darker shades, still in the greige spirit, applied from mid-lengths to ends .
Best for: Any skin tone, women wanting a smooth transition to grey.
6. Warm Bronde Balayage
Bronde—that perfect blend of brown and blonde—is incredibly flattering for mature skin. The combination gives you the warmth of brunette with the brightness of blonde. It’s a gorgeous in-between that adds dimension without being too dramatic .
What makes bronde balayage special is how natural it looks—it mimics what the sun would naturally do to your hair over time .
Best for: Most skin tones, especially those who can’t decide between brunette and blonde.
7. Copper Balayage
Copper balayage brings gorgeous metallic warmth that’s absolutely stunning on the right skin tone. The red-orange tones add vibrancy and life without being too bold or unnatural .
What makes copper special is how it catches light—those metallic tones shimmer and glow in a way that regular brown or blonde doesn’t .
Best for: Warm skin tones with golden or peachy undertones.
8. Champagne Blonde Balayage
Champagne blonde is a gorgeous soft blonde with just a hint of warmth—like, well, champagne. It’s lighter than honey but warmer than ash, creating a luxurious, expensive-looking colour that flatters mature skin beautifully .
The soft golden-beige tones add brightness around your face without being too yellow or too ashy .
Best for: Neutral to warm skin tones.
9. Natural Brunette Balayage with Silver Ribbons
Sometimes the best balayage is the most subtle one. Natural brunette balayage with dimensional grey ribbons adds just a few shades of lightness to your existing brown, with silver strands woven throughout for beautiful dimension .
Various shades of grey woven throughout brown hair create movement and a sophisticated, multi-tonal effect .
Best for: Brunettes wanting subtle enhancement.
10. Golden Blonde Balayage
Golden blonde balayage brings sunshine to your hair with warm, rich blonde tones. The golden hues add warmth and glow that’s incredibly flattering on mature skin, brightening your face without being too light or harsh .
This shade works year-round—warm enough for autumn and winter but bright enough for spring and summer .
Best for: Warm skin tones, blonde bases.
11. Beige Blonde Balayage
Beige blonde sits between warm and cool—a perfect neutral blonde that works on almost everyone. The soft beige tones prevent brassiness without going too ashy, making it one of the most universally flattering options available .
Best for: Most skin tones, especially neutral undertones.
12. Silver and Lavender Blend
Silver and lavender balayage adds a whimsical flair to silver hair. This delightful combination is playful yet sophisticated, perfect for those who enjoy a bit of fantasy in their style .
The soft lavender hues add a unique vibrancy while complementing natural silver strands. Since the colour blends with greys, it requires minimal upkeep while offering a fresh, modern appearance .
Best for: Cool skin tones, women wanting a subtle fashion-forward twist.
Working with Grey Hair: Key Tips
Blend, Don’t Hide The modern approach isn’t about covering grey—it’s about elevating it. By turning natural greys into part of a sophisticated, intentional colour palette, the trend makes silver strands look luxurious, modern, and cool .
Consider Your Base Colour The best grey blending tones depend on your natural colour. Cool tones work well for blondes, while warm tones can be better for brunettes. It’s best to consult with a salon professional for a truly bespoke result .
Use the Right Maintenance Products For grey blending on lighter bases, purple or silver care products neutralise unwanted brassiness. Post-colouration, your hair may need extra hydration to keep it smooth and shiny .
What to Ask Your Hairdresser
When booking your appointment, it’s helpful to know what to request:
“I would like a greige balayage that mixes cool beige and silver tones to blend my white hair into my colour.”
“I want to avoid the root effect—can you work with very fine strands, especially on the lengths, so that the regrowth is as soft as possible?”
“I would like a neutral shade that compliments my skin tone, not too warm or too cool.”
Maintenance & At-Home Care
Purple or Silver Shampoo: For grey blending on lighter bases, use purple shampoo to neutralise brassiness .
Hydration Masks: Post-colouration, hair may need extra hydration. Use a moisturising mask regularly to maintain smoothness and shine .
Regular Trims: A well-structured cut—whether a ball cut, short bob, or layered style—helps grey hair look polished and intentional rather than neglected .
Conclusion
Balayage grey hair for women over 50 isn’t a trend that’s here today and gone tomorrow. It represents a genuine shift in how we think about ageing hair—moving from concealment to celebration, from hiding to highlighting.
Whether you choose warm honey tones, cool ash blonde, or a bold silver statement, balayage offers the dimension, brightness, and confidence that women at this stage of life deserve. The low-maintenance grow-out means you can truly live your life without being chained to the salon chair every few weeks .
The message is clear: grey is no longer something to fear or fight. With balayage, it becomes something to own, to enhance, and to wear with pride. Because 50 isn’t the end of beautiful hair—it’s the beginning of a whole new kind of gorgeous .
If you have thin hair, you’ve likely experienced the frustration of styles that fall flat within hours or cuts that leave your ends looking wispy and see-through. The good news? You don’t need to resort to a pixie cut to achieve fuller-looking hair. Medium-length hairstyles—typically falling between the chin and collarbone—offer the perfect balance between versatility and volume .
Unlike longer styles that gravity pulls flat against the scalp, medium lengths remove excess weight while maintaining enough hair for styling flexibility. The physics of hair weight plays a crucial role here: when hair grows too long, fine strands lose natural lift at the roots. Medium cuts solve this problem while still allowing you to pull your hair into a ponytail or twist it into a claw clip on low-effort days .
This guide explores the most effective volume-boosting haircuts for thin hair, complete with styling tips and maintenance advice. All recommendations are backed by professional hairstylists and designed to create the illusion of density and movement—no magic potions required.
Why Medium Length Works for Thin Hair
Medium-length cuts hit the sweet spot between manageability and styling potential. Hair that falls between the jawline and collarbone maximizes volume potential by allowing natural bounce and movement without being weighed down. This length also provides remarkable versatility—you can wear it straight, curled for romantic volume, or tousled for effortless texture .
For women with thinning hair, medium styles are particularly flattering because they can be tailored to add density where it’s needed most while keeping the overall silhouette light and modern.
14 Medium-Length Hairstyles for Thin Hair
1. Blunt Lob
A blunt lob (long bob) cut straight across at the collarbone or just above creates the illusion of thicker hair through its solid, weighty edge. Because all ends land at one length, the perimeter appears dense rather than wispy—a key advantage for fine strands .
Best for: Those who want polished, professional styles with minimal maintenance. Works on straight to slightly wavy hair.
Styling tip: Apply volumizing mousse to damp hair and blow-dry with a round brush, focusing on lift at the roots. A side part adds extra crown volume .
2. Textured Shag
The modern shag features softer, more blended layers than its 1970s predecessor, incorporating subtle graduation and face-framing pieces that add dimension to fine hair. Choppy layers throughout create texture and fullness, preventing hair from lying flat against the head .
Best for: Those who want an edgy, lived-in look. Works on straight, wavy, and curly textures.
Styling tip: Use texturizing products like sea salt spray or mousse, then air-dry or diffuse for effortless volume .
3. Butterfly Cut
The butterfly cut has emerged as a glamorous layered style featuring shorter layers around the crown that gradually lengthen toward the ends, creating a wing-like silhouette. This structure pushes volume up and out, making thin hair appear significantly fuller .
Best for: Women who prefer minimal daily styling—the cut’s inherent volume means less product needed.
Styling tip: A round brush blow-dry accentuates the airy, feathered effect .
4. Wolf Cut
The wolf cut combines choppy, disconnected layers with a softer mullet-inspired shape to give thin hair major texture and volume. Varied layer lengths prevent hair from lying flat, making it especially effective for straight to slightly wavy strands that need help holding a bend .
Best for: Trend-conscious women who want maximum volume with minimal effort.
Styling tip: Apply lightweight volumizing mousse and blow-dry with hair flipped upside down for extra crown lift .
5. Shoulder-Length Cut with Curtain Bangs
Curtain bangs paired with a shoulder-grazing cut create the illusion of fuller hair around the face and crown. The long, split bangs sweep down to the cheekbones or jawline, blending seamlessly into layered lengths. This soft framing draws attention to your features while adding volume where thin hair often looks most sparse .
Best for: Most face shapes, particularly round and heart-shaped faces.
Styling tip: Use a round brush to blow-dry bangs away from the face, creating that signature sweeping effect .
6. A-Line Bob
An angled bob that’s shorter in the back and longer in the front adds structure and natural lift. The stacked layers at the nape create fullness while longer front pieces elongate the face and neck. This architectural cut has built-in volume that makes hair appear thicker and more substantial .
Best for: Professional settings and elegant occasions. Works beautifully on straight hair.
Styling tip: Regular trims maintain the sharp angle. A quick blow-dry is all you need for a polished finish.
7. Wavy Bob with Face-Framing Layers
Gentle waves paired with face-framing layers create a soft, full appearance that adds volume to thin hair. The waves provide texture and body, while strategic layering around the face accentuates cheekbones and jawline .
Best for: Versatile everyday wear—suitable for both casual outings and formal events.
Styling tip: Use a curling iron to alternate curl directions for a natural look, then gently separate with fingers .
8. Collarbone Cut with Invisible Layers
Invisible layers are cut within the hair’s interior using slicing or point-cutting techniques, removing weight without creating visible layer lines. The result is hair that lifts and bends more easily while still appearing one-length and full at the bottom—perfect for fighting that heavy, flat look .
Best for: Straight and wavy hair that needs movement without sacrificing density.
Styling tip: Blow-dry lifting sections straight up from the root, directing air underneath for maximum volume.
9. Choppy Lob
The choppy lob features textured, piecey ends that create movement and the illusion of thicker hair. The varied lengths throughout add depth, making it a dynamic and playful option .
Best for: Those wanting a youthful edge with minimal styling time.
Styling tip: A texturizing spray keeps layers defined and bouncy. Style sleek or tousled depending on the occasion.
10. Beach Waves
Loose, tousled waves add instant body and texture to thin hair. The wave pattern creates width from the side and reduces the see-through effect that often plagues fine strands .
Best for: Casual, everyday wear and summer styling.
Styling tip: Apply sea salt spray to dry hair, curl alternating sections, and leave ends out for that effortless look .
11. Sleek Straight Lob
A sleek, straight long bob offers sophisticated minimalism with sharp, precise lines that create a polished look. The blunt ends add visual weight, making thin hair appear denser .
Best for: Professional environments and formal settings.
Styling tip: Use a flat iron for a smooth, glossy finish and add a shine serum to emphasize sleekness .
12. Shoulder-Length Cut with Side-Part Volume
A deep side part instantly creates extra height and density on top as roots are forced to stand up rather than lie flat. This simple styling trick works on any shoulder-length cut and makes a noticeable difference in crown volume .
Best for: Quick styling on busy mornings—takes seconds to achieve.
Styling tip: Blow-dry hair in the opposite direction of your intended part, then flip it over once dry to lock in lift.
13. Messy Lob
A messy lob with choppy layers instantly amplifies movement and volume. The deliberately undone finish creates a carefree look that makes thin hair appear naturally full and textured .
Best for: Laid-back styling with minimal effort.
Styling tip: Apply thickening mousse to damp hair for natural-feeling volume, then rough-dry and tousle.
14. Classic Mid-Length Cut with Feathered Ends
Feathered ends create a soft, wispy effect that adds movement and lightness to thin hair. The delicate tips float around the shoulders, catching light beautifully and creating the appearance of density .
Best for: Timeless elegance suitable for any age or lifestyle.
Styling tip: A leave-in conditioner keeps those delicate ends healthy and smooth.
Styling Tips for Maximum Volume
The right cut is only half the equation—how you style your thin hair makes a significant difference:
Use lightweight volumizing products: Heavy creams, oils, and rich conditioners flatten fine hair. Opt for volumizing mousses, texturizing sprays, and dry shampoos that add lift without weighing hair down .
Blow-dry upside down: This simple technique creates instant root volume. Focus heat at the roots while lifting sections away from the scalp .
Avoid over-layering: Too many layers can make ends appear thin and stringy. Ask your stylist for subtle, blended layers rather than dramatic choppy cuts .
Tease strategically: Backcombing at the crown adds height and the illusion of fuller hair .
Skip heavy heat tools: Too much heat weakens delicate strands. Use a heat protectant and minimize direct heat when possible .
Color Tips for Fuller-Looking Hair
Strategic coloring can make thin hair appear thicker and more dimensional:
Balayage highlights create depth and the illusion of natural sun-kissed lightness. The hand-painted technique focuses lighter pieces around the face and through mid-lengths, making hair look fuller .
Warm brondes (brown-blonde blends) add richness and dimension without harsh lines .
Dark roots with lighter ends create contrast that gives the appearance of fuller hair at the crown .
What to Avoid with Thin Hair
Thick styling products: Heavy creams and oils flatten fine strands .
Harsh shampoos: Sulfates can damage hair and create gaps inside strands. Use gentle, sulfate-free formulas .
Tight hairstyles: Styles that pull on the hair can lead to breakage and hair loss over time .
Skipping trims: Thin hair shows split ends more easily, making it appear even thinner .
Over-processing: Chemical treatments weaken delicate strands—use color and heat sparingly .
Conclusion
Medium-length hairstyles offer the ideal solution for women with thin hair, balancing volume, versatility, and manageability. The key lies in choosing cuts that strategically remove weight while maintaining density at the ends—whether through blunt lines, soft layers, or textured shapes like the butterfly or wolf cut.
Remember that the right haircut works in tandem with proper styling techniques and products. Lightweight volumizing formulas, strategic blow-drying, and regular trims all contribute to maintaining fuller-looking locks. With the styles outlined in this guide, you can embrace your thin hair’s natural beauty while creating the volume and movement you’ve always wanted.
The perfect cut is out there—and it’s well within reach.
Grey hair is no longer something to hide—it has become a statement of confidence and sophistication. The modern approach to transitioning to grey isn’t about covering every silver strand but about working with them to create a stunning, multi-dimensional look. Ash blonde grey blending has emerged as one of the most flattering and low-maintenance techniques for women ready to embrace their natural greys with style. By using cool, muted blonde tones that harmonise with silver rather than clash against it, ash blonde highlights transform grey regrowth into an intentional, fashion-forward feature. Whether you have a sprinkling of silver or are well into your grey journey, this technique offers a seamless bridge between your natural colour and your evolving shade, turning what was once considered a “problem” into your most radiant asset.
Why Ash Blonde is the Perfect Partner for Grey Hair
Ash blonde is uniquely suited for grey blending because it completely lacks the warm yellow, orange, or red undertones that can make grey strands look dull or brassy . Instead, its cool, smoky base—ranging from light mushroom to icy platinum—naturally harmonises with grey hair’s inherent reflectiveness . This creates a cohesive blend where the coloured and natural strands work together rather than competing for attention.
As Nisha Popat, National Technical Head at BBlunt India, explains, “Ash tones match the natural cool/silver base of grey hair, so they blend better and look softer, while warm shades can make greys stand out” . This makes ash blonde an ideal choice for women seeking a premium, “expensive-looking” finish that grows out beautifully without harsh demarcation lines .
14 Ash Blonde Grey Blending Ideas for Every Hair Type
1. Fine Ash Baby Lights
Ultra-thin, delicate highlights woven throughout the crown mimic the look of natural grey regrowth, making the blend almost undetectable . This technique works especially well for women with minimal greys (10-30%) who want a subtle transition. The fine placement means the highlights catch the light naturally, softening the contrast between coloured and silver strands .
2. Icy Ash Money Piece
Paint brighter ash blonde around the face—particularly at the temples and hairline—to frame your features while softly linking to scattered grey hairs . This face-framing approach draws light to your complexion and is particularly effective for women whose greys first appear around the front of the hairline . Celebrity colourists often recommend this technique for its ability to “take the edge off the colour looking too white, so it blends into your natural tone better” .
3. Rooted Ash Melt (Shadow Root)
Keep the root area darker (level 6-7 ash brown) and add ash blonde mid-lengths to create a soft “grey shadow” that lowers contrast and makes regrowth virtually invisible . This technique uses semi- or demi-permanent colour just at the root to soften the transition, creating a low-maintenance look that can extend the time between salon visits .
4. Silver-Tipped Balayage
Apply ash blonde only to the last two inches of the hair, so the ends look naturally silver while the rest remains darker . This approach is ideal for a slow, graceful grow-out and requires touch-ups only every 3-6 months. Balayage, a hand-painted technique, creates a natural gradient effect that “doesn’t have a harsh line and the strands of grey will melt from the root and be hidden seamlessly” .
5. Cool Ash Foilyage
Use a foilyage technique (balayage wrapped in foils) with an ash-violet toner to cancel yellow tones, leaving grey and highlighted pieces looking clean and icy . This intensifies the brightness of highlights while ensuring your grey remains cool and true, free from unwanted brassiness.
6. Pewter Ribbon Highlights
Chunkier, ribbon-like slices of ash blonde placed underneath the top layer create a smoky “pewter” effect that effortlessly blends 50% grey hair . For coarser grey hair textures, these chunkier weaves break up solid blocks of silver and create a trendy, textured look reminiscent of ’90s dimension .
7. Ash Blonde Halo
Focus highlights in a horseshoe section around the crown—this mimics the natural pattern of grey hair appearing first at the temples and top of the head . The halo effect creates a natural-looking brightness that grows out seamlessly.
8. Mushroom Ash Lowlights
Add a few lowlights in a mushroom-ash brown (level 6-7) to break up blocky grey patches, marrying dark strands with ash blonde highlights . Lowlights—which are darker than your base colour—add richness and depth, creating “an optical illusion where grays seamlessly blend into the rest of the hair” . This combination of highlights and lowlights creates the most natural, dimensional result .
9. Soft Grey Glaze
Apply a demi-permanent ash blonde glaze all over after highlighting; it coats grey and coloured hair alike, unifying the blend with a sheer silver veil . According to Gina Rivera, hair artist and founder of Phenix Salon Suites, “This high gloss has the ability to shift the hair just enough that it makes the grey blend with the other shades that still remain in the hair” . Glossing lasts about four to six weeks and is a fantastic way to boost shine .
10. Pearl Ash Balayage
Hand-painted pearl-ash blonde strokes on the surface layer create a soft, lived-in highlight pattern that merges grey hairs into a cohesive, shimmering effect . This contemporary technique reflects the “pearl blonde” trend predicted to dominate 2026, described as having an “antique, dusty feel” .
11. Salt-and-Pepper Micro-Foil
Alternate micro-foils of ash blonde and natural grey sections on very short or fine hair for a salty, dimensional pepper finish that looks intentional and stylish . This technique uses “teeny-tiny highlights” to create a natural, multi-tonal effect that seamlessly integrates grey strands .
12. Frosted Ash Tips
Apply ash blonde only to the last two inches of hair, leaving grey roots exposed in a stylish, intentional way . This approach turns what might otherwise look like regrowth into a deliberate fashion statement.
13. Reverse Grey Blending
Paint ash blonde highlights underneath the hair’s top section; when grey roots appear, they look like intentional lowlights beneath the brighter ash surface . This clever technique works with your natural growth pattern rather than fighting it.
14. Metallic Ash All-Over
A single-process ash blonde colour over the entire head, lifted just one or two levels, turns every grey hair into a shimmering metallic accent rather than a mismatch . This approach is best for women who are 60% or more grey and want a cohesive, polished finish .
Choosing the Right Technique for Your Grey Percentage
The key to successful grey blending lies in matching the technique to your current grey percentage:
Less than 30% grey: Fine ash baby lights or a soft root melt will blend seamlessly with minimal lift . Babylights are ideal here—these super-fine streaks break up heavy grey patches without over-lightening your hair .
40-60% grey: Ribbon highlights, halo techniques, or a combination of highlights and lowlights break up salt-and-pepper patterns for a more uniform, polished look . This is where dimensional techniques truly shine.
Above 60% grey: A full ash blonde base with strategic highlights or a soft grey glaze turns full silver into a fashion statement . Consider a rooty ash blonde base topped with a silver gloss toner to unify all grey hairs .
Maintenance and Care for Ash Blonde Grey Blends
Salon Visit Schedule
Foil highlights typically require touch-ups every 8-12 weeks .
Balayage and foilyage can be stretched to every 3-6 months .
Toning glosses need refreshing every 6-8 weeks to maintain the cool ash shade .
Home Care Tips
Ash tones fade faster than warm tones, so invest in purple or silver shampoo and conditioner to neutralise any yellowing . Grey hair also tends to be coarser and more resistant to colour, so maintaining hydration is crucial. “Dry hair will further decrease the chance of the dye taking to your hair,” explains Laura Elliott, head stylist at Neäl & Wølf. Incorporate a hydrating hair mask one to two times a week for maximum moisture .
Before Your Appointment
Know your starting grey percentage and bring reference photos. “Words like ‘ash’ and ‘silver’ vary widely between salons,” so visual references help eliminate guesswork . Discuss maintenance upfront—some women choose rootier techniques like balayage or ombré specifically to extend time between appointments .
Conclusion
Grey blending with ash blonde represents a shift in how we approach the natural ageing process—it’s not about covering up but about working with what nature provides to create something beautiful and intentional. As senior hair colourist James Howarth puts it, “Grey blending isn’t about hiding grey – it’s about elevating it. By turning natural greys into part of a sophisticated, intentional colour palette, the trend makes silver strands look luxurious, modern, and cool” .
Whether you choose delicate baby lights, a dramatic silver ombré, or a soft grey glaze, ash blonde offers a versatile, flattering palette that harmonises with grey’s natural shimmer. The result is hair that looks effortlessly dimensional, grows out gracefully, and reflects a confident, modern approach to beauty. As more women—and their colourists—embrace this technique, it’s clear that grey isn’t just acceptable; it’s becoming one of the most sought-after shades in the salon .
The key is finding the right stylist, choosing a technique that suits your grey percentage and lifestyle, and committing to a simple maintenance routine. With ash blonde grey blending, you’re not just transitioning your hair colour—you’re making a statement about embracing every stage of life with grace, style, and confidence.
For decades, women have been conditioned to see their first grey hairs as a problem to be fixed—a reason to book an immediate salon appointment for full-coverage colour. But times have changed. The modern approach to greying hair isn’t about hiding it; it’s about working with it. Enter grey blending, the sophisticated technique that’s taking the hair world by storm .
Grey blending is fundamentally different from simply covering your greys. As colourist Anita Rice explains, it “works with the natural dimensions of grey hair rather than slathering on a permanent opaque hair dye to cover the white pigment completely” . Think of it as the difference between a sheer lip gloss and a full-coverage lipstick—translucent and dimensional rather than opaque and flat .
For brunettes in particular, grey blending offers a uniquely elegant solution. Unlike blondes who can sometimes camouflage greys more easily, brunettes face a higher contrast between their natural dark base and emerging silver strands. This is precisely why strategic blending techniques are so valuable—they soften that stark transition, making the grow-out seamless and the overall look intentional.
Whether you have a few scattered greys, a salt-and-pepper pattern, or are ready to transition fully to silver, grey blending can be tailored to your needs. The goal isn’t to erase your greys but to integrate them beautifully, creating dimension, movement, and a polished finish that celebrates the natural evolution of your hair .
What Exactly Is Grey Blending?
Grey blending is a colouring technique that doesn’t fully cover grey hairs but instead integrates them with lighter highlights, lowlights, or tonal glazes. The objective is to create a harmonious mix between your natural brunette base and your silver strands, making regrowth look intentional and stylish rather than stark or unkempt .
This approach is ideal for brunette women who:
Have 20% to 80% grey coverage and want a low-maintenance option
Dislike frequent root touch-ups every 3–4 weeks
Want to transition gracefully into fully grey or silver hair
Prefer a softer, more dimensional look than solid colour
The Celebrity Inspiration
The grey blending trend has been embraced by some of Hollywood’s most stylish women, proving that silver can be spectacular.
Jennifer Garner has championed what’s been dubbed the “quiet silver brunette” technique. Her colourist, Tracey Cunningham, uses a “rich brunette base layered with soft, golden highlights that add warmth, movement, and that effortless glow” . The result is a low-contrast but dimensional look that blends natural greys seamlessly.
Jennifer Aniston has been artfully grey blending her famous haircut for years, using subtle balayage around the hairline to soften the transition . Sarah Jessica Parker and Julianne Moore have also embraced the trend, demonstrating that grey blending works across different hair colours and textures .
Perhaps most striking is Prue Leith, whose “graphite silver” look has been celebrated as the most modern way to go grey. Celebrity hairstylist Zoe Irwin describes this technique as “turning grey into a statement and creating contrast” by adding tonal depth with “midnight grey” and “charcoal shades” that give grey strength and dimension .
13 Stunning Grey Blending Ideas for Brunettes
1. Classic Salt-and-Pepper Babylights
Ultra-fine baby highlights in cool ash and silver tones mimic natural grey growth for a subtle, blended effect that’s barely detectable but highly effective . These delicate highlights are woven throughout your hair in tiny sections, creating a look that mimics the natural way hair lightens in the sun .
Best for: Those with 20–40% grey coverage who want a subtle transition.
2. Cool Ash Balayage
A sweeping ash-toned balayage lightens the lower half of brunette hair, melting grey roots into a chic, icy finish . The ash undertone is crucial because it neutralises warmth that could clash with silvery greys .
Best for: Medium to dark brown hair with scattered greys throughout.
3. Caramel Balayage with Warmth
Warmth is your friend when you want a softer approach to grey blending. Caramel balayage adds depth to a brunette base while masking current and incoming greys. The caramel tones soften the contrast between natural grey and darker brown, creating a more gradual, sun-kissed transition .
Best for: Those who want to keep warmth in their hair while blending greys.
4. Icy Silver Foilyage
Hand-painted silver pieces woven through mid-lengths and ends create a soft, dimensional grey blend without harsh lines . This technique uses foils to achieve a more pronounced lift than balayage alone.
Best for: Women ready to make a bolder statement with their silver transition.
5. Face-Framing Charcoal Highlights
Concentrated grey and charcoal highlights around the face brighten your complexion while blending early silver strands that often appear first at the hairline . This targeted approach keeps maintenance low while drawing attention to your best features .
Best for: First-time grey blenders and those who want maximum impact with minimum change.
6. Mushroom Brown Melt
This smoky, taupe-meets-brown shade combines cool grey undertones with a dark root shadow for effortless grey blending . The beauty of mushroom blonde highlights is that they make grey hair look intentional—like you chose this chic, muted palette on purpose .
Best for: Light to medium brown hair seeking a sophisticated, modern look.
7. Honey and Ash Combo
Warm honey highlights paired with cool ash pieces create a multi-tonal blend that softens grey contrast on medium brunette shades . This combination offers the best of both worlds—warmth and cool dimension working together.
Best for: Those with neutral or warm skin tones who want dimension without going fully cool.
8. Silver-Tipped Ombré
Keep roots dark brown and transition into silver-white ends—a dramatic yet natural-looking way to honour greying patterns . The gradient effect makes regrowth virtually undetectable.
Best for: Women with 40–60% grey who want a stylish, low-maintenance transition.
9. Pearl-Grey Lowlights with Shadow Roots
Instead of adding light pieces, weave pearl-grey lowlights through dark hair to mirror natural silver regrowth softly . Combined with a shadow root technique, this extends the life of your colour significantly—up to twelve to fourteen weeks between appointments .
Best for: Dark brunettes who want depth and dimension without going lighter overall.
10. Graphite Silver with Bold Contrast
Drawing inspiration from Prue Leith, this look uses deep charcoal and midnight grey tones alongside brighter silver pieces for maximum impact . The use of contrast makes the style especially flattering for brunettes transitioning to grey, preventing the washed-out look that can occur when moving too quickly into very silvery tones .
Best for: Confident women ready to make grey a statement rather than a secret.
11. Herringbone Grey Highlights
Silvery greys and soft browns are interwoven through the hair using a herringbone pattern, creating a fluid gradient of colour that moves effortlessly from dark to light . The result is rich, multi-dimensional, and never flat.
Best for: Those wanting a sophisticated, salon-quality blend.
12. Golden Blonde and Ash Grey Highlights on Dark Base
Golden blonde, ash grey, and white highlights are carefully placed to soften the contrast between existing colour and natural grey, with deeper graphite tones providing a rich foundation . This technique creates a smooth, natural grow-out.
Best for: Brunettes with darker bases who want brightness without losing depth.
13. Silver Ribbon Highlights with Brown Lowlights
Combining silver and brown highlights and lowlights creates ribbons of colour that naturally blend with existing grey, ensuring grey grows out seamlessly without harsh lines . This alternating approach keeps the look dimensional and long-lasting.
Best for: Women with 30–60% grey who want a balanced, multi-tonal finish.
The Key Techniques
Balayage
This hand-painted technique is ideal for grey blending because it doesn’t have a harsh line—the strands of grey melt from the root and are hidden seamlessly . Colourist Damian Gray explains: “This subtle balayage technique lightens the natural shade of hair to a soft blonde while allowing the original colour to serve as a natural lowlight. This creates a beautifully balanced blend, with endless variations in tone and brightness” .
Babylights
Ultra-fine highlights that mimic the natural way children’s hair lightens in the sun. For grey blending, babylights are typically done in cool blonde or ash tones that harmonise with silver strands .
Root Smudge/Shadow Root
This technique applies a slightly darker toner at the roots to create a soft, gradient effect that blurs the line between your natural brown and highlighted sections, making incoming grey strands much less noticeable .
Gloss Treatments
A tinted gloss can take the edge off greys without full coverage. Julianne Moore is a great example—”She has a gloss all over her hair which means you can see where there are a few greys, but because of the tinted gloss, they just look like a slightly lighter red tone which adds a beautiful dimension” .
Expert Tips for Grey Blending Success
Work With Your Natural Texture
Grey hair is typically coarser in structure with tighter cuticles, making it harder for colour to penetrate . This is why professional application is crucial—a colourist will use specially formulated dyes and techniques to achieve the best result.
Choose the Right Tones
As colourist Zoe Irwin warns, “One of the most common mistakes with grey blending is losing that strength. The hair can quickly become flat and lack impact” . The key is maintaining contrast and dimension rather than going all-over silver.
Embrace Low Maintenance
The beauty of grey blending is that it grows out gracefully. Colourist Damian Gray describes it as “the hair’s equivalent of a sheer lip gloss rather than a full-coverage lipstick” . This approach means you can stretch salon visits to eight to twelve weeks rather than every four.
Use Professional Products
Grey hair can feel drier, so using sulfate-free shampoos, purple toning shampoos to prevent brassiness, and regular conditioning treatments is essential .
Frequently Asked Questions
Q: Can I use grey blending if I have very dark hair? A: Absolutely. Techniques like root shadowing, mushroom brown melts, and strategic lowlights work beautifully on dark bases. The key is working with a colourist who understands how to create dimension without harsh contrast .
Q: How often will I need salon visits? A: One of the biggest advantages of grey blending is its low-maintenance nature. Most women can go 8–12 weeks between appointments, depending on their grey percentage and chosen technique .
Q: Is grey blending different from covering greys? A: Yes. Grey blending works with your natural grey strands, integrating them into the overall colour rather than covering them completely. The result is a softer grow-out and a more effortless look .
Q: Can I transition from full coverage dye to grey blending? A: Absolutely. Many colourists recommend a gradual approach, using highlights and lowlights over several sessions to achieve a natural blend. The “reverse ombre” technique—lighter silver at the roots blending into natural greys at the ends—is particularly effective for transitions .
Q: How do I maintain the cool tones at home? A: Purple shampoo is your best friend for keeping grey and silver tones fresh and avoiding brassiness. Regular deep conditioning is also crucial since grey hair can feel drier .
Conclusion
Grey blending for brunette hair represents a paradigm shift in how we approach the natural ageing process. Rather than fighting an endless battle against silver strands, this technique invites you to collaborate with them—to use them as a design element that adds dimension, depth, and character to your hair.
What makes grey blending truly revolutionary is its flexibility. Whether you’re just beginning to notice a few greys at your temples or are ready to embrace a full silver mane, there’s a technique that works for you. From subtle face-framing highlights to bold graphite silver statements, the options are as varied as the women who wear them .
The celebrities embracing this trend—Garner, Aniston, Parker, Moore, and Leith—send a powerful message: grey hair isn’t something to be hidden. When approached with artistry and intention, it becomes a sophisticated, modern statement .
As you consider your own grey blending journey, remember the words of colourist Damian Gray: “Modern grey blending moves away from heavy, opaque tinting and instead embraces the use of semi-permanent, translucent colours. Think of it as the hair’s equivalent of a sheer lip gloss rather than a full-coverage lipstick” .
Your greys aren’t a problem to be solved—they’re an opportunity to create something beautiful. And with the right approach, the result is hair that’s not just coloured but truly luminous.
For women over 60, hair is more than just strands—it’s an expression of confidence, wisdom, and personal style. While there’s a persistent myth that women “should” chop their hair short after a certain age, the truth is far more liberating. Medium-length hairstyles offer the perfect sweet spot: long enough to feel feminine and versatile, yet short enough to be manageable and volumizing .
Whether you’re embracing your natural silver, adding soft highlights, or simply want a refresh that doesn’t require hours of styling, medium-length cuts frame the face beautifully, soften age-related changes in skin and bone structure, and open up endless styling possibilities . The key is choosing a style that works with your natural texture, face shape, and lifestyle—not against them.
In this guide, we’ll explore why medium length is such a flattering choice after 60 and present 20 well-structured ideas to inspire your next salon visit. From classic bobs to modern shags, you’ll find options for every hair type and personal preference.
Why Medium Length is the Ideal Choice After 60
Medium-length hair—typically falling somewhere between the chin and the collarbone—strikes a remarkable balance . It’s long enough to pull back into a ponytail or an updo, yet short enough to prevent heavy, weighed-down styles .
Key advantages include:
Face-framing softness: Medium styles can soften jawlines, draw attention to the eyes, and complement glasses or jewelry beautifully .
Versatility: This length works with straight, wavy, curly, and coily textures, offering styling options for any occasion .
Volume without bulk: Strategic layers add movement and prevent fine hair from looking flat .
Manageability: Medium haircuts are easier to style at home and require fewer salon visits than very short cuts .
As one stylist notes, “Hair changes with time. Texture shifts. Volume can drop. Medium-length haircuts tend to sit right in that sweet spot” .
20 Well-Structured Medium Hairstyle Ideas
1. The Classic Layered Lob (Long Bob)
A layered lob hits just above or at the collarbone, with light layers added through the ends to remove heaviness and create natural movement . This style works for both straight and wavy hair, and it’s incredibly low-maintenance—a simple blow-dry or air-dry often does the trick . Best for: Fine to medium hair; everyday elegance .
2. Soft Shoulder-Length Cut with Face-Framing Layers
Layers that begin around the cheekbones or jawline draw attention to the eyes and cheekbones while keeping the rest of the hair soft and balanced . This style prevents hair from hanging flat around the face and creates a lighter, more flattering silhouette . Best for: Women who want shape without dramatic layers.
3. Wavy Lob with Side-Swept Bangs
Soft waves paired with a deep side part add body and youthful movement . Side-swept bangs soften the forehead and highlight the eyes, making this a romantic, polished choice . Best for: Natural waves or relaxed texture .
4. Textured Shaggy Medium Cut
Modern shags feature softer, more blended layers than their choppy predecessors . Layers throughout the crown and sides add volume where hair often starts to flatten with age . Best for: Wavy or slightly curly hair; women wanting an edgy yet soft look .
5. Curly Mid-Length Cut
Natural curls look full and elegant at medium length, especially when graduated layers prevent the dreaded “triangle” shape . Curl cream or mousse enhances definition while diffusing builds shape and reduces frizz . Best for: Curly or coily textures .
6. Blunt Shoulder Cut
Clean, sharp edges create a sleek, sophisticated silhouette . A blunt cut at the shoulders adds density and makes fine hair appear fuller . When hair is healthy, this cut lets natural thickness take center stage . Best for: Straight hair; formal occasions .
7. The Asymmetrical Lob
Slightly shorter on one side than the other, this modern cut creates the illusion of lift and draws the eye diagonally, which can slim the face and add angularity . Best for: Round or square faces; fashion-forward women .
8. Medium Layered Cut with Curtain Bangs
Curtain bangs, parted in the middle or slightly off-center, blend seamlessly into layered medium hair . They soften forehead lines and open up the face while remaining easy to grow out . Best for: Women with glasses or oval face shapes .
9. Feathered Shoulder Cut
Light, airy layers that flick outward around the face and crown create incredible softness and movement . This ’70s-inspired style works wonders for women with prominent cheekbones or angular jawlines . Best for: Adding lift at the crown .
10. Shoulder-Length Bob with Deep Side Part
A deep side part creates instant lift at the crown and softens facial asymmetry . Sweeping bangs to one side adds elegance and draws attention upward . Best for: Date nights, formal events .
11. Stacked Bob
Graduated layers stacked at the back create fullness and lift, while the front remains longer for a graceful, neck-lengthening effect . Best for: Fine or thinning hair needing volume .
12. Italian Bob
Slightly shorter in the back and curved under at the chin, this rounded, helmet-like shape is sophisticated and polished . Best for: Thick, straight, or wavy hair .
13. Messy Bun with Face-Framing Pieces
A styling idea rather than a cut: keep your medium hair one-length or with long layers, then sweep it into a low, messy bun while leaving a few face-framing pieces out . Best for: A quick, elegant updo .
14. Natural Silver Shag
Embrace your gray or silver with a shag cut. Silver hair can be coarser or drier, and the shag’s layered texture works with that texture rather than against it . Best for: Embracing natural silver .
15. Medium-Length Shingle Cut
A close-fitting but layered cut at the nape, with longer feathery top layers, offers a neat, vintage-inspired style that’s easy to maintain . Best for: Women wanting a unique, retro look .
16. Textured Crop with Longer Top
A cropped back and sides with a textured, finger-styled top gives a chic, wash-and-go option that still feels sophisticated . Best for: Women wanting a short style that still has length .
17. Razored Layered Cut
Long razored layers remove bulk and create a sleek, tapered silhouette, especially flattering for thick, straight textures . Best for: Thick, straight hair .
18. Layered Cut with Soft Highlights
Subtle highlights around the face brighten your complexion and add depth to layers . Keep highlights soft and melted for a natural, sun-kissed effect . Best for: Adding warmth and dimension .
19. Voluminous Pixie-Bob Hybrid
Longer than a pixie but shorter than a traditional bob, this hybrid has disconnected layers on top for height and volume, while the back is tapered and the front reaches the jawline . Best for: Very fine hair needing maximum volume .
20. Effortless Barrel Waves
Loose, brushed-out waves add instant volume to medium-length hair . Use a large-barrel curling iron and brush them out for a soft, glamorous look . Best for: Special occasions; women who enjoy styling .
Choosing the Right Style for Your Face Shape
Face Shape
Best Styles to Choose
Round
Asymmetrical bobs, deep side parts, styles with height at the crown and length below the chin
Oval
Almost anything works—layered lobs, curtain bangs, and classic bobs are especially flattering
Square
Soft curls, feathered flips, wispy bangs, and side-swept fringe to soften a strong jawline
Heart-shaped
Side-swept bangs, chin-length bobs, and styles with volume at the bottom to balance a wider forehead
Long
Voluminous stacked bobs, blunt cuts, and tousled waves to add width and fullness
Source:
Styling Tips for Medium Hair After 60
Embrace soft layers: Layers add movement and prevent hair from looking flat or weighed down .
Face-framing pieces are your friend: Subtle layers around the face soften features and add flattering shape .
Use lightweight products: Heavy creams can weigh hair down—opt for light sprays, mousses, or serums that enhance natural texture .
Lift at the roots: Apply a small amount of volumizing mousse to damp roots before blow-drying. Use a round brush to lift upward .
Play with partings: A deep side part can create lift and balance facial proportions beautifully .
Keep regular trims: Every 6–8 weeks keeps shape fresh and avoids split ends .
Work with your gray: If embracing silver, use a purple shampoo once a week to keep tones bright. If coloring, go two shades lighter than your natural color for softer regrowth .
Heat protection is essential: Always use a thermal spray before hot tools to prevent breakage .
Hair Type-Specific Advice
For fine or thinning hair: Stick with layered bobs, textured crops, and stacked cuts . Avoid long, one-length styles that pull hair flat . Use volumizing powders or mousse at the roots .
For thick hair: Shags, feathered flips, and long bobs work well . Ask your stylist to remove bulk with internal layers so the shape holds without being heavy .
For curly or wavy hair: Soft curls, tousled waves, and layered cuts with curtain bangs enhance natural patterns . Avoid very short crops that can lead to “triangle-shaped” volume .
Conclusion
Medium-length hairstyles for women over 60 are not about compromise—they’re about freedom. Freedom from hours of styling, freedom from feeling like you’re hiding behind your hair, and freedom to express your personality with confidence .
Whether you choose a classic layered lob, a textured shag, or a sleek blunt cut, the right medium style can feel comfortable, modern, and flattering . As one expert puts it, “Age is not a limit. It’s a crown—a collection of stories, wisdom, and beauty. And your hair should reflect that same confidence and vitality” .
The key is texture that enhances natural movement, layers that flatter your face, and a style that works with—not against—your hair’s natural behavior . With the right cut and a few simple styling tricks, you can feel polished, confident, and effortlessly put together every day.