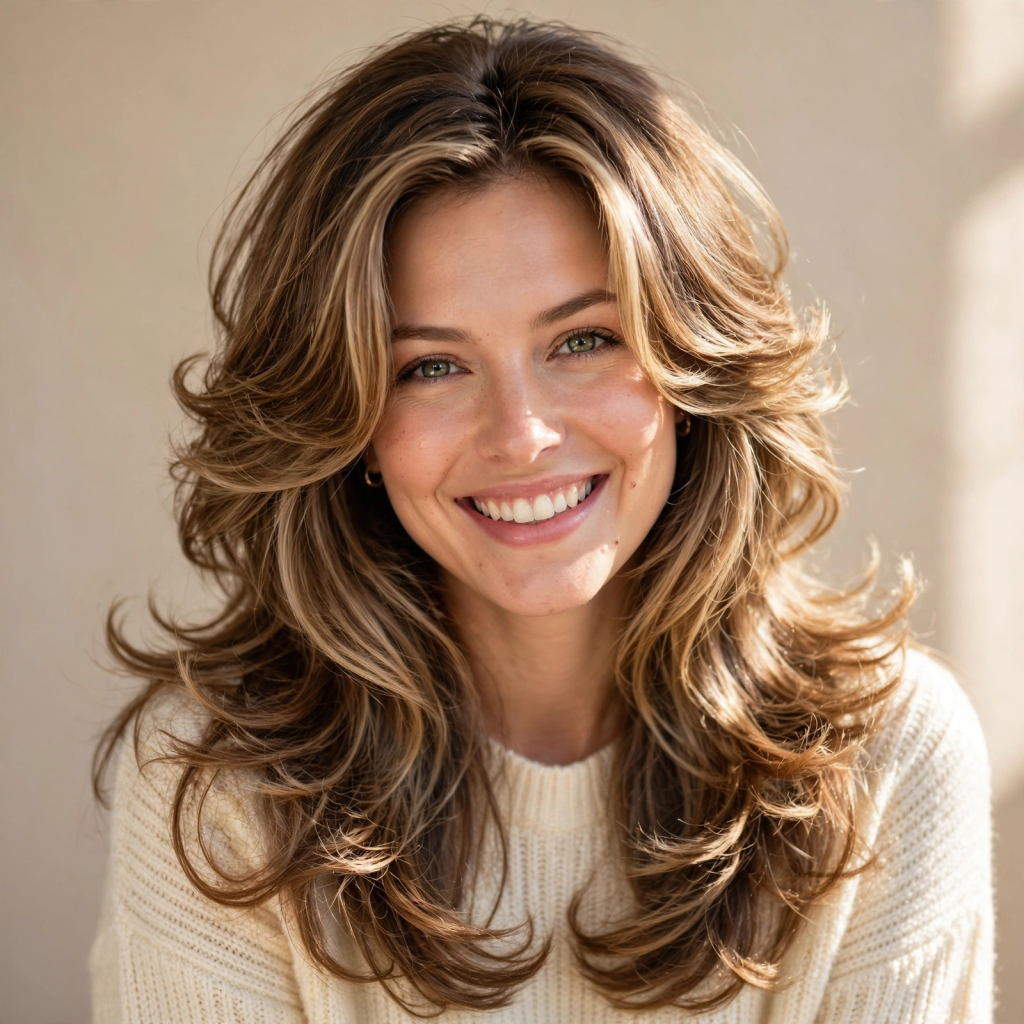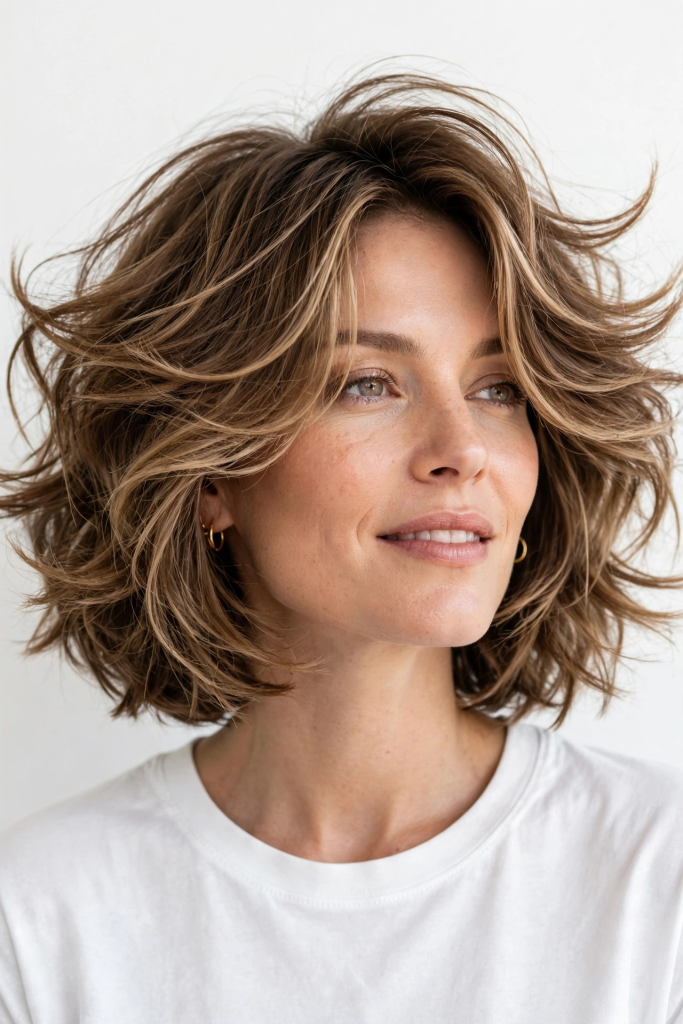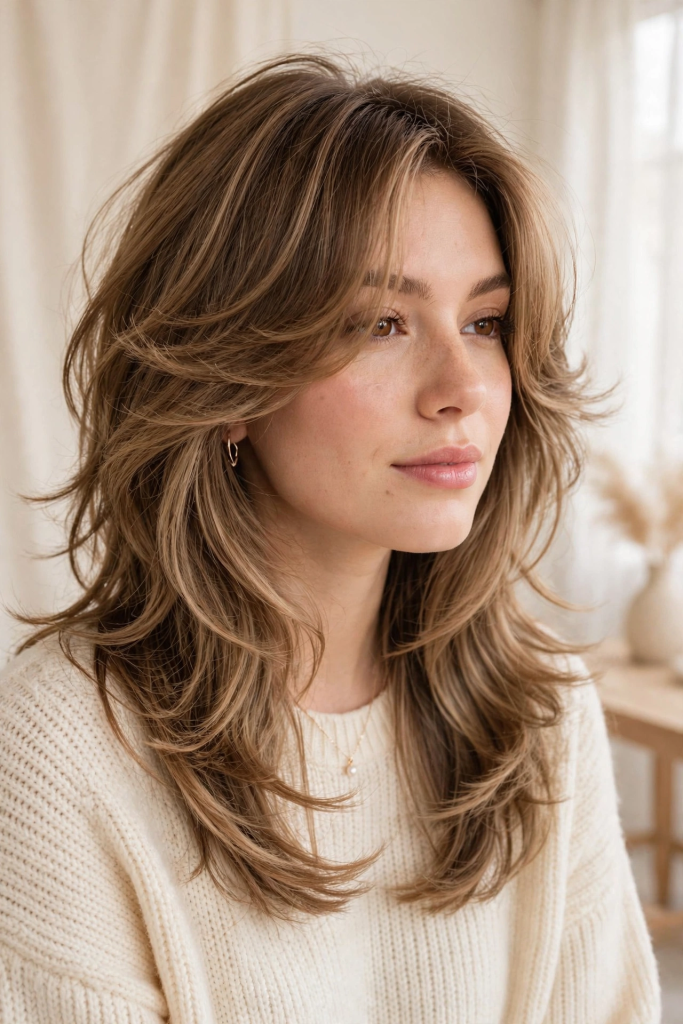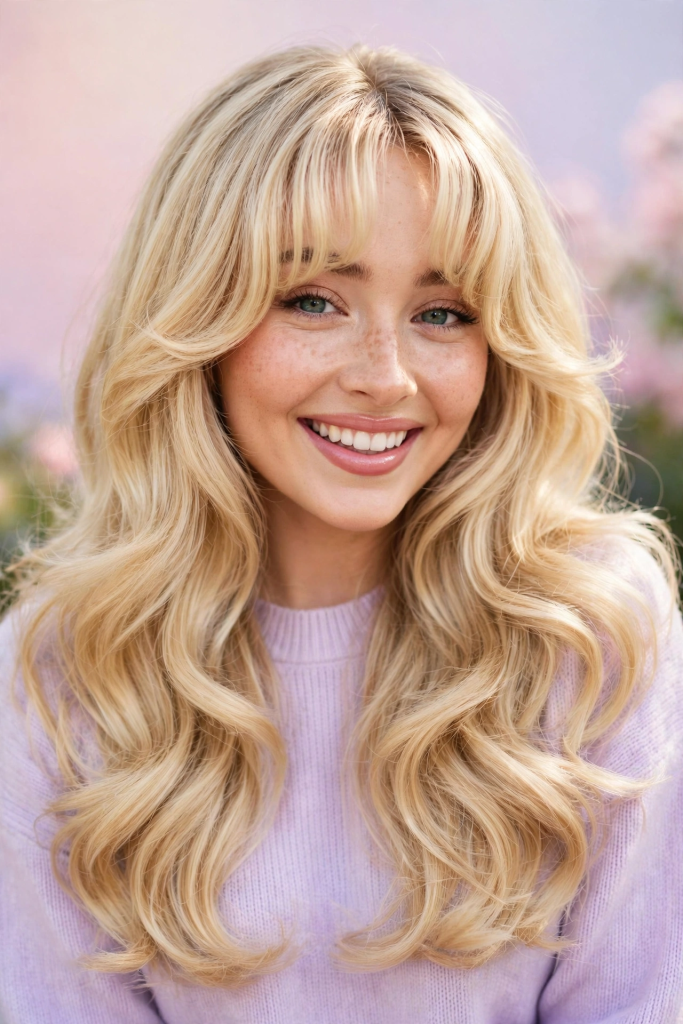
Author: Samuel obwaya

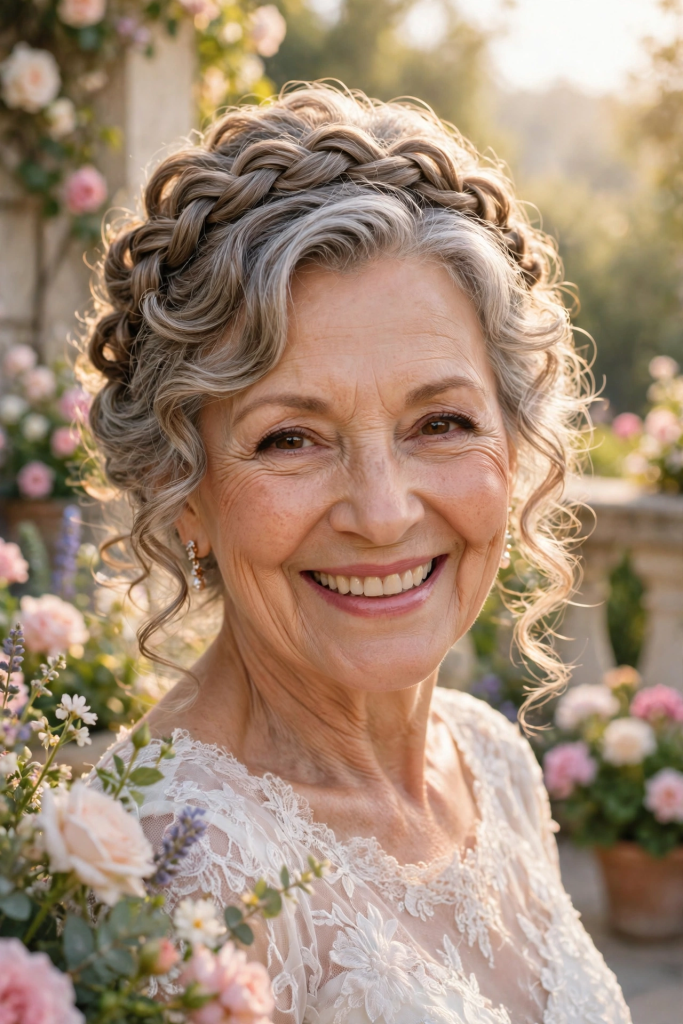
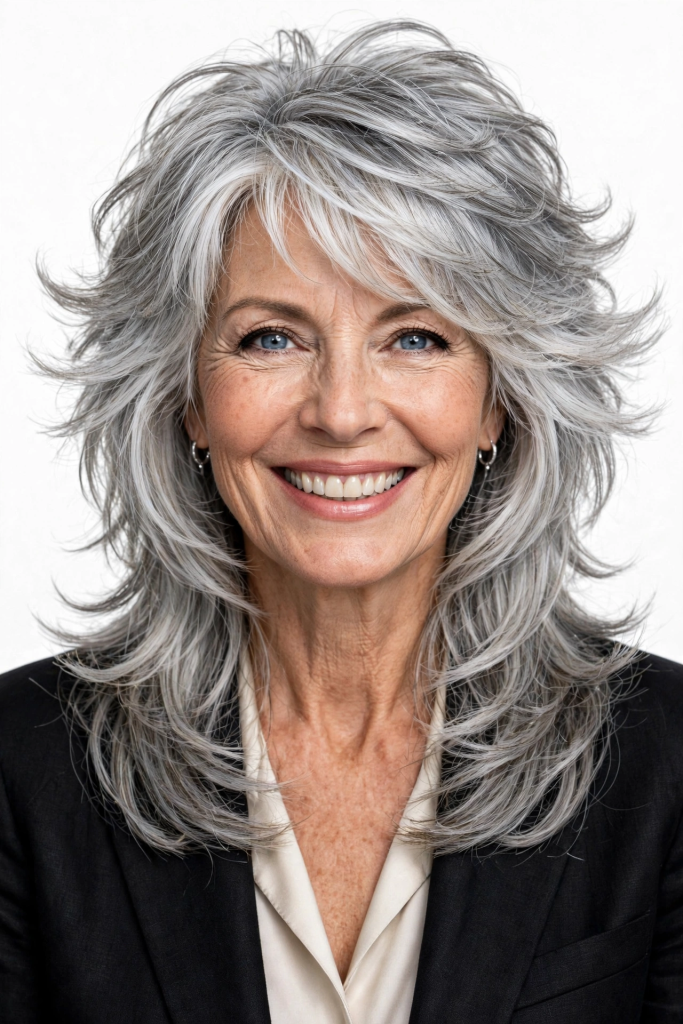
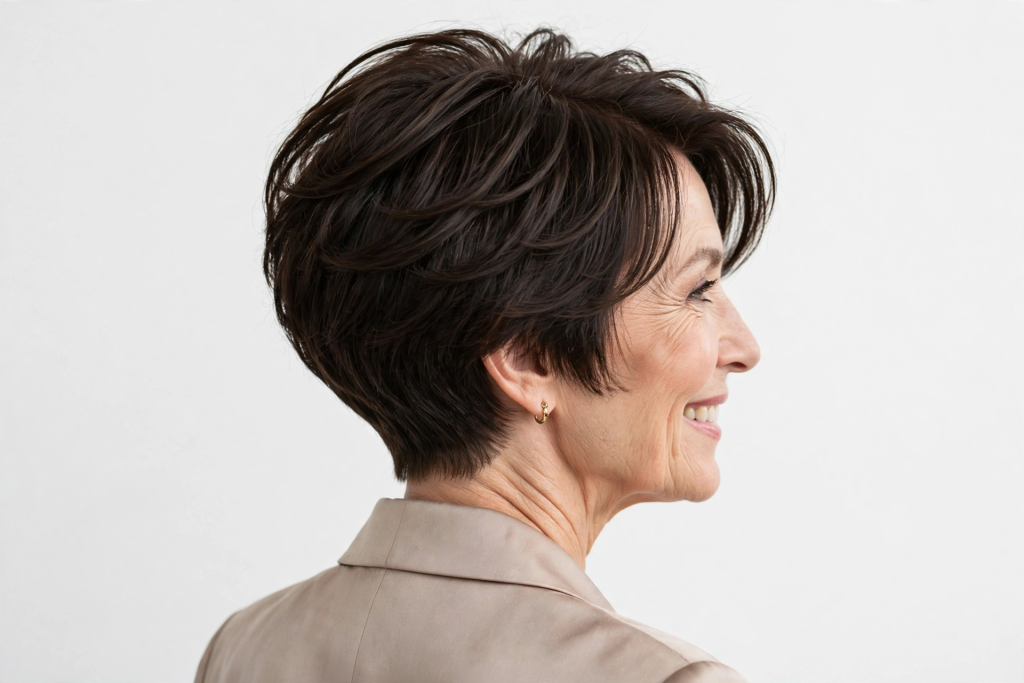
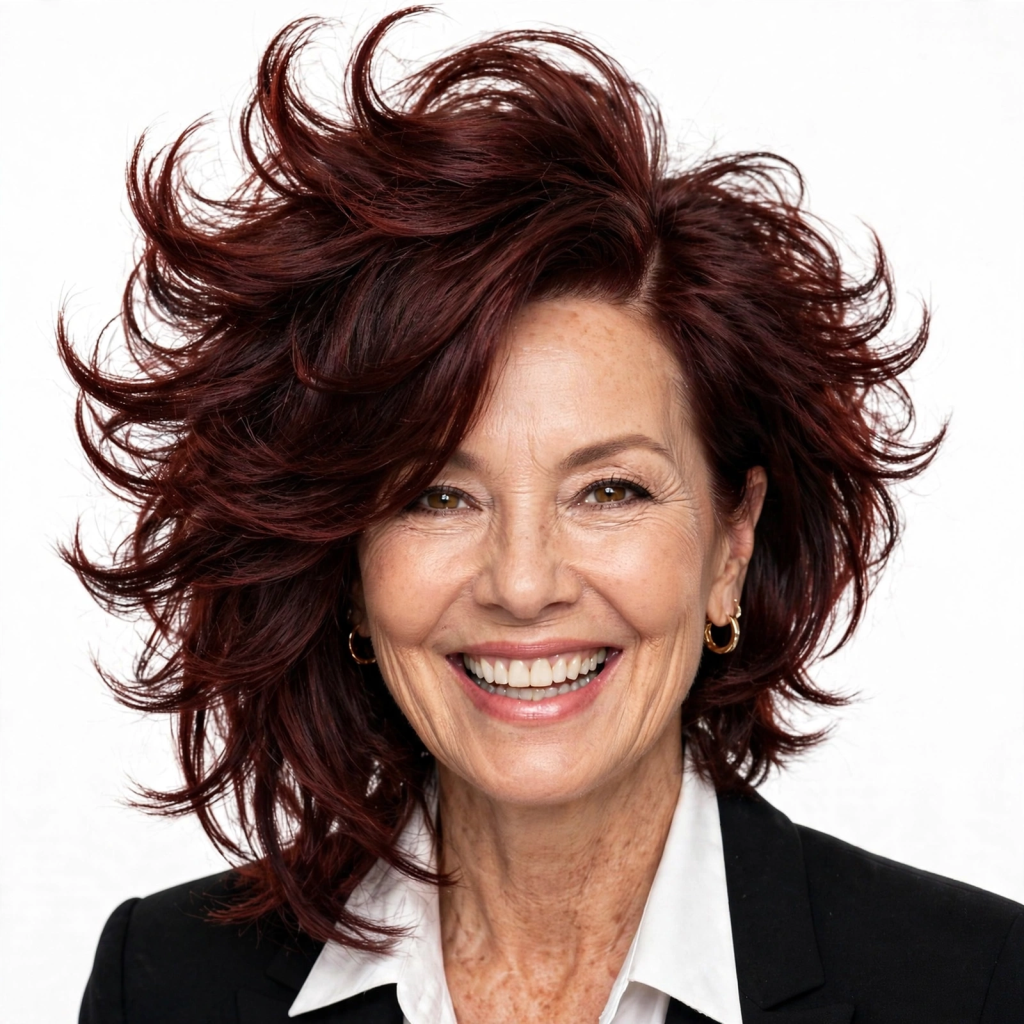
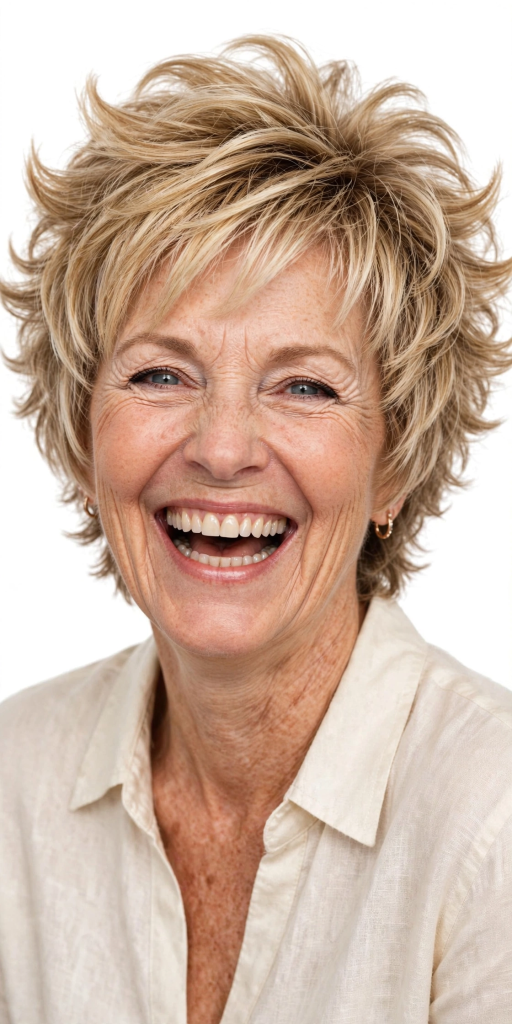
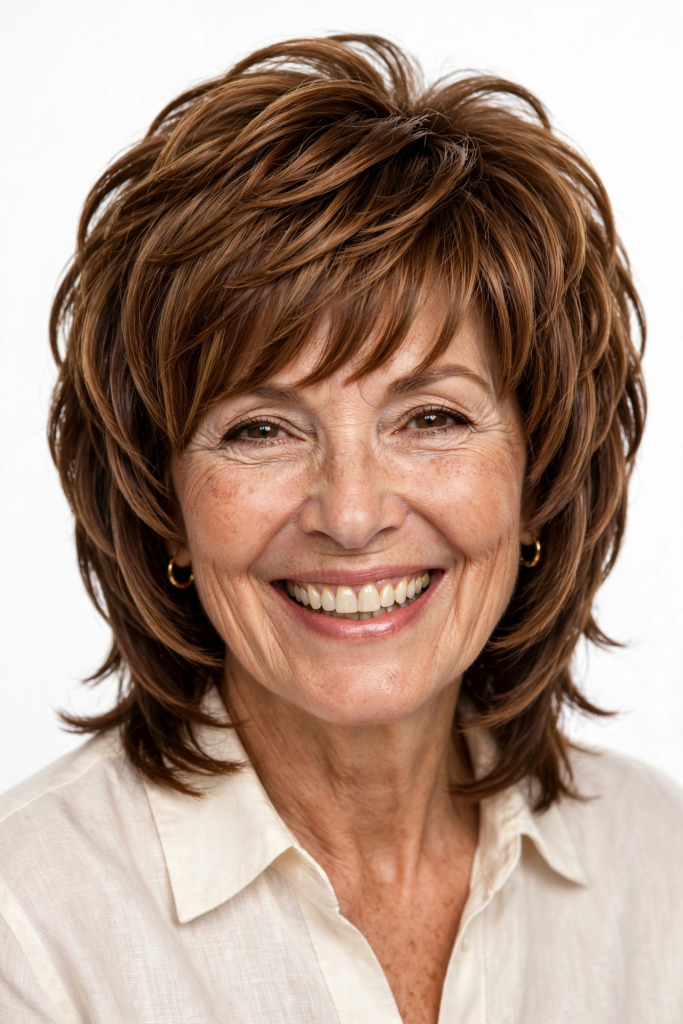
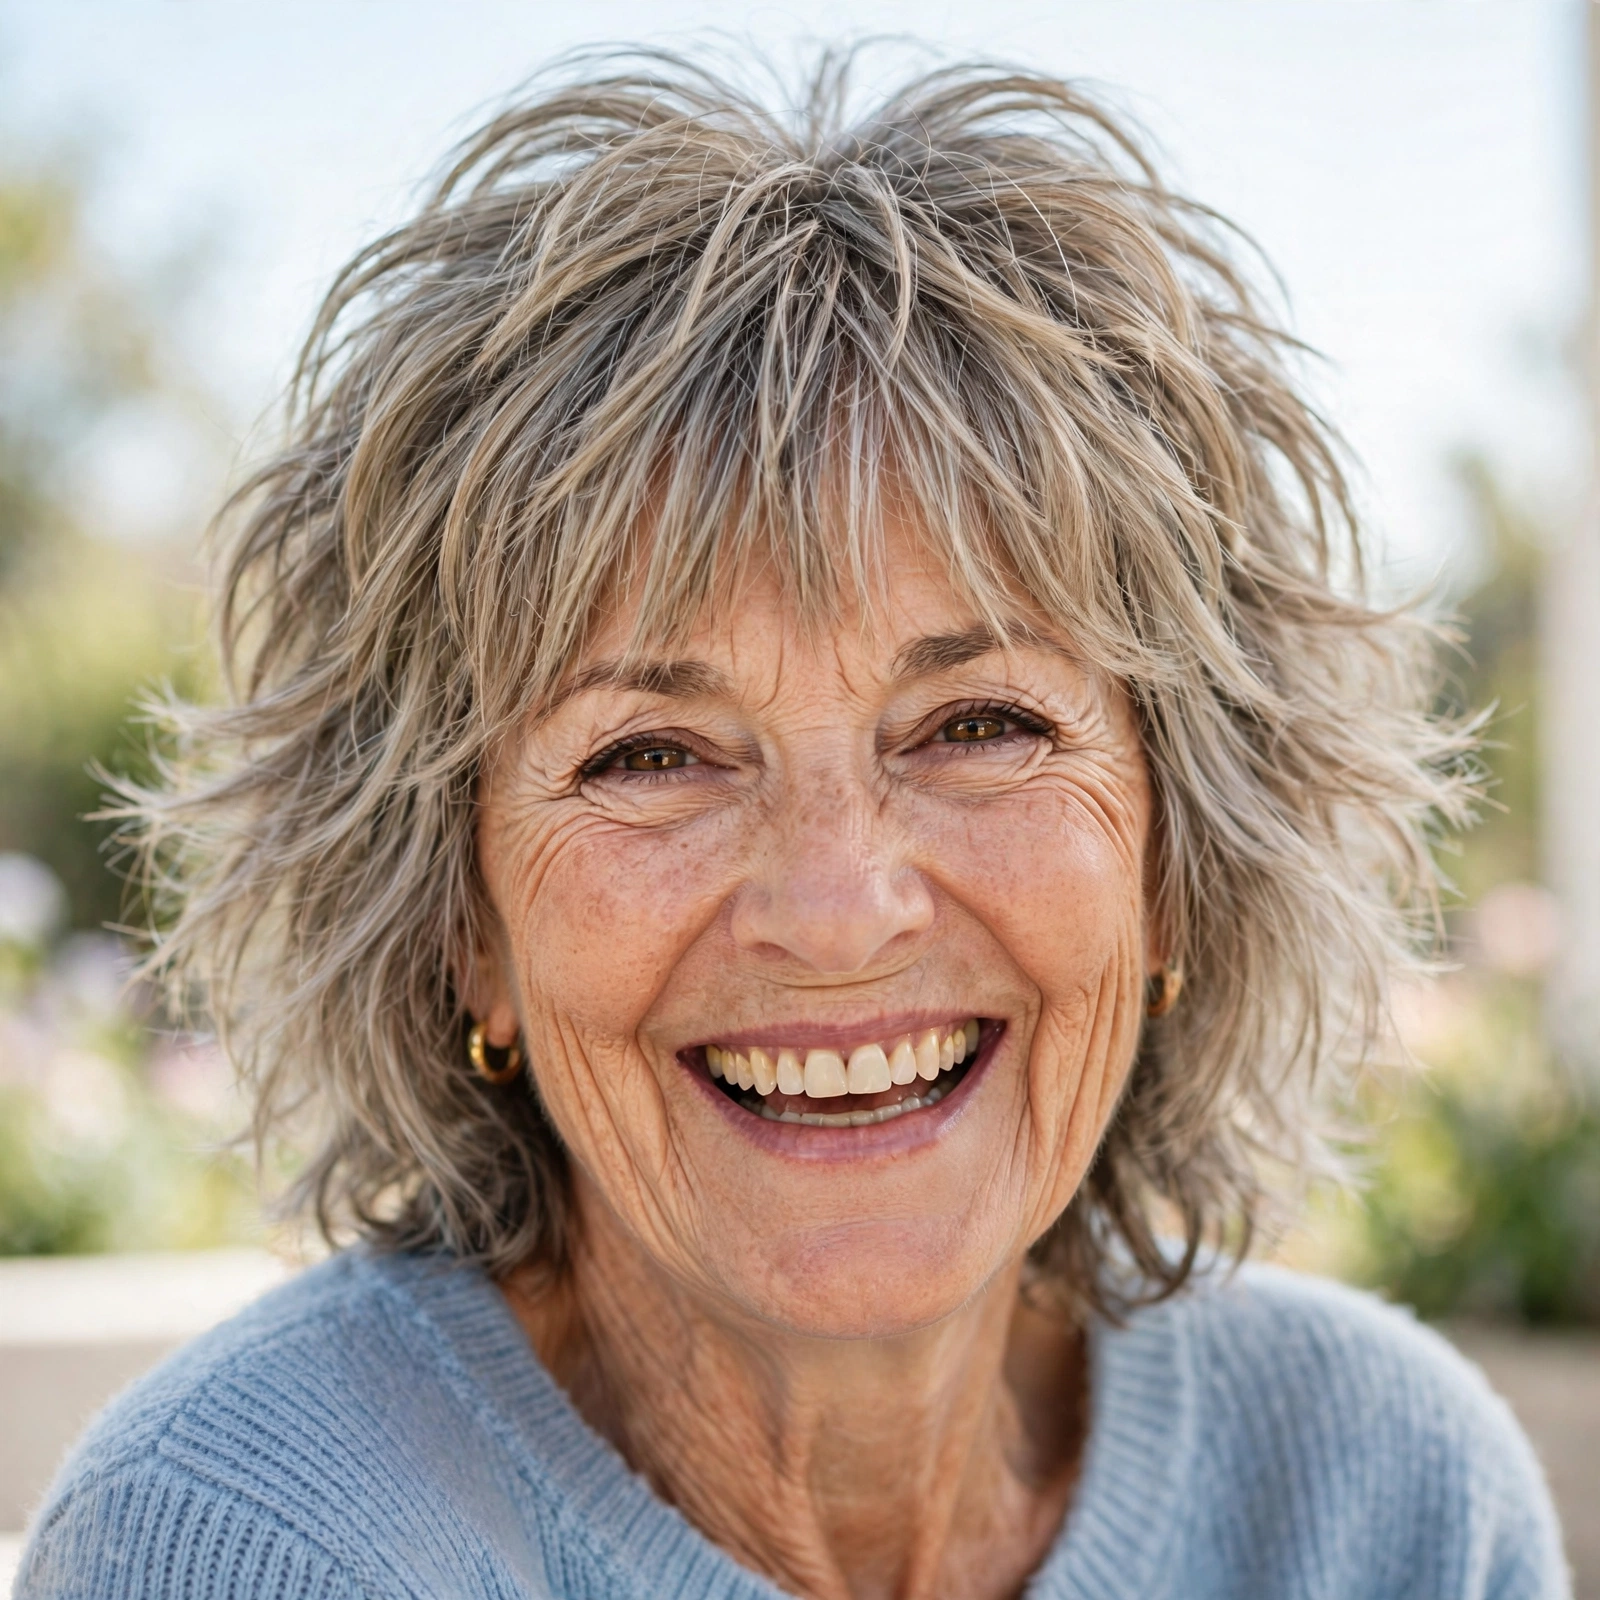
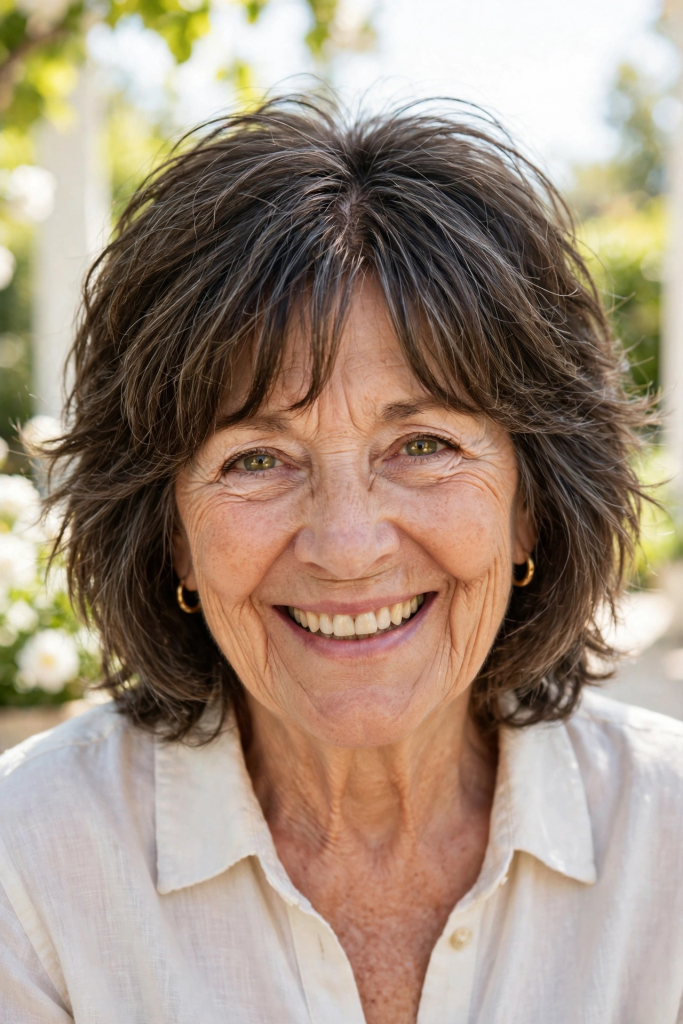
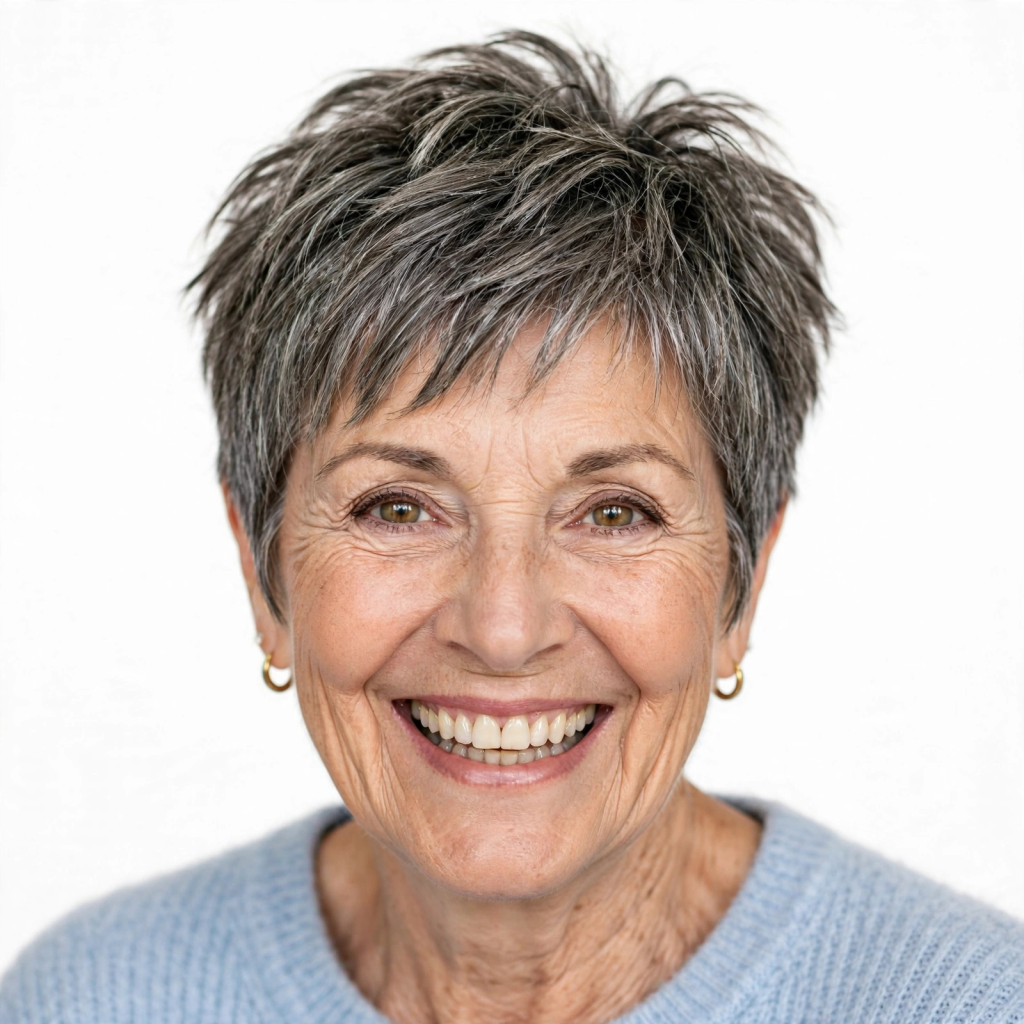
  • 16 Stunning Hairstyles for Women Over 50 with Thin Hair.

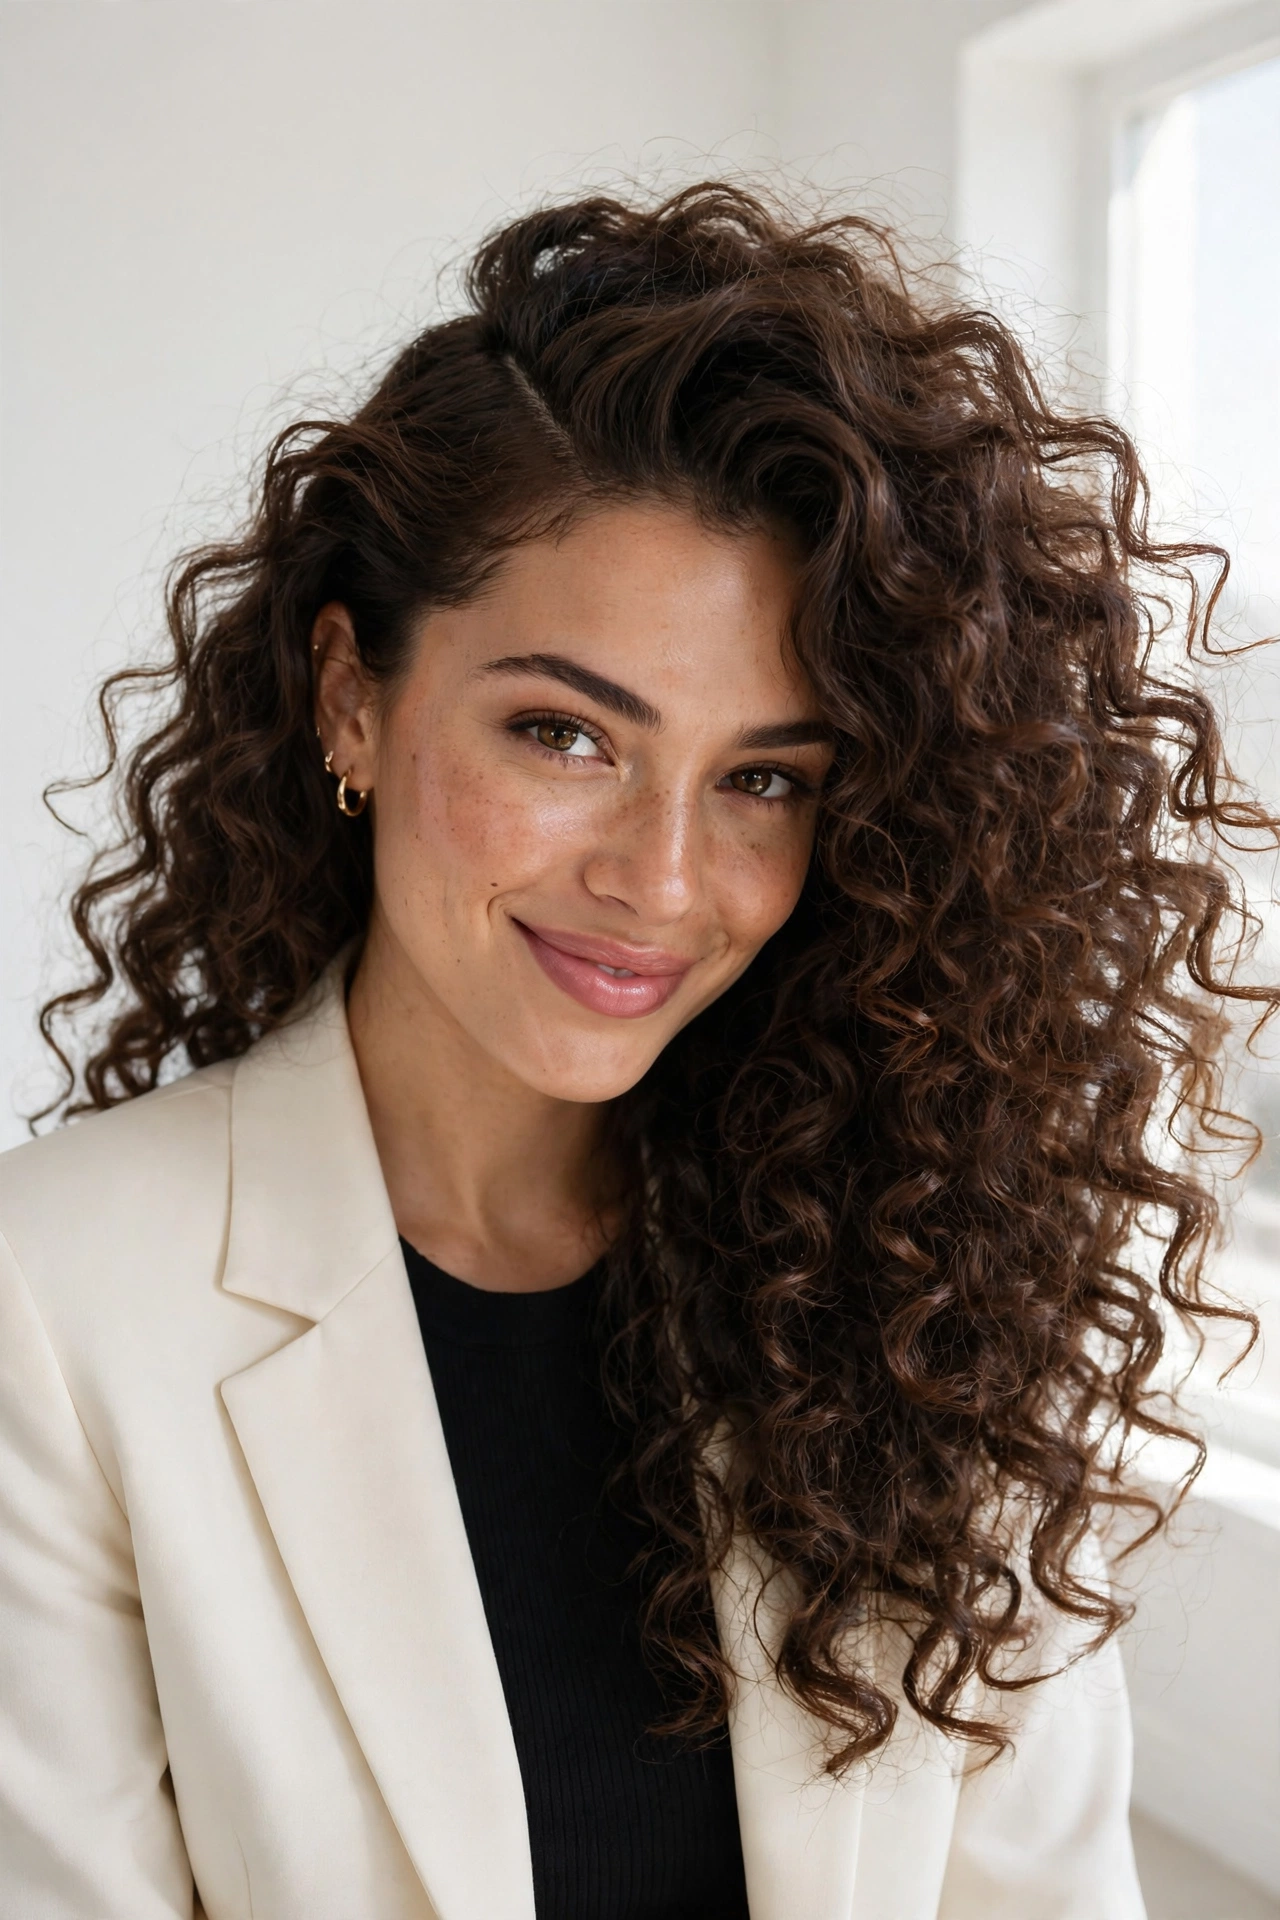
    16 Stunning Hairstyles for Women Over 50 with Thin Hair.

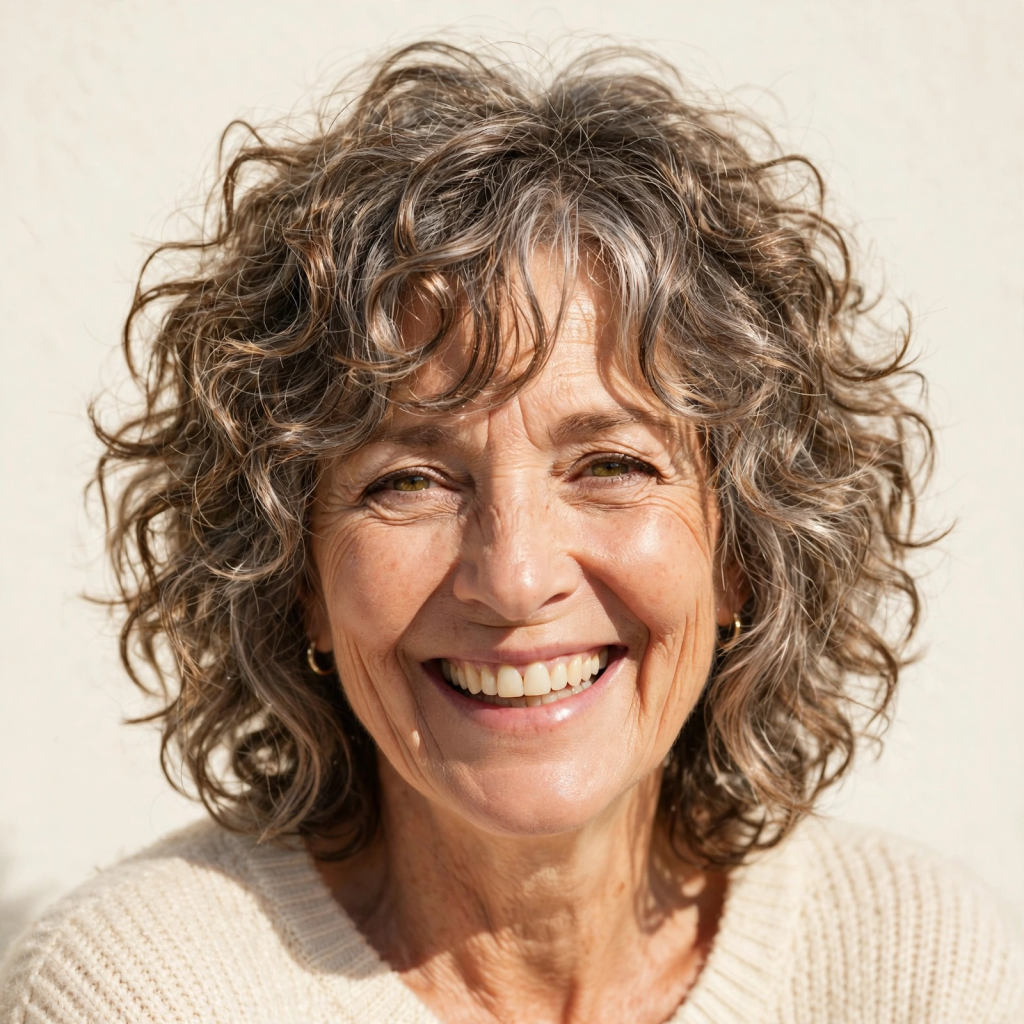
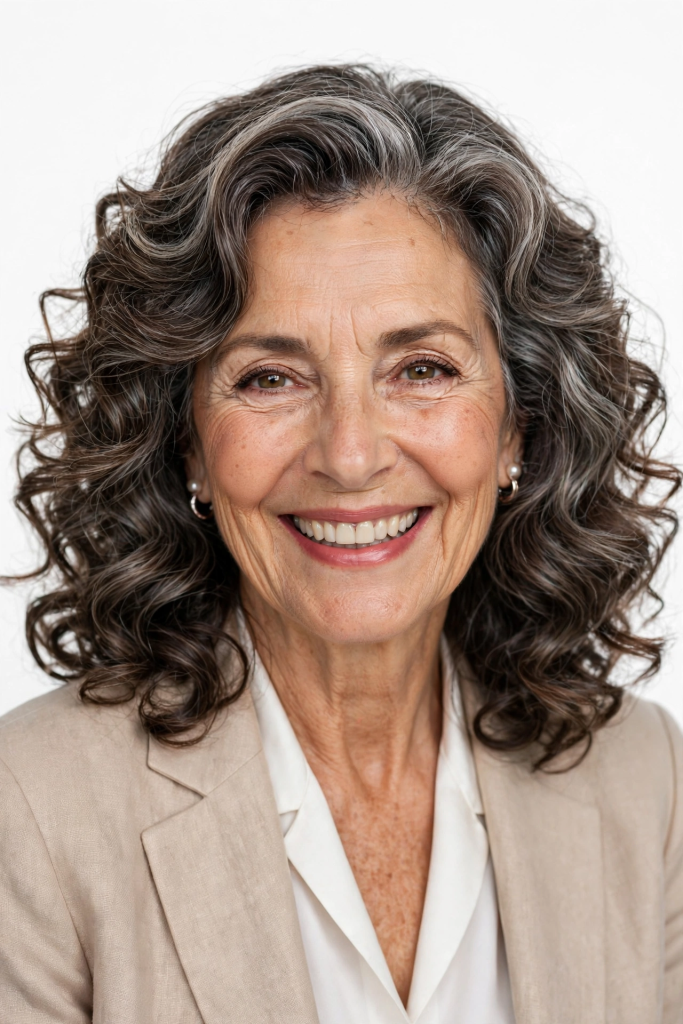
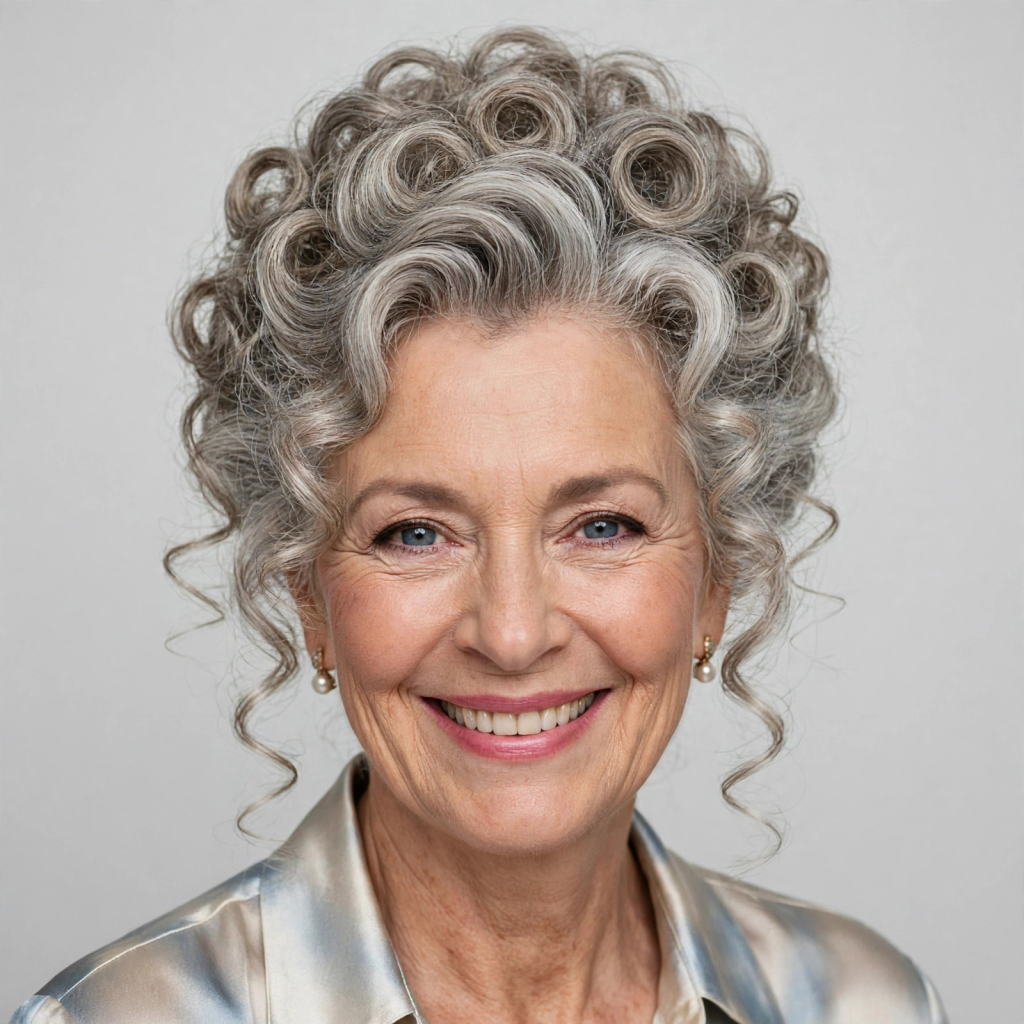
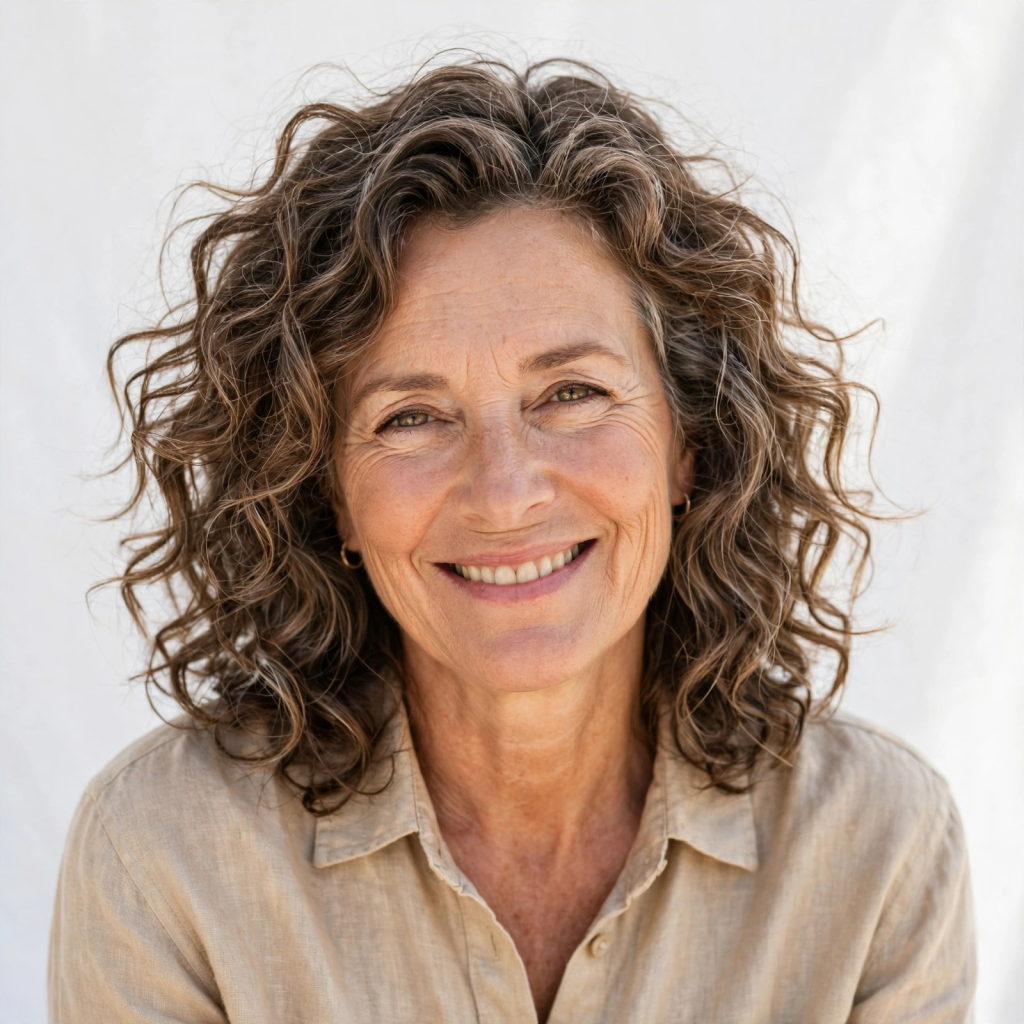
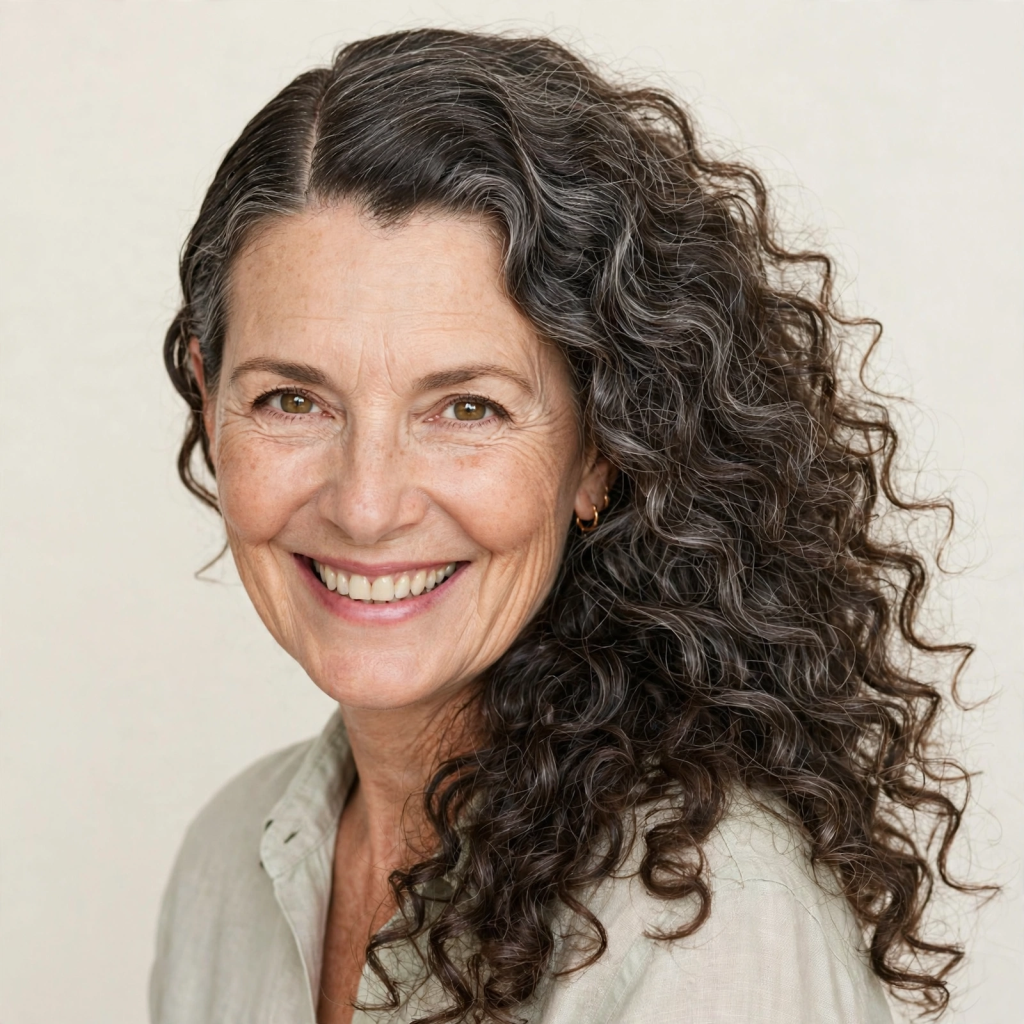
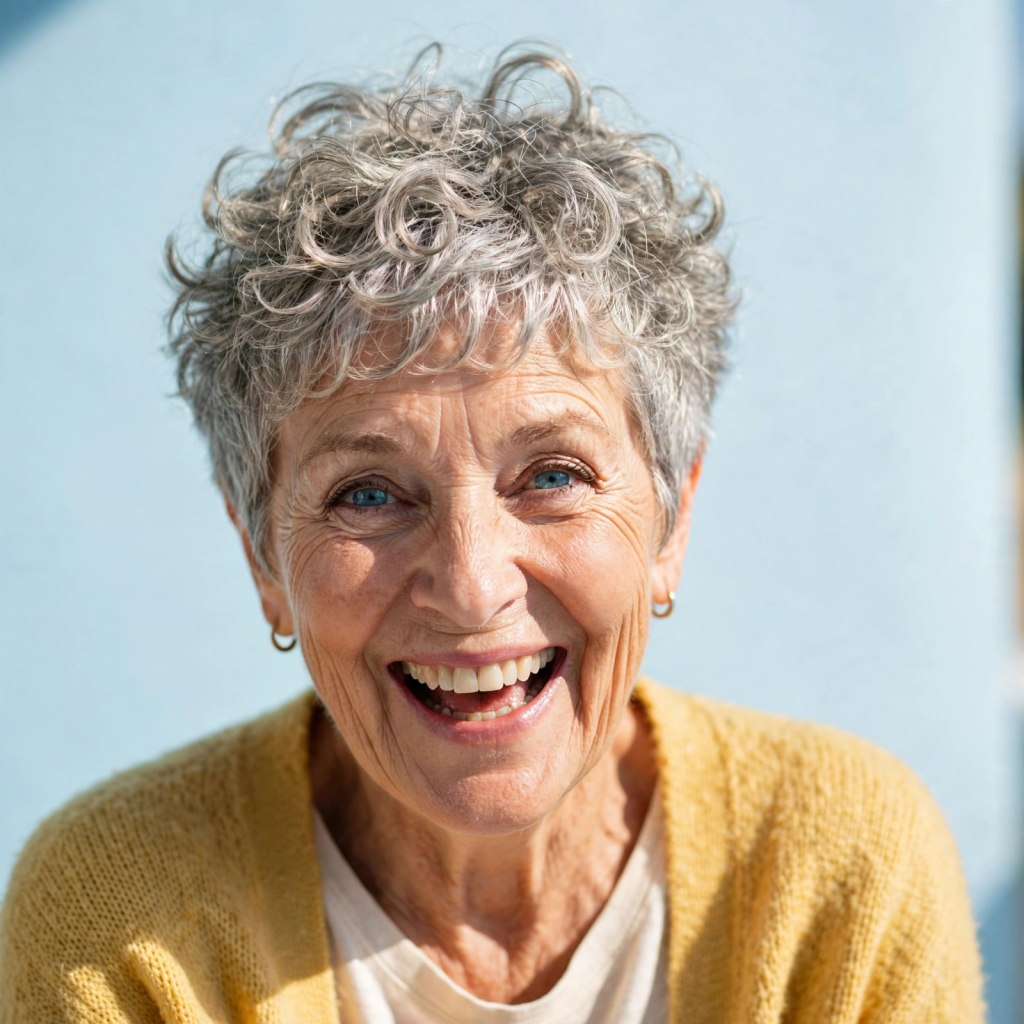
    There is a beautiful and empowering shift happening in the world of hair. For decades, the narrative around women over 50 often involved a slow retreat to shorter, simpler, and—let’s be honest—sometimes ‘safe’ hairstyles. The message was that as hair thins and texture changes, you must say goodbye to fun, volume, and style. We are here to shatter that myth entirely.

    Welcome to the era of the “Curly Comeback.”

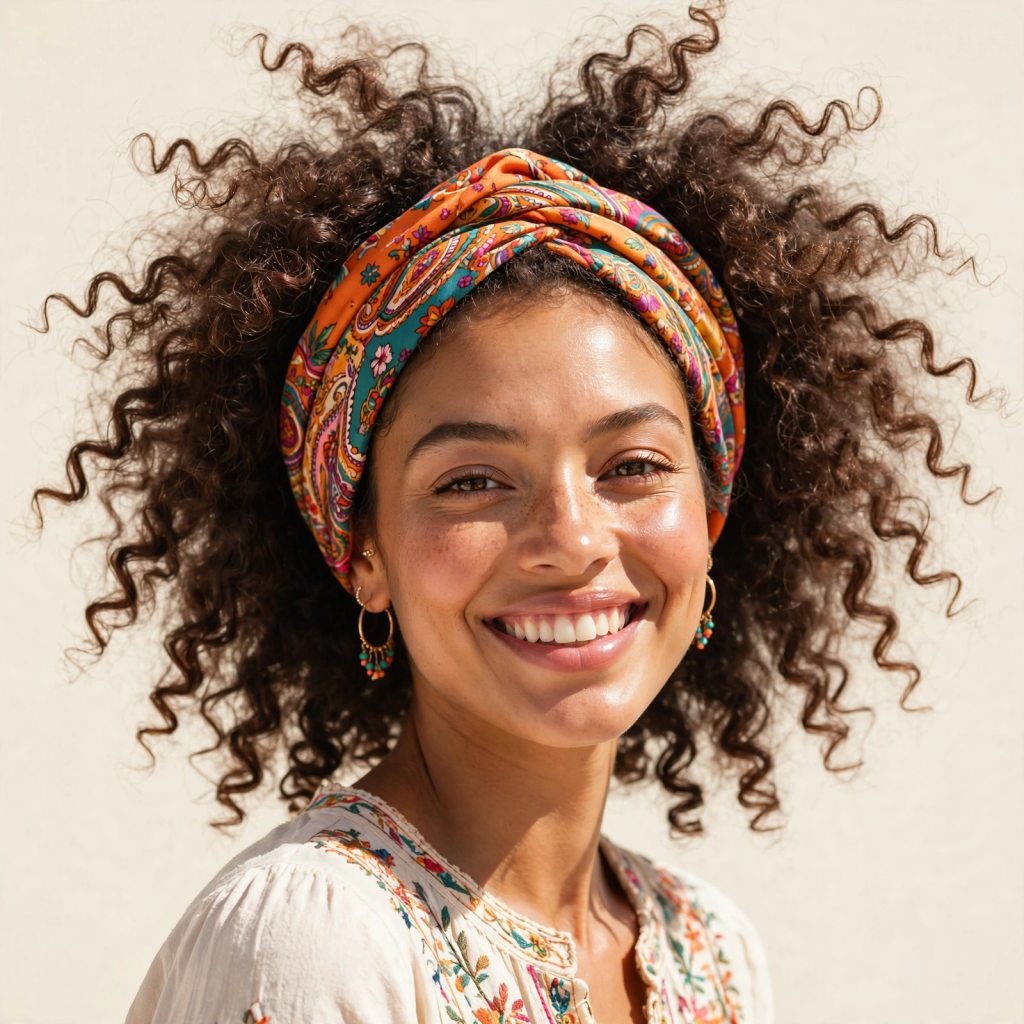
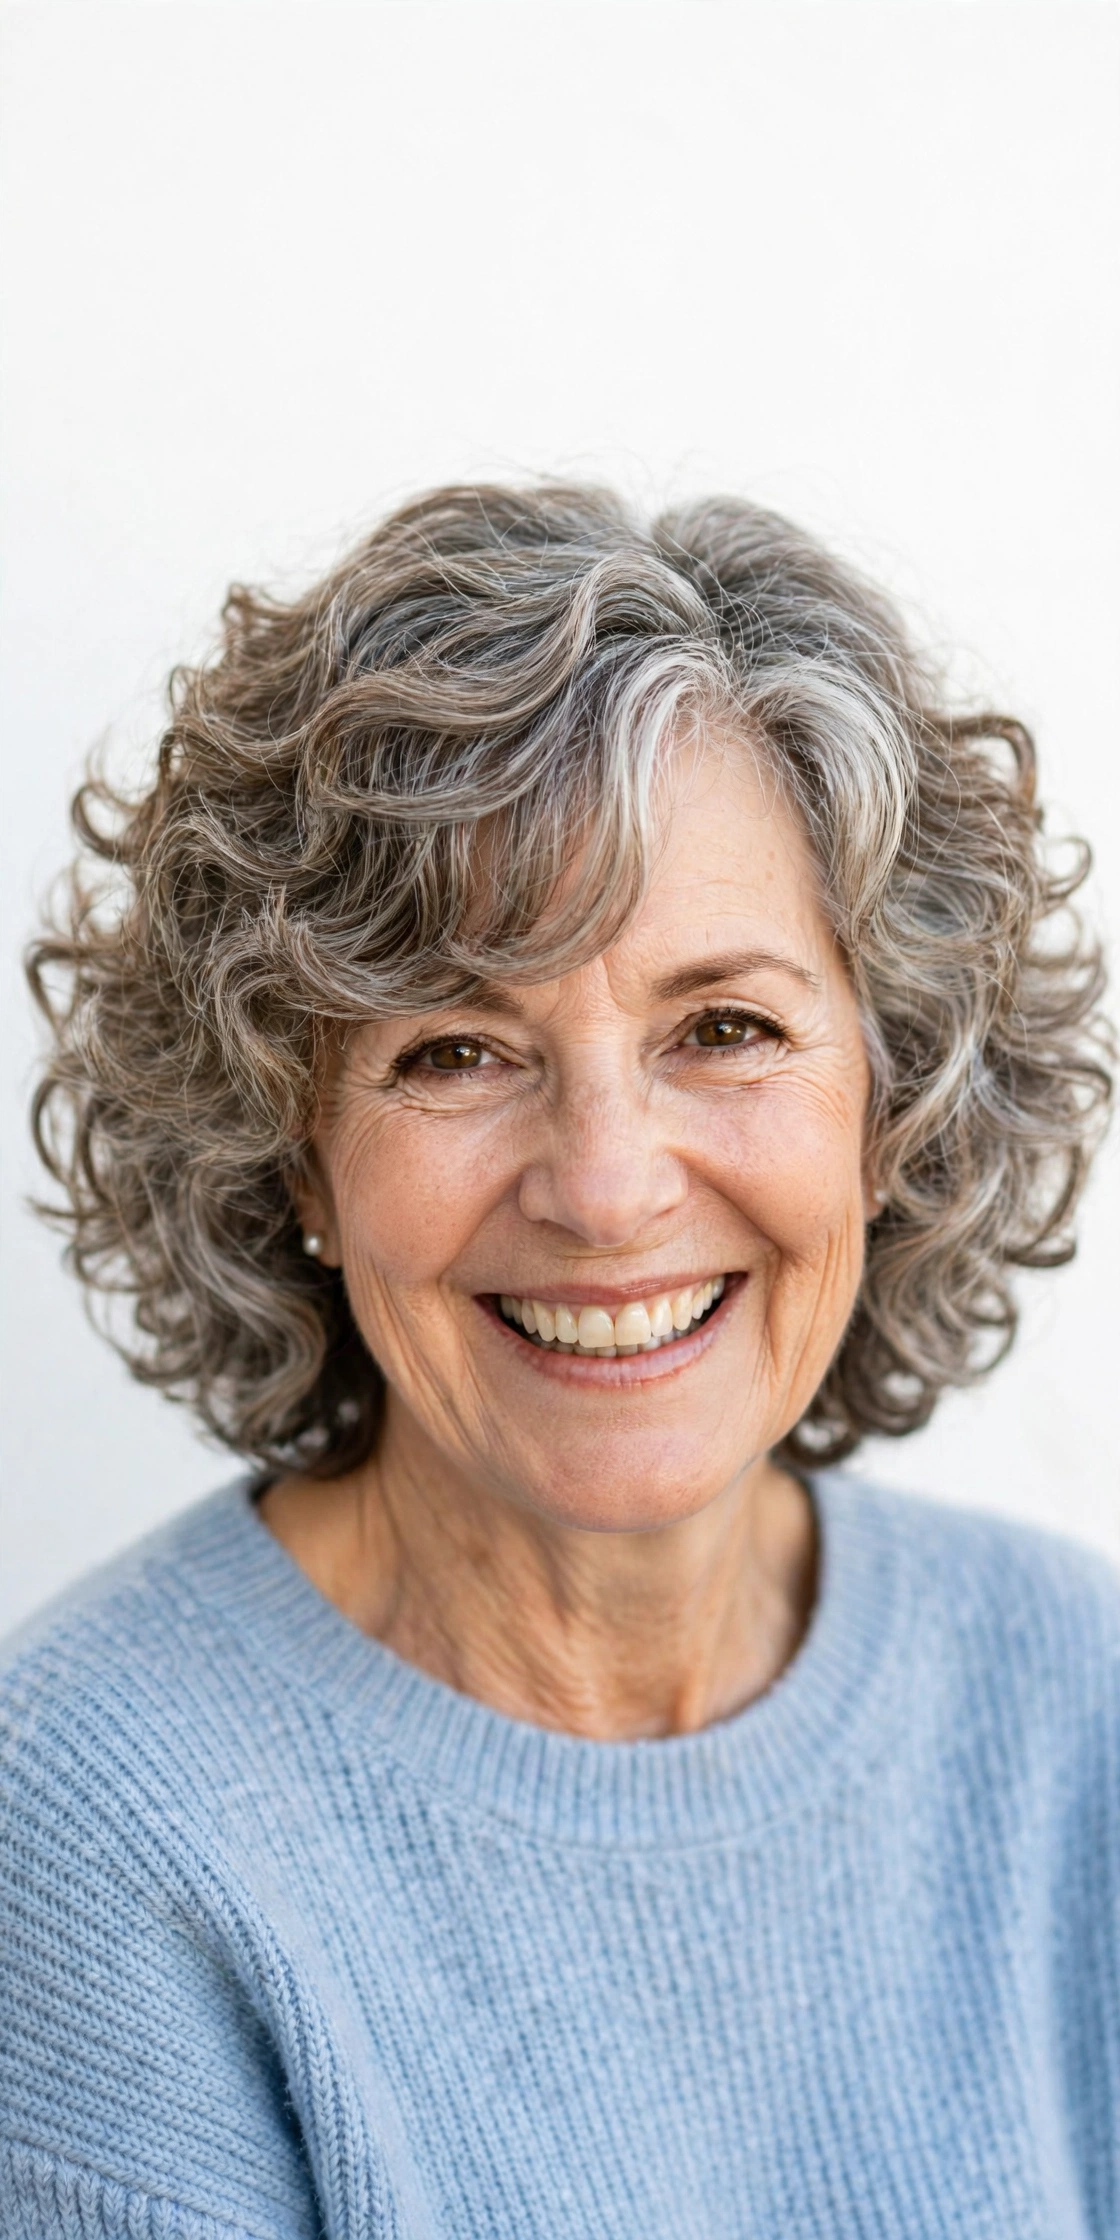
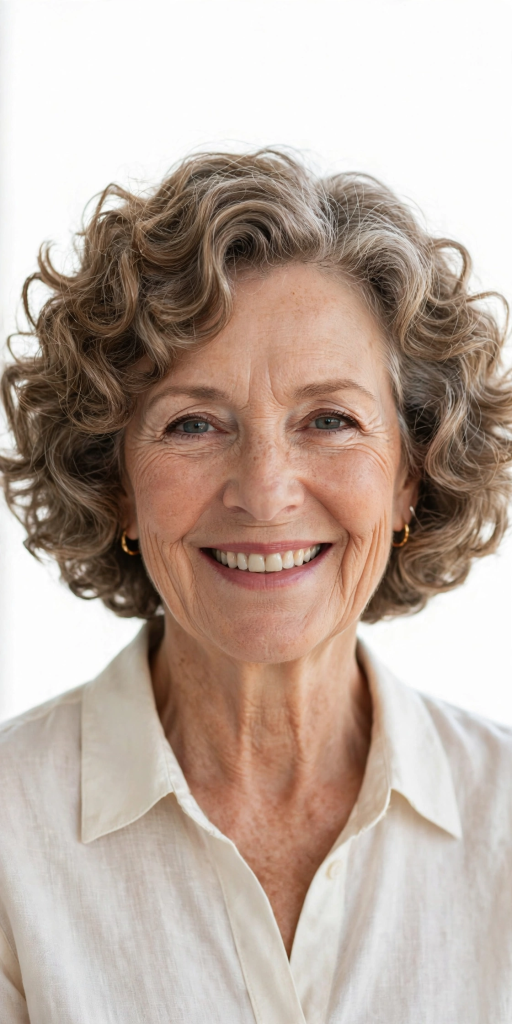
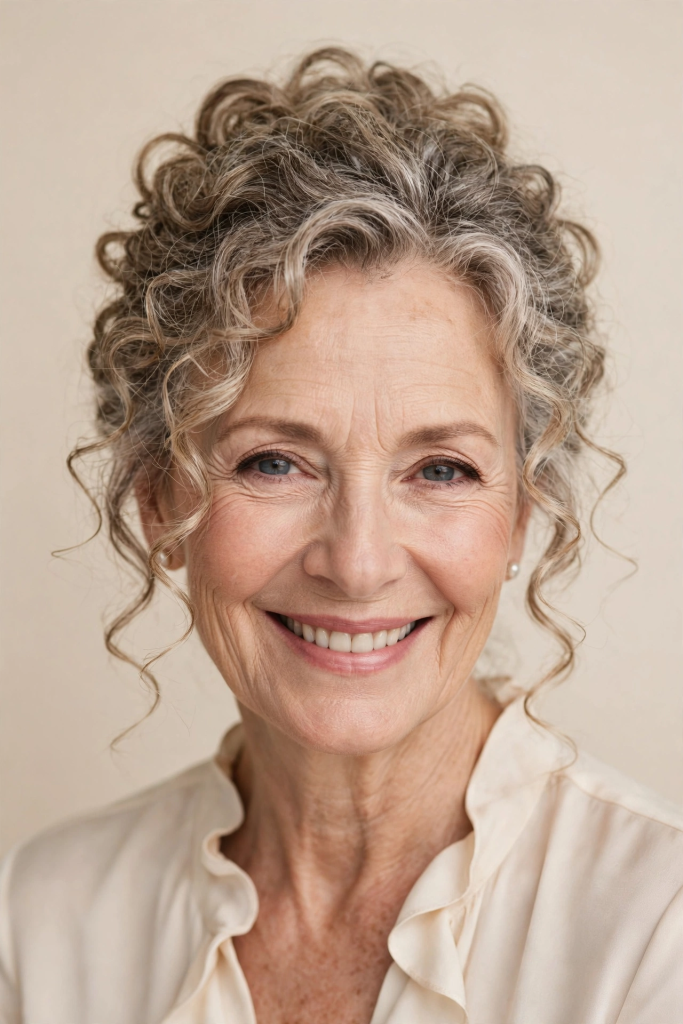
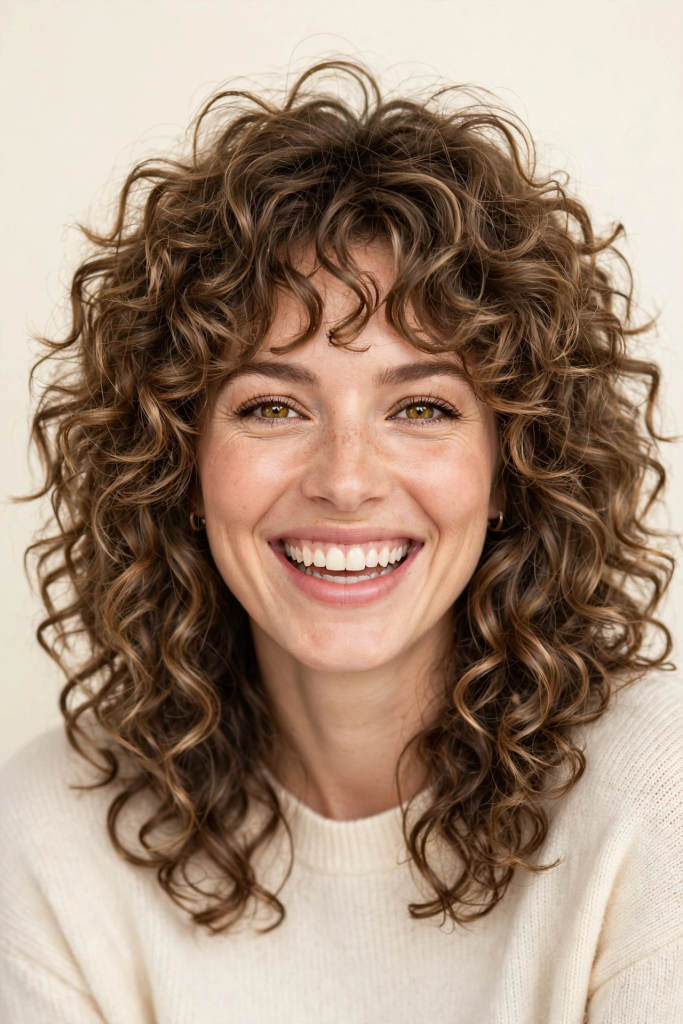
    Many women assume that curly hair and fine, thinning hair are a bad combination. The fear is that curls will look limp, sparse, or frizzy. But the truth is quite the opposite. Curls are nature’s volumizer. A well-cut, well-styled curly haircut creates texture, movement, and the illusion of density like no other style can. The key is understanding your hair’s new texture and working with it, not against it.

    As we age, our hair naturally changes. It can become finer, more fragile, and less elastic due to hormonal shifts. This doesn’t mean you can’t have gorgeous curls; it just means you need to approach them with a strategic, gentle hand. This means embracing the right products, understanding the techniques for drying and styling, and—most importantly—choosing a haircut that does the heavy lifting for you.

    This article is your guide to making that happen. We have curated 16 brilliant curly hairstyle ideas specifically designed for women over 50 with thin, fine hair. Each idea focuses on maximizing volume, creating the illusion of fullness, and minimizing limpness. We’ll move from ultra-short and sassy to shoulder-grazing and glamorous, covering everything in between.

    Get ready to embrace your natural texture, or to enhance those waves you’ve been hiding, because your most vibrant hair chapter is about to begin. Let’s dive into the curls!


    16 Curly Hairstyle Ideas for Women Over 50 with Thin, Fine Hair:

    Here are 16 beautifully detailed hairstyle ideas, each with a specific focus on how it benefits fine hair.

    The Short & Sassy Styles (Focus: Maximum Lift and Texture)

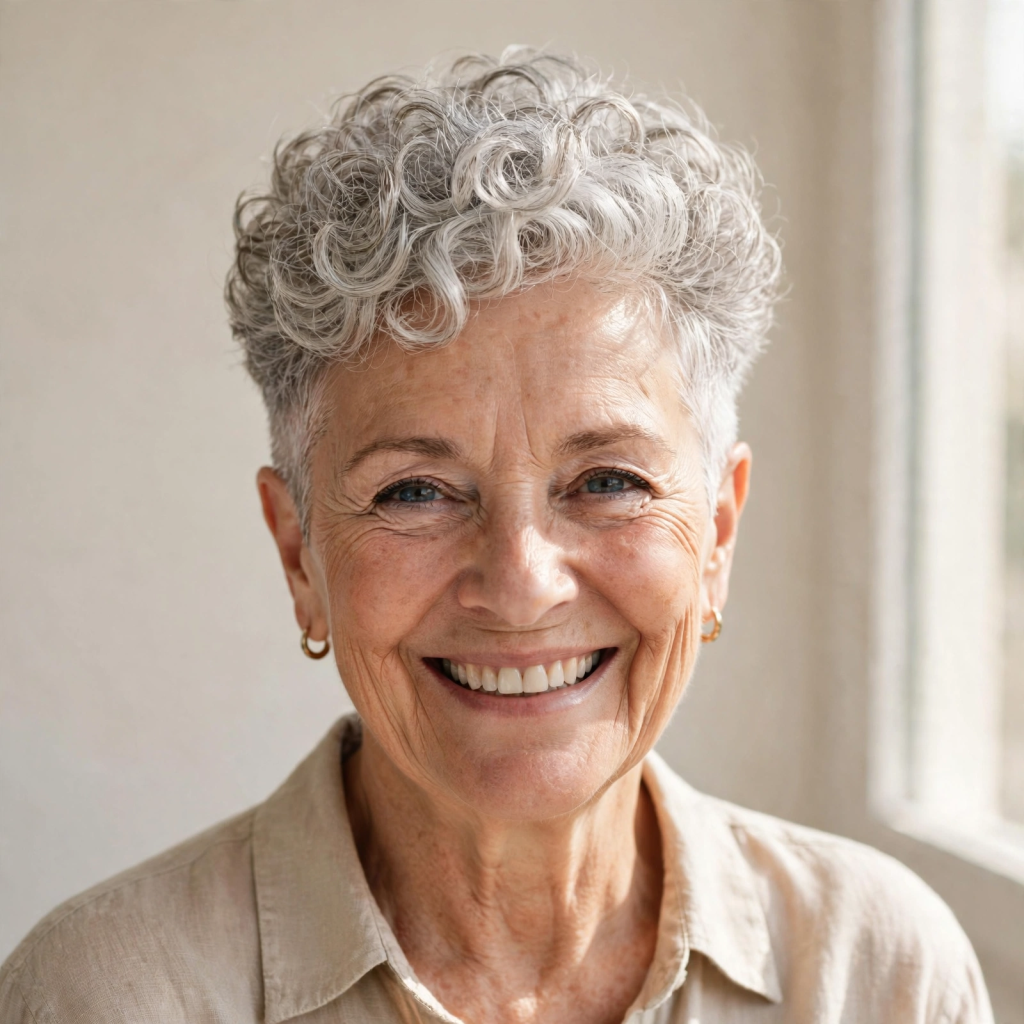
    1. The Pixie Curl
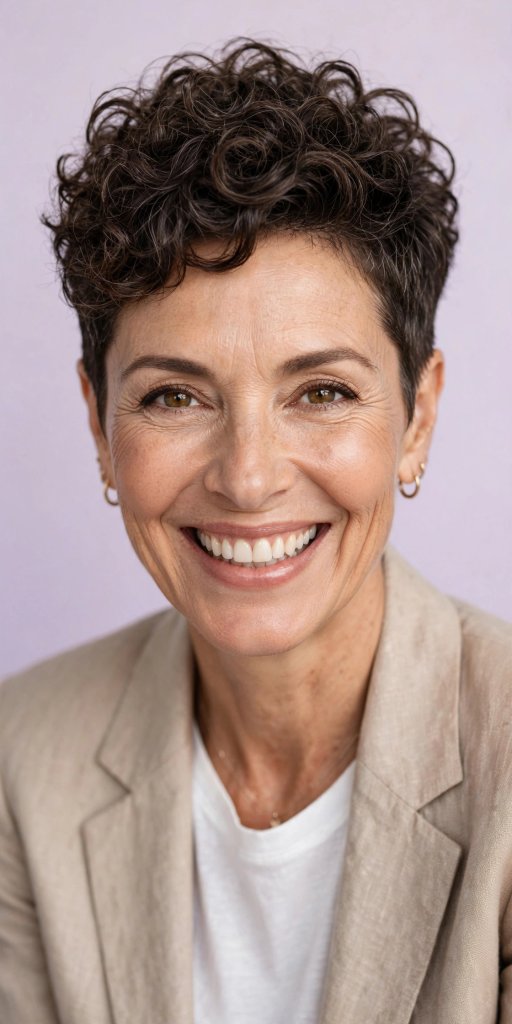

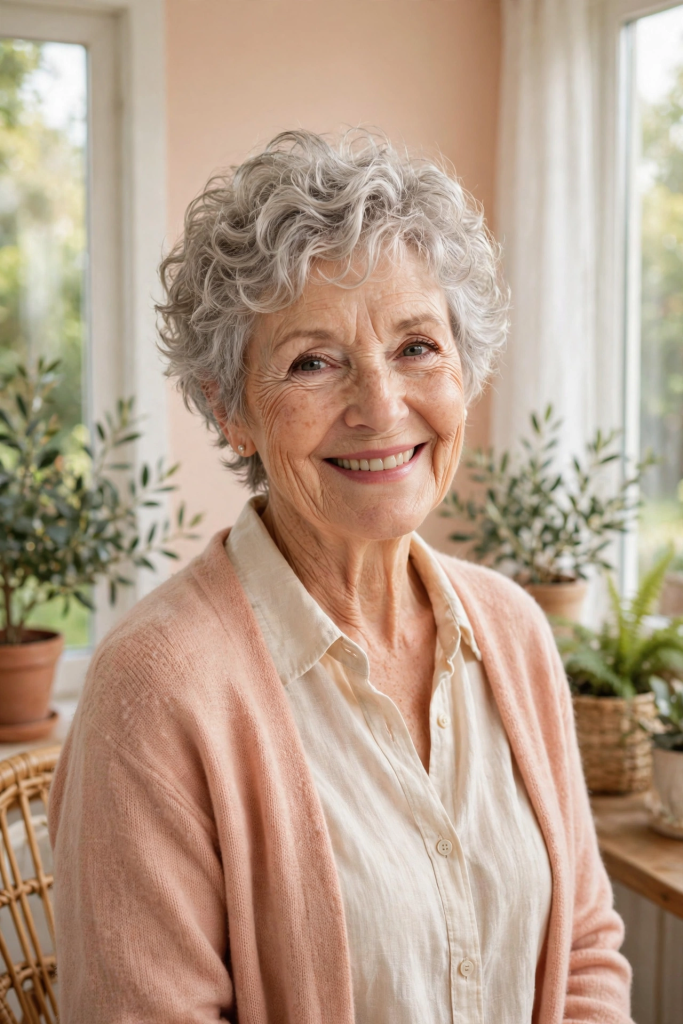
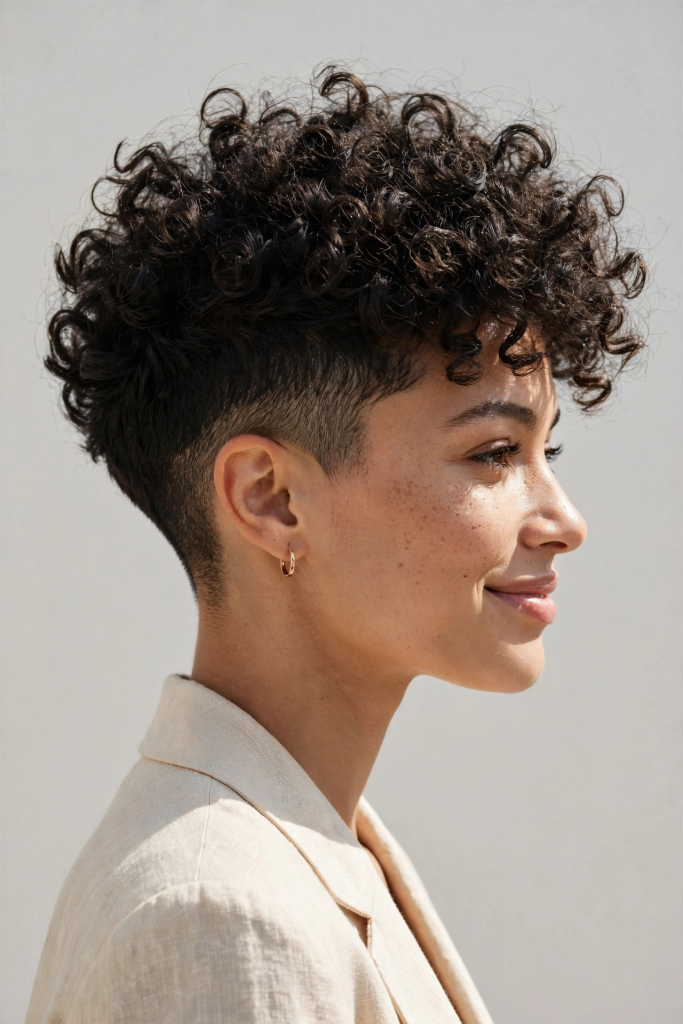
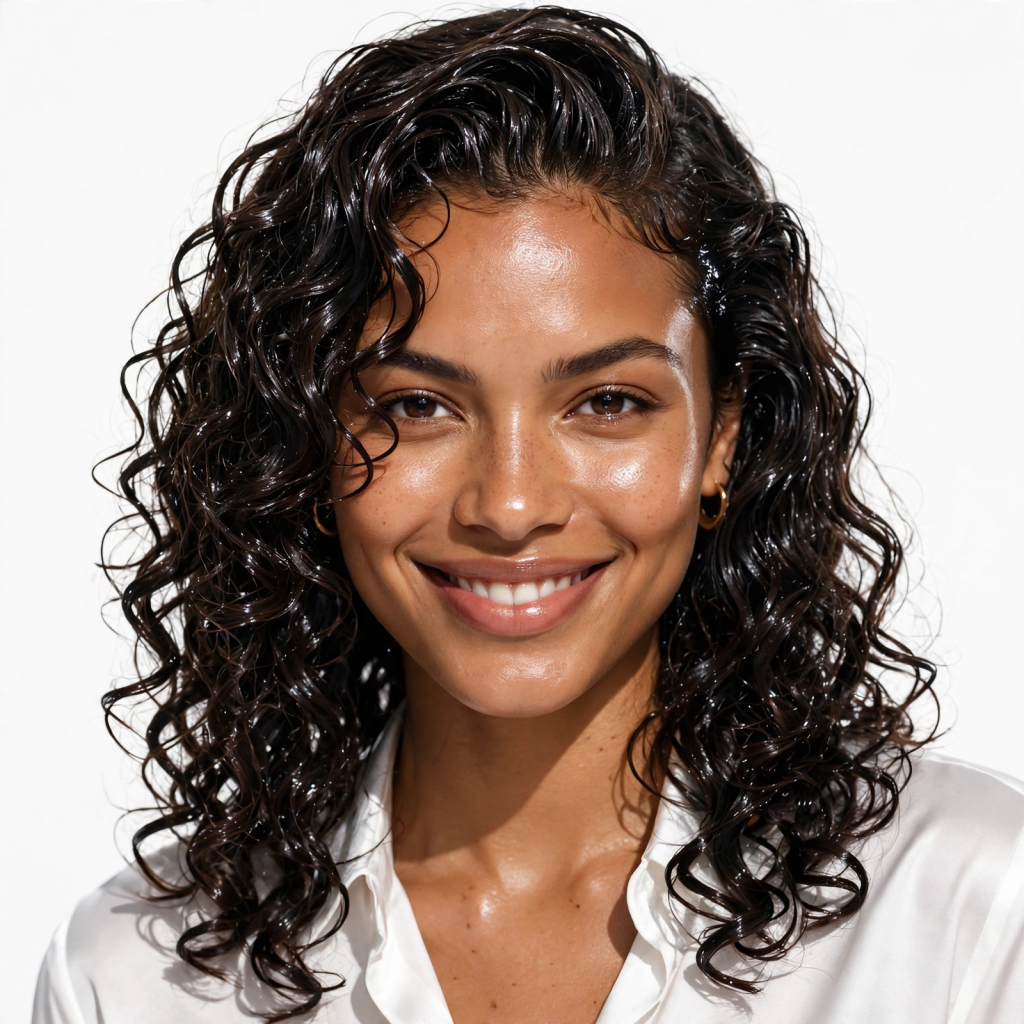
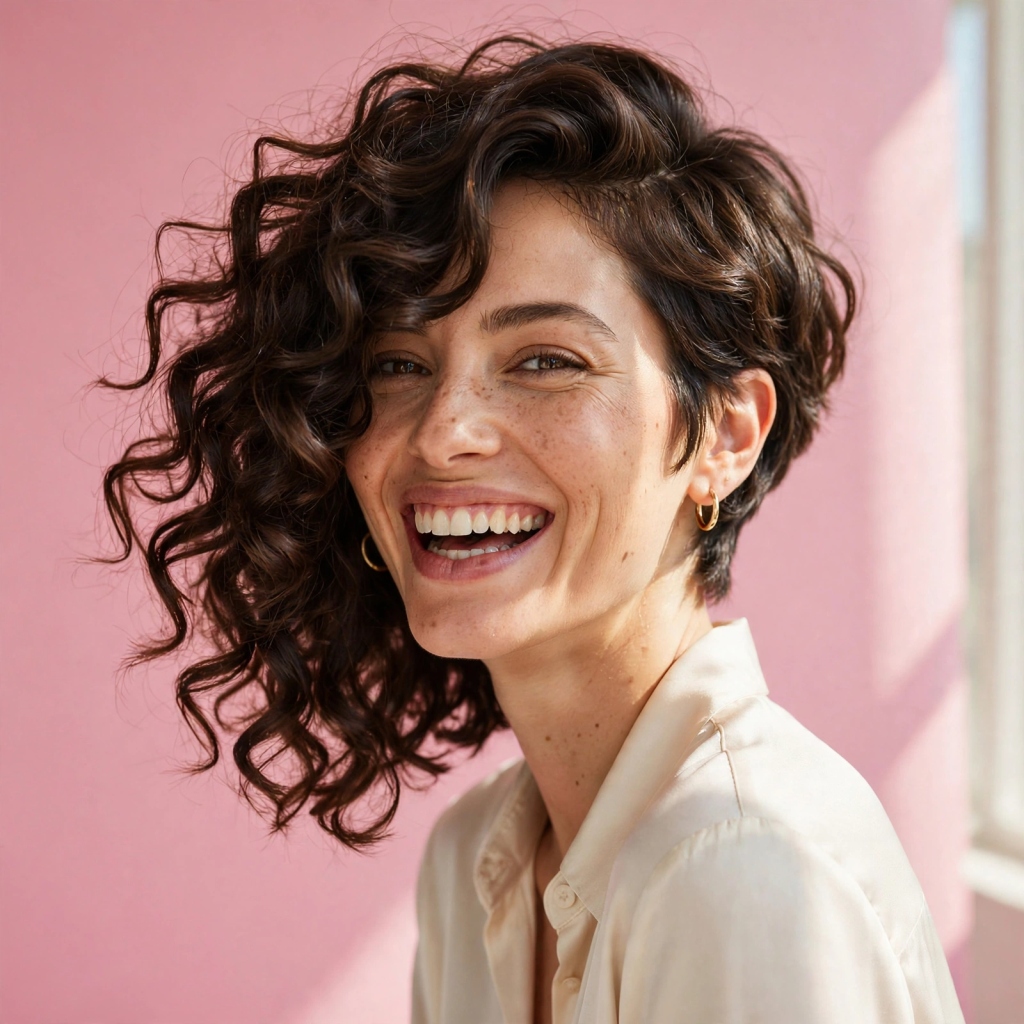
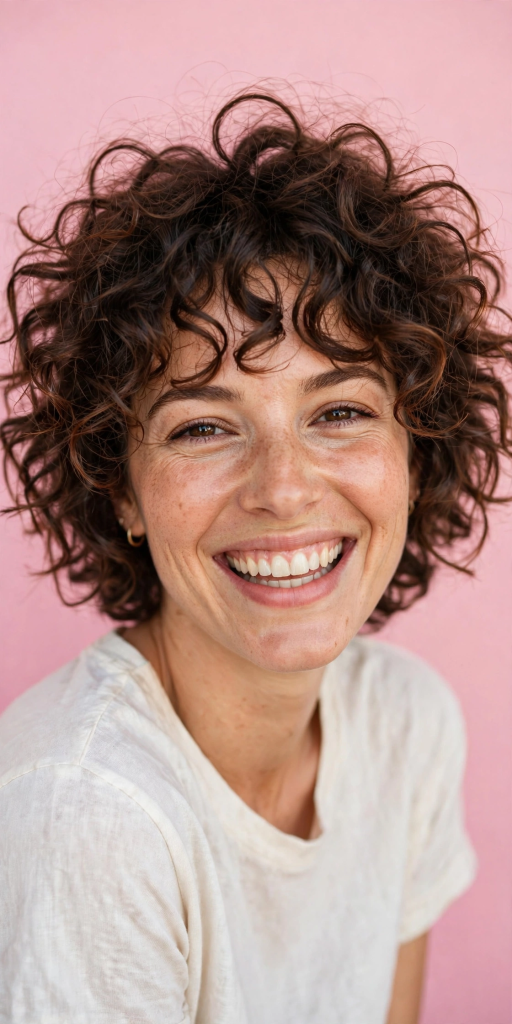
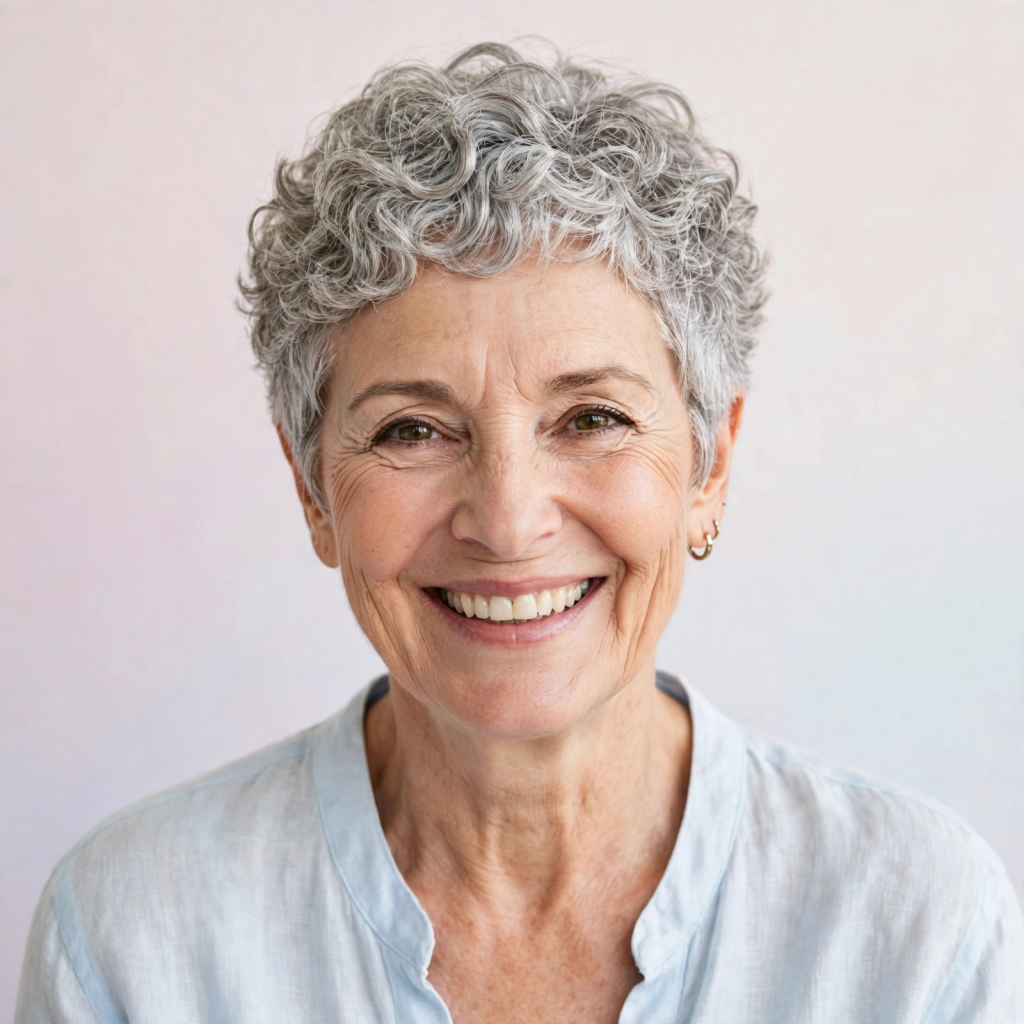
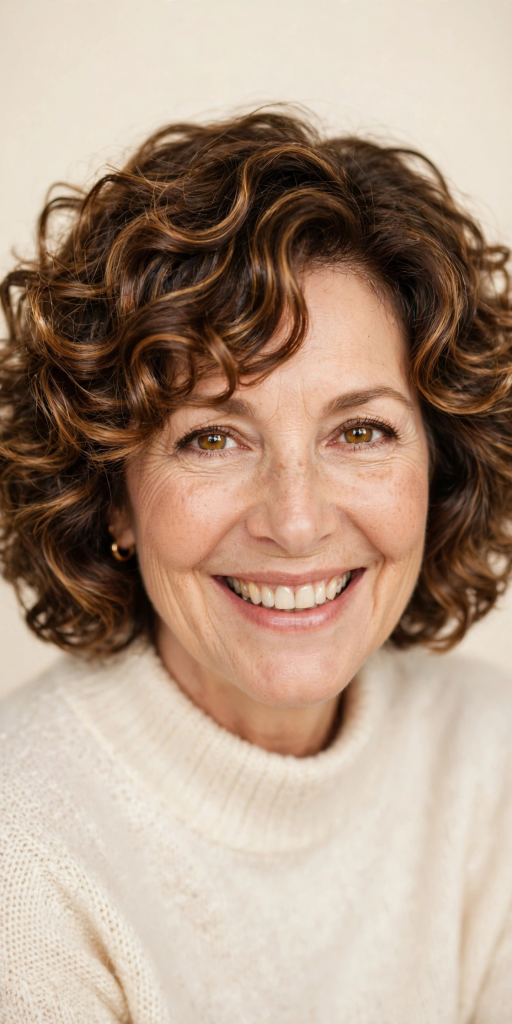
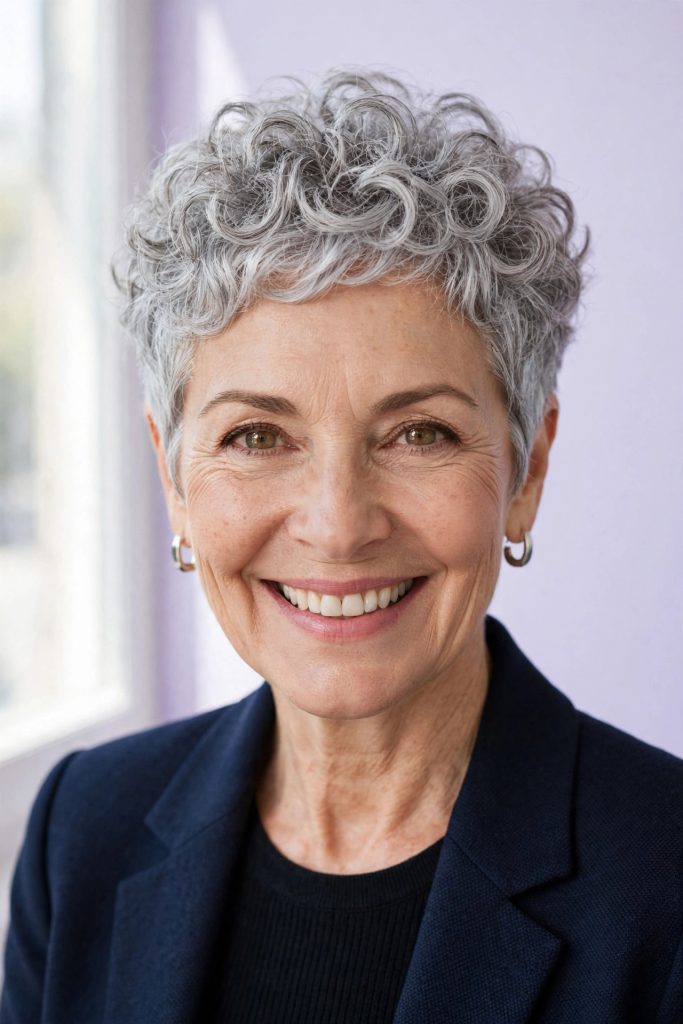
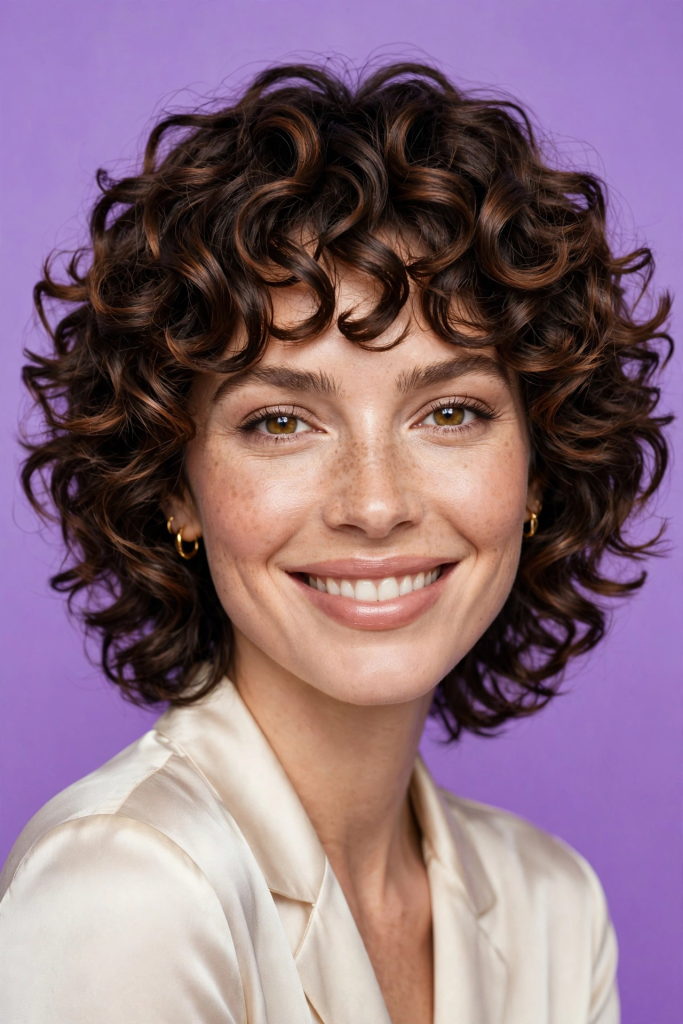
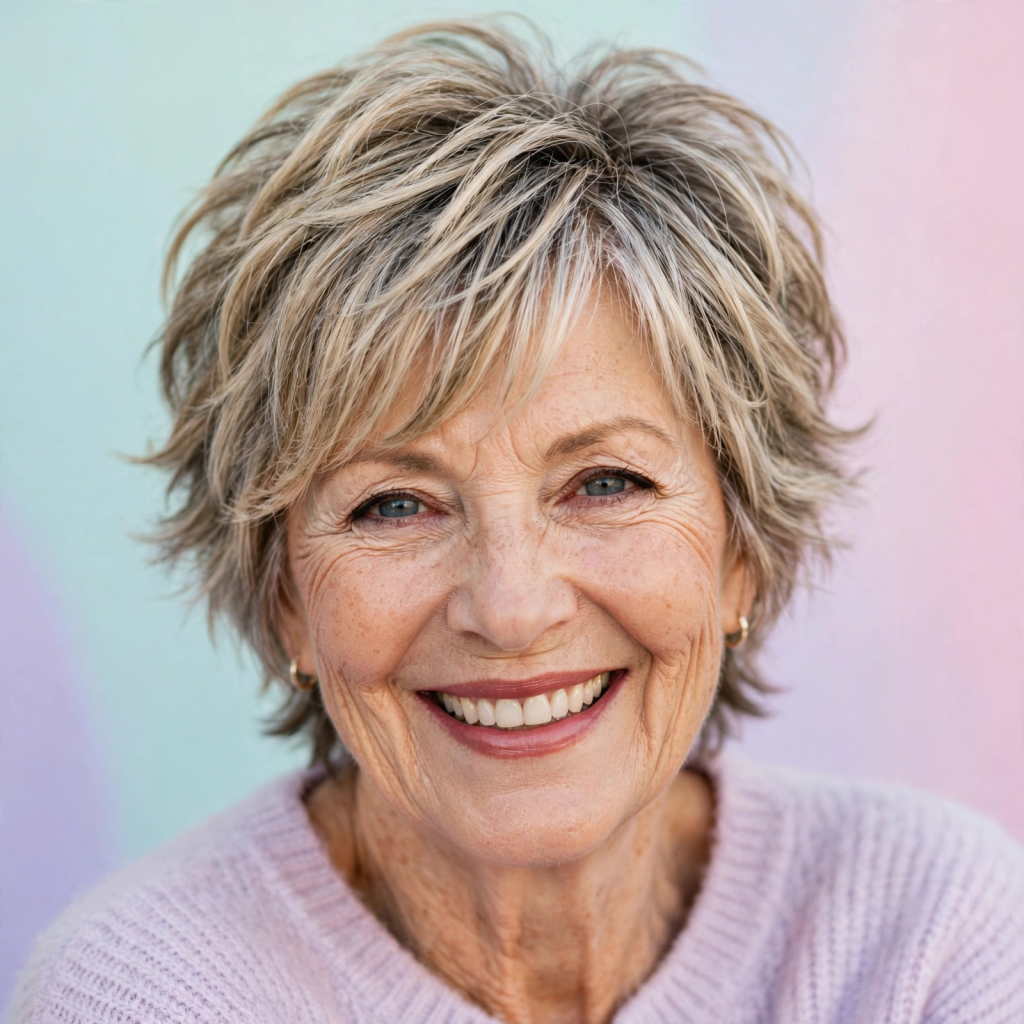
    This isn’t your mother’s pixie cut. The modern curly pixie is all about texture and lift. It’s cropped close at the nape and sides but leaves a bit more length on top to create soft, defined curls or waves.

    • Why it Works: By removing weight from the sides and back, all the volume is directed to the top of the head. This instantly creates the illusion of a fuller, more voluminous crown, which is the number one goal for fine hair.

    2. The Tapered Curly Cut
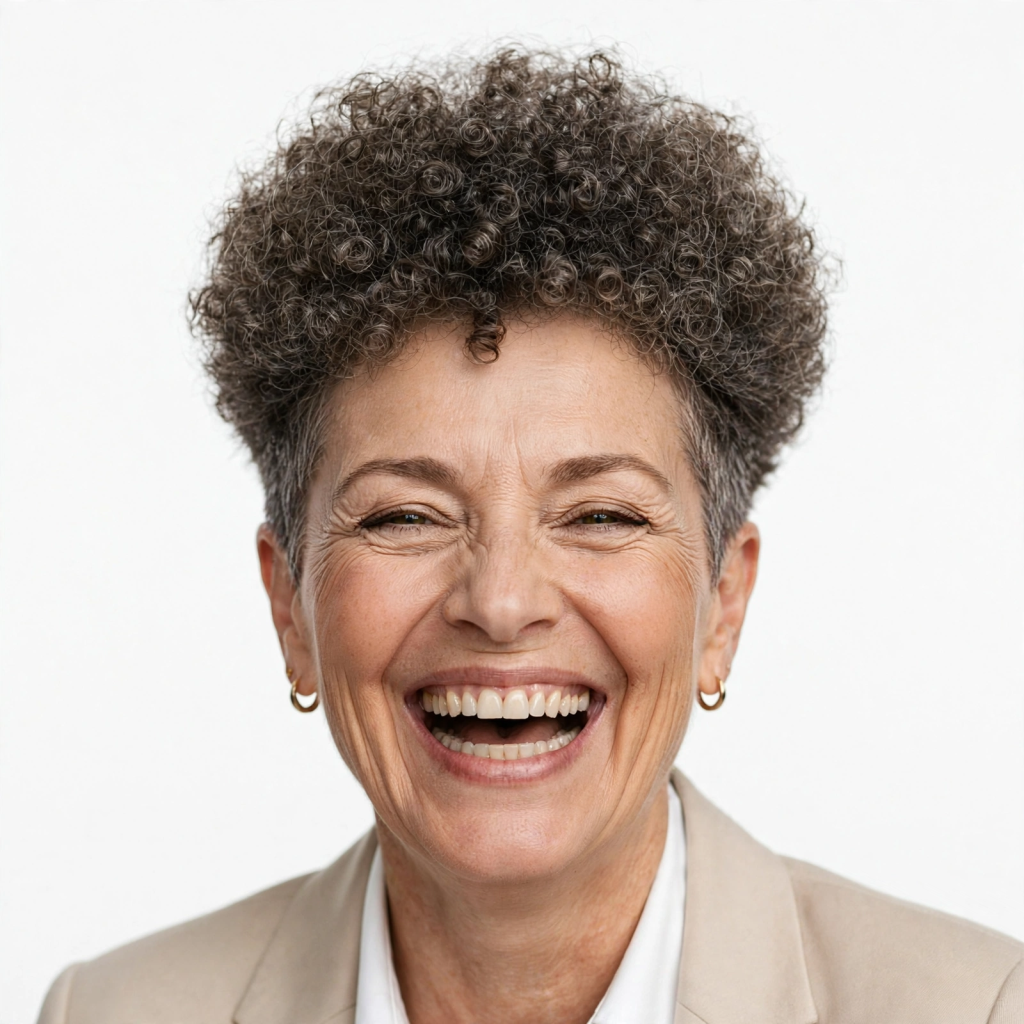

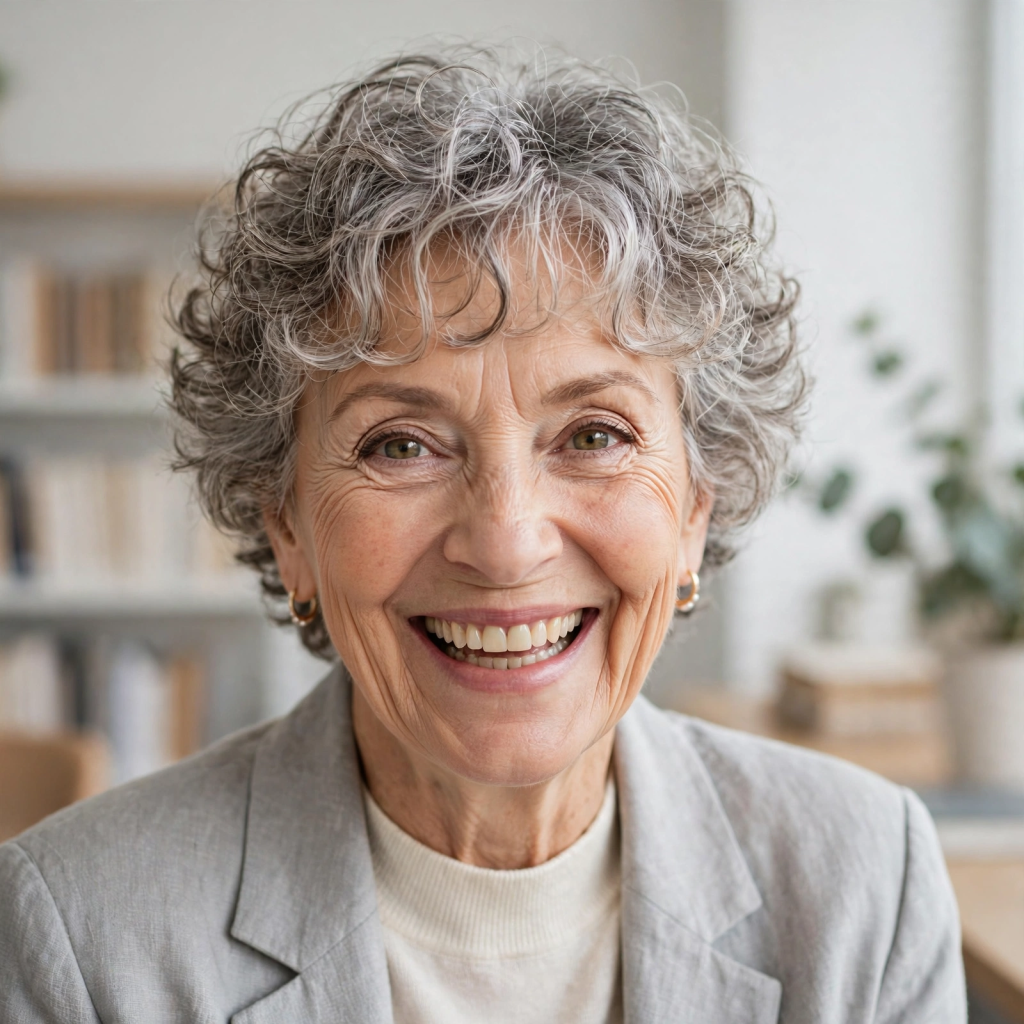
    A classic tapered cut is longer on top and shorter around the edges, creating a beautiful, rounded silhouette. The curls are encouraged to form a soft, cloud-like shape.

    • Why it Works: This style creates a definite shape and structure, making fine hair look intentionally styled and much thicker. The tapered back and sides create a “stacked” effect that boosts height and volume at the crown.

    3. The Curly Caesar
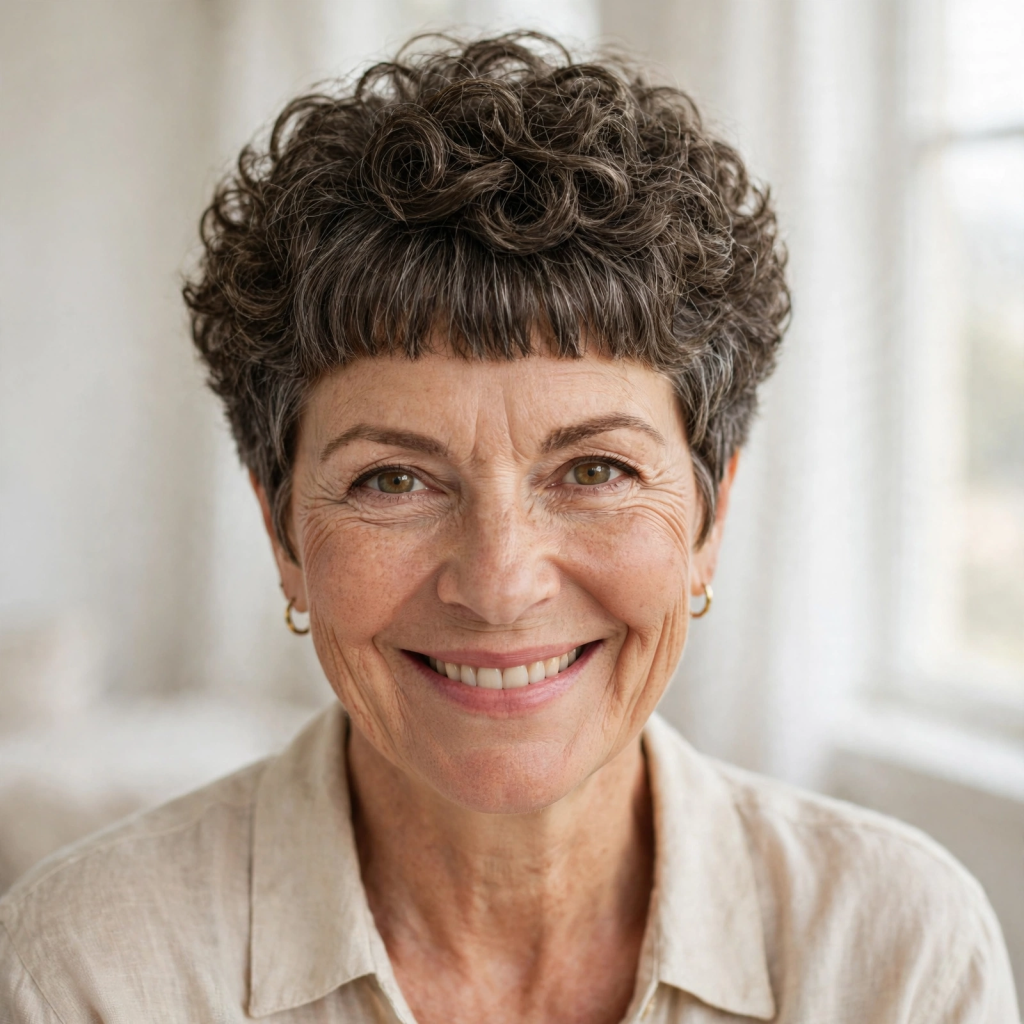

    Think of a modern, softer version of the classic Caesar cut. It features a short, evenly cut fringe that blends into the rest of the curls. This style is incredibly low-maintenance.

    • Why it Works: The short, bluntly-cut fringe creates a solid line of hair across the forehead, which visually thickens the front hairline. For fine hair that is receding or thinning in the front, this is a brilliant optical illusion.

    4. The Finger-Wave Pixie
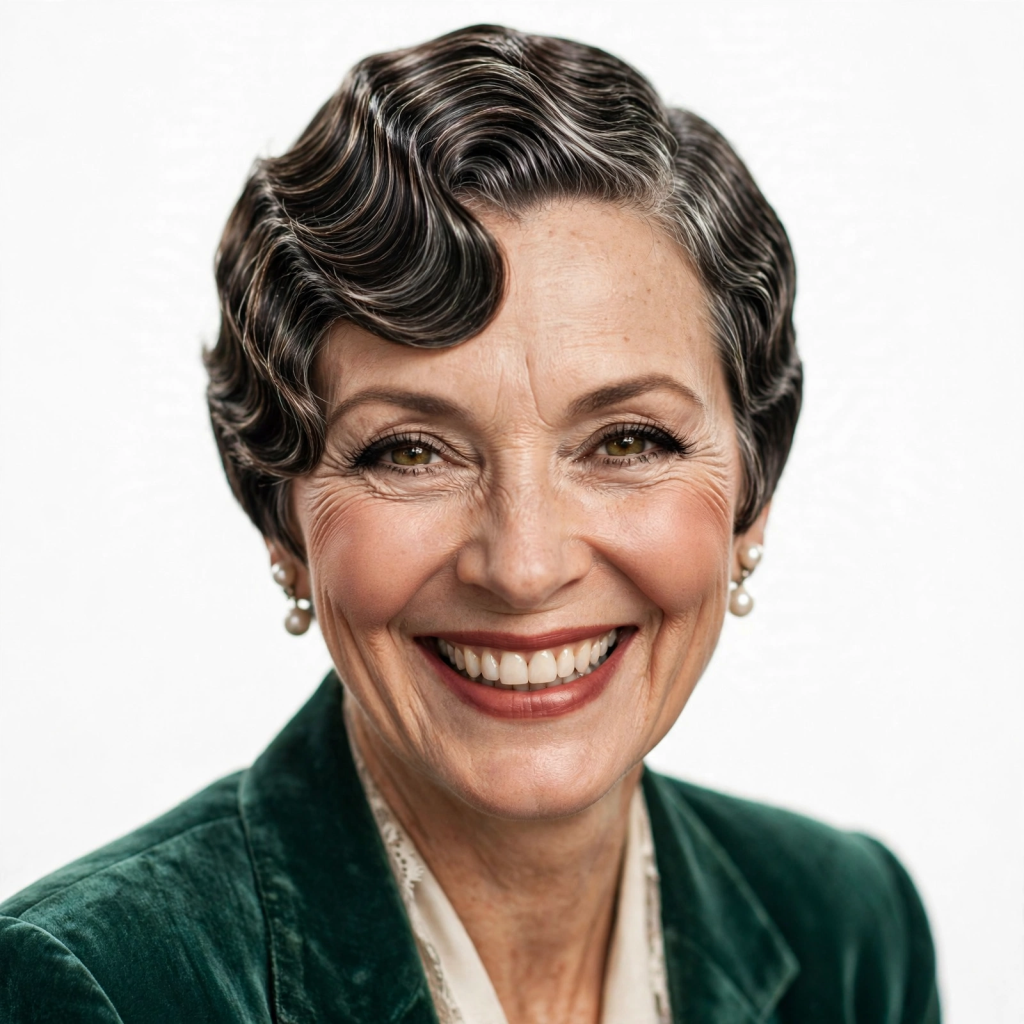

    This sophisticated style takes a very short cut and uses product to mold the hair into defined, sculpted waves. It’s a nod to the glamorous 1920s.

    • Why it Works: This style looks thick because it is thick; the hair is molded and set close to the head, creating a sleek, polished texture that gives fine hair substance and control.

    5. The Textured Crop
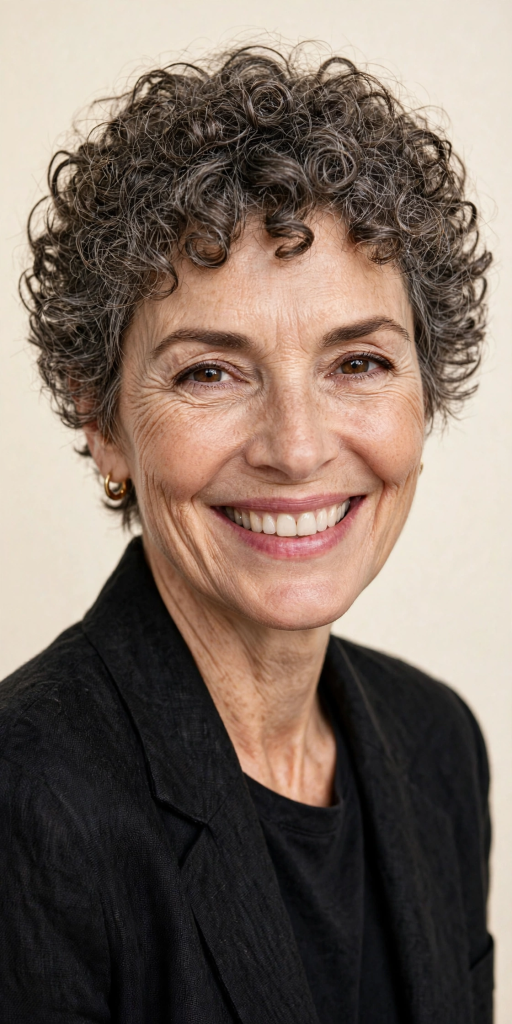

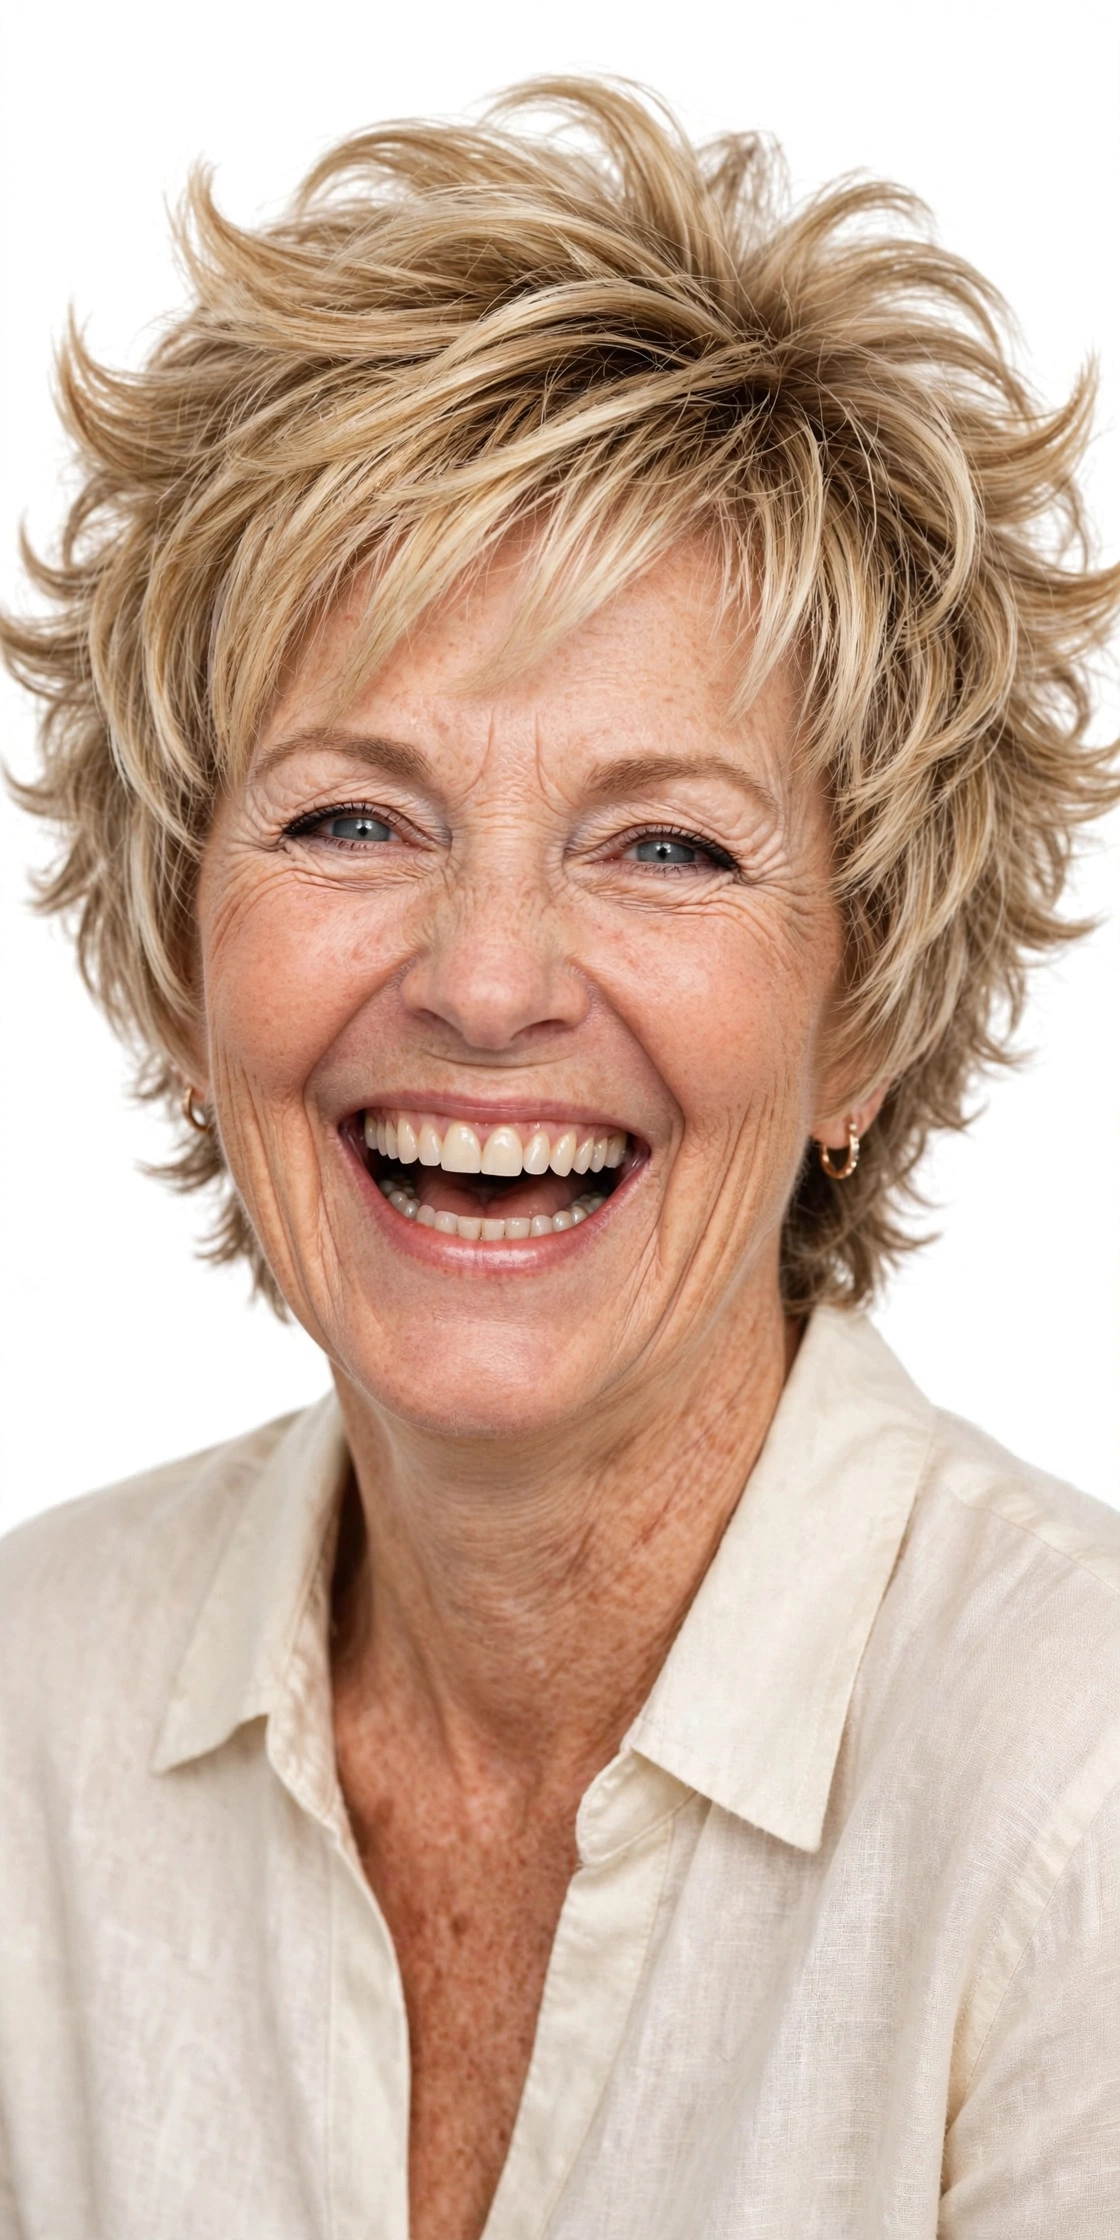
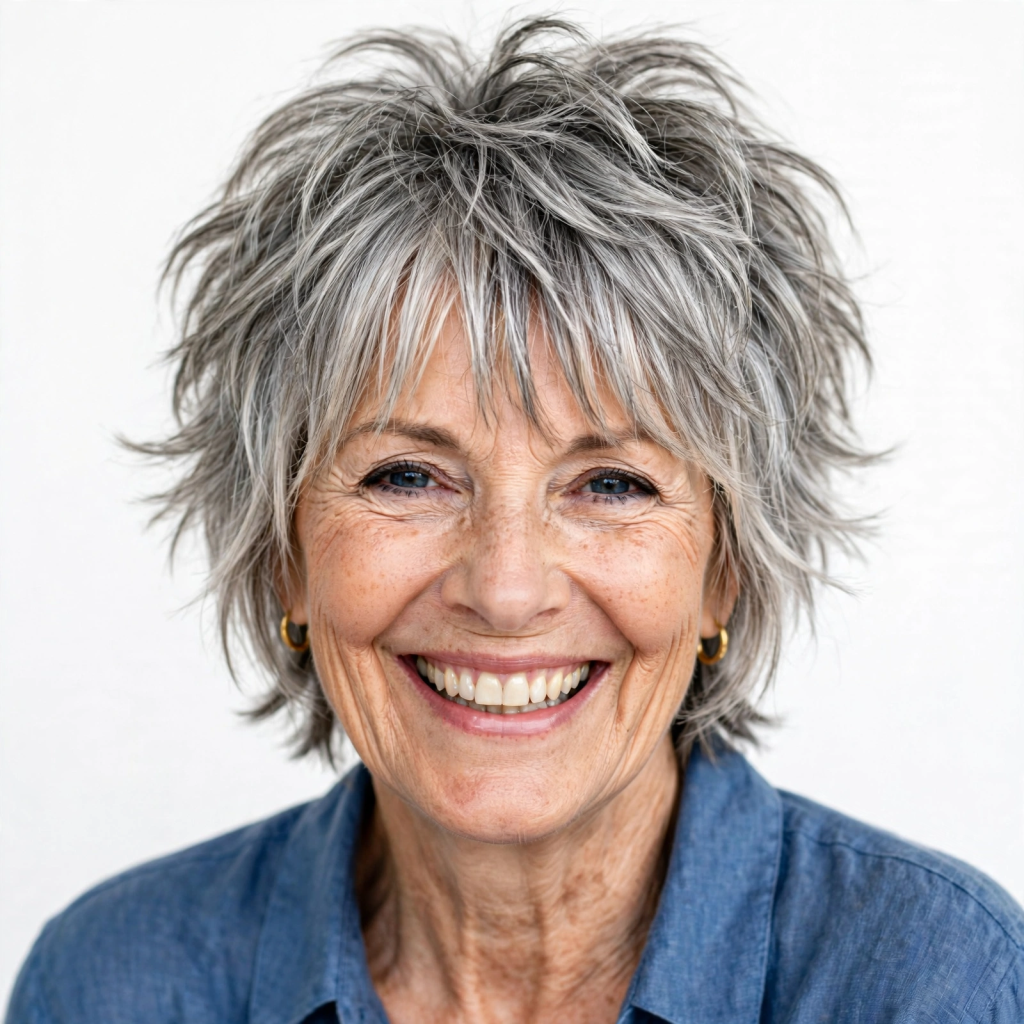
    This is a super-short, choppy cut where the hair is cut at various lengths to create a piecey, modern look. It embraces the hair’s natural movement.

    • Why it Works: The choppy layers create separation and texture, which prevents fine hair from looking flat and one-dimensional. The varied lengths give the illusion of a much denser head of hair.

    6. The Side-Parted Curly Pixie
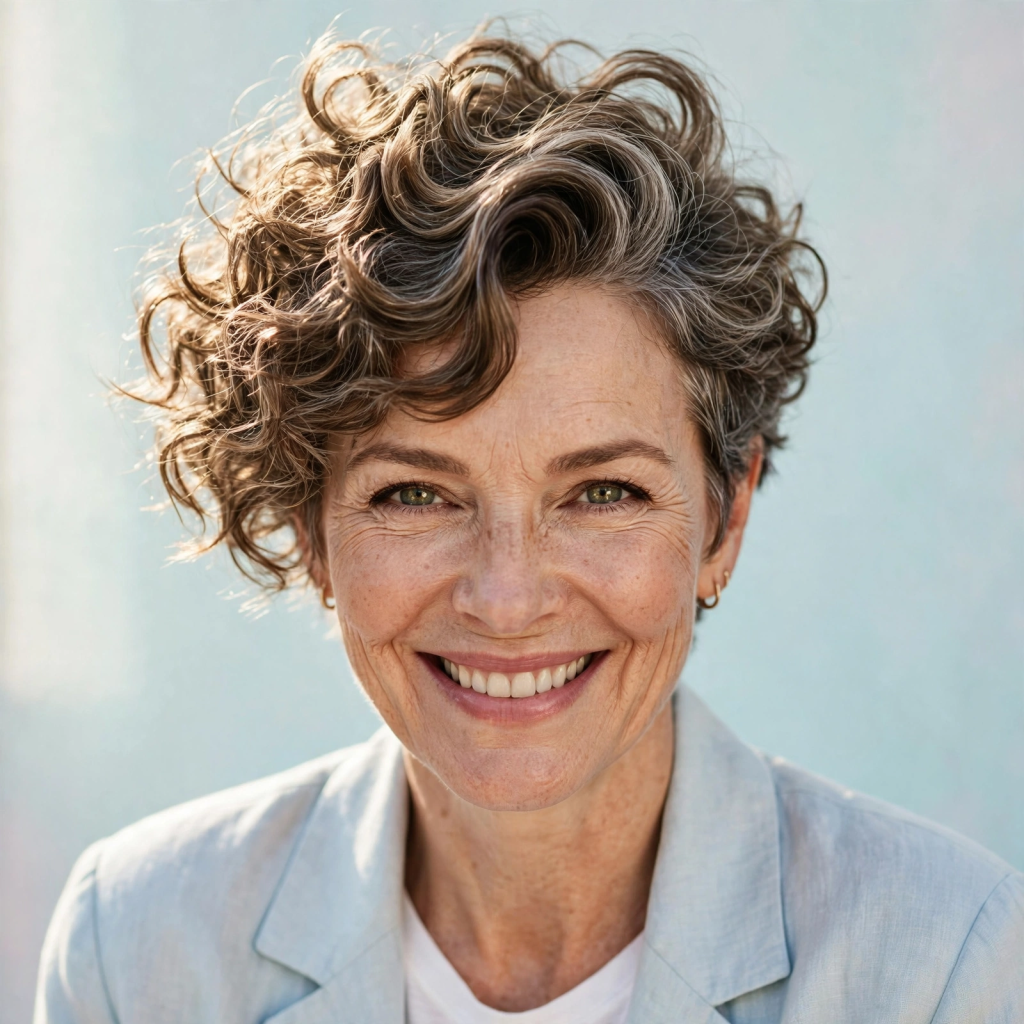

    Simply changing your part can revolutionize a short cut. A deep side part on a curly pixie creates an asymmetrical look that is both chic and functional.

    • Why it Works: A side part creates an instant “volume bump” on the top of the head, drawing the eye upward and giving the crown a boost. It also adds instant drama and sophistication.

    The Mid-Length Marvels (Focus: Movement and Strategic Layering)

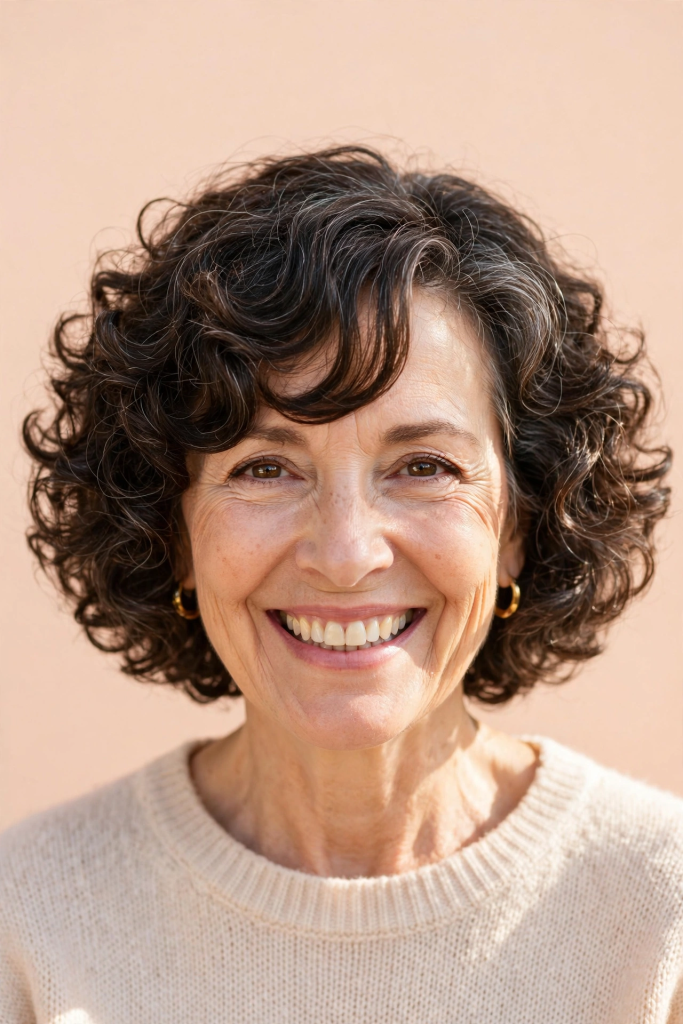
    7. The Curly Bob (Curly ‘Bob’)
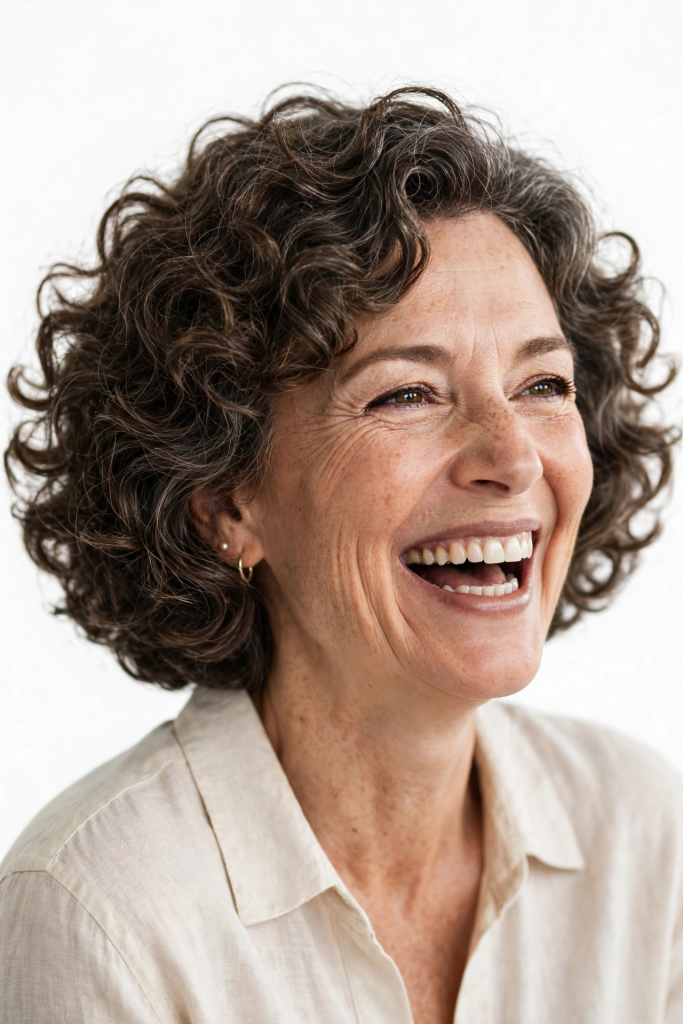

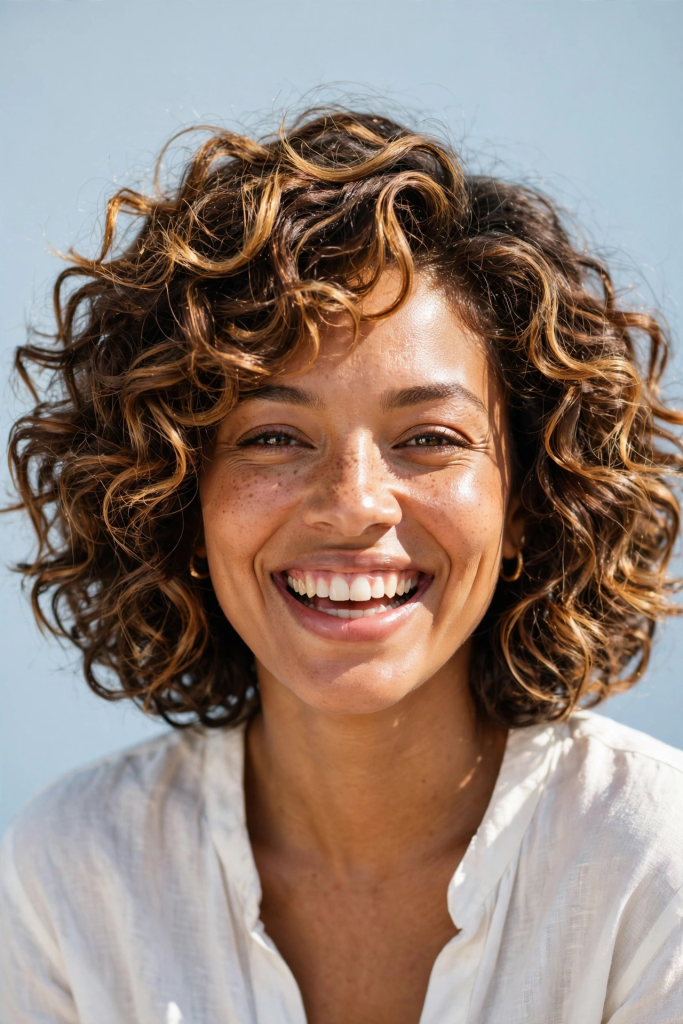
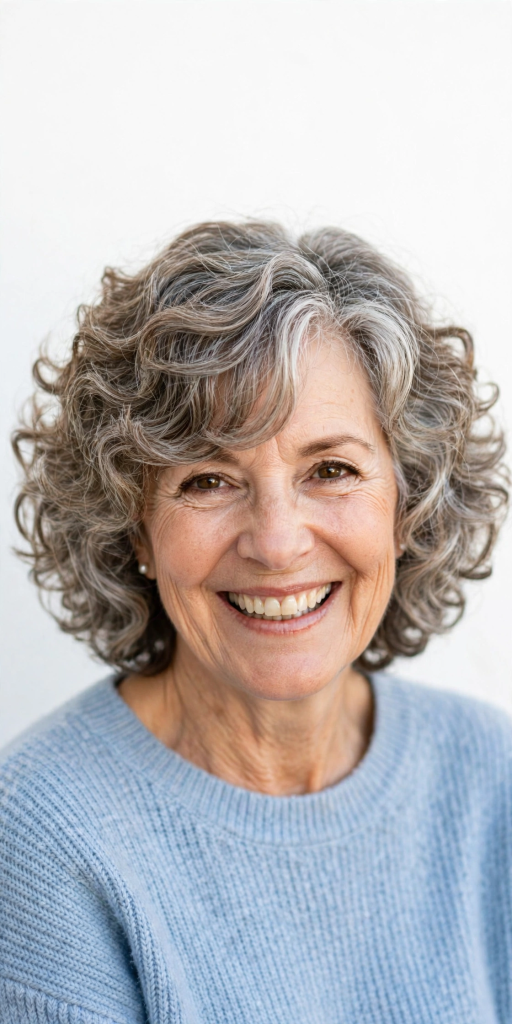
    The curly bob is a timeless and versatile classic. It’s cut to end anywhere from the chin to the shoulders. For fine hair, it’s usually best to keep it at or above the shoulders to prevent the curls from being weighed down.

    • Why it Works: The weight of the hair is cut short enough to allow curls to spring up, creating the fullness they naturally want to have. A great stylist will remove the bulk from the underneath to prevent the dreaded “triangle head.”

    8. The Layered Lob
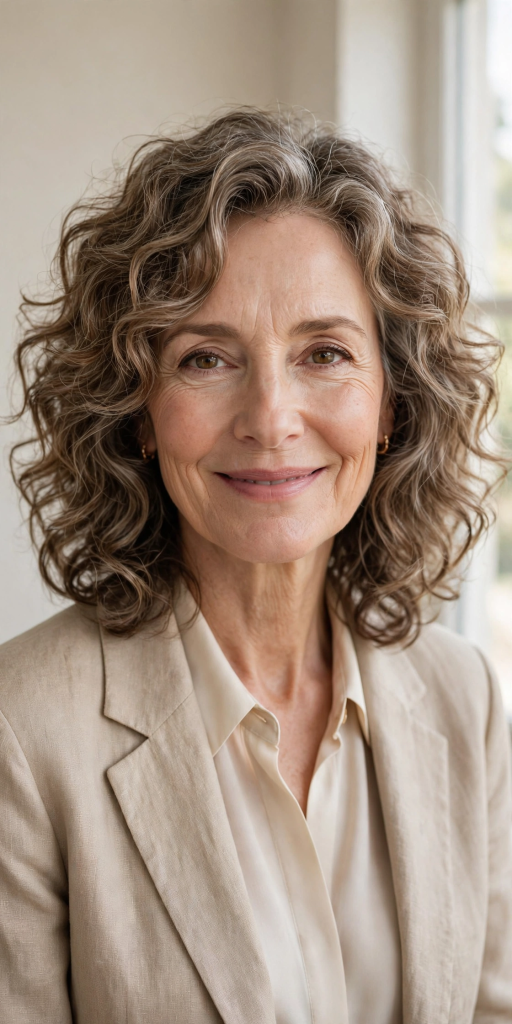

    A lob (long bob) is a longer version of the bob, grazing the collarbone. The key here is strategic, long layers that remove weight without sacrificing length. Ask for “invisible layers” that add movement from within.

    • Why it Works: Long layers create a softer, more rounded shape that gives fine hair dimension. They prevent the hair from falling flat and lifeless by encouraging natural bounce and movement.

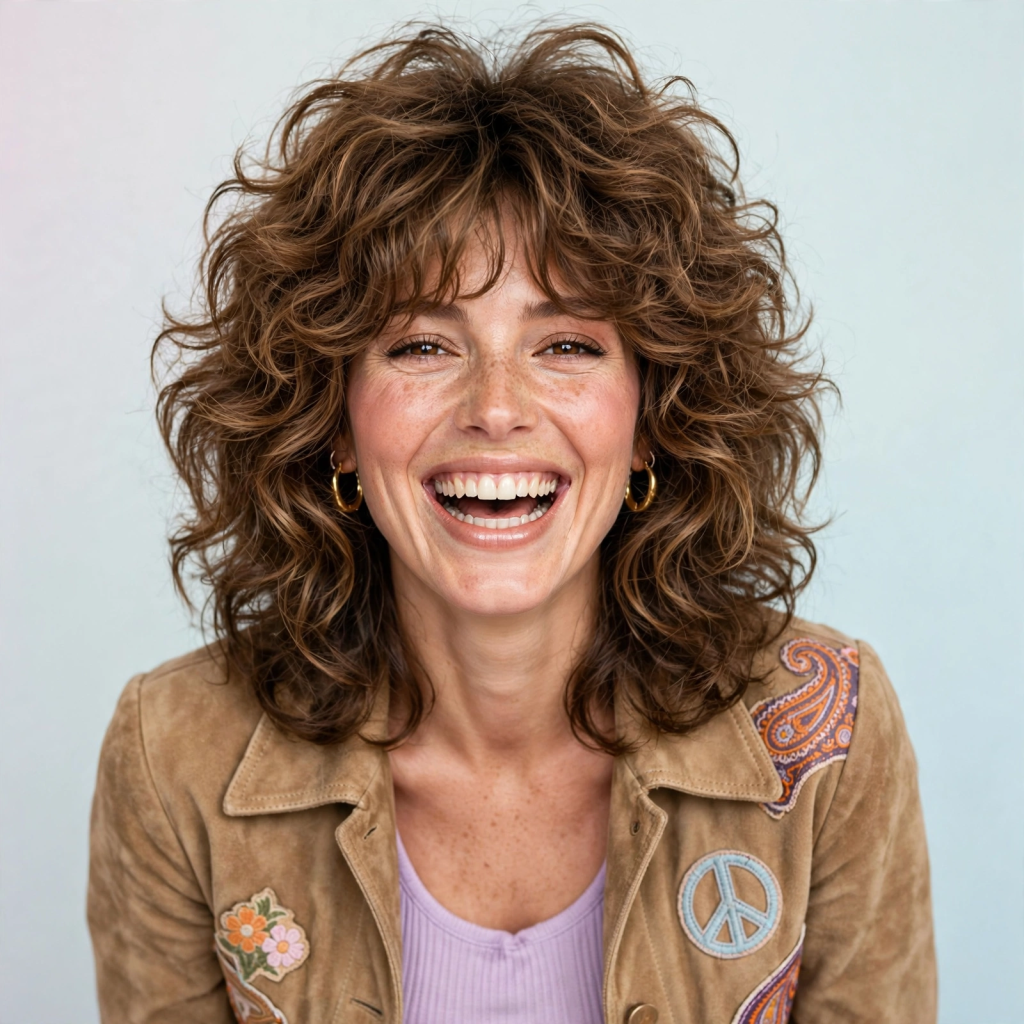
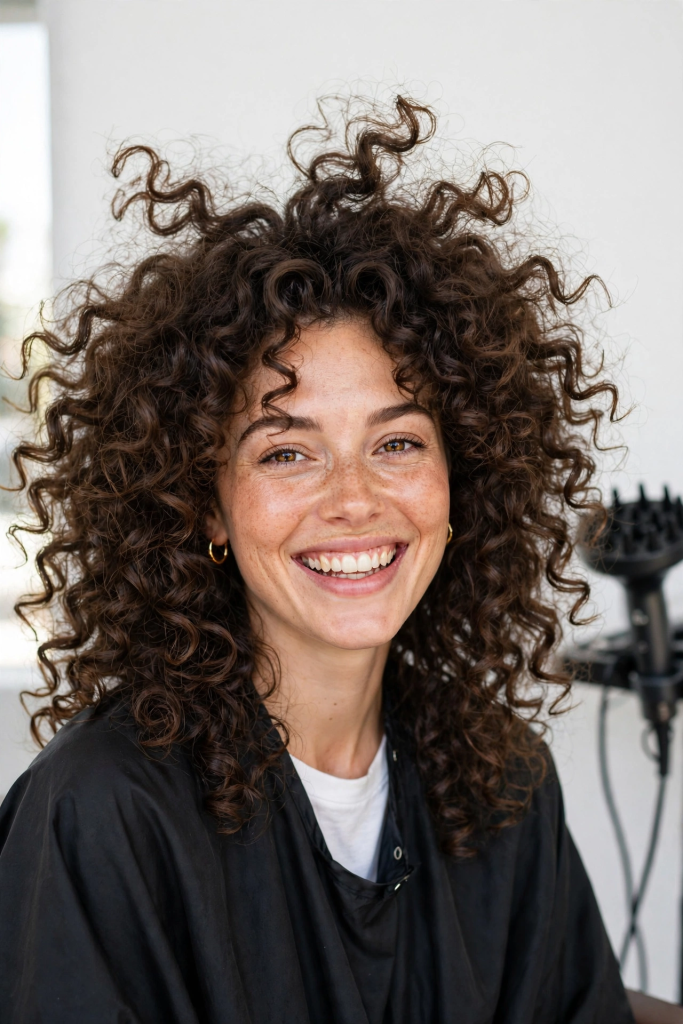
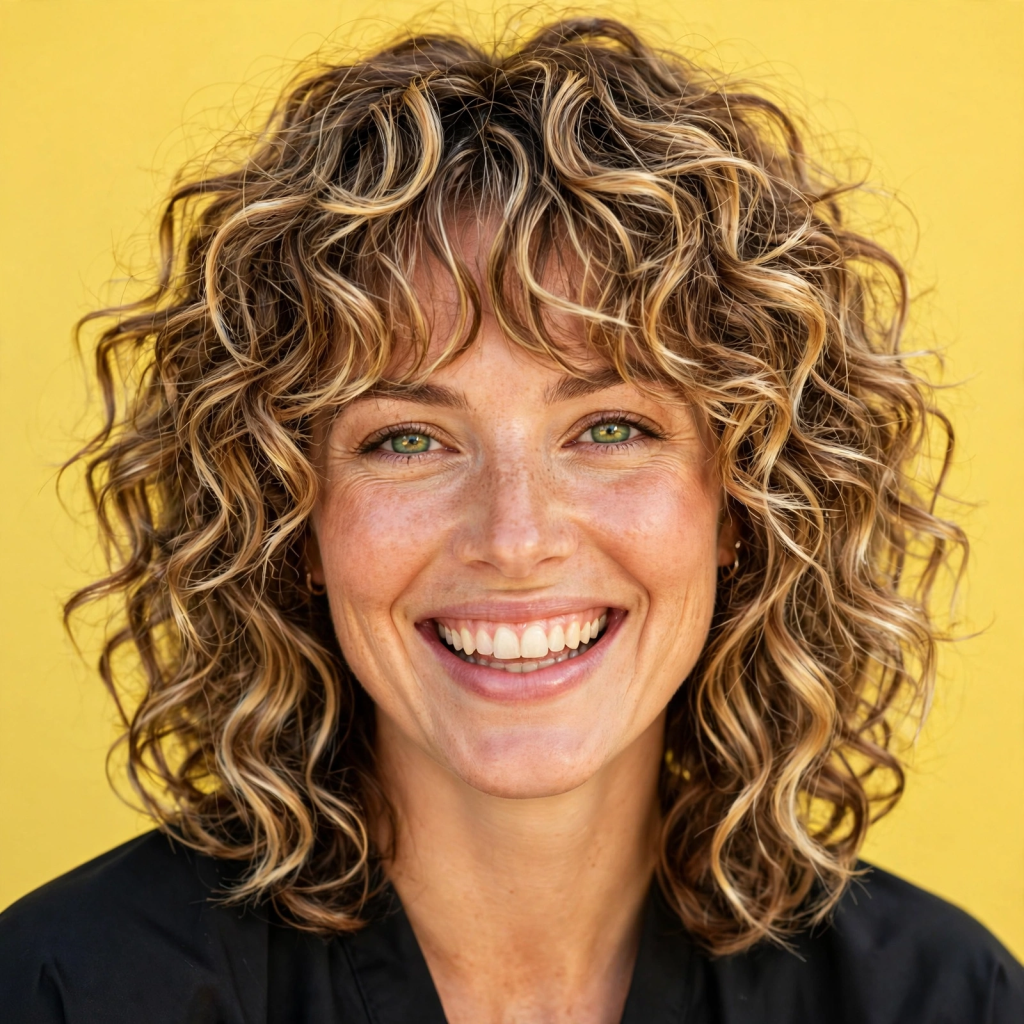
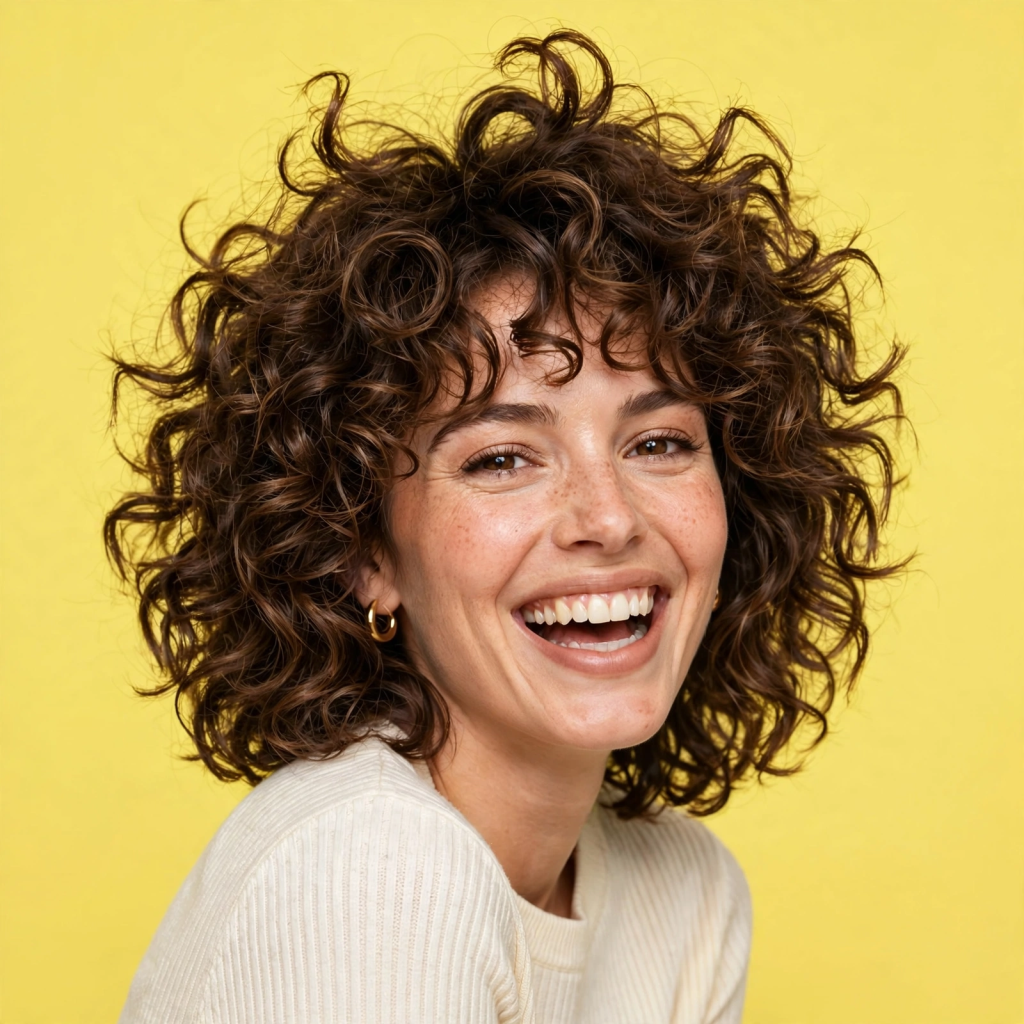
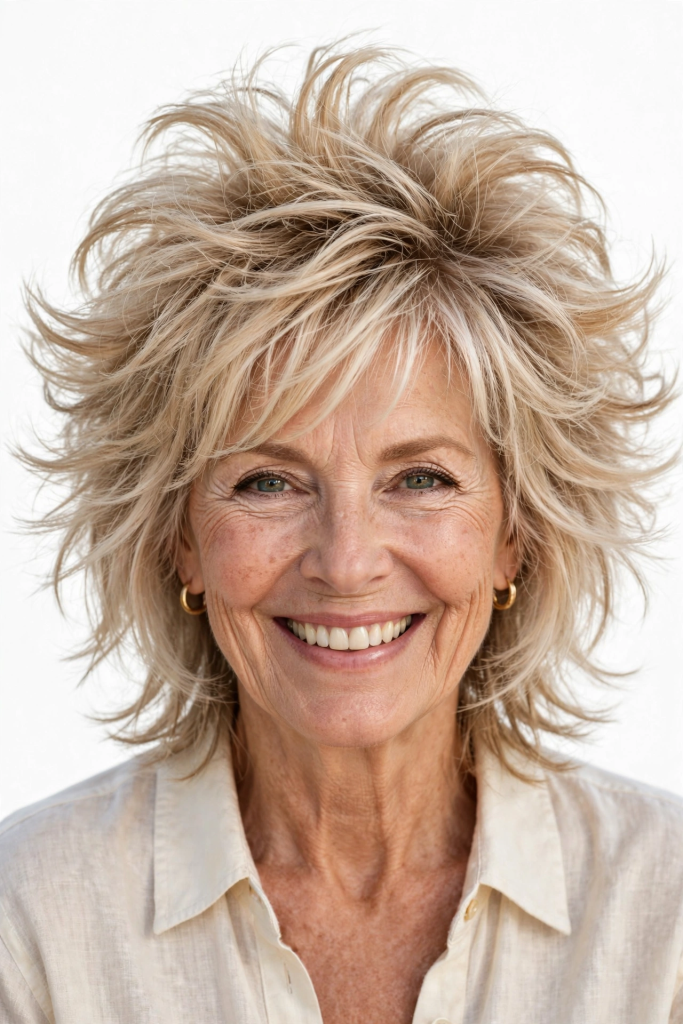
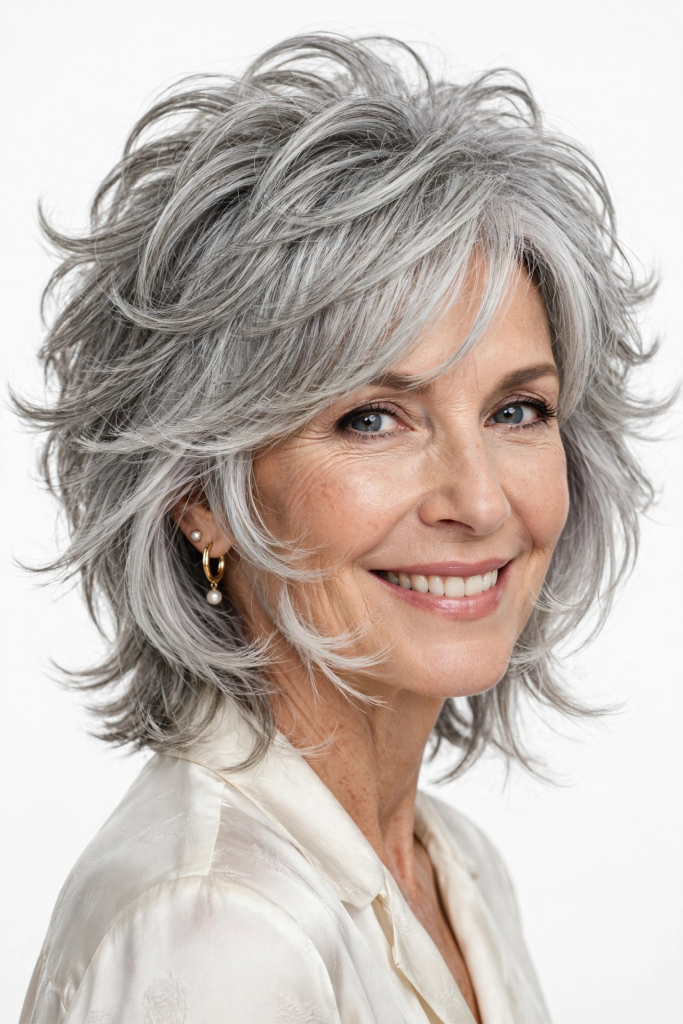
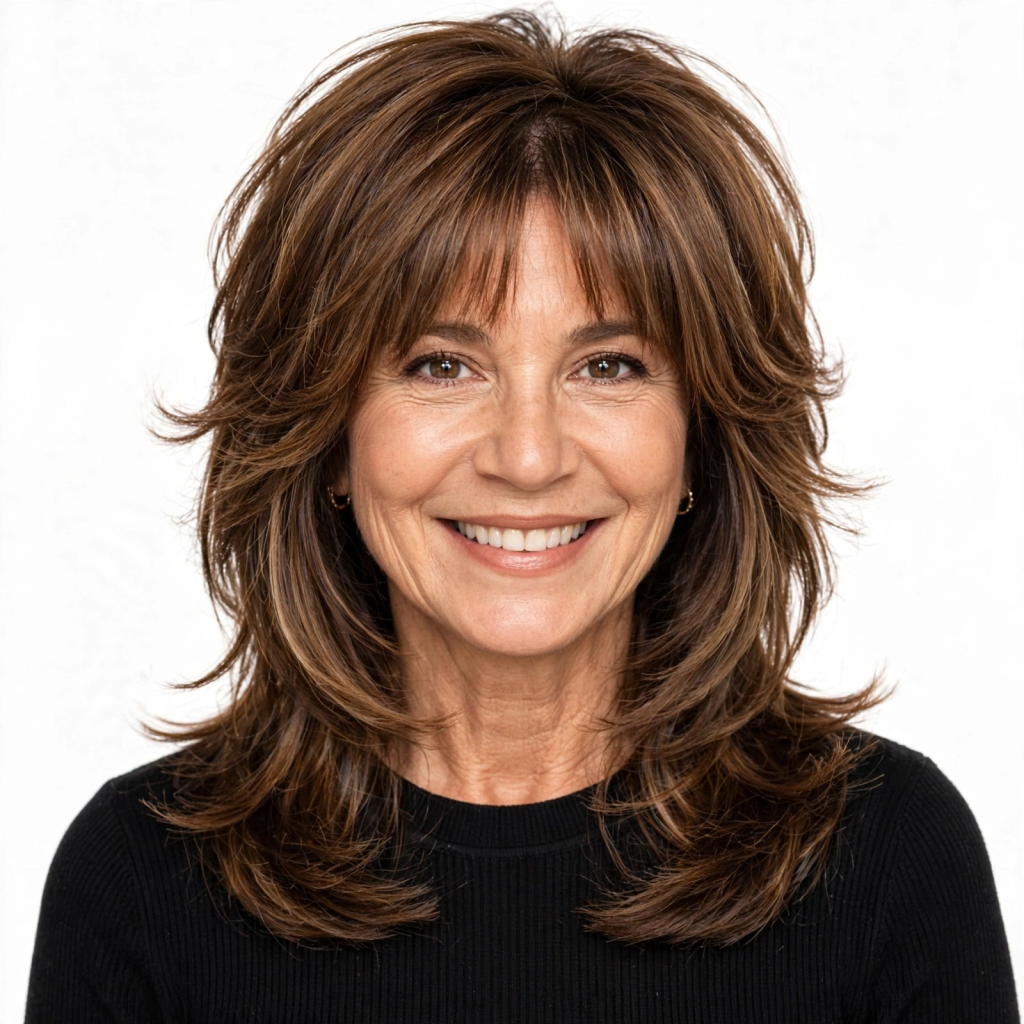
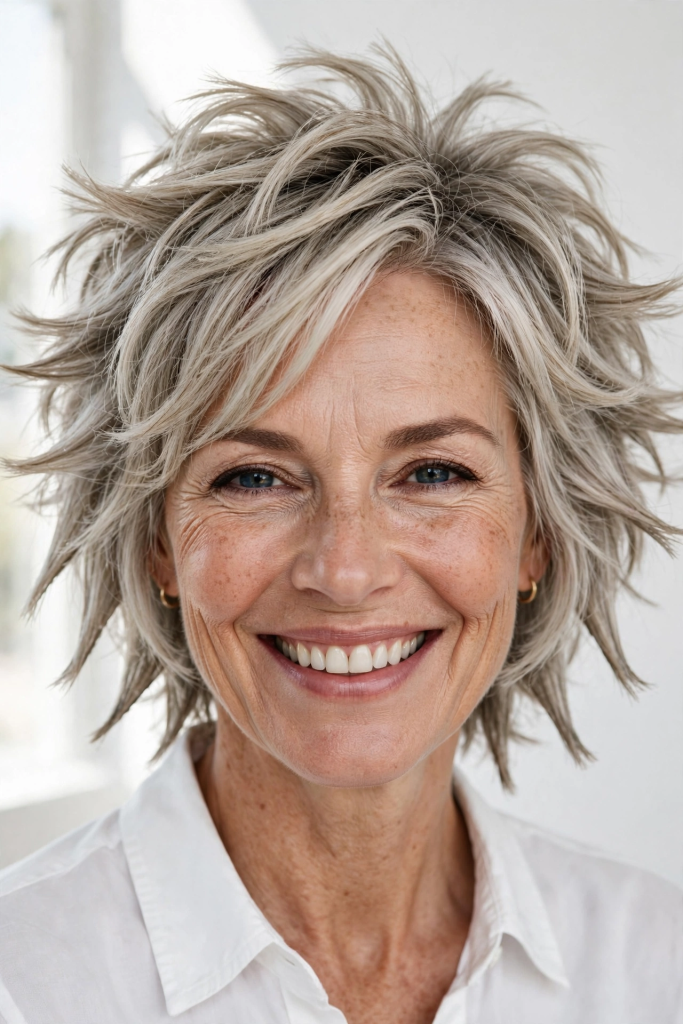
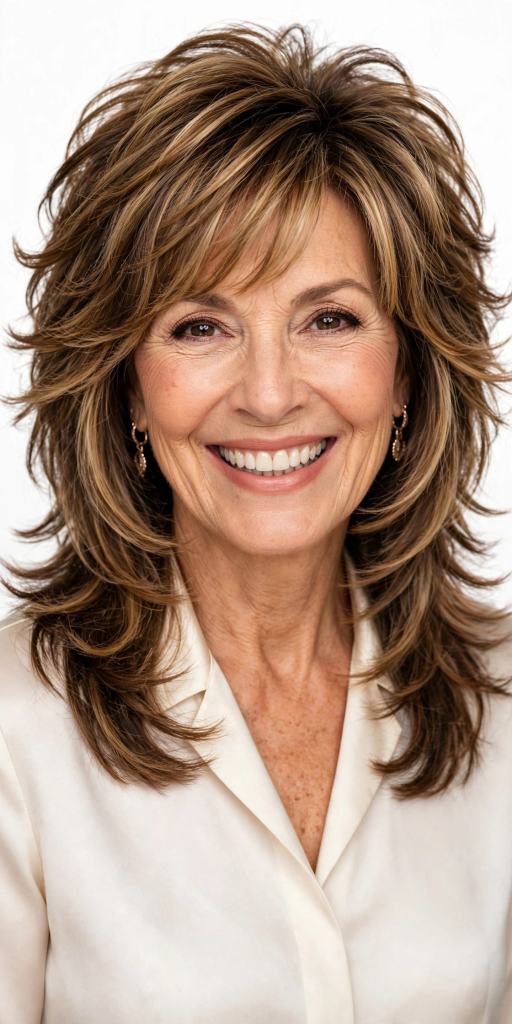
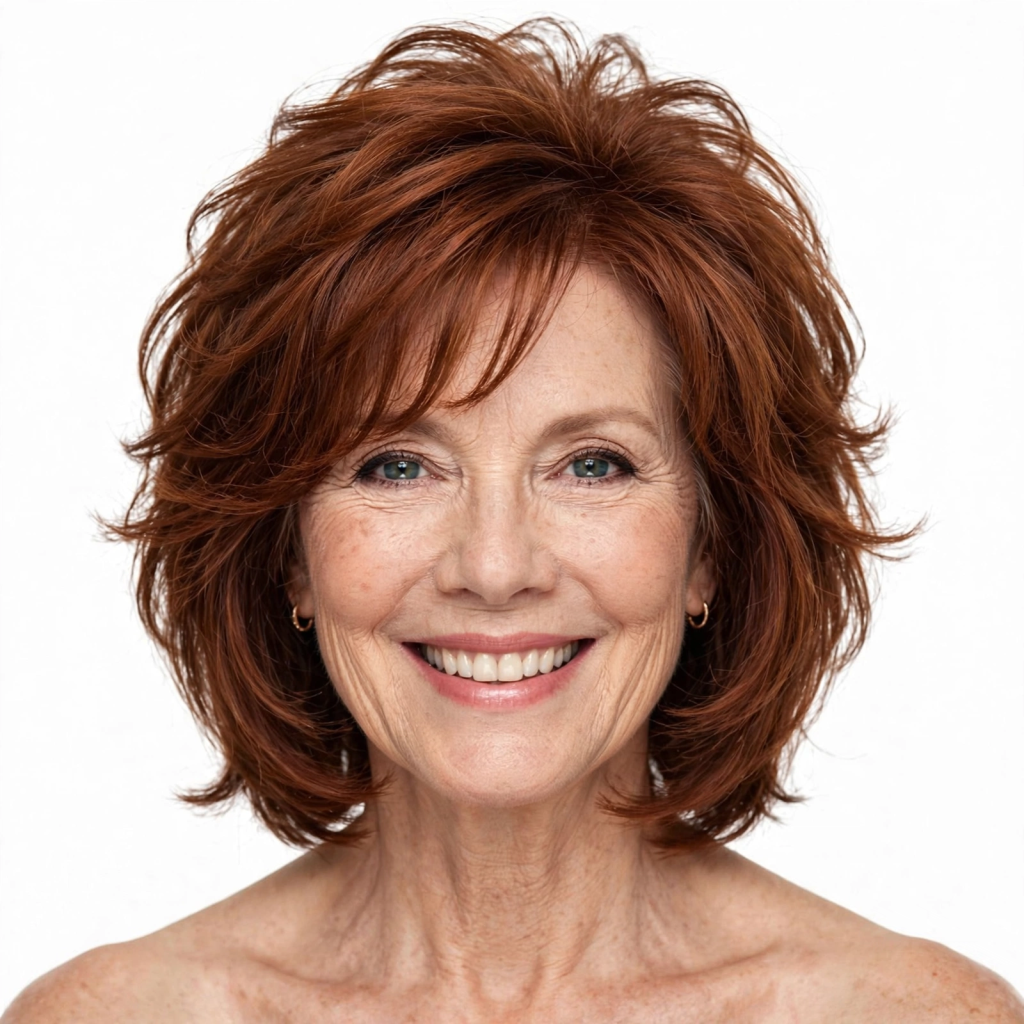
    9. The Shaggy Curly Cut
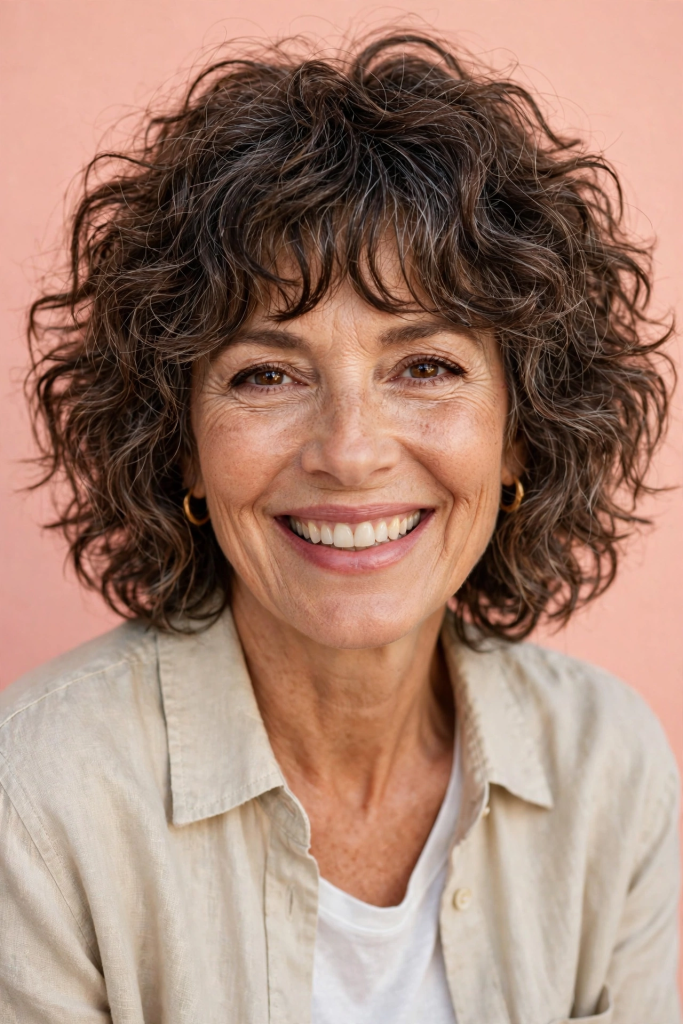

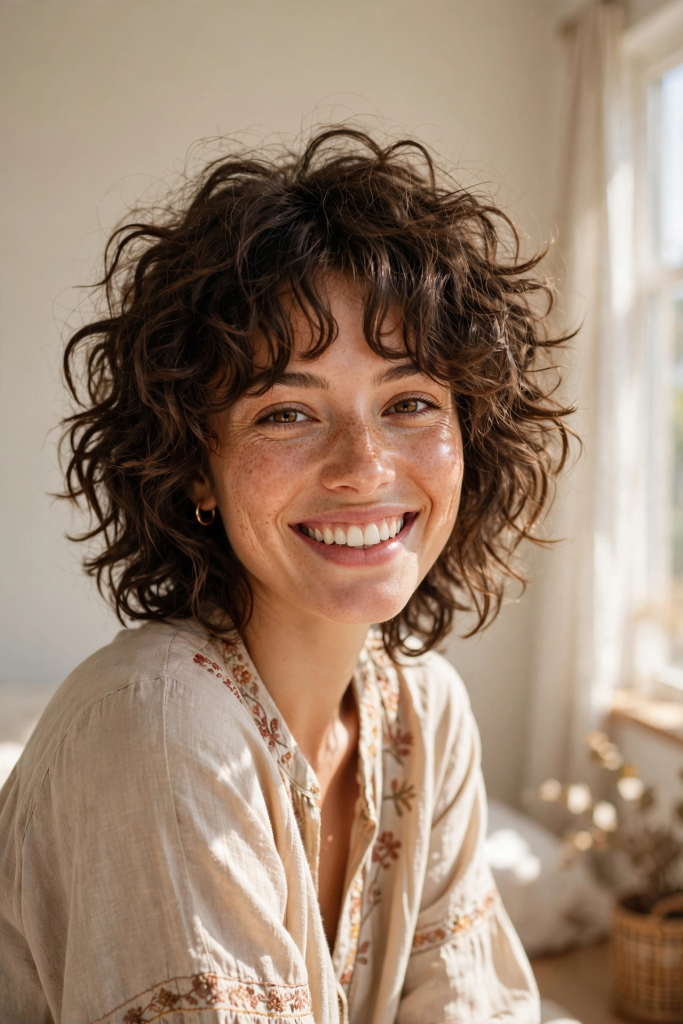
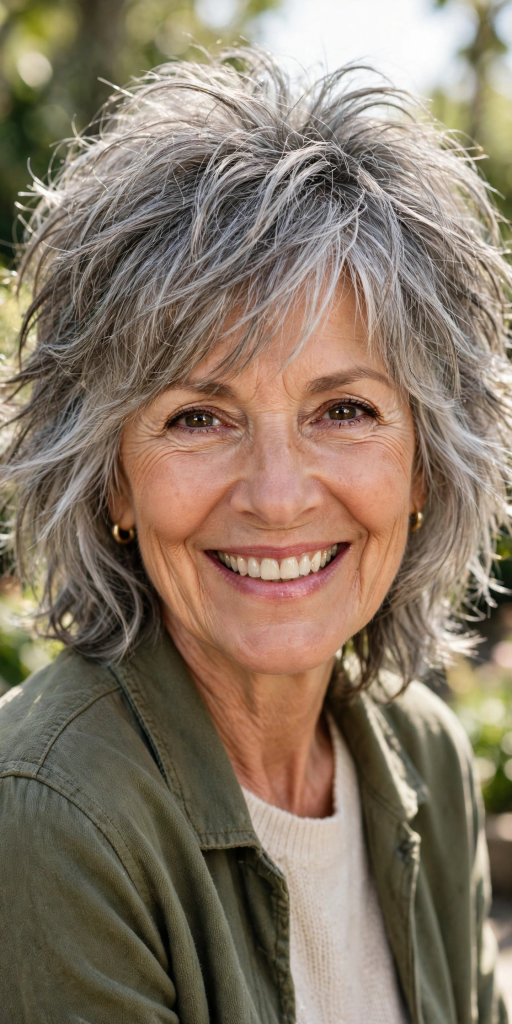
    The shag is back and it’s a godsend for fine hair. This cut features lots of choppy layers, a bit of fringe, and a whole lot of attitude. It’s effortlessly cool and carefree.

    • Why it Works: The shag’s signature layers create the “money piece” around the face and tons of internal volume. It relies on texture and movement, meaning your hair doesn’t need to be thick to look fantastic—it just needs to be layered well.

    10. Curly Layers with Side-Swept Bangs
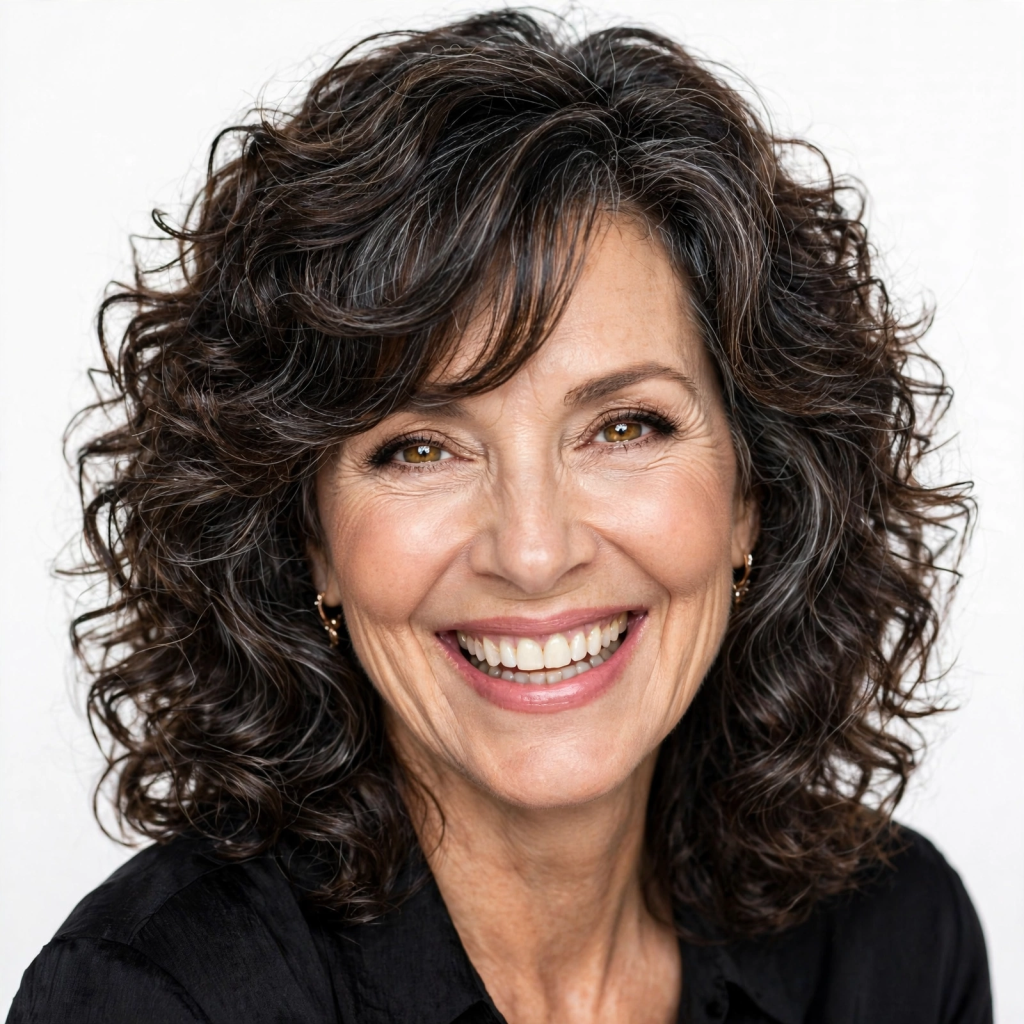

    This style combines a chin-to-shoulder length curl with longer, side-swept bangs. The bangs blend beautifully into the rest of the layers.

    • Why it Works: Side-swept bangs are a fantastic way to disguise a thinning hairline and create the illusion of fullness at the front. The angle of the bangs draws the eye diagonally across the face, which is slimming and adds dimension.

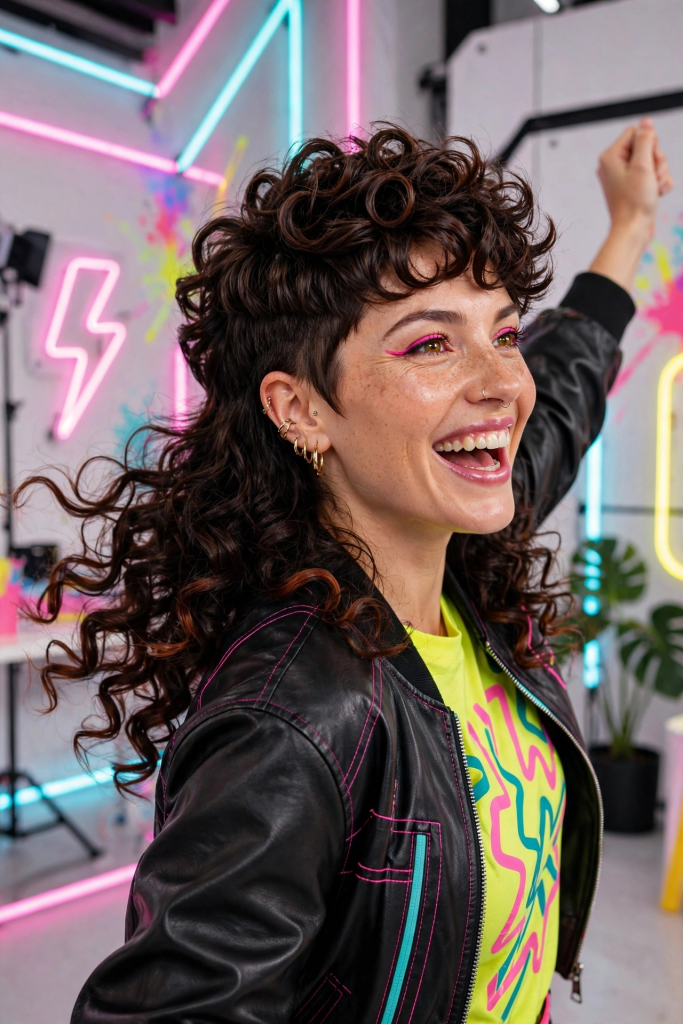
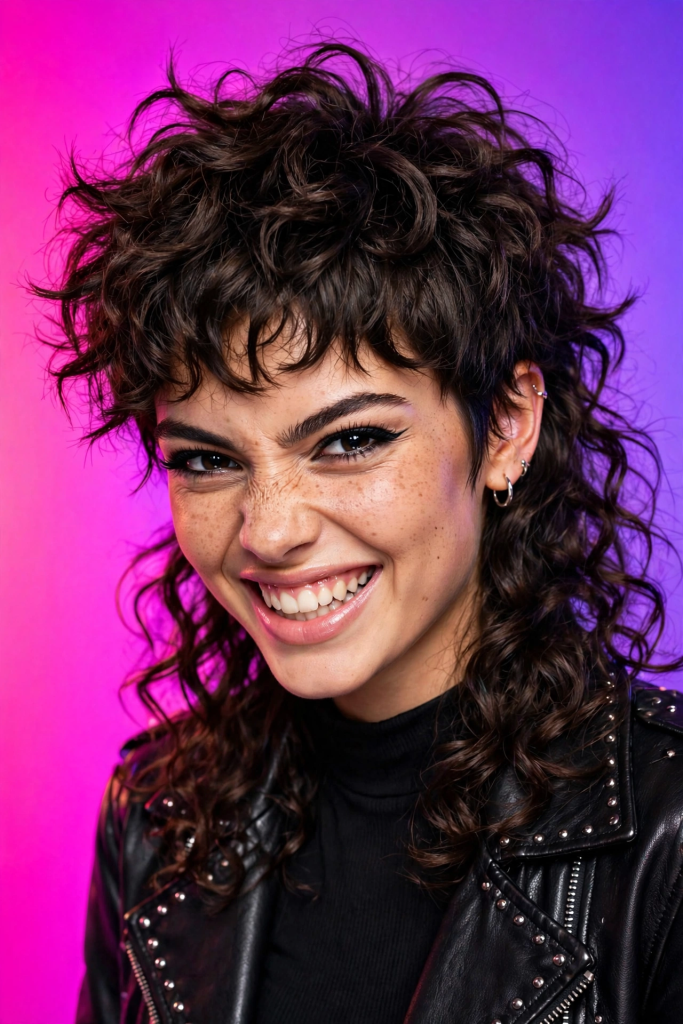
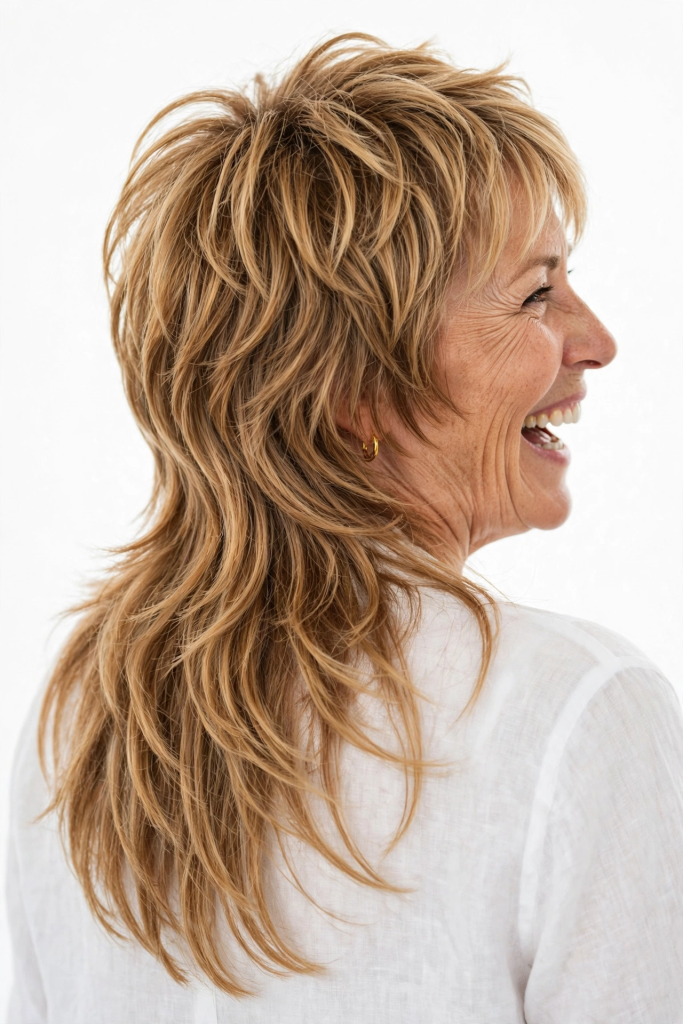
    11. The Modern Mullet (Curly ‘Wolf Cut’)
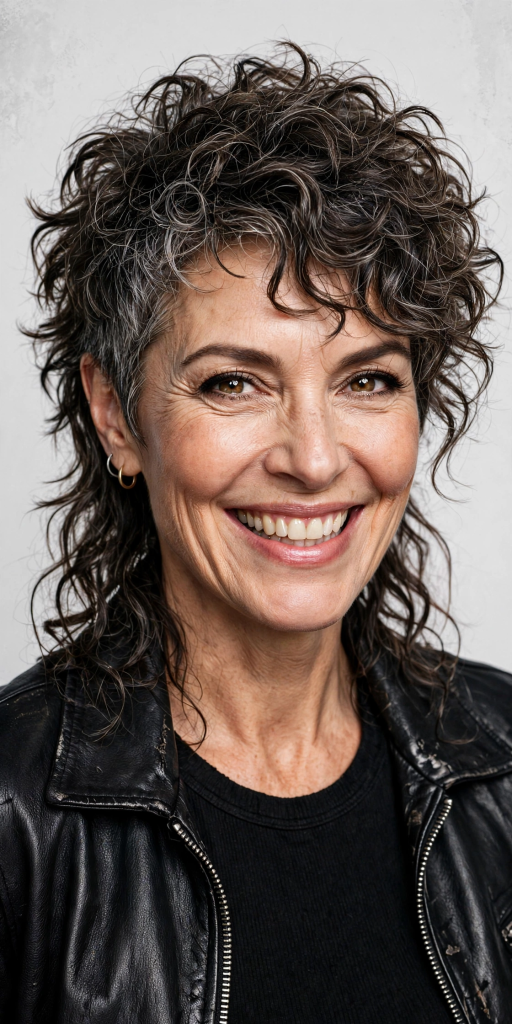

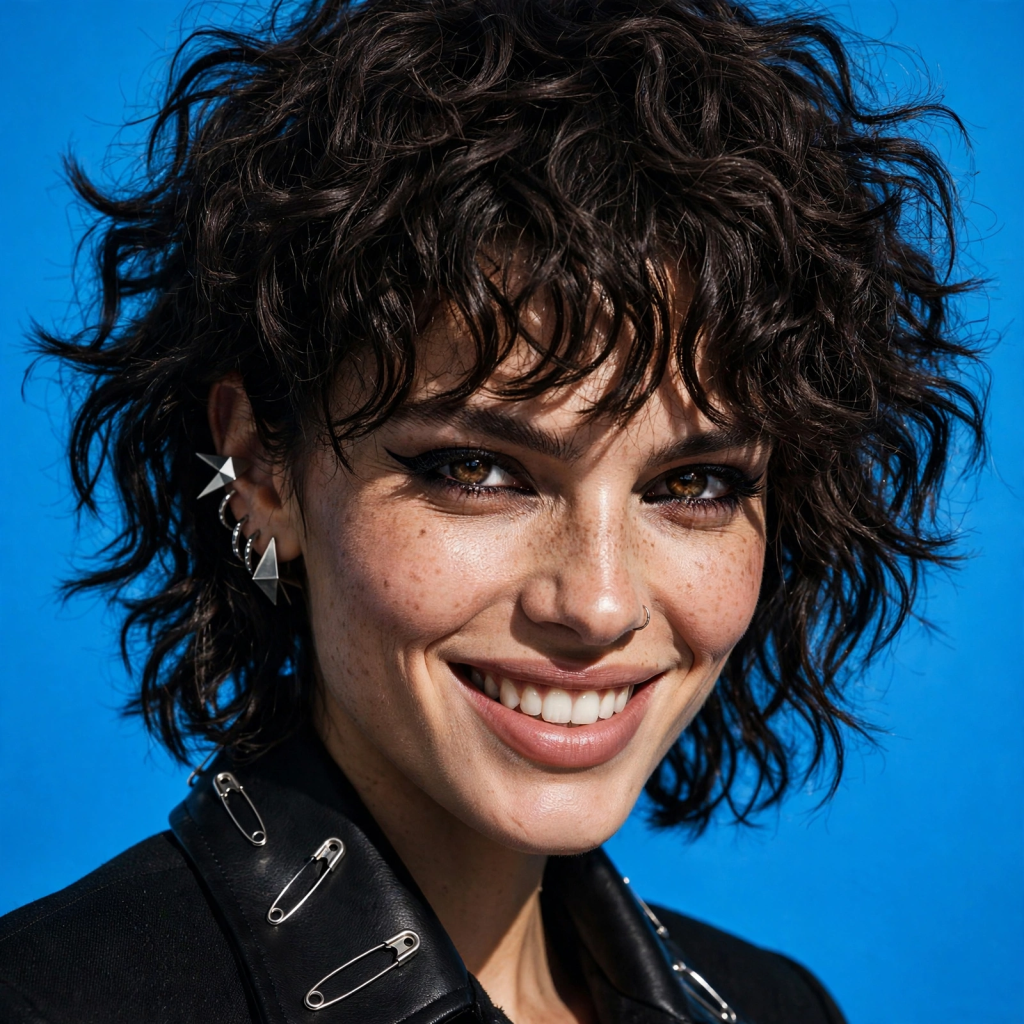
    Don’t be scared by the name! The modern “wolf cut” is a softer, more wearable version of the mullet. It’s shorter and more textured on top and longer in the back, creating a rock-and-roll vibe.

    • Why it Works: The extreme layering removes a huge amount of weight, allowing the top curls to spring up with incredible volume, creating a dramatic, “mane-like” effect that is impossible with unlayered fine hair.

    12. Curly Framing Layers
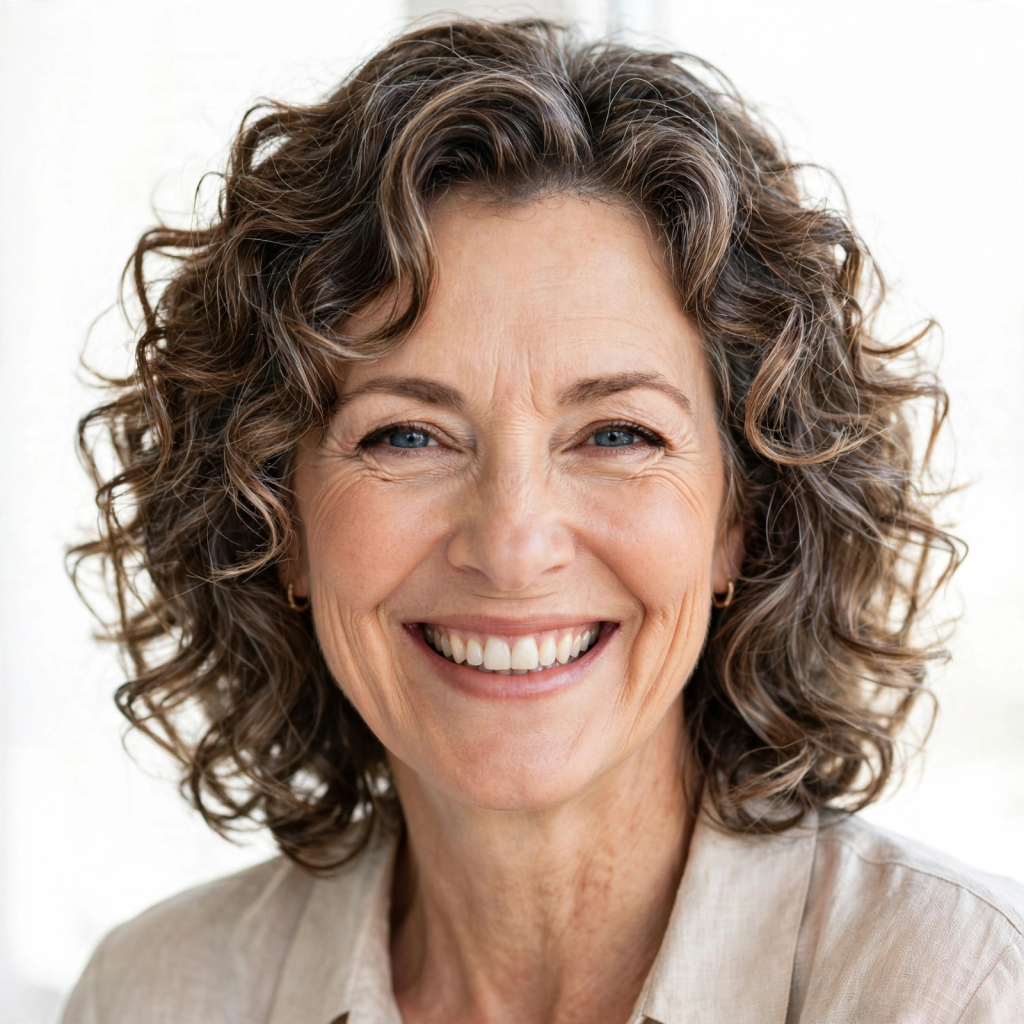

    This is less of a specific haircut and more of a technique. Ask your stylist for layers that are specifically designed to frame your face. They can be long and sweeping or short and bouncy.

    • Why it Works: By putting the focus on the face, the hair is given shape and purpose. The layers around the face create the illusion of movement and fullness exactly where you need it most.

    The Longer & Glamorous Styles (Focus: Elongation and Gentle Texture)

    13. Curly Hair with a Deep Side Part
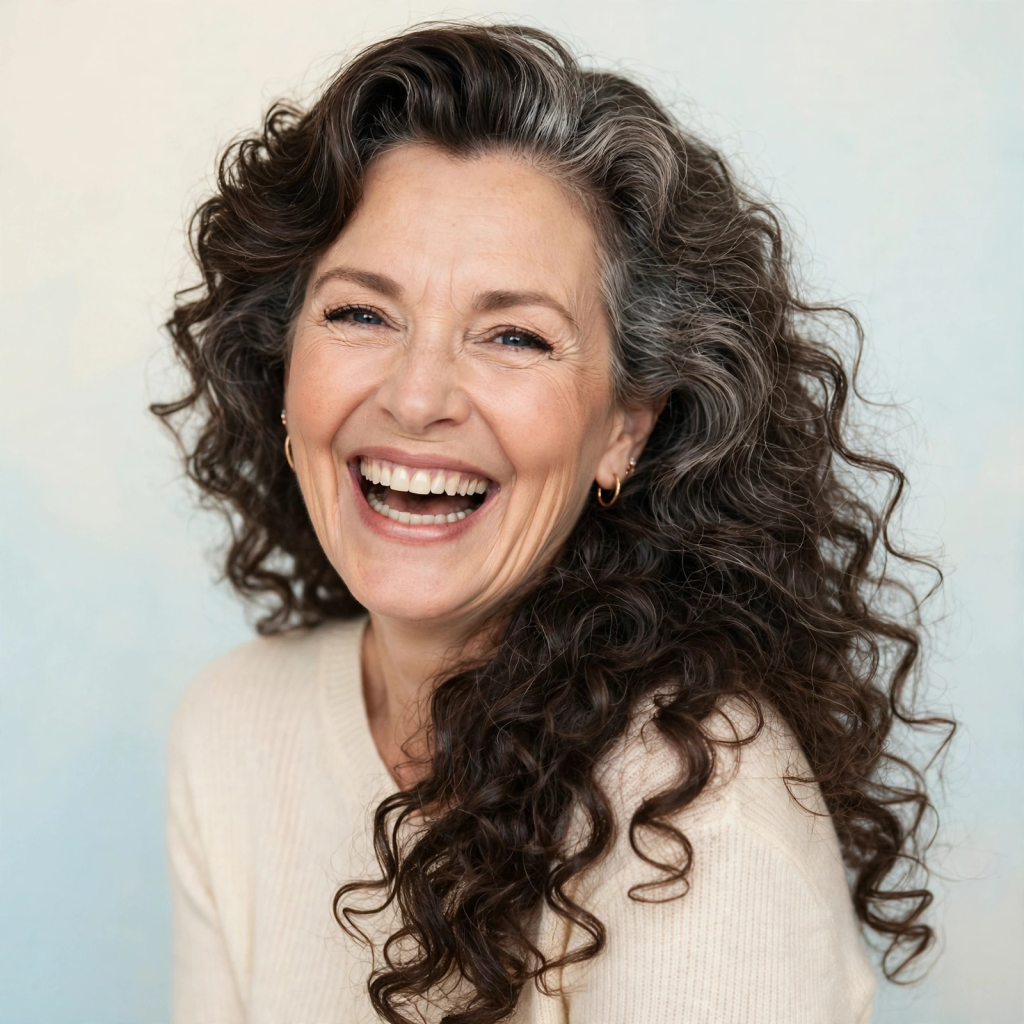

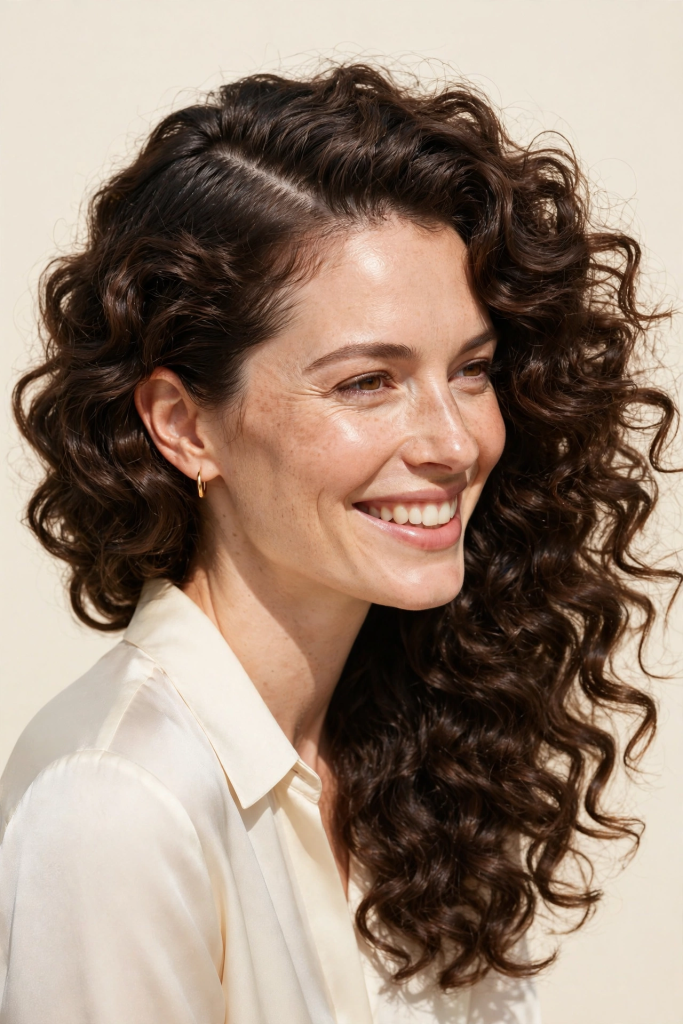
    This is a simple trick that works wonders for longer fine curls. A deep, dramatic side part encourages the hair to fall over one side of the head.

    • Why it Works: It creates an immediate lift at the roots on the side with more hair and adds instant volume and sophistication. It’s a great way to change your look without a drastic haircut.

    14. Defined Ringlets (With Heavy Products)
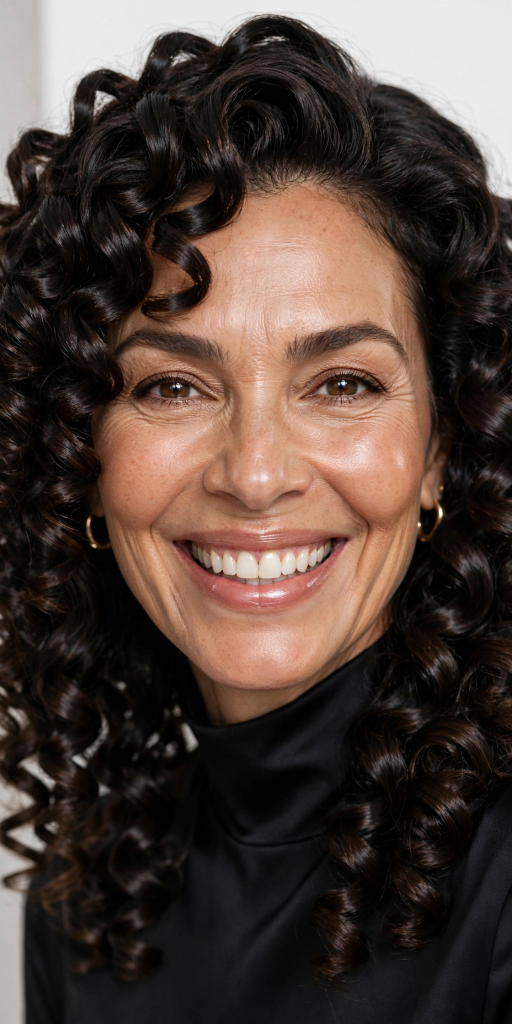

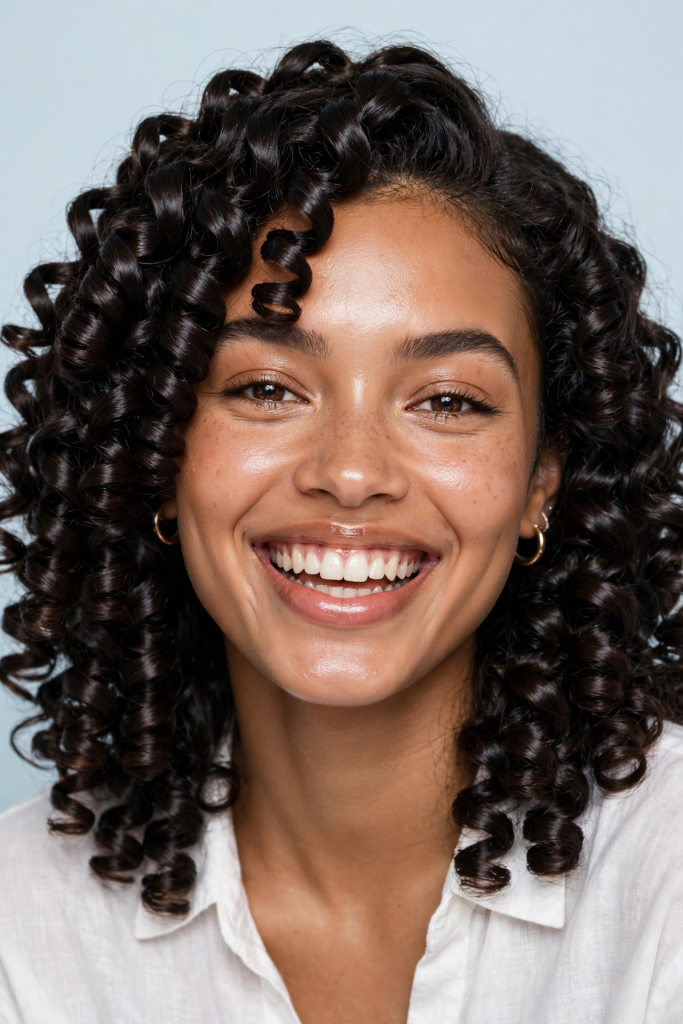
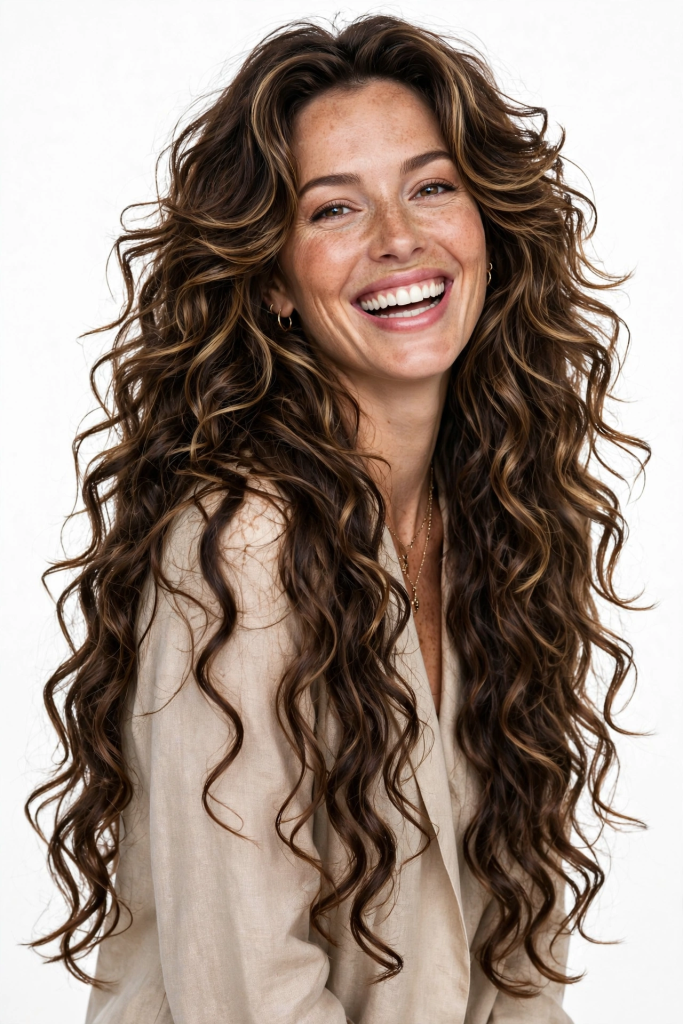
    If your hair has a natural pattern that can support a ringlet, embrace it! Use a lightweight mousse or curl cream to encourage the curl to clump together and define the ringlet.

    • Why it Works: Defined ringlets look denser and more polished. They give the illusion of thick, bouncy hair because the hair is grouped together rather than splaying out.

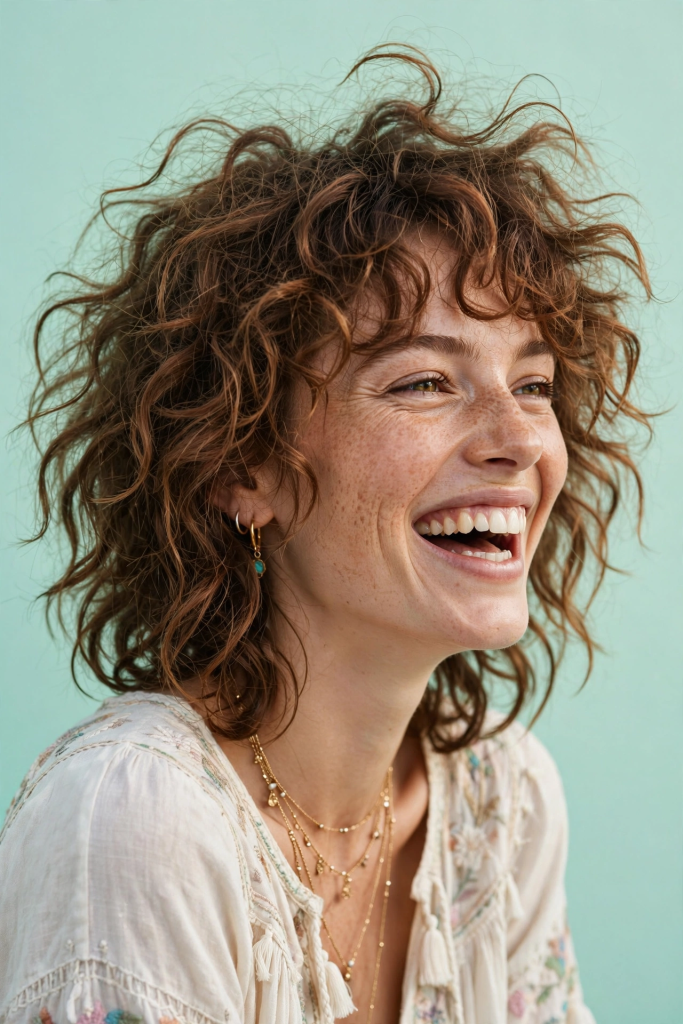
    15. Loose, Beachy Waves (The “Heatless” Method)
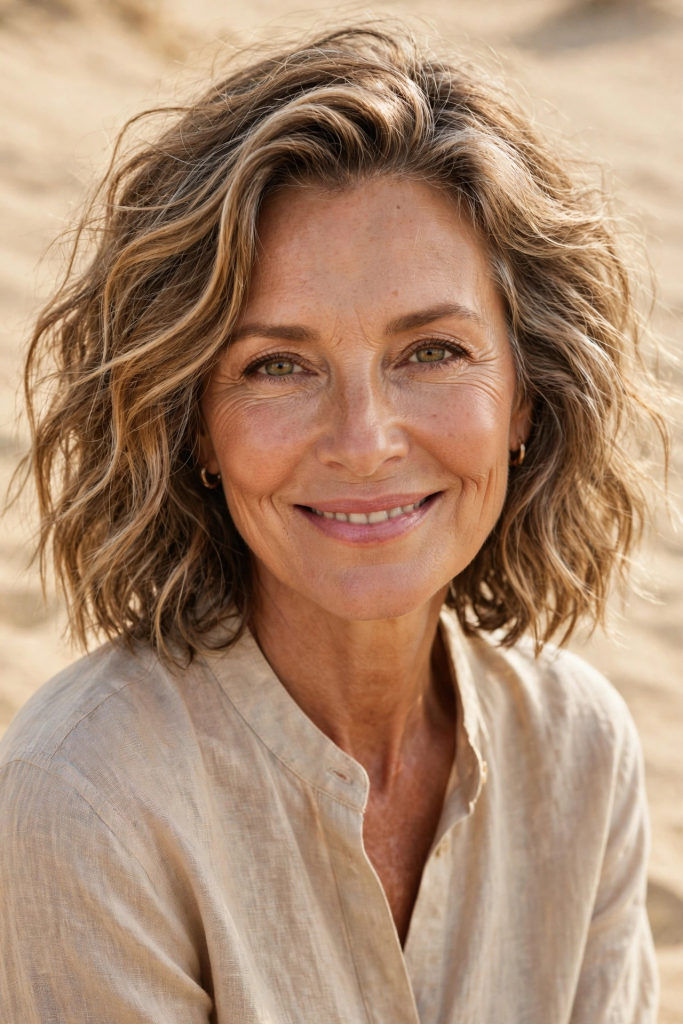

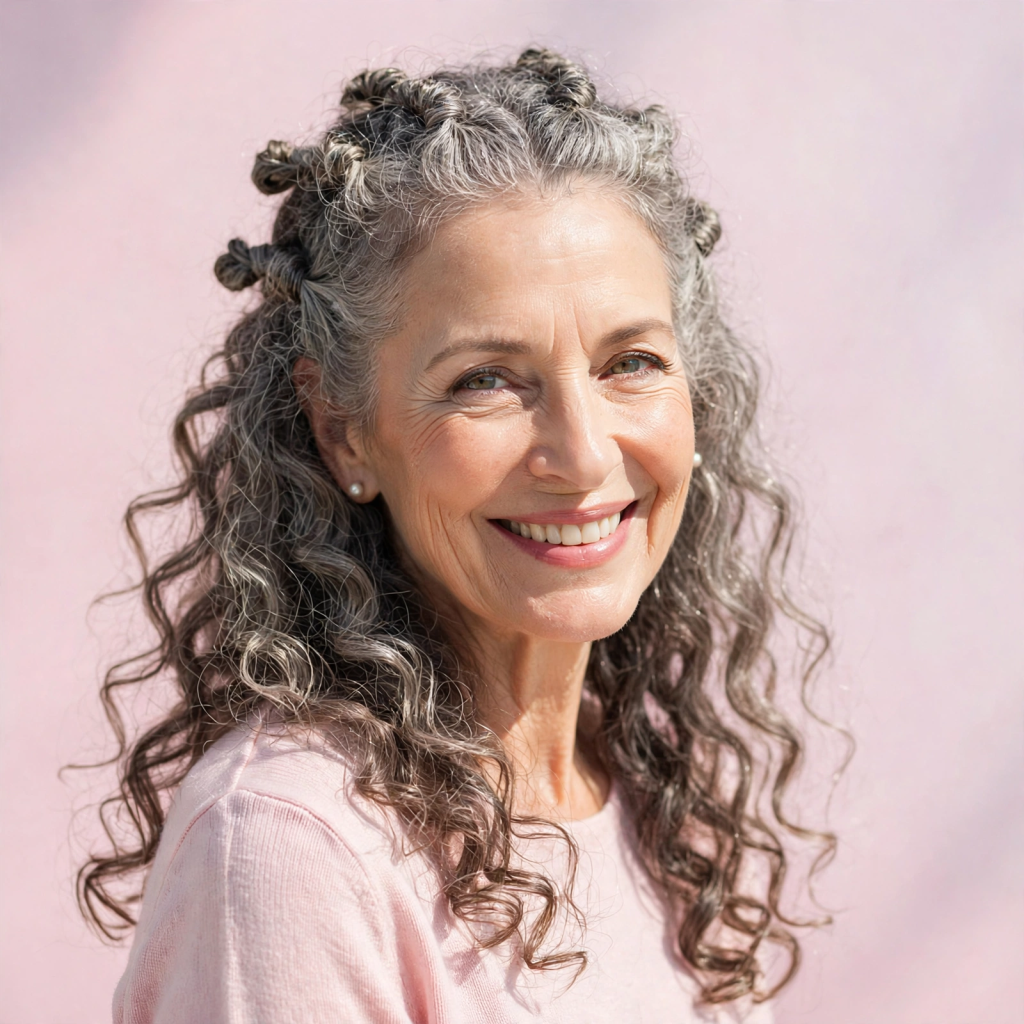
    This style is achieved by using a salt spray or curl cream and diffusing gently, or by braiding hair while damp to create a soft, undulating wave.

    • Why it Works: It creates texture and volume without the weight of heavy styling products. The waves are soft and forgiving, which is perfect for fine hair that is prone to looking flat.

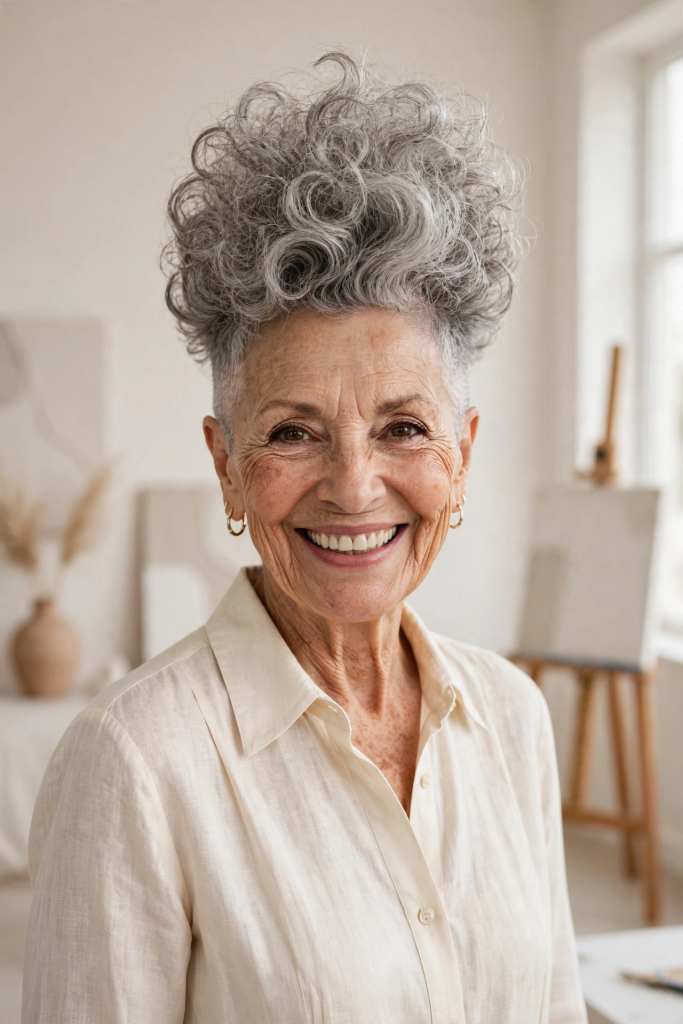
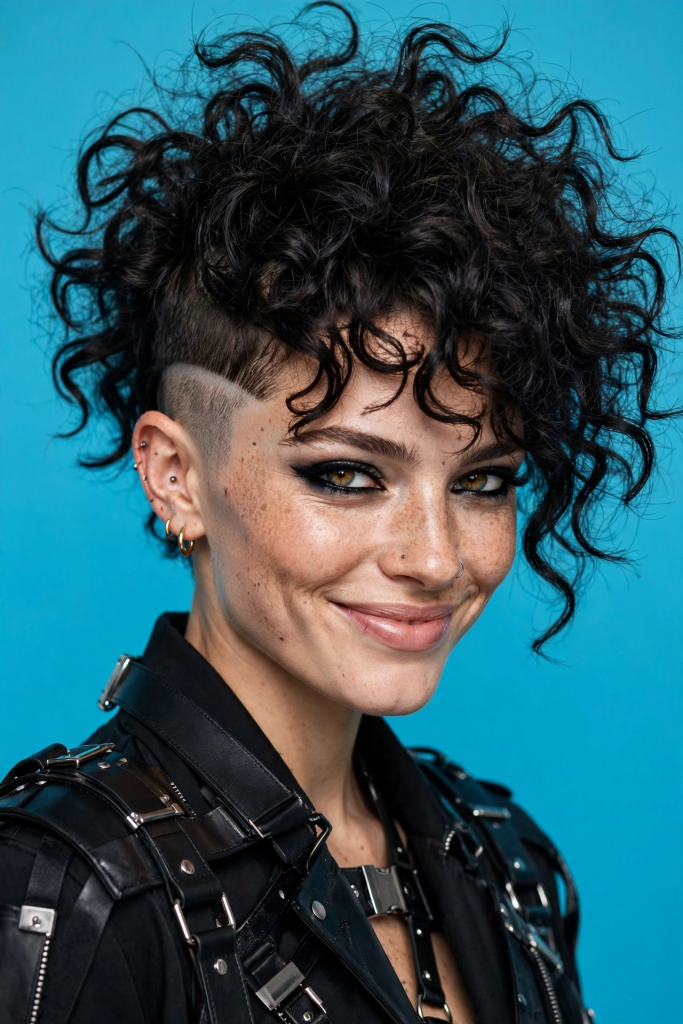
    16. The “Faux Hawk” Curl
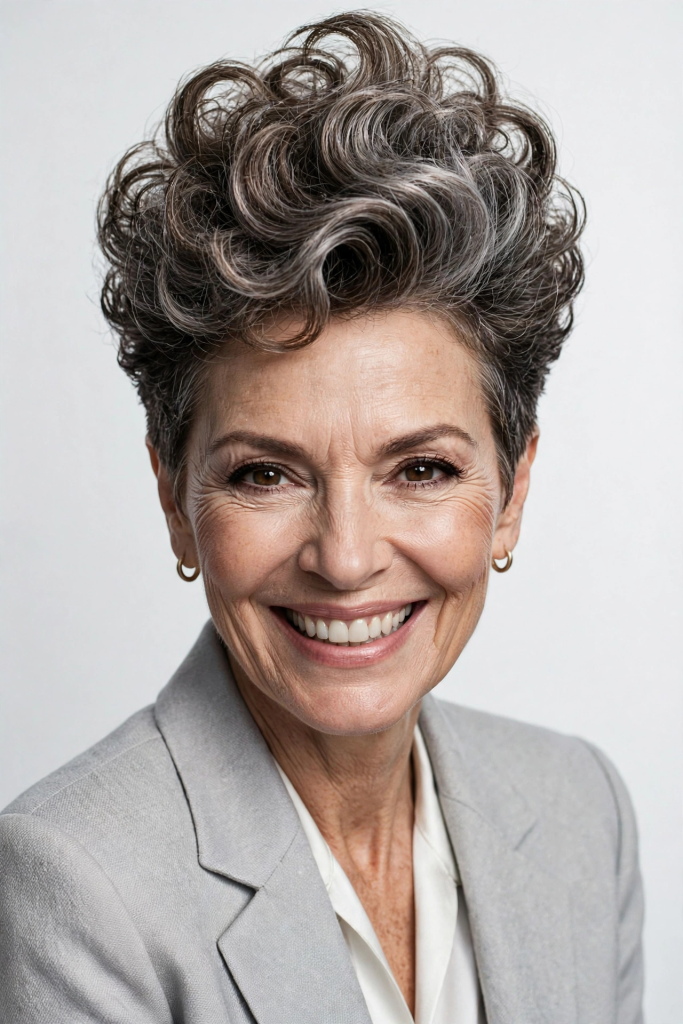

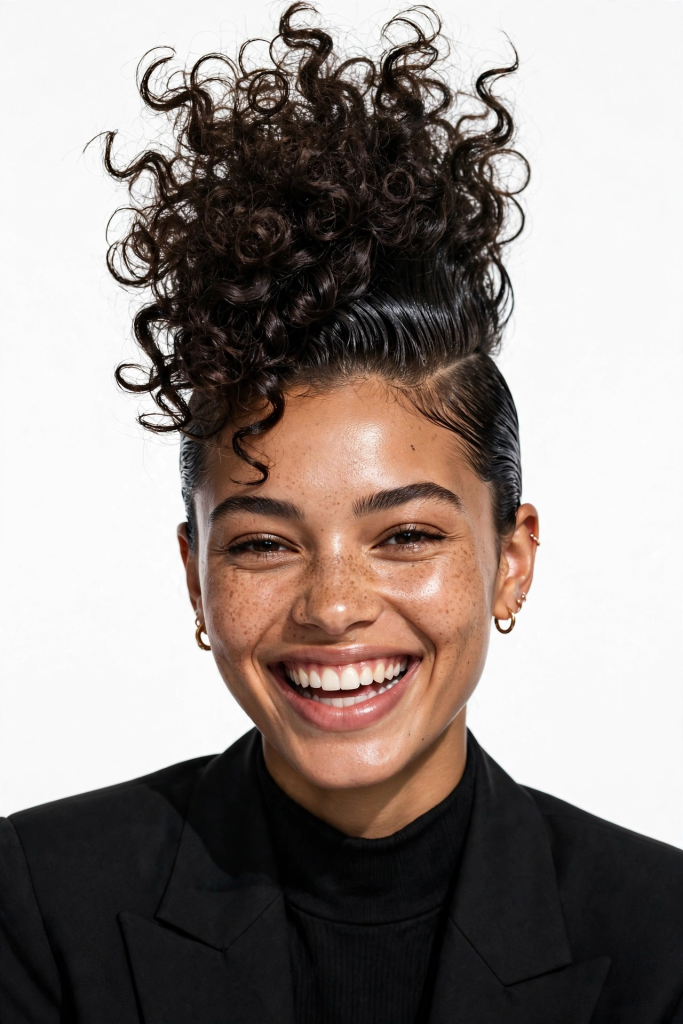
    This is a bold and fun style achieved by teasing or styling the curls at the crown of the head upward and toward the center, creating a voluminous, slightly edgy look.

    • Why it Works: It’s the ultimate volume-boosting style. By bringing all the hair up and forward, it creates maximum height and the illusion of incredibly dense, thick hair.

    Choosing the Right Cut: 3 Golden Rules for Fine Curls

    Your stylist is your best friend in this journey. When you go in for your consultation, remember these three rules:

    1. Embrace Layering: Layers are non-negotiable. They are the only way to remove weight and create the lift and bounce that fine hair desperately needs. Without them, curls will hang limply and look stringy.
    2. Keep the Weight Off the Sides: For shorter cuts, a tapered back and sides is your secret weapon. It directs all the volume to the crown, creating a beautiful, round shape.
    3. Don’t Be Afraid of Bangs: A well-placed fringe (curtain, side-swept, or textured) can hide a thinning hairline and add a modern, youthful element to your look.

    Top Styling Tips for Volume and Bounce

    How you style your hair is just as important as the cut.

    • Use a “Curly Girl” Routine: This involves washing with a cleansing conditioner (or “co-wash”), skipping sulfates and silicones, and applying product to soaking wet hair. This method helps retain moisture, which is crucial for curl definition.
    • Apply Products Upside Down: Flip your head over and scrunch in your mousse, gel, or curl cream. This forces the product to the roots and encourages them to lift away from the scalp for maximum volume.
    • Scrunch, Don’t Rub: Never rub your hair with a towel. This causes frizz and breakage. Instead, scrunch the water out with a microfiber towel or an old t-shirt to encourage the curl pattern.
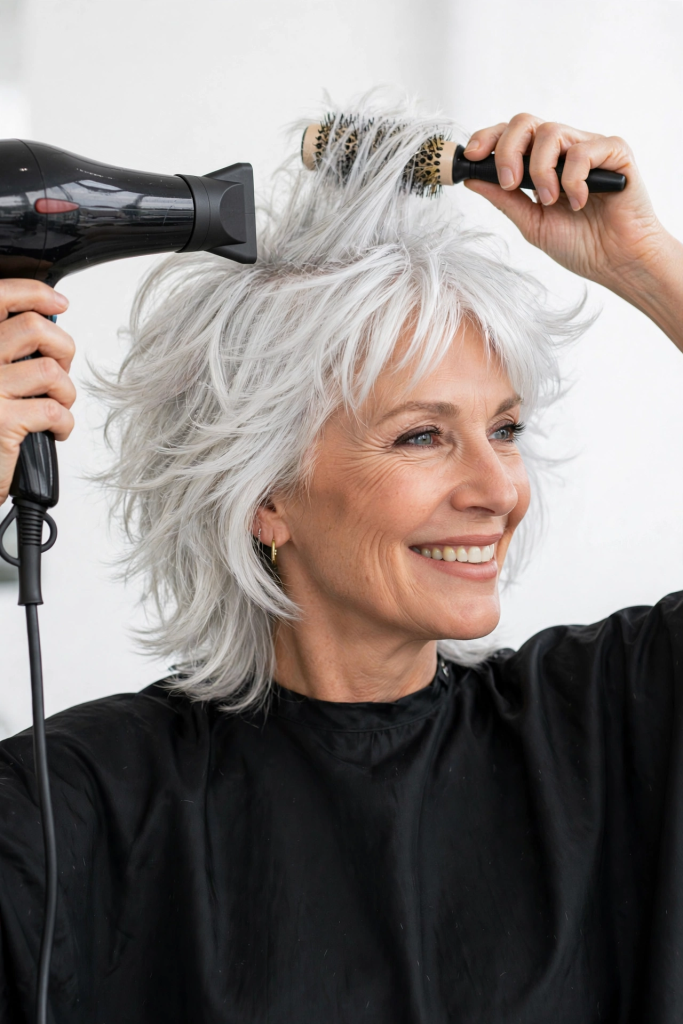
    • Embrace the Diffuser: Let your hair air-dry as much as possible. When you do use a blow dryer, always attach a diffuser. Use it on a low heat and speed setting, and gently “cup” your curls with the diffuser to dry them without disrupting the pattern.
    • Root Lifting Products: Invest in a good root-lifting spray or mousse. Apply it directly to your roots on damp hair before styling. It’s the most effective way to fight gravity.

    Product Recommendations for Fine, Curly Hair

    The wrong products can be a disaster for fine curls, weighing them down and making them look greasy.

    • Cleanse: Opt for a gentle, sulfate-free shampoo or a cleansing conditioner.
    • Condition: Use a lightweight, moisturizing conditioner. Apply it only from the mid-lengths to the ends, avoiding the roots.
    • Style: Look for products labeled “lightweight,” “volumizing,” or “for fine hair.” Good options include:
      • Mousse: Great for adding volume and light hold.
      • Spray Gels: Provide more hold than mousse but are lighter than traditional gels.
      • Curl Creams: Excellent for definition and moisture, but always start with a pea-sized amount and add more only if needed.

    Conclusion

    Reaching the age of 50 is a milestone to be celebrated, not a time to fade into the background. Your hair is a powerful tool of self-expression, and with the right care and the perfect cut, it can be more fabulous than ever. The key to unlocking the potential of your fine, curly hair is a shift in perspective—moving away from the idea of “hiding” your thinning hair and embracing techniques that add texture, bounce, and life.

    From sassy pixie crops to glamorous, layered bobs, the 16 ideas we’ve shared prove that the options are limitless. The perfect style for you is out there, waiting to be discovered. It’s about working with your stylist, using the right products, and taking a little extra time to care for your lovely curls.

    So, embrace the texture. Celebrate the volume. Let your curls be the crown you never take off. Your curl comeback starts now, and it’s going to be absolutely gorgeous.
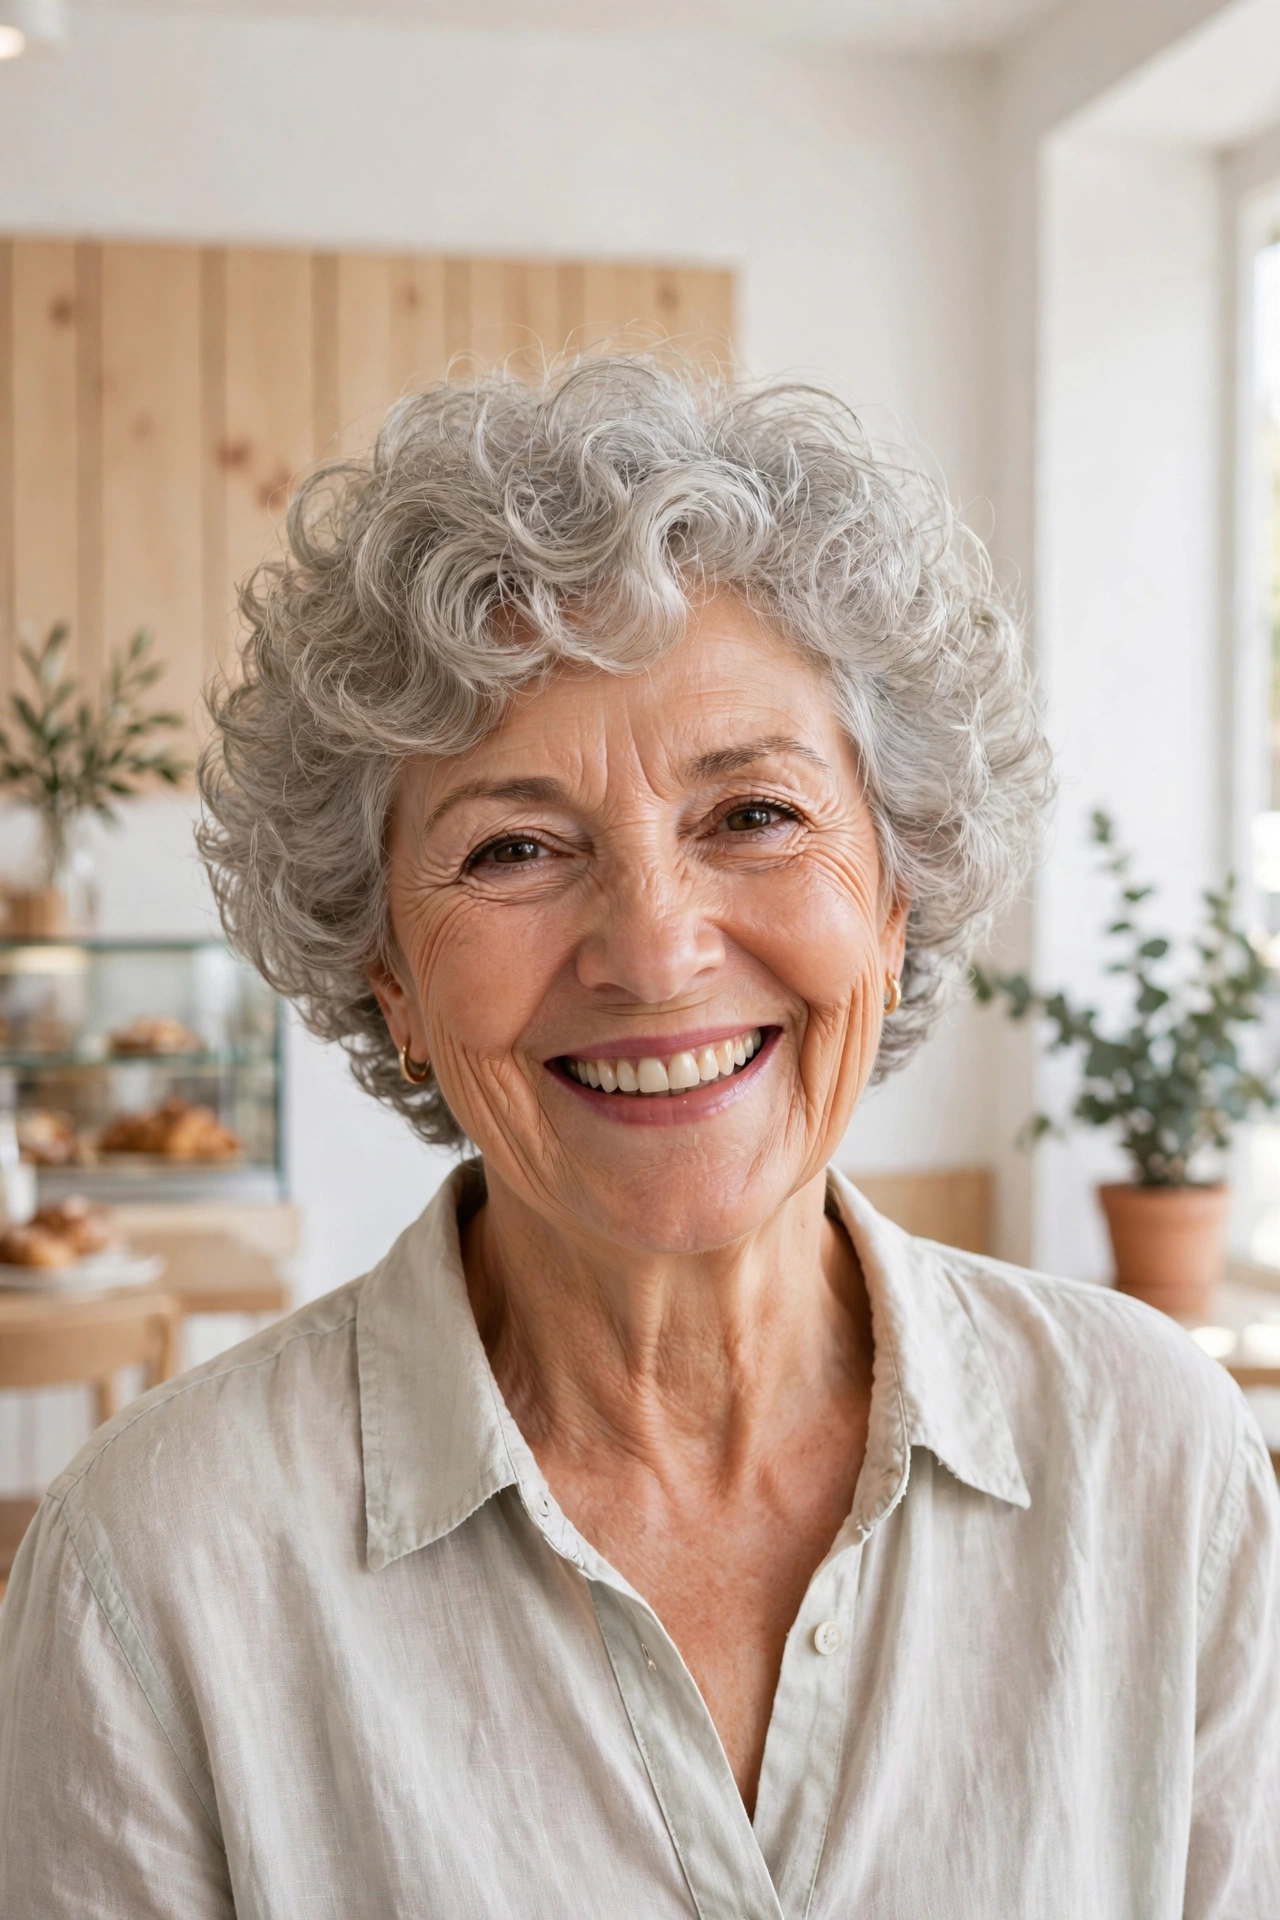

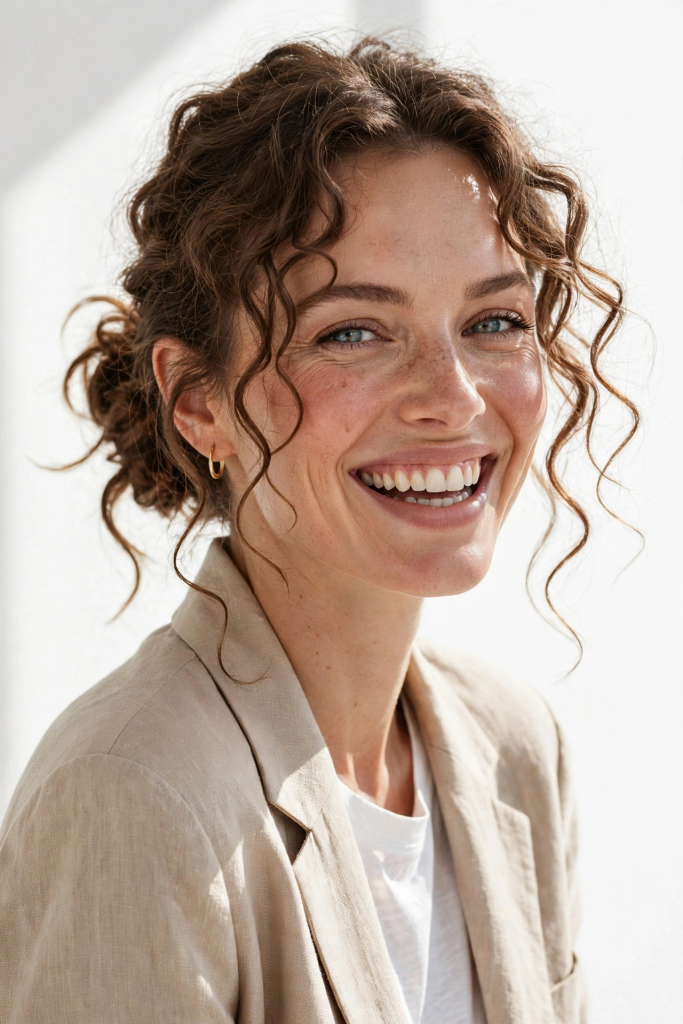
  • 14 Stunning Short Curly Hairstyles for Older Women That Celebrate Your Natural Texture.

    14 Stunning Short Curly Hairstyles for Older Women That Celebrate Your Natural Texture.

    For decades, the beauty industry has often suggested that as women age, they should cut their hair shorter and straighter. But why? There’s a quiet, powerful revolution happening, and it’s all about embracing the volume, vibrancy, and unique personality that comes with natural curls. For older women, short curly hair isn’t just a practical choice; it’s a stylish statement of confidence and self-acceptance.

    The truth is, our hair texture changes with age due to hormonal shifts, and many women find their once-straight locks developing a beautiful wave or curl. Instead of fighting this natural evolution with harsh chemicals and hours of heat styling, it’s time to embrace it. A short, curly hairstyle can be incredibly youthful, instantly lifting the face, adding volume where it’s needed most, and providing a low-maintenance routine that looks effortlessly chic.

    Whether you have tight coils, loose waves, or anything in between, there is a perfect short curly style waiting for you. In this guide, we’ll explore 14 stunning, practical, and modern ideas to help you find a look that makes you feel like the best version of yourself. It’s time to let your curls take center stage.


    14 Stunning Short Curly Hairstyle Ideas:

    Here are 14 well-structured ideas categorized for easy reading. Each includes a description, who it suits, and styling tips.

    The Classic & Sophisticated

    1. The Silver Siren (Short Crop with Texture)

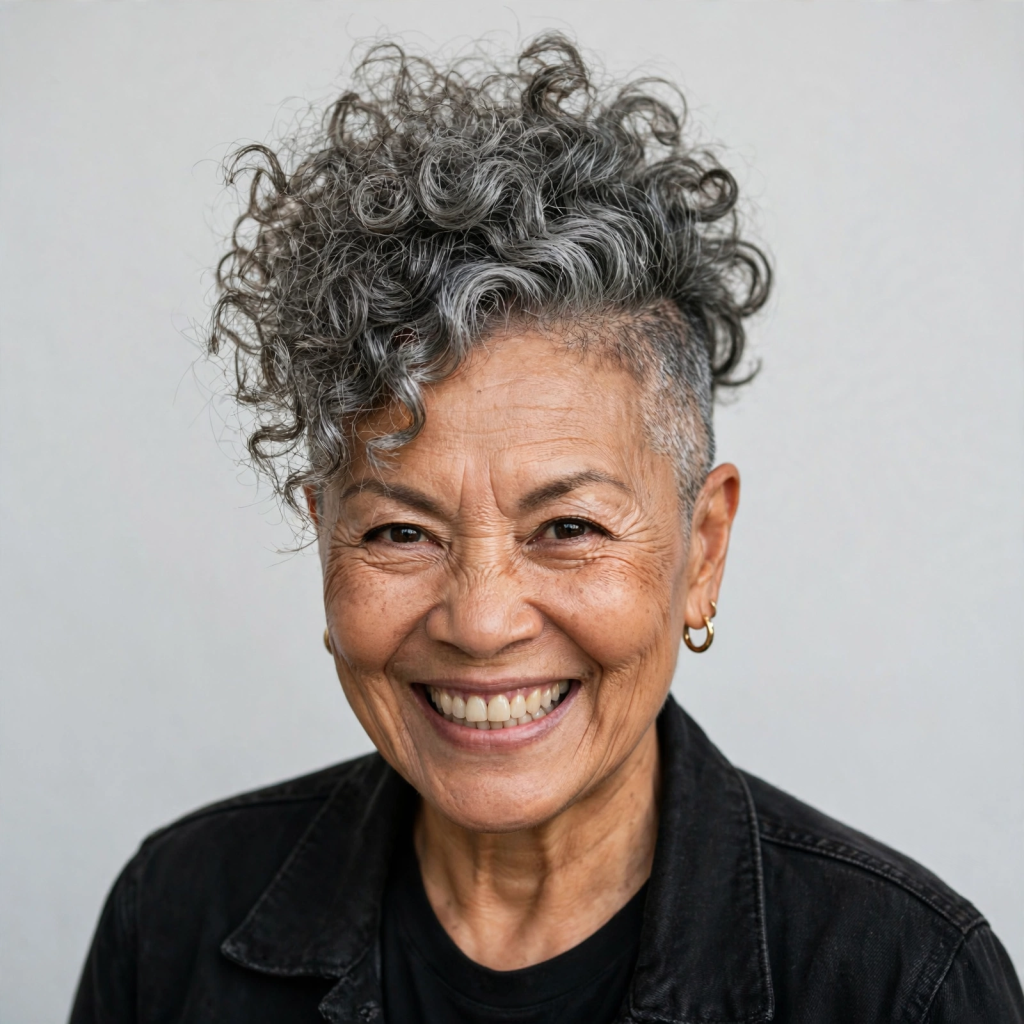
    • Description: This style is a super-short, textured crop that keeps the hair very close to the head but allows for a bit of length on top to showcase your natural curl pattern. It’s about celebrating the natural silver, grey, or white color and letting the texture do all the talking.
    • Who it suits: Perfect for women with naturally tight curls or coils who want the ultimate wash-and-go style. It’s incredibly low-maintenance and highlights beautiful bone structure.
    • Styling Tip: Use a curl-defining cream or a tiny amount of pomade to separate the curls on top and add a piecey, modern finish.

    2. The Tapered Nape (Classic Pixie with Curl)

    • Description: A timeless and elegant choice. The hair is cut short and cleanly tapered at the nape of the neck and around the ears, while the top and crown are left longer to allow for soft, bouncy curls.
    • Who it suits: This is a versatile cut that suits most face shapes, particularly round or heart-shaped faces, as the volume on top elongates the face.
    • Styling Tip: For a polished look, use a lightweight mousse to enhance the curls on top and tuck the sides behind your ears for a classic, sophisticated silhouette.

    3. The Sleek Side-Swept Curl

    • Description: This style takes a short curly bob and sweeps the top layer of curls deeply to one side. The rest of the hair is kept neat and close to the head. The deep side part creates a glamorous, asymmetrical look that is very flattering.
    • Who it suits: Ideal for women with fine to medium hair density who want to create the illusion of more volume. It’s particularly good for drawing attention upwards and softening a square jawline.
    • Styling Tip: Use a strong-hold gel or mousse to keep the side-swept curls in place. A decorative clip or bobby pin can add a touch of glamour.

    The Modern & Edgy

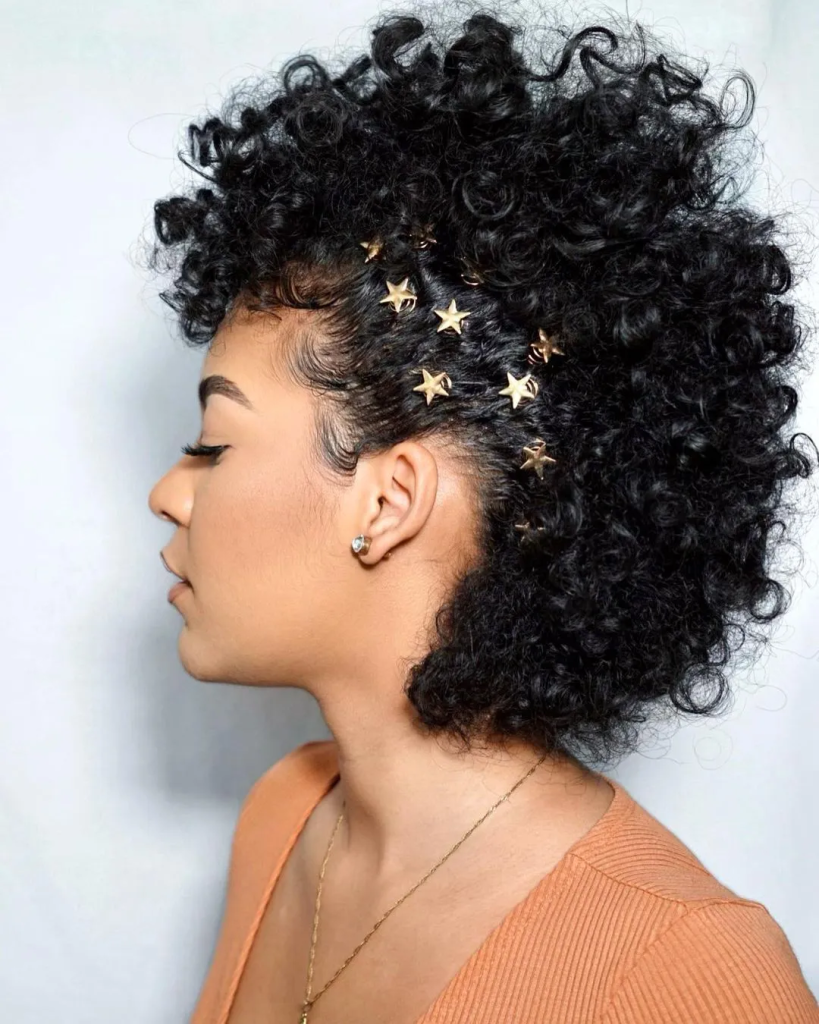
    4. The Curly Faux Hawk

    • Description: For the woman who wants to make a statement. This style involves keeping the hair very short on the sides and back, while the curls on top are styled to stand up and forward, creating a bold, voluminous shape.
    • Who it suits: This bold look is fantastic for women with strong features and a confident personality. It’s a great way to show off a beautiful curl pattern in a very modern way.
    • Styling Tip: Use a curl-enhancing mousse on wet hair and blow-dry it upwards with a diffuser to maximize height and texture.

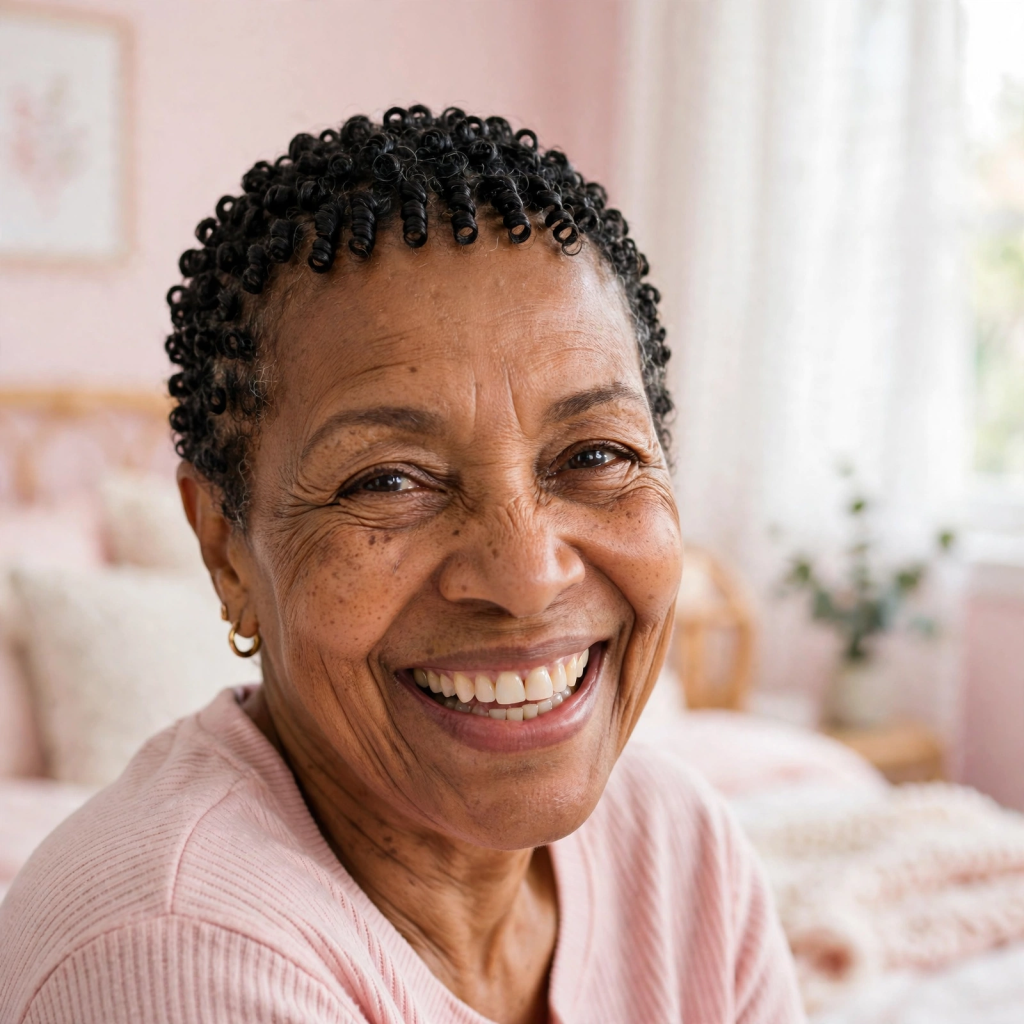
    5. The Defined Finger Coil

    • Description: This is less of a haircut and more of a styling technique for very short, naturally coily or kinky hair. You work a moisturizing gel or cream through small sections of hair, twisting each strand around your finger to create a defined, shiny coil.
    • Who it suits: Amazing for women with Type 4 hair who want a polished, defined, and long-lasting style that is incredibly chic.
    • Styling Tip: Apply products to soaking wet hair for the best definition. Sleep with a satin bonnet to keep the coils intact for days.

    6. The Textured Bowl Cut

    • Description: Forget the severe bowl cuts of the past. This modern version is a short, rounded cut that’s heavily textured and layered. The curls give it a soft, airy shape that frames the face without being harsh.
    • Who it suits: This is a fantastic protective style that works well for women with fine hair who want to add density, or for women with thick hair who want to remove bulk.
    • Styling Tip: A curl cream or salt spray will enhance the natural texture and give it that perfectly undone, “messy chic” look.

    The Voluminous & Glamorous

    7. The Curly Shag

    • Description: The shag is back and it’s perfect for curly hair. This cut features lots of choppy layers, a bit of fringe (bangs), and plenty of volume at the crown. The layers take the weight out of the curls, allowing them to spring up and create a wonderfully wild mane.
    • Who it suits: This style is a powerhouse for creating volume, making it ideal for women with fine or thinning hair. It’s also perfect for those who love a rock-and-roll, youthful aesthetic.
    • Styling Tip: Use a volumizing mousse at the roots and scrunch your hair with a diffuser to enhance the natural curl and achieve that big, bouncy look.

    8. The Full, Round Bob (The “Bubble”)

    • Description: A classic bob cut to chin or ear length, but cut in a perfect circle around the head. When your natural curls are allowed to do their thing, this cut creates a glamorous, full, rounded shape.
    • Who it suits: This is a stunning look for women with naturally thick, bouncy curls. It’s very retro and glamorous.
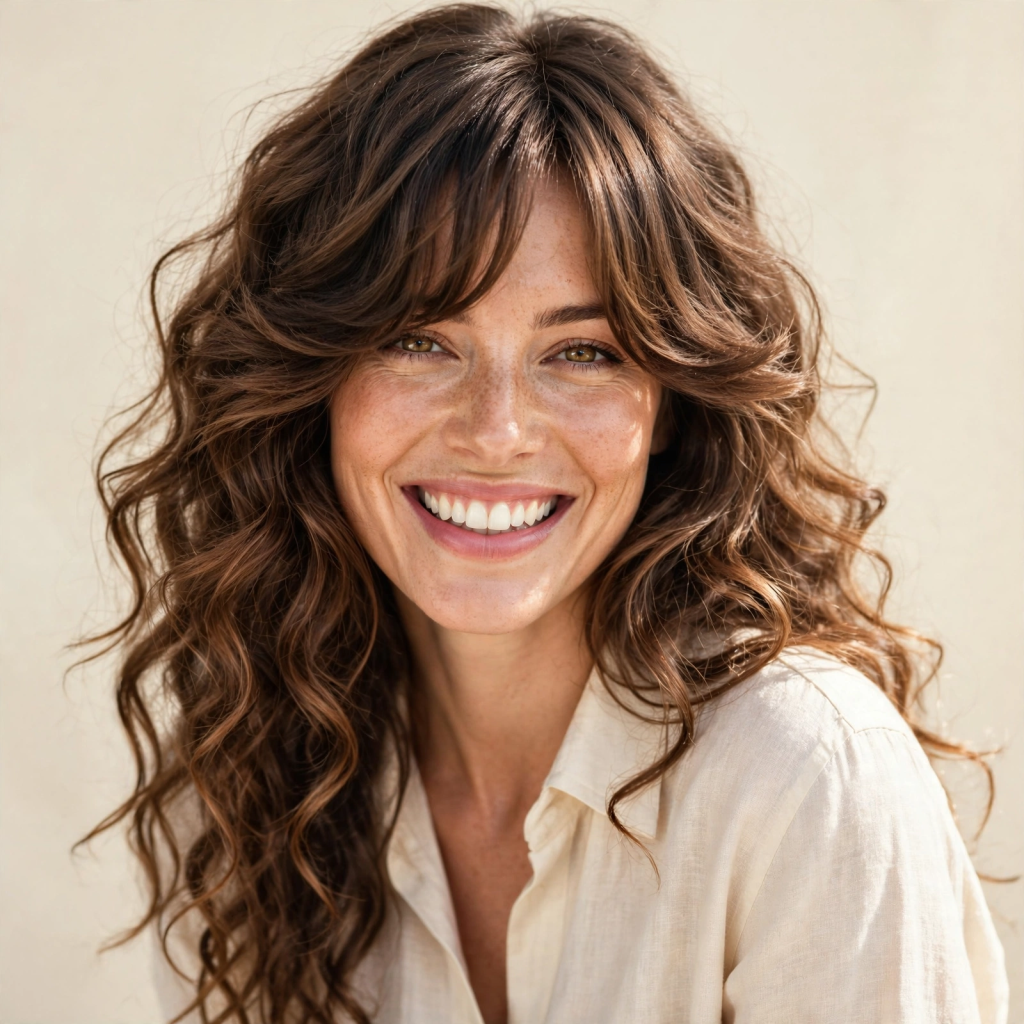
    • Styling Tip: Keep the cut precise and avoid too many layers to maintain the round shape. Use a curl-defining product to keep the curls well-hydrated and frizz-free.

    9. The Side-Parted Volume

    • Description: This is a simple yet effective variation of a short curly cut. By parting your hair deeply on one side, you instantly create asymmetrical volume on the top of your head, which is very face-flattering.
    • Who it suits: This technique is universally flattering and works with almost any short curly cut, from a pixie to a bob. It’s particularly good for softening a round face.
    • Styling Tip: When your hair is damp, create the deep part and use a pick to gently lift the curls at the root on the voluminous side.

    The Soft & Easy

    10. The Wispy Pixie

    • Description: A softer take on the classic pixie. The hair is cut short and wispy all over, with the curls left to create a soft, feathery, and delicate frame around the face.
    • Who it suits: This is a beautiful, low-commitment option for women with softer curl patterns or wavy hair. It’s a very feminine and gentle look.
    • Styling Tip: A light mist of sea salt spray or a curl-enhancing cream will add definition without weighing the wispy curls down.

    11. The Curly Fringe (Bangs) and Crop

    • Description: Nothing says youthful and modern like a great set of bangs. Combine a short, cropped curly cut with a soft, wispy curly fringe that hits just above the eyebrows. The bangs hide fine lines on the forehead and add a playful touch.
    • Who it suits: Perfect for women with oval or long face shapes, as bangs help to shorten the face. It’s a great way to modernize a standard short cut.
    • Styling Tip: Bangs need a little extra attention. Twist them around your finger while they are damp with a little gel to ensure they curl forward rather than sticking straight up.

    12. The Mini Curly Afro

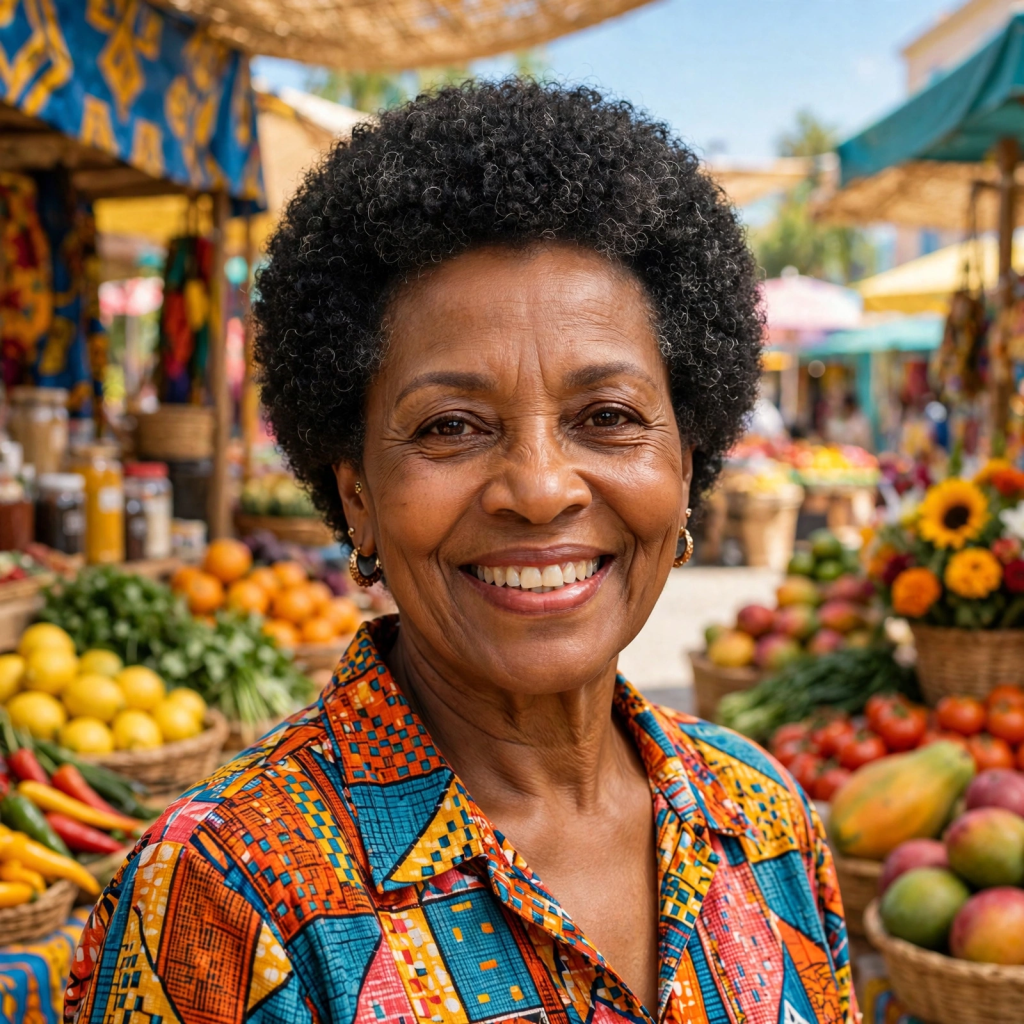
    • Description: A beautiful, iconic, and powerful statement. This is a short, natural afro that allows the hair’s natural texture to fully express itself in a perfectly rounded shape.
    • Who it suits: A stunning option for women with naturally curly or coily hair who want a bold, low-maintenance, and empowering look.
    • Styling Tip: Keep hair deeply moisturized with natural oils and butters. Use a wide-tooth comb or your fingers to shape the ‘fro, and a satin scarf at night to preserve the style.

    The Sophisticated Updo (for days you want it off your face)

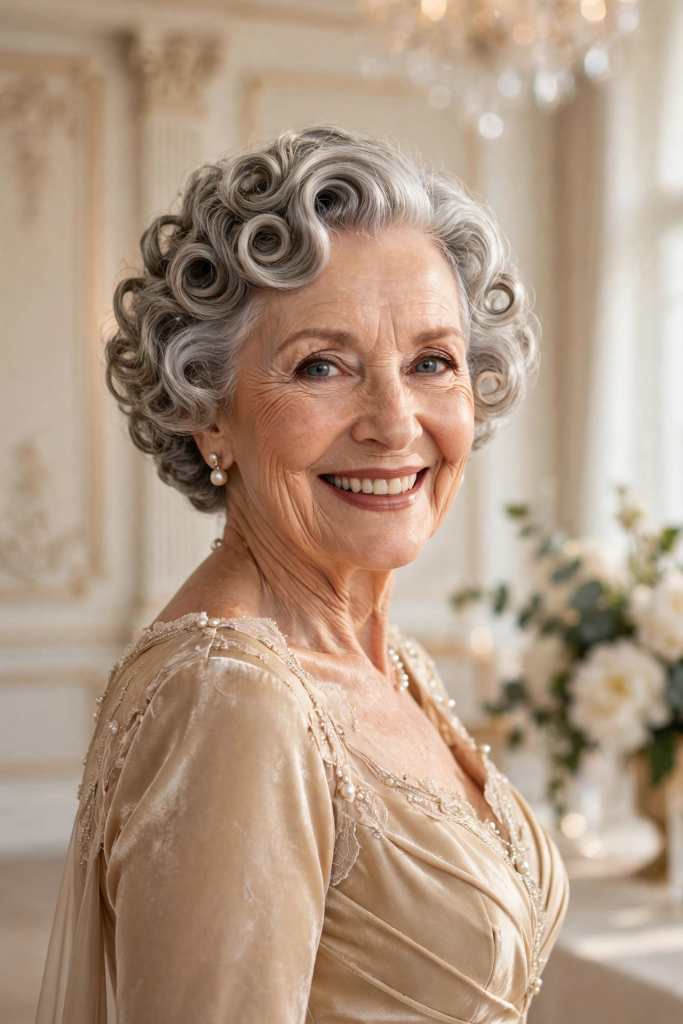
    13. The Textured Pin-Curl Updo

    • Description: On days you want a more formal look, you don’t need long hair. With a short curly cut, you can create a series of small, flat pin curls on one side of your head or all over, creating an elegant, sculpted, and vintage-inspired updo.
    • Who it suits: This is perfect for special occasions and for women who want an elegant, dressy option. It works best on hair that holds a curl well.
    • Styling Tip: Use bobby pins to secure the pin curls. A spritz of strong-hold hairspray will keep them polished in place.

    14. The Crown Twist

    • Description: Another elegant updo for short hair. Take a section of your curly hair from the front or side and gently twist it back, securing it with bobby pins along the hairline. This creates a romantic “crown” effect.
    • Who it suits: A sophisticated look for any occasion, from a dinner party to a wedding. It beautifully shows off your earrings and neckline.
    • Styling Tip: Leave a few soft curls loose around the face for a soft, romantic finish.

    Key Tips for Maintaining Short Curly Hair

    • Hydration is Key: Curly hair is naturally drier than straight hair. Invest in a good quality, sulfate-free shampoo and a rich, moisturizing conditioner. Deep condition weekly.
    • The Right Products: Look for products specifically for curly hair. Curl creams, mousses, and gels are your best friends. Avoid products with alcohol, which can be drying.
    • Find a Curly Hair Specialist: Your haircut is the foundation. It’s crucial to find a stylist who specializes in cutting curly hair dry. They can see exactly how your curls fall and will shape your style to perfection.
    • The Diffuser is Your Best Friend: If you use a hairdryer, always use a diffuser attachment on a low heat setting to prevent frizz and maintain your curl pattern.
    • Protect Your Curls at Night: Sleep on a satin or silk pillowcase, or wrap your hair in a satin bonnet. This reduces friction and prevents frizz and breakage.

    Conclusion

    Your hair is your crowning glory at any age. The journey to finding the perfect short curly hairstyle is about more than just a haircut; it’s about self-discovery and confidence. It’s a declaration that you are embracing your natural beauty and the woman you are today. A short curly style offers an unparalleled combination of ease, elegance, and empowerment.

    Remember, age is just a number. It shouldn’t dictate your style or how you express yourself. Whether you opt for a sophisticated silver pixie, a bold curly shag, or a glamorous side-swept bob, the most important element is that you feel beautiful, confident, and authentically you. So go ahead, celebrate your curls, enjoy the freedom of a short cut, and step into the world with a radiant smile and a head full of gorgeous, bouncy curls. You deserve it.

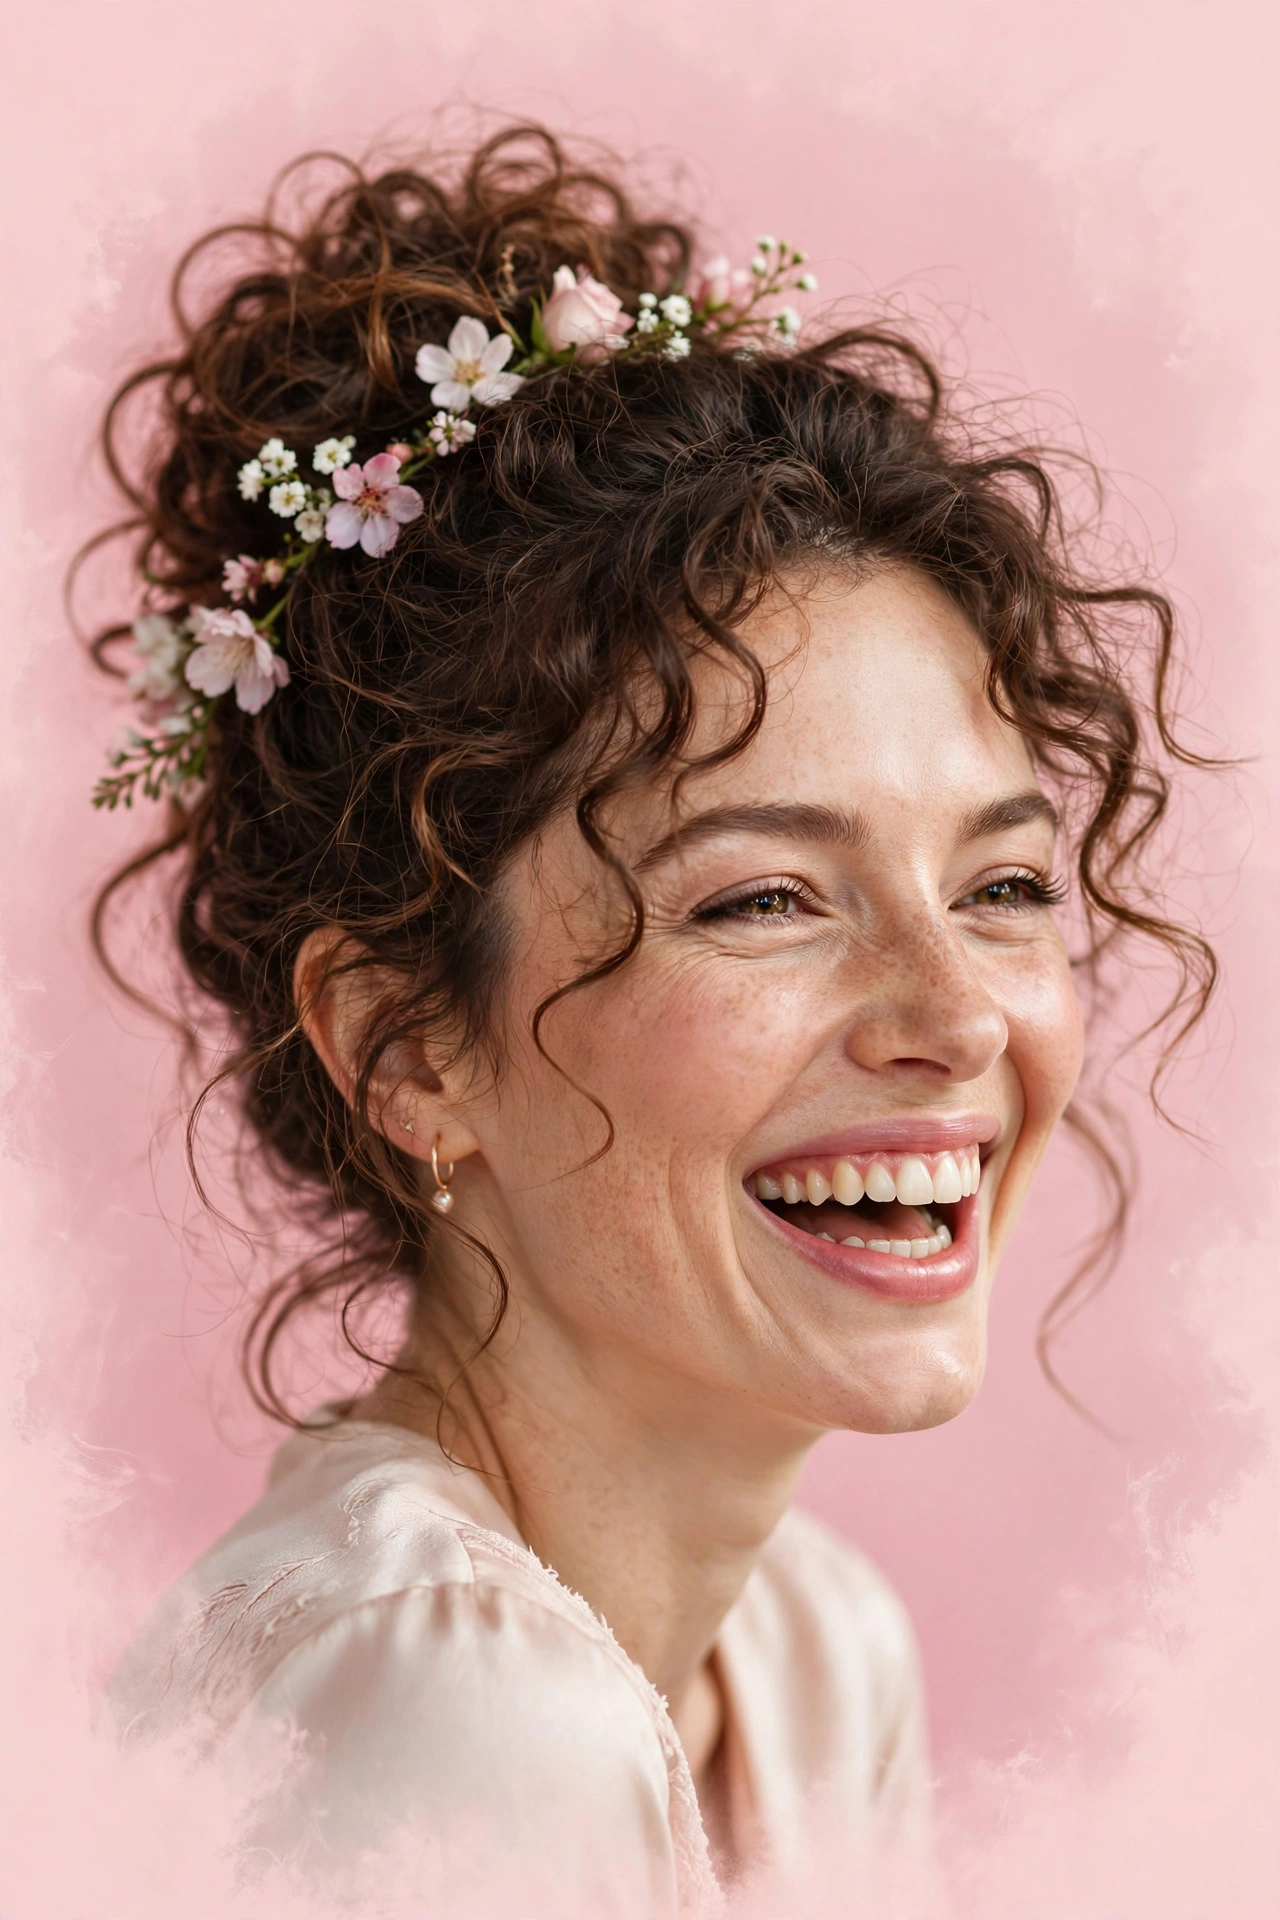
  •  18 Stunning Curly Updo Hairstyles for Every Occasion.

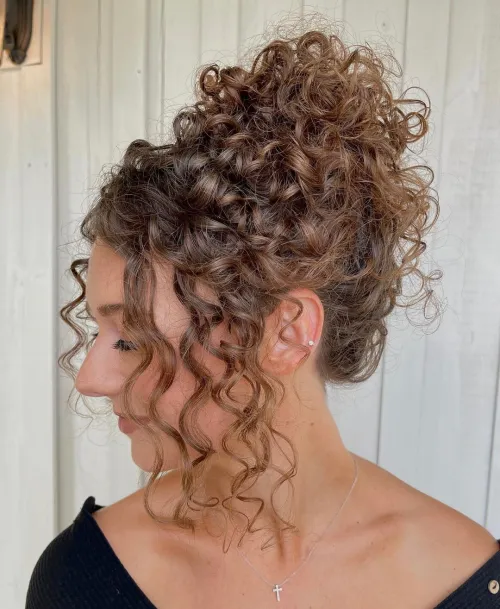
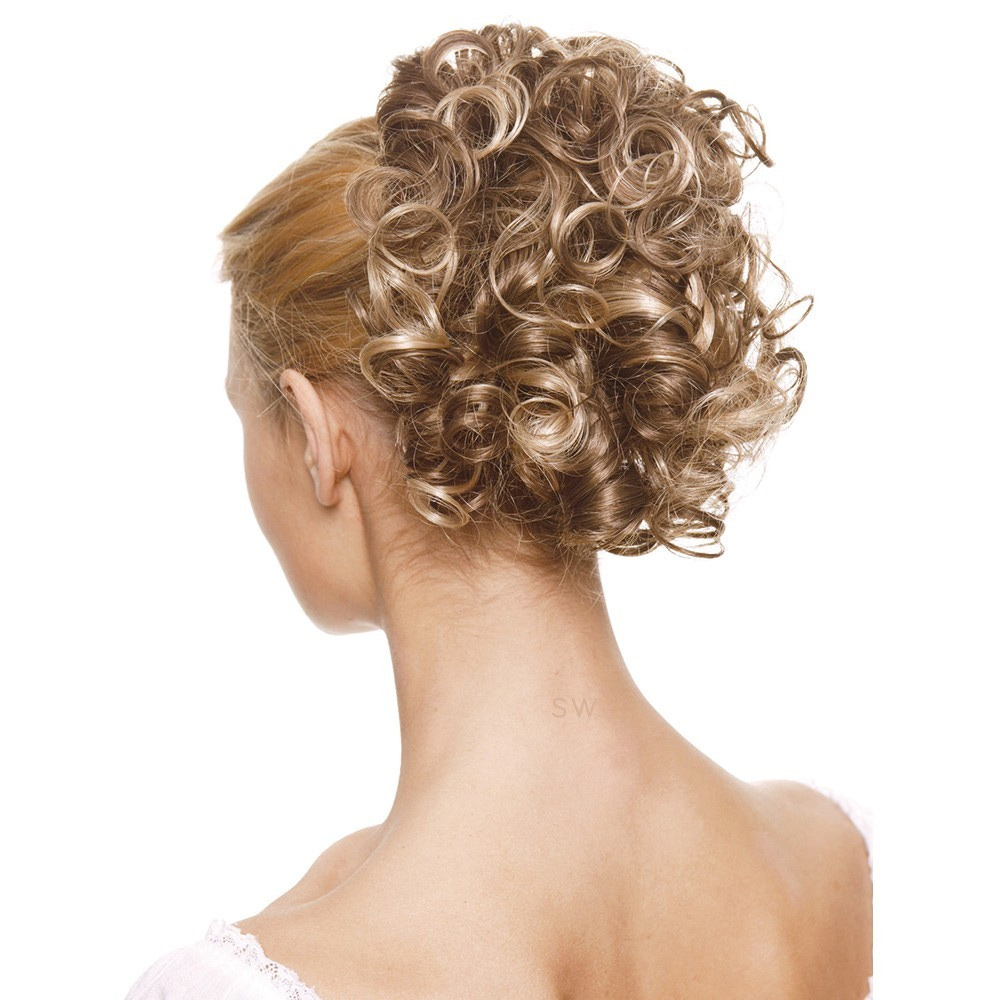
     18 Stunning Curly Updo Hairstyles for Every Occasion.

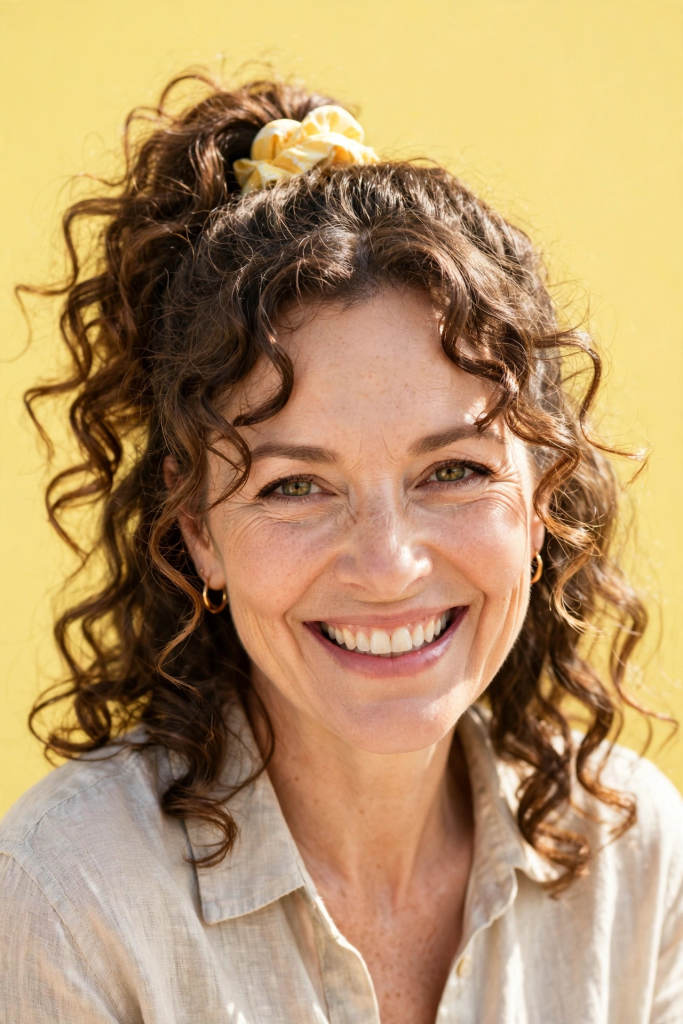
    For those blessed with curls, coils, and waves, the styling possibilities are as endless as they are beautiful. While we often reach for the diffuser to let our natural texture flow freely, there are moments that call for something a little more refined. Enter the curly updo—the perfect marriage of elegance and personality.

    An updo doesn’t have to mean sacrificing your volume or fighting your natural pattern. In fact, the best updos for curly hair embrace the texture, using it to create stunning shapes, romantic wisps, and effortless-looking styles that straight hair simply can’t replicate. Whether you’re looking for a chic ‘do for the office, a romantic style for a wedding, or a protective style that lasts for days, there’s a curly updo for you.

    Get ready to be inspired. Here are 18 well-structured ideas, ranging from beginner-friendly to statement-making, that will revolutionize the way you style your curls.


    The 18 Curly Updo Hairstyles:

    The Quick & Easy Everyday Looks

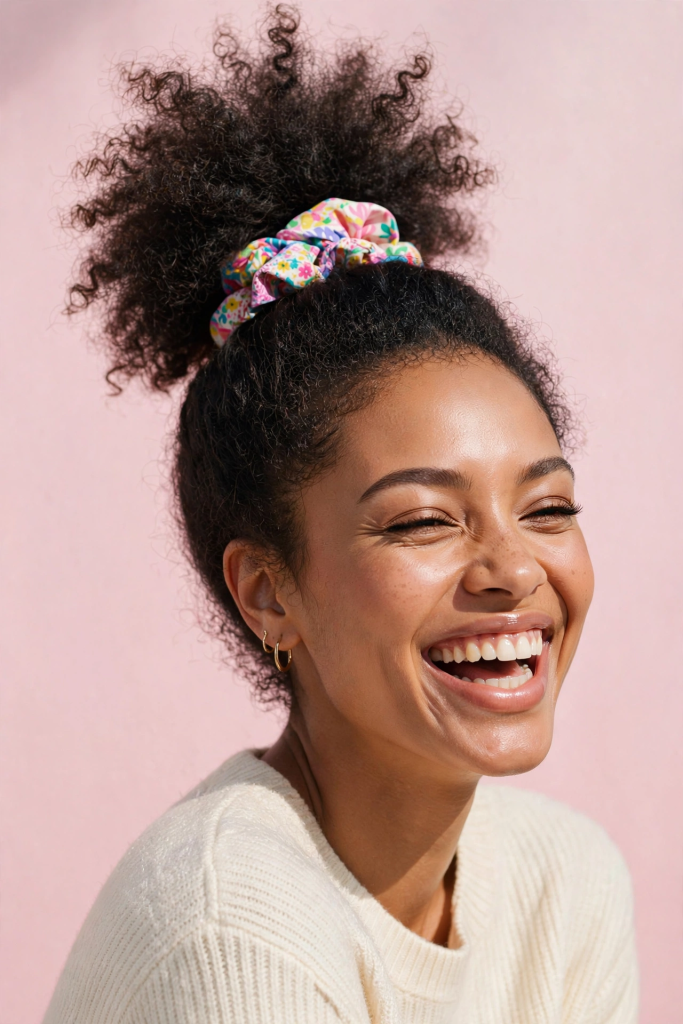
    1. The Pineapple Puff

    • The Idea: A high, loose ponytail at the very crown of your head, designed to showcase your curls in all their glory.
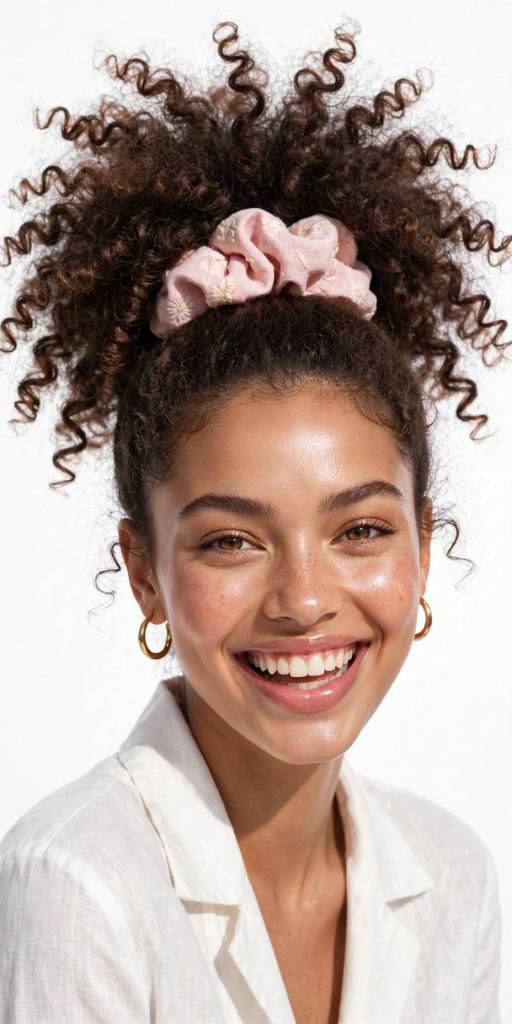
    • How-To: Flip your head upside down, gather your hair loosely at the top, and secure with a soft scrunchie. Don’t pull the curls all the way through on the final wrap to create a loop for added height.
    • Best For: Second or third-day curls, lazy Sundays, or a cute, casual gym look.

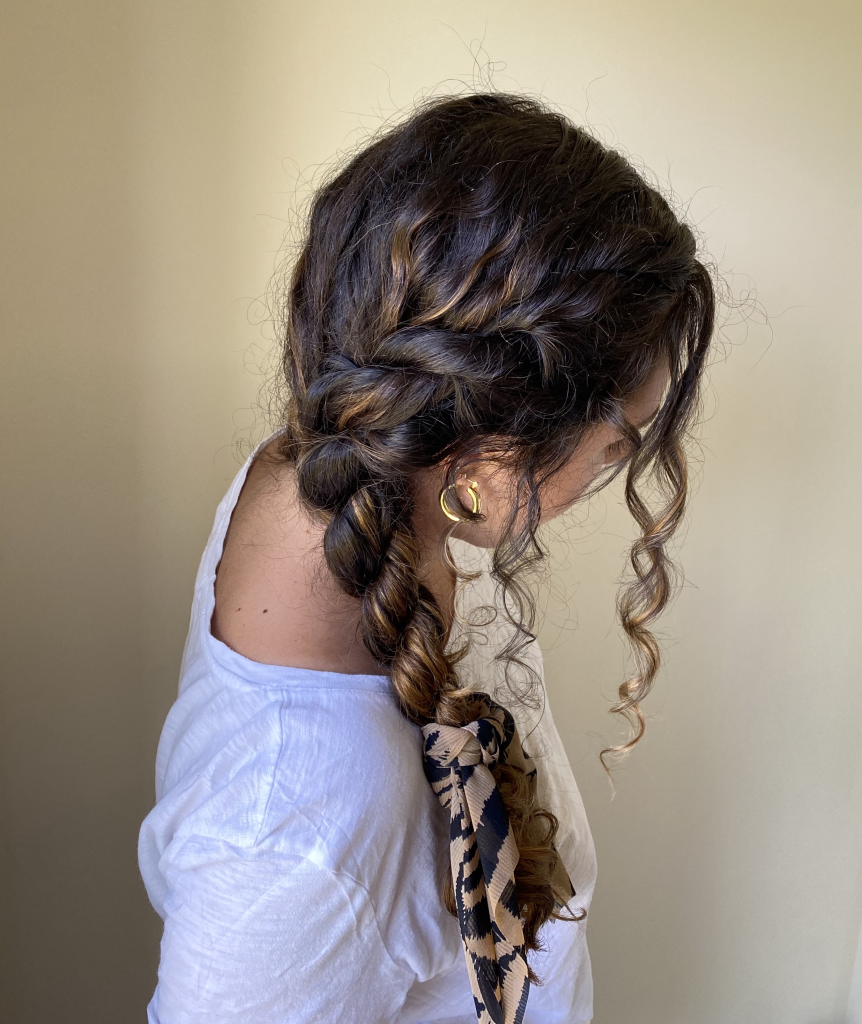
    2. The Messy Twist

    • The Idea: A twisted, asymmetrical updo that looks effortlessly chic and takes less than two minutes.
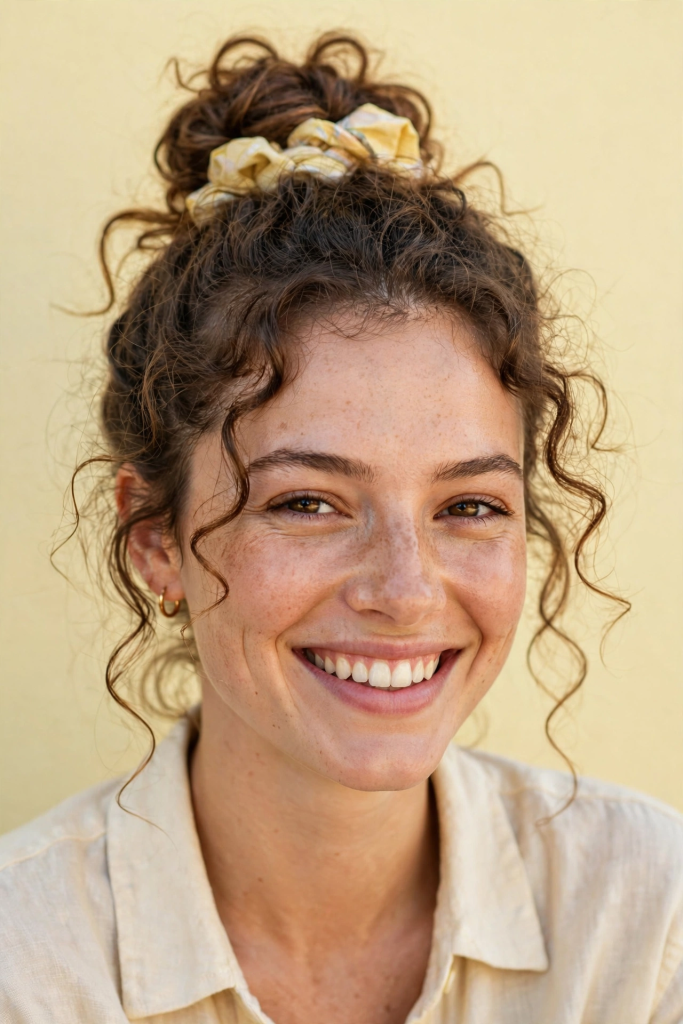
    • How-To: Gather your hair into a low ponytail at the nape of your neck. Twist the ponytail loosely and wrap it around the base into a bun, securing with bobby pins. Pull out a few face-framing curls to soften the look.
    • Best For: Running errands, a casual coffee date, or a breezy summer day.

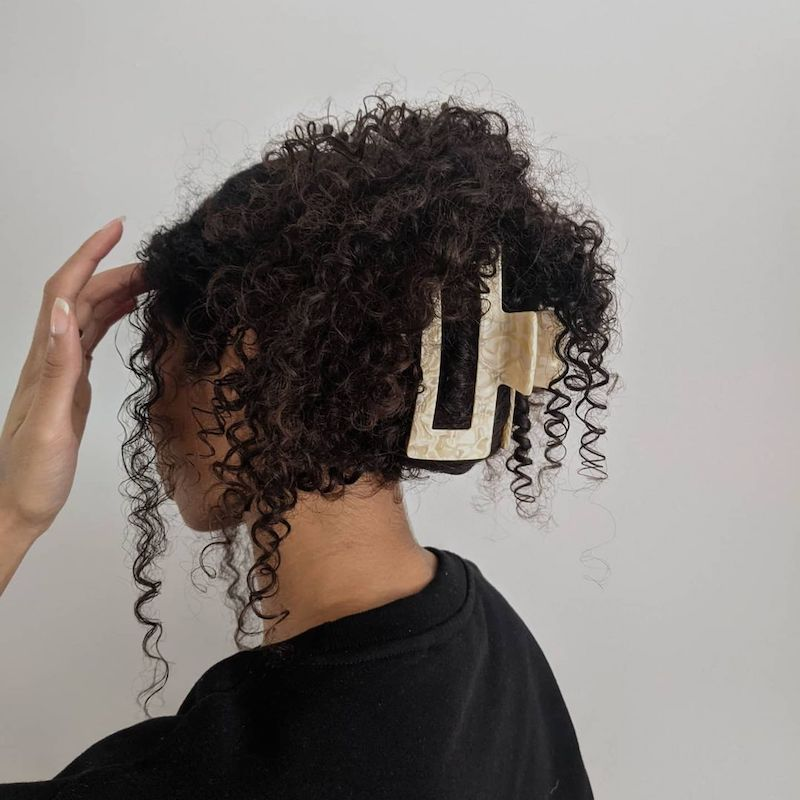
    3. The Curly Claw-Clip Updo

    • The Idea: A modern, sophisticated twist on the classic claw clip style, perfectly suited for voluminous curls.
    • How-To: Twist your hair upward and to the side, folding the ends underneath. Secure the twisted coil with a large, sturdy claw clip. Let a few curls cascade out of the top for a “done but undone” vibe.
    • Best For: A chic office look, video calls, or a stylish lunch with friends.

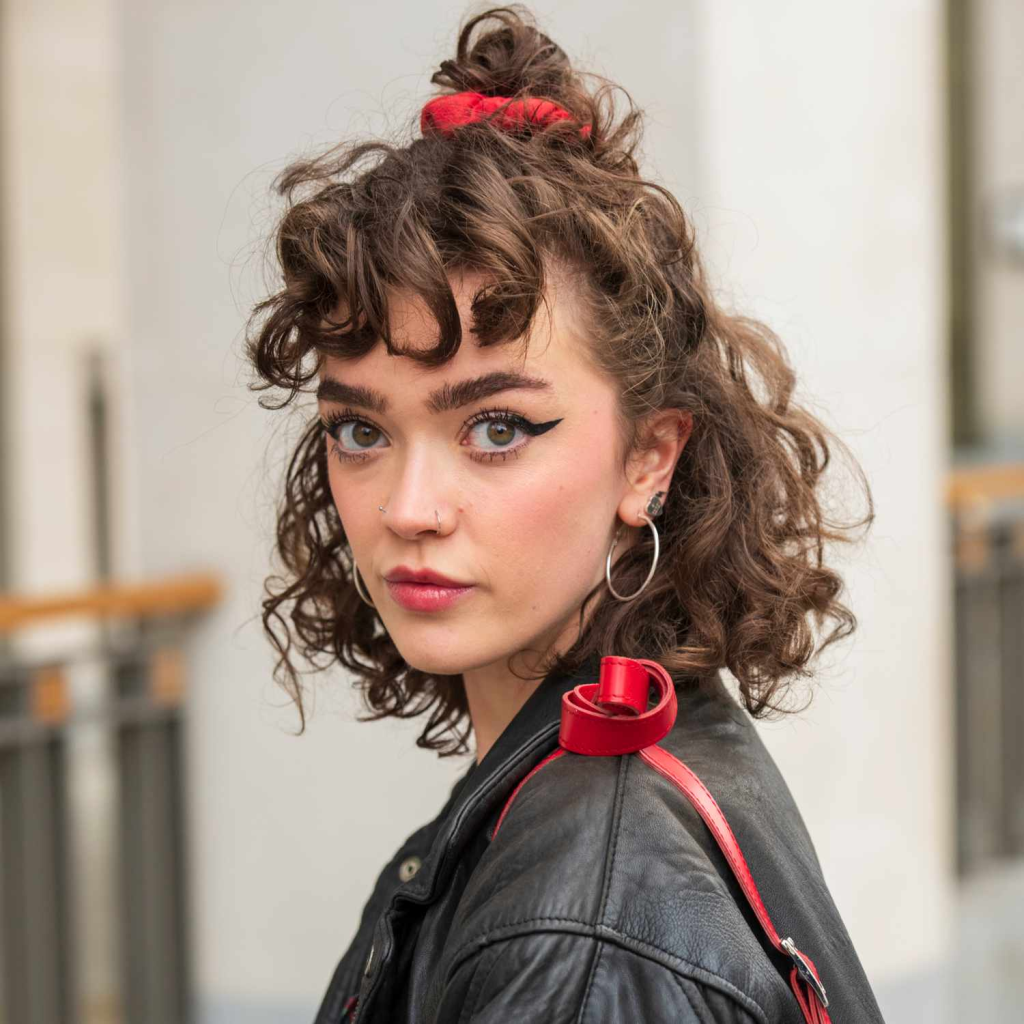
    4. The Half-Up Top Knot

    • The Idea: The perfect hybrid style that keeps hair out of your face while letting the rest of your curls flow freely.
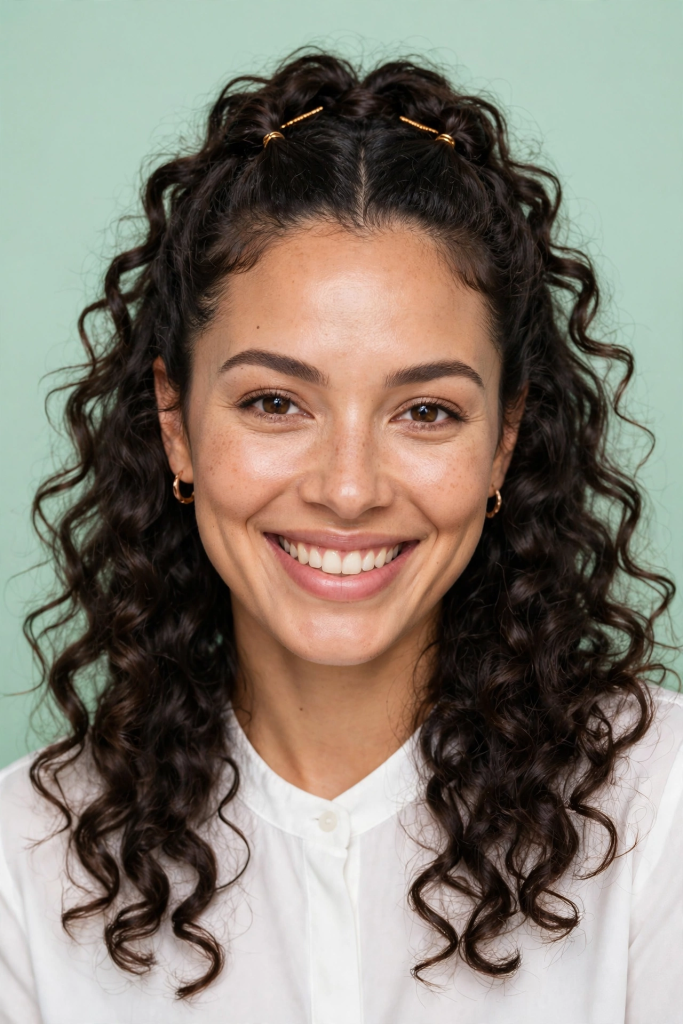
    • How-To: Section off the top half of your hair (from the crown of your head forward). Gather it into a high ponytail, twist it, and wrap it into a small, tight bun. Secure with pins.
    • Best For: A casual day out, a fun concert, or when you want a quick style that’s both cute and functional.

    Chic & Sleek Styles for the Office

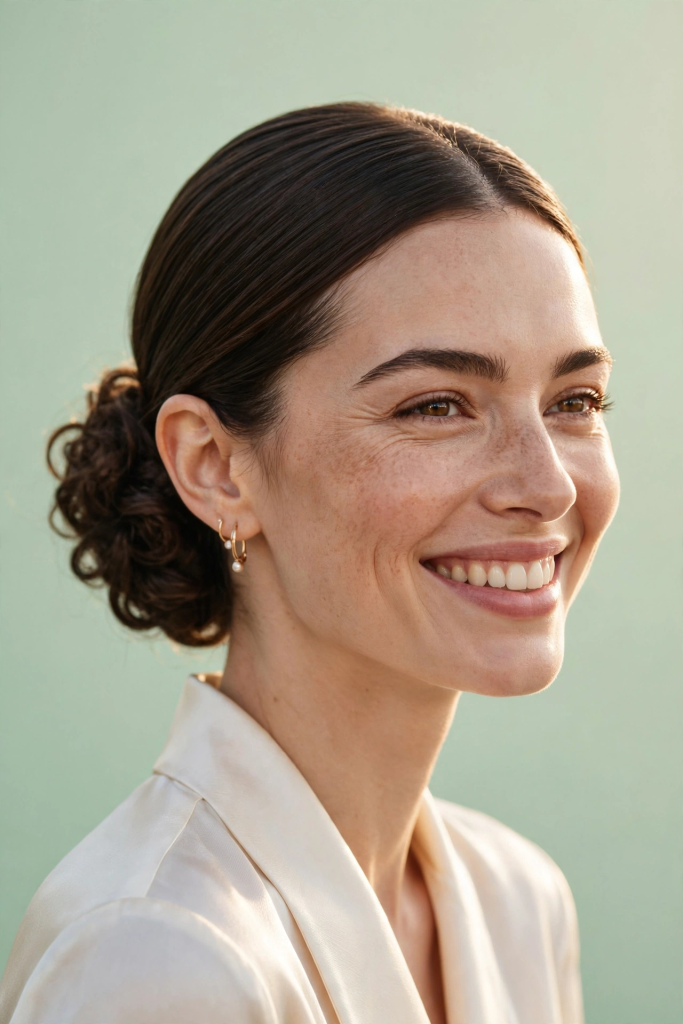
    5. The Low Chignon

    • The Idea: A timeless and elegant chignon positioned at the nape of the neck. Sleek at the front, textured in the back.
    • How-To: Brush or smooth the front sections of your hair back. Gather all your hair at the nape of your neck, twist it into a tight coil, and wrap it into a flat bun. Secure with bobby pins, tucking the ends underneath.
    • Best For: Professional meetings, job interviews, or any event requiring a polished, refined look.

    6. The French Roll (or Reverse French Roll)

    • The Idea: A classic, sleek roll that tucks the ends of your hair into itself for a clean, sophisticated finish.
    • How-To: Gather your hair at the nape, twist it upwards towards the back of your head, and tuck the ends into the fold created. Pin it securely in place against your head.
    • Best For: A business formal event, a fancy dinner, or a sophisticated evening out.

    7. The Sleek Low Ponytail with a Twist

    • The Idea: A low ponytail that’s been smoothed down at the front and styled with a unique twist or knot at the base for extra flair.
    • How-To: Slick your hair back into a low ponytail. Take a small section of hair from the ponytail and wrap it around the elastic to hide it. For a twist, separate the ponytail into two sections, twist them together, and secure at the ends.
    • Best For: A modern, fashion-forward look for the office or a creative professional setting.

    8. The Side-Swept Low Bun

    • The Idea: An asymmetrical low bun that’s swept to one side, offering a romantic and polished alternative to a center bun.
    • How-To: Create a deep side part. Sweep all your hair to the side with the most volume. Twist the hair and wrap it into a bun just behind your ear. Use pins to secure it and leave a few tendrils loose around your face.
    • Best For: Date night, a gallery opening, or a work function where you want to look effortlessly elegant.

    Romantic & Boho Styles for Special Occasions

    9. The Crown Braid

    • The Idea: A beautiful braid that wraps around your head like a crown, adorned with loose curls.
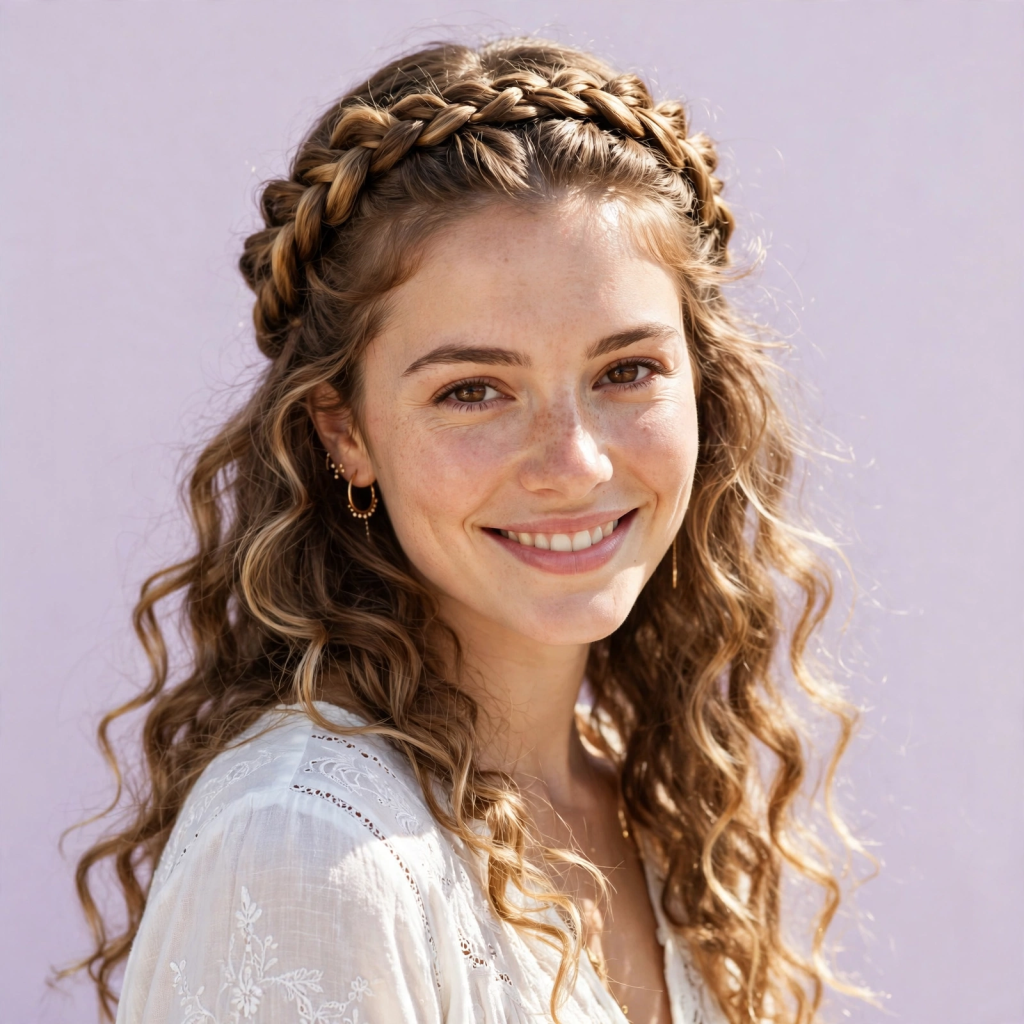
    • How-To: Create a deep side part. French or Dutch braid from the heavier side of the part along your hairline, picking up sections as you go. Continue braiding all the way around to the other side of your head and tuck the end under.
    • Best For: Weddings, music festivals, or a romantic garden party.

    10. The Flower-Studded Bun

    • The Idea: A simple, elegant bun elevated by the addition of fresh or silk flowers woven throughout.
    • How-To: Create a low or mid-height bun (a messy twist or a sleek chignon both work). Tuck small flowers, like baby’s breath or roses, into the bun and around the base for a whimsical touch.
    • Best For: A boho wedding, a bridal shower, or a springtime celebration.

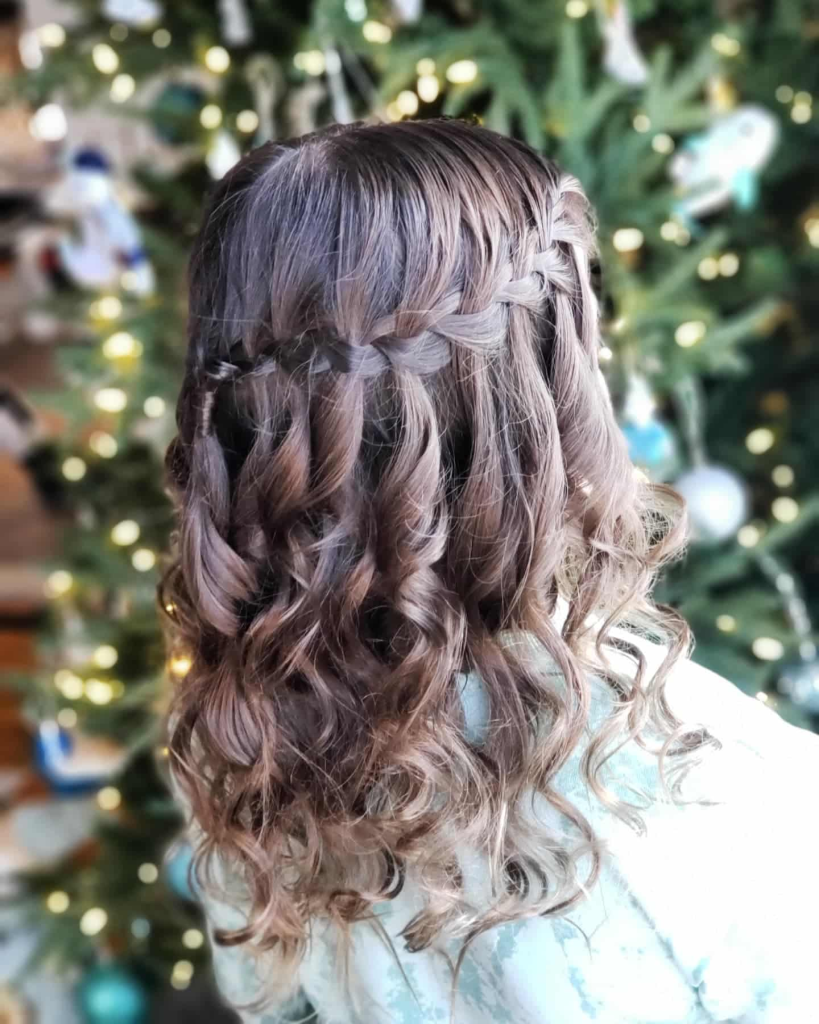
    11. The Waterfall Twist

    • The Idea: A romantic half-up style where sections of hair are twisted and pinned to create a cascading “waterfall” effect over the loose curls.
    • How-To: Take a 1-2 inch section of hair from your temple. Twist it and pull it back, pinning it at the crown. Continue this with another section from below, letting the hair from the first twist fall over it.
    • Best For: A romantic dinner, a school dance, or a prom night.

    12. The Rope-Twist Ponytail

    • The Idea: A high ponytail that has been twisted along its length, creating a striking rope-like effect that shows off your curl pattern.
    • How-To: Gather your hair into a high ponytail. Divide the ponytail into two sections. Twist each section tightly in the same direction, then wrap one around the other in the opposite direction. Secure the ends.
    • Best For: A fashionable night out, a summer wedding, or when you want a ‘do with a lot of personality.

    Voluminous & Dramatic Statements

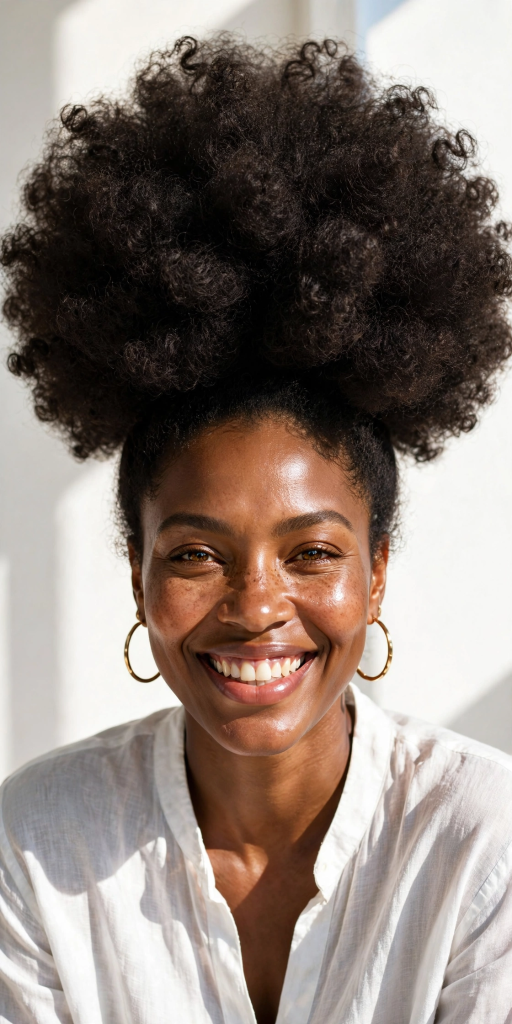
    13. The Big, Bold Afro Puff

    • The Idea: A celebration of volume and texture. This style gathers the hair into a single, massive, perfectly round puff.
    • How-To: Use a wide-tooth comb or your fingers to gently fluff your curls out to their maximum volume. Gather the hair at the crown and secure with a large, stretchy headband or a strong elastic, letting the curls fan out like a cloud.
    • Best For: A statement-making look for a party, a cultural celebration, or simply a day you want to feel powerful.

    14. The Faux Hawk

    • The Idea: An edgy and dramatic style where the hair is raised in a prominent ridge down the center of the head, mimicking a mohawk.
    • How-To: Create a strong center part from your forehead to the nape of your neck. Gather and tease the hair in the center section to create height. Sweep the side sections up and back, pinning them against the raised center section.
    • Best For: A concert, a night out at a club, or a fashion-forward event.

    15. The Tall Piled-High Bun

    • The Idea: A gravity-defying bun stacked high on top of the head, maximizing your height and showcasing your volume.
    • How-To: Gather all your hair at the very top of your head. Create a high ponytail. Don’t pull the hair all the way through the elastic on the final wrap to create a large loop. Spread the loop out and pin the ends around the base.
    • Best For: A formal event, an awards ceremony, or a day you want to feel like a queen.

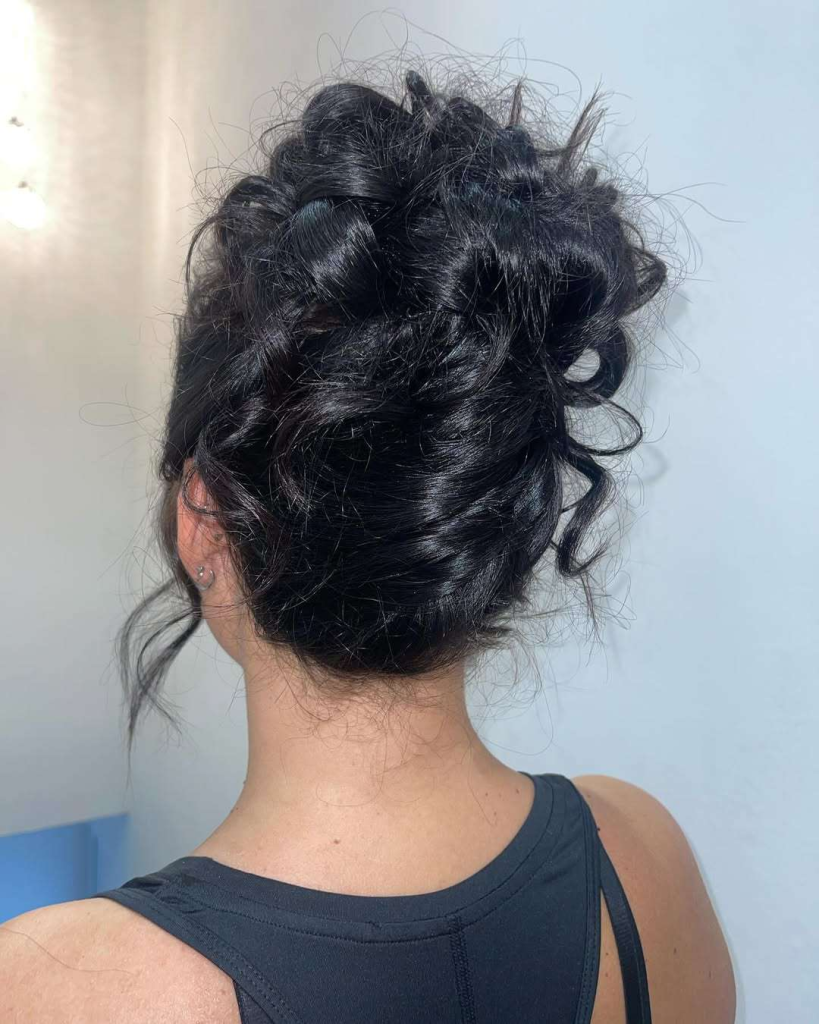
    16. The Interlocking Curls Bun

    • The Idea: Instead of twisting your hair into a bun, you simply pull sections of your ponytail through the elastic in loops, creating a multi-layered, textured bun.
    • How-To: Gather your hair into a high ponytail. Take one section of the ponytail, loop it back over itself and tuck the ends under the elastic. Repeat with the rest of the ponytail sections until you have a large, looped bun.
    • Best For: A creative, artistic look for a gallery opening, a fun party, or a unique style for a photoshoot.

    Essential Tips for the Perfect Curly Updo

    • Start with the Right Base: Updos work best on day-old, second, or even third-day curls. The natural oils provide grip and texture, making pins and elastics stay put better than on freshly washed, slippery hair.
    • Prep with Product: If your hair is too soft, use a styling mousse, curl cream, or sea salt spray to add texture and hold before you begin. This gives the style more longevity.
    • Use the Right Accessories: Invest in good-quality bobby pins that match your hair color. Scrunchies are gentler on curls and prevent breakage. Don’t forget a wide-tooth comb and a boar-bristle brush for smoothing the front sections.
    • Embrace the Wisps: Don’t try to tame every single curl. Leaving a few delicate curls or “baby hairs” loose around your face softens the look and adds a romantic, modern touch.
    • Secure, Don’t Pull: When pinning, slide the bobby pin into the bun, then flip it and push it back against your scalp to grip the hair and the style securely.
    • The Finishing Touch: Once your updo is complete, use a light-hold hairspray or a flexible hold gel to tame any flyaways without making your curls stiff or crunchy.

    Curly Updo Accessories to Elevate Your Style

    Accessories are the secret weapon to taking a simple curly updo to the next level.

    • Hair Pins and Clips: Pearl-studded, gold, or crystal hairpins can be woven into buns for a touch of glamour. Vintage-inspired barrettes can add a chic accent.
    • Scarves and Ribbons: A silk scarf tied around a messy bun or a high ponytail is effortlessly chic. Ribbons can be woven into braids for a romantic touch.
    • Fresh Flowers: For weddings or special events, nothing beats the elegance of real flowers (or high-quality silk ones) tucked into your curls.
    • Headbands: A padded or embellished headband can be the focal point of a half-up style, while a simple velvet headband adds a touch of classic sophistication.
    • Decorative Combs: Heirloom or vintage combs can be tucked into chignons or French rolls for a dramatic, old-Hollywood feel.

    How to Make Your Curly Updo Last All Day

    • The Prep is Key: Applying a lightweight gel or mousse to damp hair before you style is crucial. This creates a cast that holds the curl pattern, which then supports the updo.
    • Use a Strong Hold Product: Use a small amount of strong-hold gel or pomade on the edges and flyaways for a sleek, long-lasting finish.
    • Pin with Purpose: Use crisscross bobby pins for extra security. Insert one pin, then place another pin across it to form an “X.” This locks the hair in place.
    • Sleep on It: If you want an updo to last for a second day, sleep with a silk or satin scarf or bonnet to prevent friction and frizz. In the morning, gently fluff the style and smooth down any new flyaways with a bit of edge control or water.

    Conclusion

    From the casual, messy bun to a show-stopping bridal updo, the world of curly hairstyles is rich with variety and potential. The key is to work with your natural texture, not against it. Your curls are a unique accessory in themselves, and an updo is simply a way to showcase their beauty in a new and creative light.

    We hope these 18 ideas have inspired you to experiment, play, and discover the perfect curly updo for your next big event or everyday adventure. Remember, practice makes perfect—and don’t be afraid to make a few “happy mistakes” along the way. The best styles are often the ones that look effortlessly you.

  •  15 Gorgeous Long Curly Hairstyles with Layers for 2026.

     15 Gorgeous Long Curly Hairstyles with Layers for 2026.

    For those blessed with long, curly hair, the struggle is often real. While we love the drama and volume, long curls can sometimes feel heavy, weighed down, or lacking in shape. The secret weapon to unlocking your hair’s full potential? Layers.

    Layers are the architect of a great curly hairstyle. They are the magic ingredient that removes excess weight, allowing your natural curl pattern to spring up with more definition and bounce. Strategic layering transforms a shapeless mane into a dynamic, multi-dimensional masterpiece. Whether you crave voluminous spirals, romantic face-framing tendrils, or a more structured style, adding layers is the key to enhancing your natural texture. In this guide, we’ll explore 15 stunning long curly hairstyles with layers that will inspire your next salon visit.


    15 Well-Structured Ideas for Long Curly Hairstyles with Layers:

    Here are 15 distinct ideas, broken down into categories to suit different curl types and preferences.

    The Voluminous & Bouncy Options

    1. The Classic Layered Curly Shag

    • Description: A modern take on the 70s shag. It features choppy, textured layers throughout the hair and shorter layers at the crown to create a peak of volume.
    • Best For: Medium to thick hair and those with a 3A to 3C curl pattern. It adds incredible lift and a rock-and-roll vibe.

    2. The Butterfly Cut

    • Description: This viral trend is characterized by the “butterfly” effect—long, face-framing layers that start around the chin and cascade down, with shorter layers in the back for a feathered, airy feel.
    • Best For: All curl types. It’s excellent for adding movement and a soft, romantic look without losing too much length.

    3. Curly Layers with Side-Swept Bangs

    • Description: Combine long, sweeping layers with heavier side-swept bangs. The bangs blend seamlessly into the face-framing layers, creating a soft, side-swept curtain effect that emphasizes the eyes.
    • Best For: Those with a 2B to 3A wave/curl pattern. It softens the forehead and adds a touch of elegance.

    4. The High-Volume “Triangle” Breaker

    • Description: This style focuses on removing weight from the bottom of your hair to avoid the dreaded “triangle head” effect. The layers are concentrated in the under-layers and mid-lengths to create a more rounded, balanced silhouette.
    • Best For: Those with very thick, heavy hair (3B+). It’s a practical solution for creating a beautiful, proportionate shape.

    Sleek & Defined Styles

    5. Defined Ringlets with Long Layers

    • Description: Layers are cut very subtly and strategically so as not to disrupt the curl pattern. The goal is to maintain a uniform, defined ringlet shape while simply taking off the bulk and weight from the bottom.
    • Best For: Fine to medium hair with a tight curl pattern (3C to 4A). It preserves length and showcases the curls’ natural definition.

    6. Long Curly Bob (Lob) with Choppy Layers

    • Description: A shoulder-length lob is cut with choppy, disconnected layers. This gives the hair a lived-in, textured look that is both modern and easy to manage.
    • Best For: Wavy to curly hair (2B to 3B). It’s a fantastic option for transitioning to a shorter length.

    7. Curly Layers with a Center Part

    • Description: A simple change like a center part can dramatically change the way your curls fall. Long, even layers are cut to frame the face symmetrically, creating a chic, balanced, and mature look.
    • Best For: Wavy and soft curls (2A to 3A). It works best when the curls are well-defined and fall smoothly on either side of the face.

    8. “Waterfall” Curls

    • Description: This technique involves cutting long, sweeping layers that cascade over each other like a waterfall. The front layers are cut longer to blend seamlessly into the back, creating a continuous, flowing look.
    • Best For: All curl types. It’s a classic, timeless style that creates a beautiful, uninterrupted flow of curls.

    Face-Framing & Cascading Styles

    9. Curly Layers with Curtain Bangs

    • Description: Curtain bangs are longer, split down the middle, and blend effortlessly into the rest of the hair. Paired with long layers, they create a soft, flattering frame for any face shape.
    • Best For: Wavy to curly hair (2B to 3B). It’s a universally flattering, low-commitment way to try bangs.

    10. The Cascading Curls Style

    • Description: A sophisticated and elegant option where curls are cut in cascading layers of different lengths. This creates a “stair-step” effect, giving the hair a full, rounded shape that is perfect for special occasions.
    • Best For: Medium to thick hair with a 3A to 3C pattern. It maximizes volume and creates a luxurious, glamorous look.

    11. Long Layers with a Deep Side Part

    • Description: A deep side part instantly adds drama. Layers are cut to follow the direction of the part, with more volume concentrated on the heavier side. This creates an asymmetrical, flattering shape.
    • Best For: Those with oval, round, or heart-shaped faces. It’s a simple tweak that creates a sultry, stylish vibe.

    12. Face-Framing Layers for Round Faces

    • Description: For round faces, the goal is to elongate. Layers should be cut to start at the cheekbones or chin. This breaks up the width of the face, drawing the eye downward and creating a slimming effect.
    • Best For: Round face shapes with any curl type.

    High-Texture & Statement Styles

    13. The Modern Curly Mullet

    • Description: The contemporary mullet is all about texture and volume. It features short, stacked layers at the crown and sides that gradually get longer in the back. It’s a bold, edgy statement.
    • Best For: Thick, curly hair (3A+). It’s for the confident individual who wants a unique, eye-catching look.

    14. Textured Curly Layers

    • Description: This style utilizes “point cutting” to create a highly textured, wispy finish. The ends of the layers are not blunt but are cut at angles to create a soft, frayed look that adds incredible movement.
    • Best For: Wavy to curly hair (2B to 3B). It gives a beachy, effortless, and tousled appearance.

    15. Voluminous Curls with Wispy Layers

    • Description: The layers are cut to be light and airy, creating a soft, ethereal effect. Wispy layers around the face and ends of the hair prevent the curls from looking too dense or heavy.
    • Best For: Fine to medium hair with a 2C to 3A pattern. It’s a great way to add movement and a delicate, romantic feel.

    1. Tips for Getting the Perfect Curly Cut

    • Find a Curly Hair Specialist: This is the most crucial tip. Not all hairdressers are trained in cutting curly hair. Look for a stylist who specializes in or is certified in curly cuts (like DevaCut or Rezo Cut). They understand how curls shrink and behave when dry.
    • Always Cut Curls Dry: A dry cut allows the stylist to see the natural fall and spring of your curls. Cutting curly hair wet often leads to uneven results and too much shrinkage after it dries.
    • Bring Inspiration Photos: Show your stylist pictures of what you want. However, be realistic. A style on someone with 3A curls will look different on someone with 4C hair.

    2. Essential Styling Tips for Long Layered Curls

    • Apply Products to Soaking Wet Hair: This is the golden rule of curly hair. Water is your friend. Applying your curl cream, gel, or mousse to dripping-wet hair helps distribute the product evenly and encourages curl clumping.
    • Use the “Praying Hands” Method: Instead of raking your fingers through your curls, smooth your product over the surface of your hair using a “praying hands” motion (palms together). This helps reduce frizz and keeps your curl pattern intact.
    • Style Upside Down for Volume: Flip your head over and scrunch your products into the roots to create lift and volume at the crown, where layers may have added weight.
    • Avoid Touching While Drying: The hardest rule to follow! Touching your curls while they are drying causes frizz. Whether you air-dry or use a diffuser, be patient and let the cast form before you scrunch out the crunch.

    3. Maintenance and Care for Layered Curly Hair

    • Regular Trims (Every 8-12 weeks): Layered cuts require more maintenance than blunt cuts. Regular trims are essential to maintain the shape and prevent split ends from traveling up the hair shaft.
    • Deep Condition Weekly: Layered hair has more ends, which means more points for breakage. A weekly deep conditioning or hair mask treatment will help keep your ends healthy and your curls hydrated.
    • Use a Satin or Silk Bonnet/Pillowcase: This is a non-negotiable for curly hair. It reduces friction while you sleep, preventing breakage, tangles, and frizz, which can be more pronounced with layers.

    Conclusion

    Long, curly hair is a beautiful gift, and adding layers is the key to unlocking its true potential. Whether you desire the dramatic volume of a shag, the romantic softness of a butterfly cut, or the sleek definition of long ringlets, the right layering technique can transform your entire look. Remember, the most important step is finding a stylist who understands the unique nature of your curls.

    Don’t be afraid to experiment and find the style that makes you feel confident and beautiful. Your perfect layered cut is out there—ready to give your curls the bounce, shape, and life they deserve. So, embrace your texture, book that consultation, and get ready to fall in love with your hair all over again.

  • Curly Hairstyles for Thin Hair: Volume, Texture, and Style.

    Curly Hairstyles for Thin Hair: Volume, Texture, and Style.

    For years, the beauty world has operated under a false premise: that curly hair is inherently thick and voluminous. If you have fine, thin hair, you know the reality is quite different. You live in a world of flat roots, visible scalp, and curls that seem to give up before they even start. The weight of gravity, combined with the delicate structure of fine strands, often results in a silhouette that is less “bouncy cascade” and more “deflated triangle.”
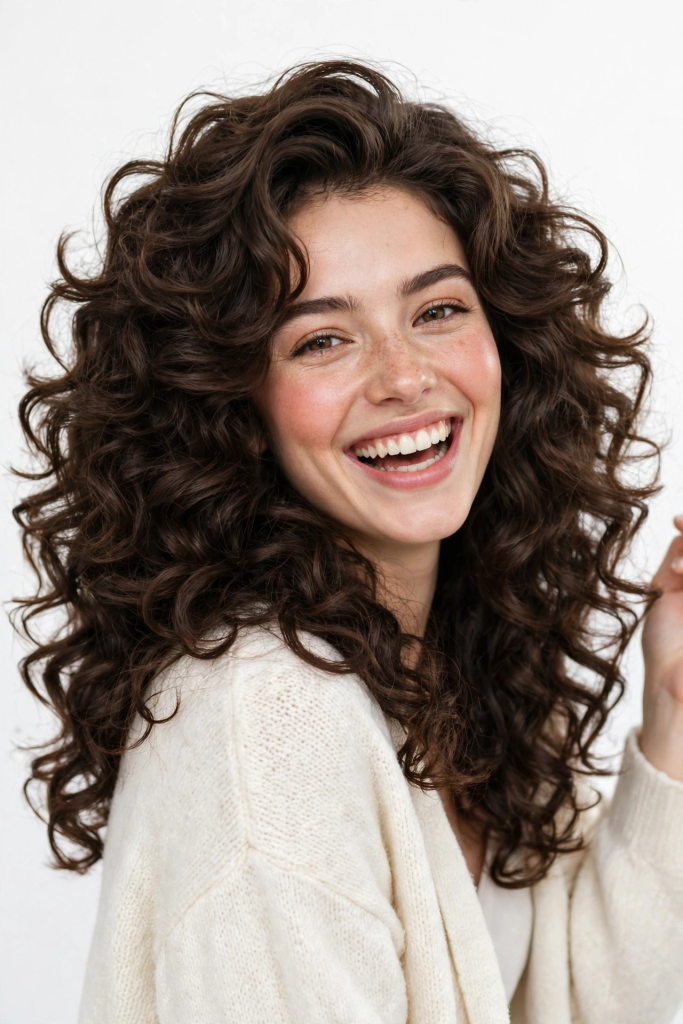
    But here is the empowering truth: having thin, curly hair is not a limitation; it is a specific texture with its own unique set of rules. You aren’t trying to mimic thick-haired volume; you are learning to master the illusion of density and the art of lift.
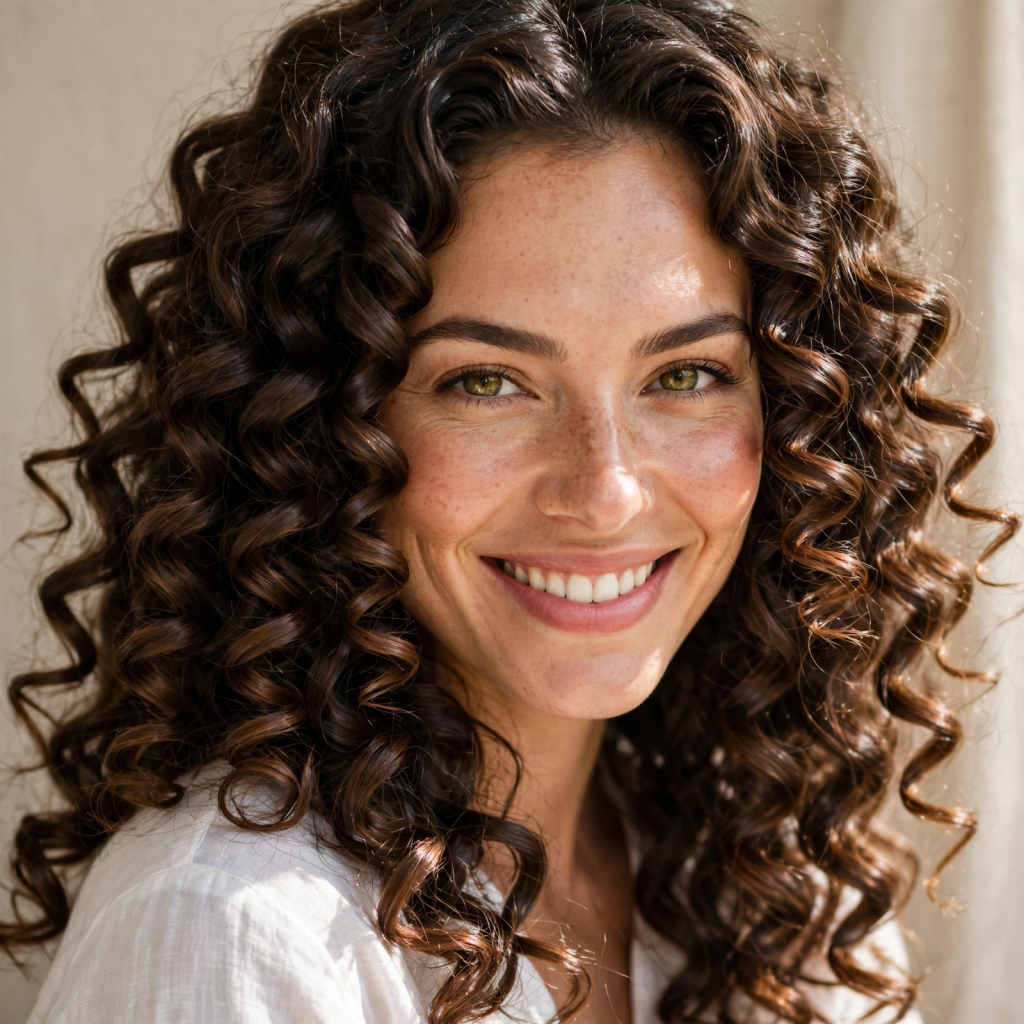
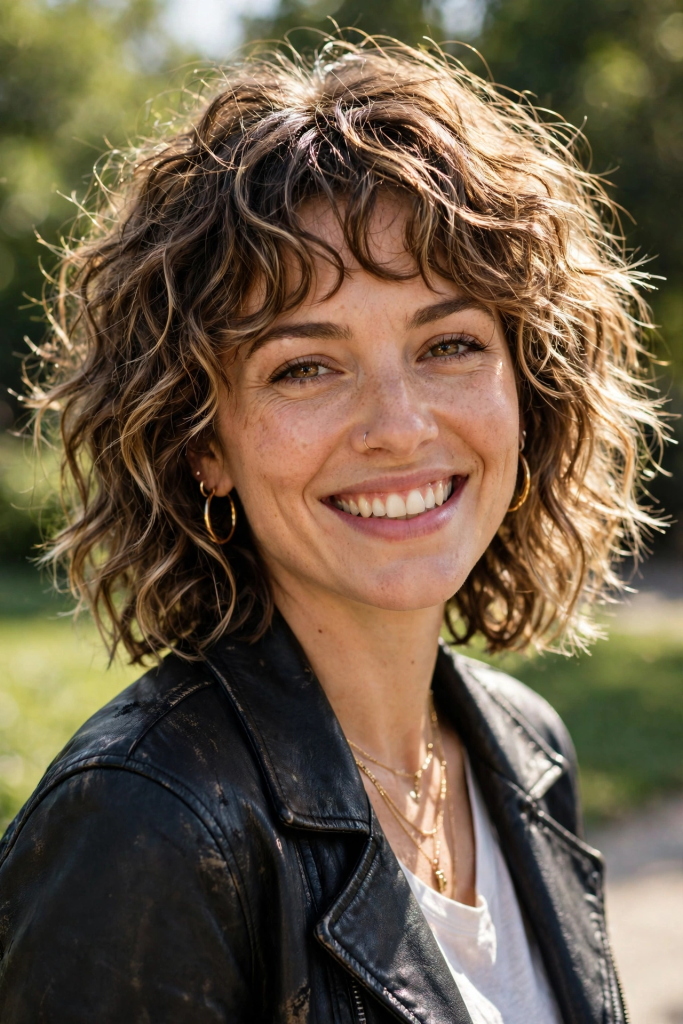
    This guide is your roadmap to that mastery. We are moving beyond the basics and diving into 22 meticulously curated styles specifically designed to work with your fine texture—not against it. From chic pixies to deceptive updos, and the crucial styling techniques that separate success from deflation, we are going to unlock the potential in every strand. Let’s prove that fine hair and fantastic curls are a perfect match.


    22 Well-Structured Hairstyle Ideas for Thin, Curly Hair:


    The Short & Sassy (The easiest way to cheat volume)


    1. The Modern Curly Pixie

    Keeps hair short to reduce weight, allowing curls to spring up for maximum root lift. The texture adds a soft, modern edge.


    2. The Tapered Nape

    Features a close-shaved or tightly tapered back and sides, concentrating all the volume on top. This creates a dramatic contrast that makes the top curls look twice as thick.


    3. The Curly Faux Hawk

    Slick the sides back with gel, letting the central strip of curls stand up. It’s a bold statement that creates an instant optical illusion of density.


    Medium-Length Magic (Versatility is Key)


    4. The Voluminous “Poodle” Cut

    A classic rounded shape that eliminates length weight. Cut at chin length, the uniform layers create a dense, spherical cloud of curls.


    5. The Shag with Curtain Bangs

    The modern shag’s heavy layering removes bulk from the ends, creating a “stacked” effect that pushes volume upward. Curtain bangs add width across the forehead, balancing a fine hairline.


    6. The “Wet Look” Curl

    Defined, clumped curls styled with a heavy gel to look sleek and wet. This eliminates frizz (which highlights thinness) and makes the individual strands appear thicker and more substantial.


    7. Asymmetrical Bob

    An angled bob that is shorter in the back and longer in the front. The asymmetry distracts the eye, while the shorter back naturally creates a “poof” of volume.


    8. The Deep Side Part

    An instant classic. Pushing all your curls to one side creates a sudden “dome” of volume where the hair is thickest, while the flat side is cleverly disguised.


    9. Layered Lob with Highlights

    A longer bob with subtle, chunky highlights (not thin streaks). The contrast adds depth and creates the illusion of a fuller head of hair.


    The Long & Illusionary (Length without the limpness)


    10. The “Triangle” Avoidance Cut

    A strategically layered cut that is heavily thinned at the ends to prevent the dreaded “triangle head.” The top is kept heavy, forcing the volume upward even with longer lengths.


    11. The Caramel Balayage Lob

    A lob (long bob) with a deep, warm caramel balayage. The lighter ends reflect light, giving the appearance of thicker, bouncier hair.


    12. Textured Layers with a “Root Boost”

    Long, heavily textured layers are paired with a root-lifting mousse. The texture removes weight, and the product ensures the top doesn’t go flat.


    The Art of Deception (Styling workarounds)


    13. The Clipped “Pineapple” Updo

    Gather curls loosely into a high, messy ponytail on the very top of your head. Don’t pull it tight; leave the front pieces slightly loose to frame the face. The height adds instant volume.


    14. The “Puff” Ponytail

    Using a soft, fabric-covered elastic, gather your curls into a high ponytail. Gently tug at the ponytail sections to “puff” them out, creating a wide, voluminous bubble of curls.


    15. The Crown Braid (with Curls)

    Braid a small section of hair along your hairline and pin it across the crown. This adds texture and visual weight to the top, while the rest of the curls hang loose, drawing the eye upward.


    16. The Half-Up Twist

    Take two small sections from the front, twist them loosely, and pin them at the back of your crown. This lifts the top layer, creating height and breaking up the flatness at the roots.


    17. The Scrunched “Messy Bun”

    Flip your head upside down, gather all curls loosely, and twist them into a bun secured with a scrunchie. The messiness adds volume, and the scrunchie prevents breakage.


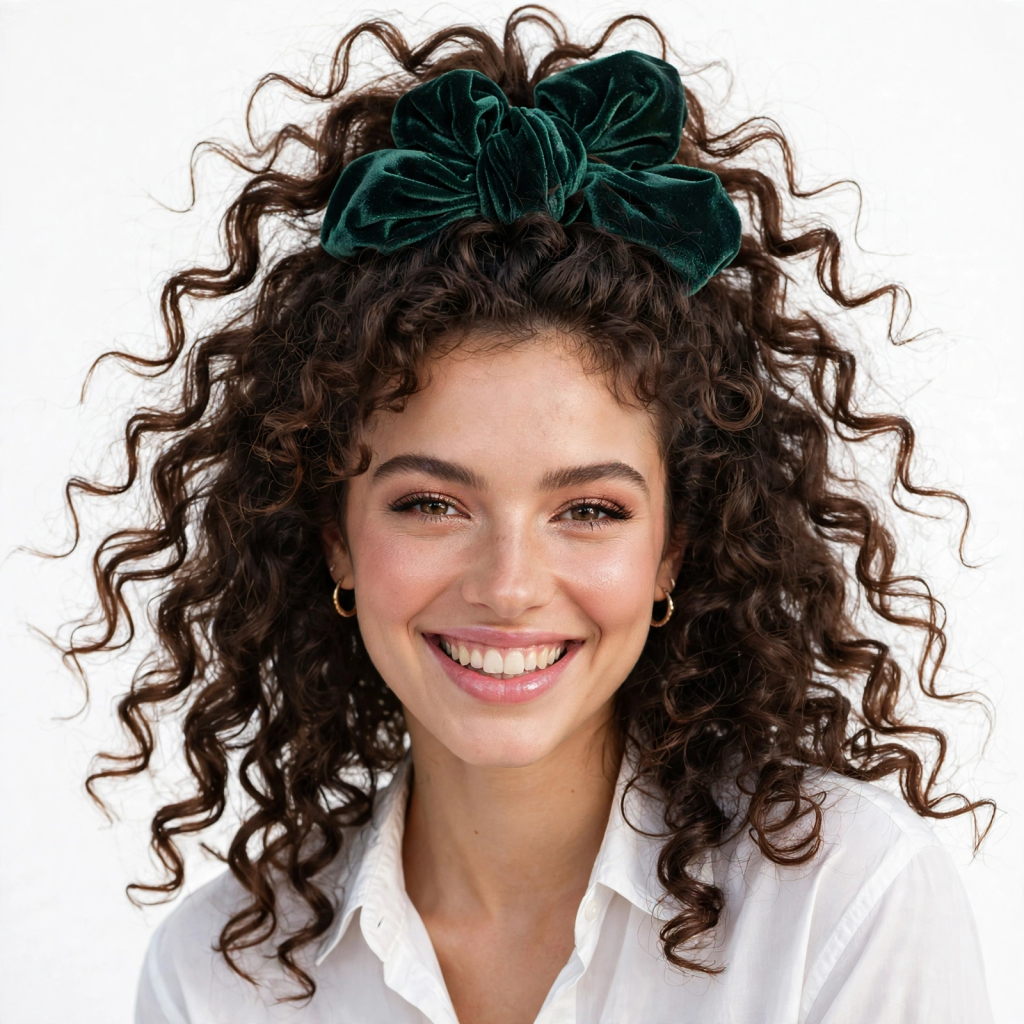
    18. The Accessory Boost

    Use a velvet scrunchie, a padded headband, or a statement clip placed high on the crown. The accessory itself adds bulk and draws attention upward, distracting from any thin areas.


    19. The Finger-Coiled Set

    Instead of relying on natural curl patterns alone, manually finger-coil small sections of damp hair. This creates uniform, chunky ringlets that look significantly thicker than loose waves.


    20. The Diffuser “Root Lift”

    Not a cut, but a technique. Cup your curls in a diffuser, hold it close to the scalp, and dry on low heat. This sets the roots in an upright position, ensuring maximum lift that lasts all day.


    21. The “No-Part” Messy Look

    Skip the defined parting line entirely. Style your hair forward or in a zig-zag pattern. This covers the scalp more evenly and prevents the dreaded “visible scalp” effect that a straight part creates.


    22. The Silk Scarf Wrap (For Volume)

    Tie a colorful silk scarf around your head like a headband, puffing the front curls over it. The scarf adds a pop of color and width, while the front curls sit atop the scarf, creating a lifted, voluminous front.


    Essential Styling Tips for Thin, Curly Hair


    1. The “Less is More” Product Rule

    Thin hair gets weighed down easily. Skip heavy butters, creams, and oils. Instead, opt for lightweight mousses, foams, and volumizing sprays. Apply products to sopping wet hair for even distribution without overload.


    2. Ditch the Towel

    Traditional towels create friction, causing frizz that makes thin hair look wispy. Always use a microfiber towel or an old cotton t-shirt to gently scrunch excess water out of your curls.


    3. Dry Upside Down

    This is non-negotiable. Flip your head over when diffusing or air-drying. This trains your roots to dry away from the scalp, creating natural, lasting lift.


    4. Avoid Heavy Conditioners

    Condition only the mid-lengths and ends. Never apply conditioner to your roots—it will flatten them instantly. Use a “co-wash” or a lightweight, clarifying conditioner once a week to prevent buildup.


    5. Refresh with Steam

    Instead of adding more product on day two or three, hang your head over a steaming shower (without washing it). The moisture reactivates the curl memory, adding bounce without the weight of extra product.


    What to Avoid (The Thin-Hair Traps)


    • Heavy Oils & Butters: Coconut oil, shea butter, and castor oil are too dense for fine strands.
    • Over-Layering: Too many short layers can make hair look sparse and wispy, rather than full.
    • Long, One-Length Cuts: Without layers, the weight pulls curls straight, killing the volume.
    • Silicone-Heavy Products: They coat fine hair, making it slippery and limp while blocking moisture.
    • Tight Ponytails or Buns: These pull at the scalp, increasing the appearance of thinness at the roots.
    • Over-Washing: Stripping natural oils too often leaves hair dry and fragile. Wash 2–3 times a week max.

    Conclusion

    Thin, curly hair is not a challenge to be overcome—it is a canvas to be mastered. The secret lies not in fighting your texture, but in strategically outsmarting gravity and weight. With the right cut, the right product, and the right techniques, your fine curls can appear just as lush, voluminous, and vibrant as any thicker head of hair.

    Remember, the 22 styles above are not rigid rules—they are launching pads. Experiment with the cuts that resonate with you, adopt the root-lifting techniques, and embrace accessories as your secret weapons. Your curls have a voice; they just need the right structure to speak loudly.

    So go ahead—book that haircut, buy that foam mousse, and flip your head upside down with confidence. Beautiful, voluminous curls are not a myth for thin-haired people; they are a reality, waiting just a few styling tweaks away. Your big, bouncy curl era starts now.

  • Curly Hairstyles for Women Over 60: Embracing Texture, Confidence, and Style

    Curly Hairstyles for Women Over 60: Embracing Texture, Confidence, and Style


    There’s a special kind of magic in curly hair—each curl has its own personality, never quite the same twice, and that unpredictability is part of its charm. For women over 60, embracing natural curls isn’t just a hairstyle choice; it’s a statement of confidence and self-acceptance. Gone are the days when reaching sixty meant resigning yourself to a uniform, forgettable cut. Today’s mature women are celebrating their natural texture with styles that are modern, flattering, and refreshingly low-maintenance.

    As we age, hair texture often changes—becoming drier, finer, or more fragile due to hormonal shifts. But here’s the good news: curls offer built-in volume, movement, and vitality that straight hair often lacks. With the right cut, care routine, and styling approach, your curls can become your most striking feature. As hairstylist Tom Smith observes, “Curls represent individuality and character, plus in midlife, many women have the confidence to reject old beauty ideals that celebrated smoothness above all else”. Whether you’re working with tight coils, loose waves, or silver strands, there’s a curly style that will make you feel youthful, elegant, and unmistakably you.


    Finding Your Perfect Curly Cut

    Before diving into specific styles, it helps to understand what makes a curly cut work for mature hair. The three pillars of great curls at any age are hydration, gentle definition, and a cut that works with your texture.

    Hydration matters more than ever. Hormonal changes can leave curls drier and less defined, so deep conditioning treatments and moisture-rich products are essential. Hairstylist Gugu recommends a weekly moisturizing mask—clients who follow this advice return with visibly healthier, more elastic curls.

    The right cut makes all the difference. Avoid heavy, geometric cuts that weigh curls down. Instead, look for layered, volumizing styles that create movement and lift. Many stylists now cut curly hair dry—this lets you see the real shape of your curl pattern immediately, rather than being surprised when the hair springs up after washing.

    Definition without stiffness. The goal is soft, bouncy curls, not a “cardboard” effect. Light mousses, leave-in conditioners, and gentle styling techniques like scrunching help maintain natural movement.


    17 Curly Hairstyle Ideas for Women Over 60

    1. Short Curly Pixie

    Bold, elegant, and incredibly low-maintenance, the curly pixie features short sides with slightly longer curls on top. It frames the face beautifully and highlights cheekbones and eyes. Simply scrunch in a lightweight curl cream and go—perfect for wash-and-wear days.

    2. Classic Curly Bob

    A chin-length bob with soft curls strikes the perfect balance between sophistication and ease. The length frames the jawline and creates a natural lifting effect. Regular trims keep the shape fresh, while a curl-enhancing cream defines without weighing hair down.

    3. Layered Curly Shag

    This trendy style incorporates face-framing layers that bring attention to your best features while reducing bulk. The uneven layers create playful movement and work beautifully with both gray and highlighted hair. A light curl cream and finger-combing are all you need.

    4. Curly Lob (Long Bob)

    The lob—falling between chin and shoulders—offers the best of both worlds: enough length for versatility without the weight that can drag curls down. Loose curls soften the jawline, and the style transitions effortlessly from casual to formal.

    5. Tapered Curly Cut

    Shorter sides and back with fuller curls on top create stunning dimension and lift. This cut works wonders for thinning hair by maximizing volume exactly where you want it. The tapered shape removes bulk around the ears and neck, making styling a breeze.

    6. Curly Bob with Side-Swept Bangs

    Soft, curly bangs swept to one side add instant youthfulness and draw attention to the eyes. The side-swept style softens forehead lines while the bob length keeps things manageable. A light styling cream keeps bangs bouncy, not stiff.

    7. Voluminous Curly Updo

    For special occasions, gather your curls into a loose, elegant updo. Leave a few face-framing tendrils for a romantic, soft effect. This style showcases natural texture while keeping hair off the neck—sophisticated and timeless.

    8. Shoulder-Length Curly Waves

    This versatile length offers natural movement and gentle face-framing. Loose waves create a graceful, lively texture that’s easy to maintain with curl-enhancing sprays or mousse. Wear it half-up or down for a polished yet relaxed look.

    9. Curly Side-Parted Style

    A deep side part instantly adds asymmetry and volume at the crown. This simple change creates a slimming effect and allows curls to cascade naturally on one side. It works for all hair types and requires minimal styling effort.

    10. Curly Shaggy Pixie

    Playful and effortlessly chic, the shaggy pixie combines texture with easy maintenance. Layers and soft curls add movement and lift, making it especially flattering for finer hair types. It softens facial angles and creates a youthful, energetic vibe.

    11. Curly Bob with Highlights

    Subtle highlights in caramel, honey, or soft blonde brighten the face and add dimension to curls. Light catches each curl differently, creating natural shimmer and depth. This simple addition revitalizes mature hair and enhances texture.

    12. Half-Up Curly Style

    Keep curls off your face while showcasing their natural beauty with this versatile style. Add small twists or braids for extra detail. Perfect for both casual outings and formal occasions, it’s elegant without requiring heavy styling.

    13. Curly Layered Lob

    Layers add sophistication and movement to the lob length, preventing curls from looking heavy or flat. This versatile style flatters round and oval faces, and pairs beautifully with side-swept bangs for a soft, face-framing effect.

    14. Silver Curly Pixie

    Embracing natural silver with a curly pixie creates a strikingly confident look. The contrast between close-cut sides and textured top showcases silver curls perfectly. Bold lipstick and statement earrings complete the modern, elegant aesthetic.

    15. Curly Updo with Face-Framing Strands

    Romantic and soft, this style pulls curls up while leaving a few tendrils around the face. It enhances features and adds a delicate touch—ideal for weddings, parties, or any formal event where you want to feel glamorous.
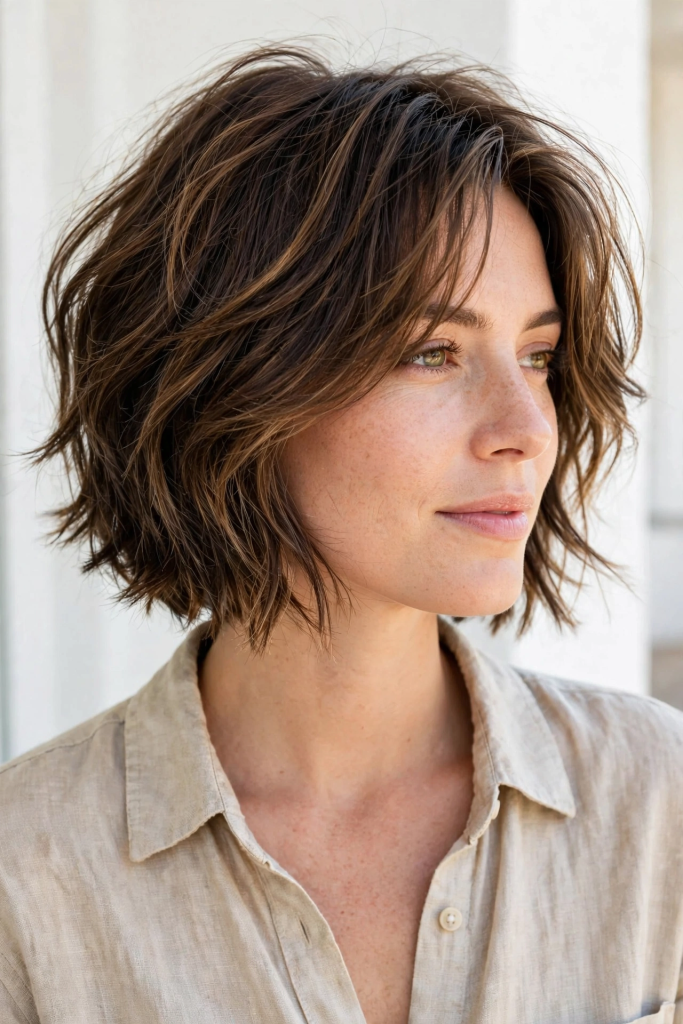
    16. Curly Half Ponytail

    Playful and practical, the half ponytail keeps hair off the face while maintaining natural curls. Loose curls around the face soften the jawline. Twist or braid small sections for added detail—a go-to for looking youthful without heavy styling.

    17. Curly Mohawk

    For the bold and confident, a curly mohawk adds volume and drama while keeping sides sleek. The lifted crown creates a youthful appearance, and the style works with natural gray or highlighted curls. It’s edgy, elegant, and wonderfully unique.


    Styling Tips for Beautiful Curls

    Great curls start with great care. Here are expert-approved tips for keeping your curls healthy, defined, and frizz-free:

    In the shower: Hormonal changes can make hair drier and more fragile, so choose hydrating shampoos and conditioners designed for curls. A weekly moisturizing mask is essential for maintaining elasticity and bounce.

    Drying with care: One of the most common mistakes is towel-drying—it encourages frizz. Instead, use your hands to squeeze out excess water by twisting the lengths. When using a diffuser, keep it on low speed with medium heat, and be patient. The less you touch your hair during drying, the less frizz you’ll have.

    Styling products: Choose products based on your hair type. Creams work well for thicker, coarser curls, while lighter foams and lotions suit finer textures. Look for products that boost definition without causing stiffness or heaviness.

    Nighttime protection: Cotton bedding can cause curls to frizz overnight due to friction. Switching to silk or satin pillowcases—or using a silk wrap—prevents this and helps curls maintain their definition. Alternatively, pile curls onto the crown and secure with a large silk scrunchie.

    Refreshing between washes: Instead of adding more product all over, which can lead to buildup and dullness, spritz a curl refresher on your fingertips and run it down a few pieces around your hairline, twisting as you go. This reactivates bounce without overloading hair.


    Conclusion

    Curly hair after 60 isn’t something to manage or tame—it’s something to celebrate. As one hairstylist beautifully puts it, “The curl after 40 is not a problem, but a strength”. Your curls carry the stories of your life, and with the right care and styling, they can become your most beautiful accessory.

    Whether you choose a bold curly pixie, a sophisticated layered lob, or a romantic updo, the key is finding a style that makes you feel confident and authentically yourself. As actress Alex Kingston—doing it for “women of a certain age”—proves, curls in midlife can be lustrous, head-turning, and utterly liberating. Embrace your natural texture, experiment with styles that bring you joy, and let your curls shine. After all, beauty has no expiration date, and neither does great style.

  • The Butterfly Haircut: A Complete Guide to 2026’s Most Flattering Layered Look

    The Butterfly Haircut: A Complete Guide to 2026’s Most Flattering Layered Look


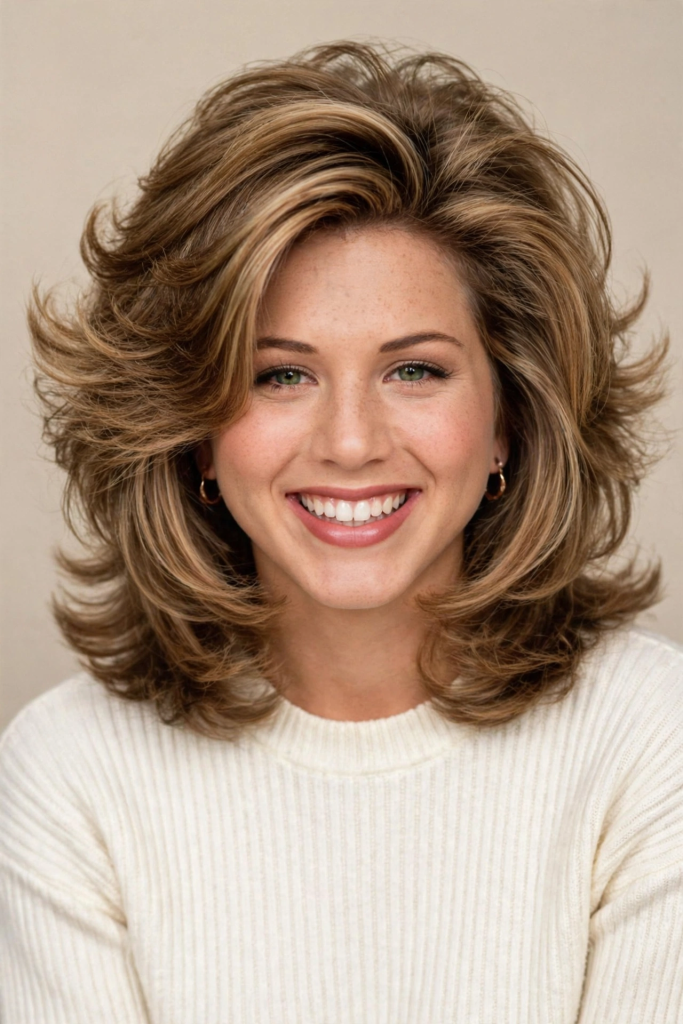
    The butterfly haircut has emerged as one of the most requested styles in salons worldwide, with Google searches increasing by 94% and nearly two million mentions on TikTok. Coined by celebrity stylist Sunnie Brook, this bouncy layered style takes its name from the way its feathered ends flutter like butterfly wings with every movement. Drawing inspiration from iconic ’80s and ’90s styles—particularly Jennifer Aniston’s legendary “Rachel” cut—the butterfly haircut offers the best of both worlds: the illusion of shorter, voluminous hair while preserving overall length. Whether you’re looking to add movement to fine hair, soften angular features, or simply refresh your look without a dramatic chop, this versatile cut has captured the attention of celebrities like Sabrina Carpenter, Hailey Bieber, and Suki Waterhouse—and it’s easy to see why.


    What Exactly Is a Butterfly Haircut?

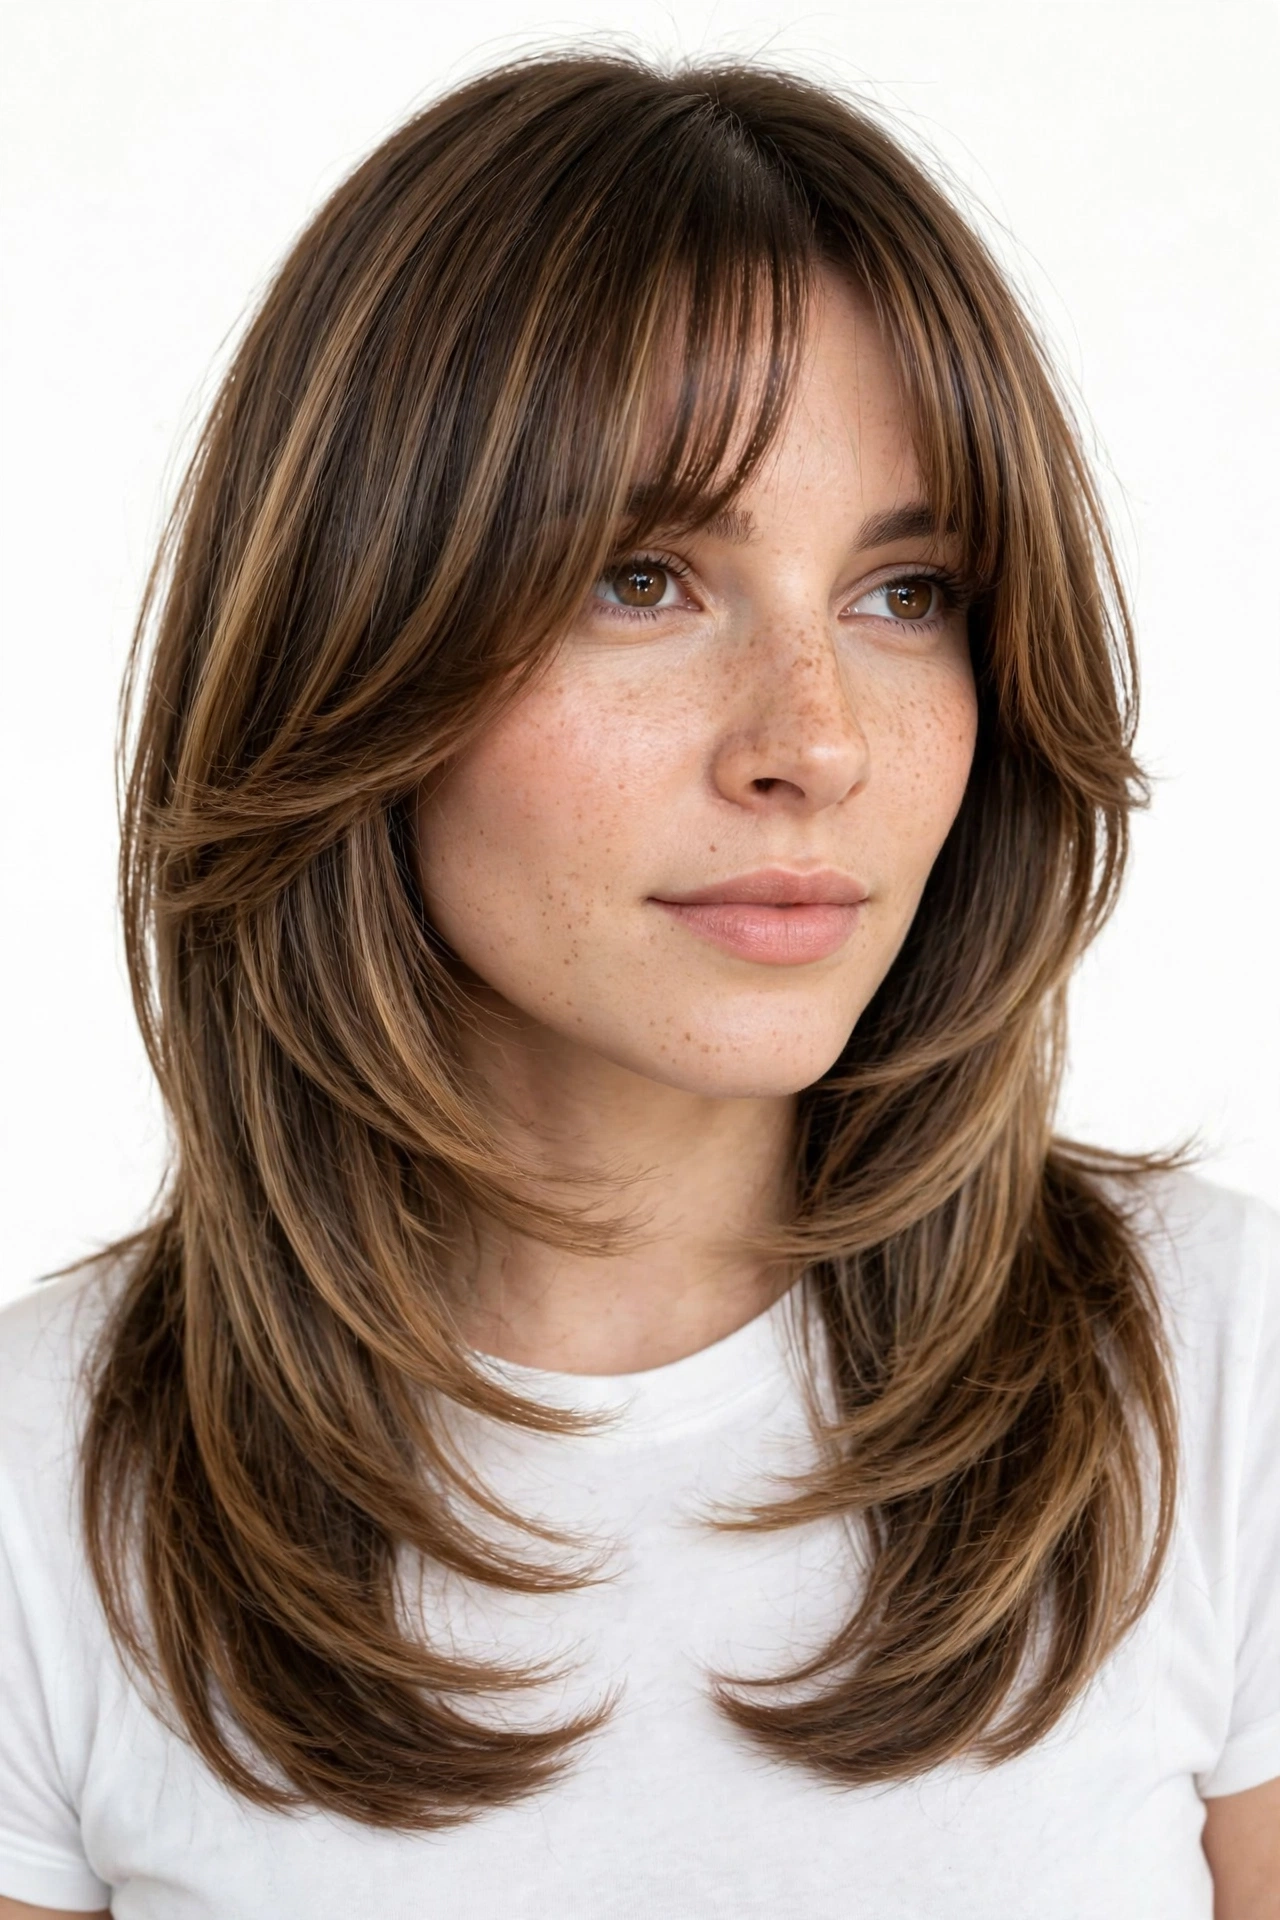
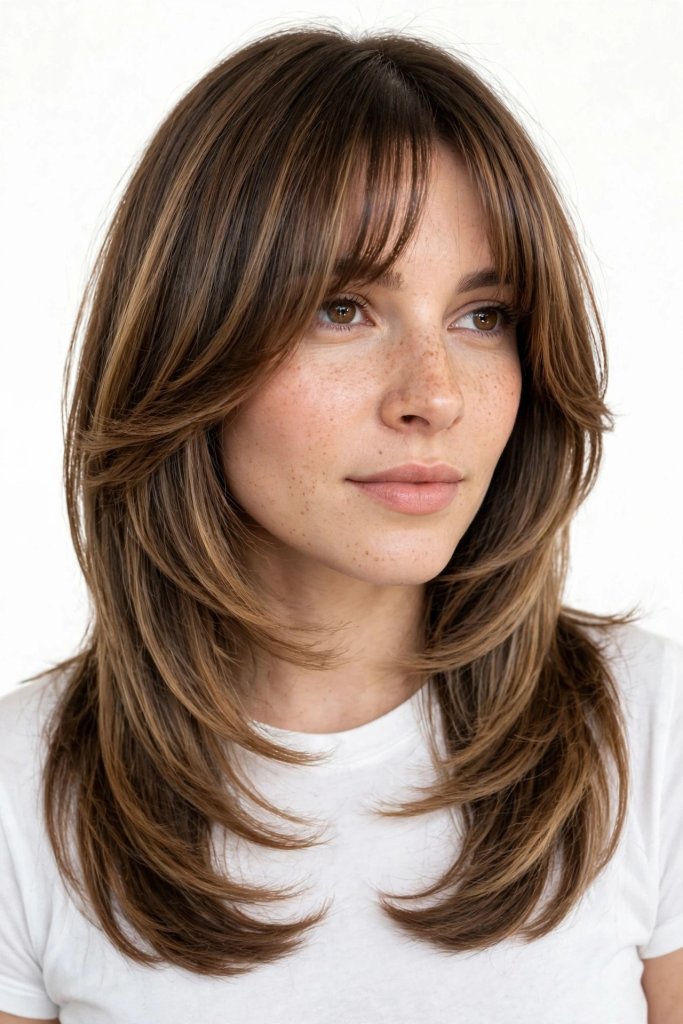
    A butterfly haircut is a heavily layered style featuring shorter layers around the crown and longer layers cascading throughout the length. The shortest layers frame the face—typically cut to cheekbone or chin level—while the longer sections maintain the hair’s overall length, creating a lightweight, bouncy finish that resembles a butterfly’s wings in flight.

    What sets this cut apart from standard layering is its strategic approach: the face-framing pieces draw the eye upward, while the cascading layers add body and dimension, making the hair appear fuller and more voluminous. It’s a modern take that combines the softness of ’70s feathered styles with the volume of ’90s blowouts, resulting in a look that feels both nostalgic and fresh.

    Who Does the Butterfly Haircut Suit?

    Face Shapes: The butterfly haircut is remarkably adaptable across face shapes. For oval and heart-shaped faces, the soft layers enhance natural symmetry and beautifully accentuate cheekbones and jawlinesRound faces benefit from longer, tapered face layers that create an elongating effect—though ultra-short layers should be avoided as they can widen the faceSquare faces are softened by wispy, face-framing pieces that balance angular features, while diamond faces look stunning with layers that highlight bone structure.
    Hair Types: The butterfly cut works best on fine to medium hair, as the layers add much-needed lift and movement. For wavy and curly hair, the cut is best performed dry to ensure shape accuracy, and the layering helps avoid bulkiness while working with the hair’s natural texture. Those with thick hair benefit from internal layering to remove weight, preventing the shape from looking bulky. For very fine hair, the cut can skew too wispy, so volumising products and regular styling are essential.


    Butterfly Cut vs. Wolf Cut vs. Octopus Cut

    While the butterfly cut is often compared to other layered styles, distinct differences set them apart. The wolf cut is a bolder, edgier style that blends a shag with a mullet, featuring choppy layers and a tousled, untamed ’80s-inspired finish. In contrast, the butterfly cut delivers softer, more romantic transitions for a polished, voluminous finish.

    The octopus cut, meanwhile, leans toward sharper, more structured layers for an edgier look, while the butterfly remains softer and more fluid. Think of the butterfly as the elegant, versatile cousin to these trendier, more dramatic cuts—ideal for those who want movement and volume without committing to an overly grungy aesthetic.


    10 Stunning Butterfly Haircut Ideas to Inspire Your Next Salon Visit

    1. The Classic Long Butterfly Cut

    The original and most requested version, this style features cascading layers that preserve maximum length while adding incredible movement and bounce. The shortest layers frame the face at cheekbone or chin level, creating that signature winged effect. Perfect for those who want dramatic volume without sacrificing length.

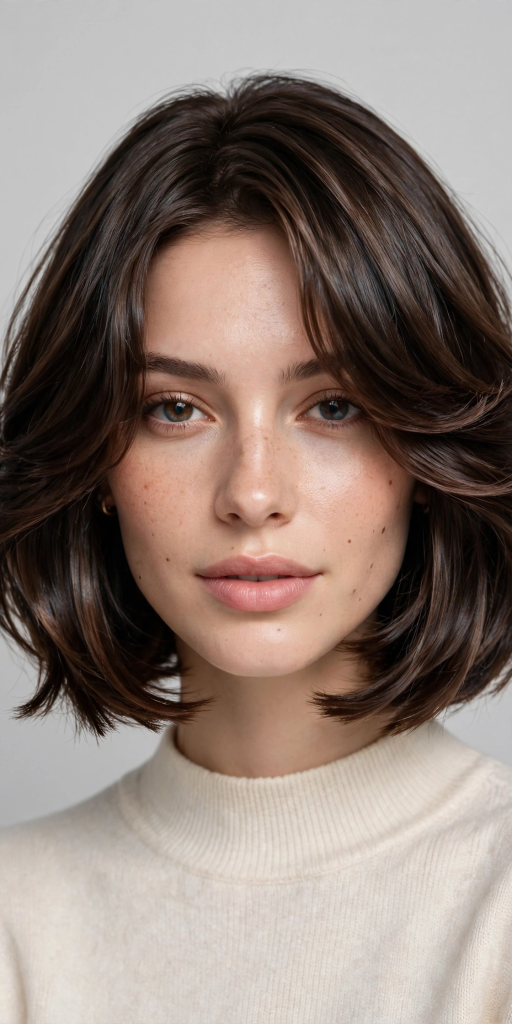
    2. The Butterfly Bob

    Dubbed the “lovechild” of the classic bob and butterfly cut, this shorter version sits around the jawline or collarbone. It combines the structure of a bob with soft, face-framing layers and buoyant movement. This variation has been spotted on celebrities like Selena Gomez, Gigi Hadid, and Jenna Ortega.

    3. Butterfly Cut with Curtain Bangs

    Curtain bangs are a natural complement to the butterfly cut, enhancing its face-framing effect. These longer, parted bangs sweep to the sides, blending seamlessly with the layered structure for a soft, romantic finish. Hailey Bieber’s minimalist take on this style showcases its elegance.

    4. Blonde Butterfly Layers (Sabrina Carpenter Style)

    Sabrina Carpenter has become the modern face of the butterfly cut, with her signature flowing blonde layers and face-framing fringe inspiring countless requests. Her style works equally well sleek or tousled, proving the cut’s versatility. This look has even been alternatively dubbed the “Carpenter cut”.

    5. Textured Butterfly Cut for Curly Hair

    For naturally curly or coily textures, the butterfly cut is a dream—it works with the hair’s natural flow, allowing curls to retain body when smoothed. The key is cutting the hair dry to ensure the shape sits correctly and avoids bulkiness where it’s unwanted. This style prioritises floaty texture over frizz.

    6. The Low-Maintenance Butterfly Bob

    This version is designed for those who want effortless style with minimal fuss. The cut sits naturally around growth patterns, with lines that seamlessly blend together. A quick rough blow-dry is all it takes to achieve that signature lifted look. The result feels playful, relaxed, and “undone”.

    7. The Rachel-Inspired Butterfly Cut

    Jennifer Aniston’s “Rachel” cut from Friends laid the groundwork for today’s butterfly style. This version emphasises feathered movement, layers that hug the face, and that bouncy, voluminous finish. It’s the ultimate throwback for clients nostalgic for ’90s style.

    8. Butterfly Cut with Bottleneck Bangs

    Bottleneck bangs—a hybrid between curtain bangs and a traditional fringe—pair perfectly with the butterfly cut. These bangs are narrower at the top and wider at the bottom, creating a contoured frame that complements the layered structure beautifully.

    9. Sleek and Shaped Butterfly Bob

    For those who prefer a polished look, this style involves blow-drying or flat-ironing the hair smooth, with ends bevelled slightly inward or outward to maintain the cut’s shape. A light serum or cream adds shine while keeping the silhouette sculpted and refined.

    10. Air-Dried Butterfly Texture

    The butterfly cut’s beauty lies in its ability to look great with minimal effort. Applying leave-in or curl cream, scrunching the hair, and air-drying (or diffusing) creates a naturally textured finish. This style is perfect for summer and those who prefer a truly low-stress routine.


    How to Style Your Butterfly Haircut

    One of the cut’s greatest strengths is its styling versatility. Here are the most effective ways to bring out its signature movement:

    The Classic Blowout: Lift each section at the root with a round brush and curve the brush under at the ends as you blow-dry. This root lift plus end bend is what creates the full, winged shape—and it takes around ten minutes. Velcro rollers at the crown provide a quick shortcut for that signature lift.

    Soft Waves: For a more relaxed look, use a large-barrelled tong to create loose bends, alternating directions for a natural effect. Rake through with fingers and mist with sea salt or texture spray for airy movement.

    Sleek Finish: Smooth-blow-dry or flat-iron the hair, bevelling ends slightly inward or outward to maintain the cut’s shape. Finish with a light serum or cream for polish.

    Air-Dried Texture: Apply leave-in cream, scrunch, and let hair dry naturally. For curly textures, diffuse and lightly pick the crown for lift.

    Product Tips: Avoid heavy hairspray—this style needs to move. For flat or heavy hair, texturising spray at the root boosts volume. Curly and textured styles benefit from lightweight smoothing cream applied to damp hair to control frizz while maintaining floaty texture.


    Maintenance and Longevity

    Like any layered cut, the butterfly requires regular maintenance to keep its shape. For the butterfly bob, trims every 6–8 weeks are ideal for jaw-length styles, while collarbone-length versions can stretch to 8–10 weeks. For the longer butterfly cut, a trim every 8–12 weeks keeps the face-framing layers sharp.

    The cut grows out relatively gracefully, but allowing it to grow too much will make the hair look heavy and lose its texture. Cost-wise, expect to pay between $60 and $120 depending on your salon and location.


    Conclusion

    The butterfly haircut has earned its place as one of the most requested styles of the decade, and for good reason. It offers the perfect balance of volume, movement, and versatility without the commitment of a dramatic chop. Whether you opt for the classic long-layered version, the trendy butterfly bob, or a textured take for curly hair, this cut adapts to your lifestyle and preferences. Its celebrity backing—from Sabrina Carpenter’s blonde layers to Hailey Bieber’s minimalist elegance—only confirms its status as the “It-girl” style.

    What makes the butterfly cut truly special is its ability to flatter virtually every face shape and hair type while remaining surprisingly low-maintenance. With the right styling techniques—a round brush blowout or quick wave with a curling iron—you can achieve salon-worthy results at home. If you’re ready to embrace layers, movement, and that signature bouncy finish, the butterfly haircut might just be your perfect match.

  • Shag Haircut for Curly Hair.

    Shag Haircut for Curly Hair.

    If you’ve ever looked in the mirror and wondered why your curls seem to have a life of their own—and not always in a good way—you’re not alone. The dreaded “triangle head” or pyramid shape is a struggle that far too many curly-haired people know all too well. Enter the shag haircut: a style that’s been around since the 1970s but has recently exploded back onto the scene as the ultimate solution for natural texture .

    The shag is built on a simple but revolutionary premise: instead of fighting your curls, it celebrates them. With its strategic layers, choppy ends, and face-framing pieces, the shag removes weight where curls don’t need it and adds volume where they do . The result? Bouncy, defined curls that actually look like they want to be there.

    Whether you have loose waves, springy ringlets, or tight coils, there’s a shag out there with your name on it. This guide will walk you through everything you need to know—from why the shag works so brilliantly for curly hair, to 16 specific variations you can try, to how to style and maintain your new cut.


    Why the Shag Haircut Is a Game-Changer for Curly Hair

    It breaks the triangle. This is the big one. When curls are cut uniformly, they tend to stack up at the bottom, creating that unflattering pyramid shape. The shag’s layered structure distributes volume evenly, giving you lift at the crown and movement through the ends .

    It embraces your natural texture. The shag isn’t about sleek perfection—it’s about the “perfectly undone” look. Those piecey, textured ends encourage curls to clump together naturally rather than fighting against each other .

    It’s surprisingly low-maintenance. Because the cut already does the heavy lifting, most days are a simple wash, product application, and go. No hours of styling required .

    It works across curl types. From 2A waves to 4C coils, the shag can be adapted to suit any texture. The key is matching the layering to your specific curl pattern .

    It adds serious volume. Short layers at the crown create lift and body, making fine or thin curly hair look fuller and more dynamic .


    Key Features of a Great Curly Shag

    Before you head to the salon, it helps to understand what makes a shag work for curls:

    • Strategic layering: Not just any layers—these need to remove weight in the right places to let curls spring up 
    • Textured ends: Choppy, feathered ends prevent that blunt, heavy look that weighs curls down 
    • Crown lift: Shorter pieces at the top create height and bounce 
    • Face-framing pieces: Whether bangs or longer layers, these soften your features and add versatility 
    • Cutting technique: Many stylists recommend cutting curly hair dry—this way, they can see exactly how each curl springs up and adjust accordingly 

    16 Curly Shag Variations to Try

    1. The Classic Curly Shag

    The original and still a favorite. Short layers at the crown, choppy ends throughout, and usually some kind of fringe. It’s got that retro 70s vibe that never really goes out of style. Best for medium to thick hair textures .

    2. Curly Shag Lob (Shoulder-Length)

    Sitting right at or just above the shoulders, this length gives curls enough weight to hold their shape without going pyramid. Add choppy layers through the mid-lengths, and you’ve got movement and shape in one cut. One of the easier lengths to air-dry .

    3. Short Curly Shag

    Think chin-length or just above. A shorter shag works brilliantly for tighter textures, making curls look full without being heavy. The short layers at the top create lift and definition while the choppy ends keep things from looking too structured .

    4. Shag with Curtain Bangs

    If you’ve been considering a fringe but don’t want anything too committed, curtain bangs are your middle ground. They frame the face softly and split naturally at a centered part—very forgiving on curly hair. Particularly flattering for round or square face shapes as they help elongate features .

    5. Modern Shag with Face-Framing Layers

    Less about heavy blunt fringe and more about subtle layers that draw attention to your features. Shorter pieces around the face create that wispy, soft border that flatters almost every face shape. Great if you want the shag look without committing to a full fringe .

    6. Medium-Length Shag with Layers

    Probably the most versatile option. It gives you enough length to show off your curl definition while the layered structure stops the shape from going boxy. Works across most hair types, from loose waves to tighter coils .

    7. Curly Wolf Cut

    The wolf cut is a length shag style: longer through the back with shorter, more dramatic layers at the crown and front. It borrows a bit from the mullet but ends up looking more rock-and-roll than retro. On curly hair, the contrast creates a wild, high-volume shape .

    8. Soft Curly Shag (Wavy Hair-Friendly)

    If your hair sits somewhere between wavy and curly (the 2A to 2C range), a soft shag with gentler layering tends to work better than dramatic contrast cuts. Light choppy layers through the mid-lengths and a soft fringe keep the style relaxed and beachy .

    9. Curly Shag with Highlights

    Adding highlights—especially through the ends and face-framing layers—makes the layers pop visually. The contrast between lighter ends and darker roots gives the cut more dimension and makes the texture look intentional rather than just full .

    10. Curly Shag with Undercut

    An undercut shag features shorter sides and back with longer, fuller layers on top. This creates dramatic contrast and maximum volume at the crown. It also makes styling easier because you have less hair to manage overall. Works well for very thick or dense curls .

    11. Long Curly Shag

    Keep most of your length while adding layers for shape and dimension. The cut removes weight strategically rather than cutting everything short. Layers in long hair create flow and prevent the bottom from looking blunt or heavy. Perfect for people who love their long curls but want more movement .

    12. Bold and Bouncy Shag

    This version emphasizes volume and movement with more pronounced layers creating distinct separation between curl sections. Best for naturally thick or medium-density curls. The layering prevents the hair from looking too heavy or flat .

    13. Messy Curly Shag

    Celebrates the natural, undone aesthetic with choppy layers and intentionally loose styling. Perfect if you love the effortless vibe and don’t want to spend time perfecting your curls. A little frizz adds to the charm here—this cut is forgiving .

    14. Curly Shag with Defined Ends

    The opposite of the messy shag. Your stylist uses specific cutting techniques to create clean lines and sharp separation between curl sections. This approach works well if you like a more put-together aesthetic .

    15. Romantic Curly Shag

    Emphasizes softness and femininity with gentle, flowing layers rather than choppy ones. The overall effect is dreamy and ethereal. Styling often involves enhancing natural waves or curls with products that create shine and definition .

    16. Edgy Curly Shag

    Bold and statement-making with choppy, pronounced layers. Often pairs well with undercuts, bold colors, or unconventional styling. For people who love fashion-forward looks and aren’t afraid to stand out .


    How to Style Your Curly Shag

    Start with soaking-wet hair. Most curly hair absorbs product best when it’s fully saturated. Apply your leave-in conditioner and curl cream while your hair is still dripping wet .

    Use the right products. Lightweight mousses or foams add volume without weighing hair down. Curl-defining gels provide hold and frizz control. Sea salt sprays add beachy texture but use sparingly as they can be drying .

    Scrunch, don’t rub. Use a microfiber towel or cotton t-shirt to scrunch your hair gently. Rubbing with a regular towel causes frizz .

    Master the “flip and fluff.” After applying products, flip your hair to one side and scrunch upwards. Then flip to the other side and repeat. This creates even volume and definition. Once hair is about 80% dry, gently fluff the roots with your fingers or a pick .

    Diffuse for extra volume. If air-drying isn’t giving you enough definition, a diffuser on low heat and low speed can be your best friend. Pixie diffusing—hovering the diffuser over sections instead of blasting it directly—helps define curls without disrupting the shag’s layers .

    Refresh between washes. Spritz your hair with water or a curl refresher spray to revive curls and add moisture .


    Maintenance Tips

    Regular trims are non-negotiable. A shag depends on its layers. Plan a shaping trim every 8 to 12 weeks to keep the shape fresh .

    Hydrate, hydrate, hydrate. Curly hair is prone to dryness. Use a deep conditioning treatment once a week and seal in moisture with a leave-in conditioner or oil .

    Protect your curls at night. Sleep on a silk or satin pillowcase to preserve your curl pattern and reduce frizz. The pineapple method (gathering hair into a high ponytail with a scrunchie) also helps maintain volume overnight .

    Avoid heavy products. Thick creams and heavy oils can weigh down the layers and flatten your curls. Stick with lightweight formulas designed for curly hair .


    What to Ask Your Stylist

    Bring reference photos—lots of them. “Shag” means different things to different stylists. Show 2–3 examples of what you like .

    Be specific about your curl pattern and face shape. This helps your stylist customize the cut to suit you .

    Ask them to cut your curls dry. This way, they can see exactly how each curl springs up and avoid unpleasant surprises when your hair dries .

    Discuss shrinkage. Curly hair can spring up dramatically when dry. A shag that looks perfect wet could end up much shorter than expected .


    Who Should (and Shouldn’t) Get a Curly Shag

    You’re a great candidate if:

    • You have natural texture and want to enhance it
    • You’re tired of fighting your curls into submission
    • You want a low-maintenance style
    • You love volume and movement
    • You’re willing to commit to regular trims 

    You might want to reconsider if:

    • You prefer sleek, polished, perfectly styled hair
    • You have very fine, straight hair that lacks natural texture
    • You hate layered, “messy” looks
    • You can’t commit to regular salon visits 

    Conclusion

    The curly shag isn’t just a haircut—it’s a permission slip. A permission slip to stop fighting your natural texture, to embrace the volume and bounce that curls naturally have, and to walk out the door with a style that says “I woke up like this” (even if you spent a solid 15 minutes scrunching).

    Whether you go for the classic 70s-inspired look, a modern wolf cut, or a soft, romantic version, the shag adapts to you rather than asking you to adapt to it. That’s the beauty of it.

    So if you’re tired of the triangle, tired of fighting your curls, and ready for a style that actually works with your texture—the shag is calling your name. Just make sure you find a stylist who knows their way around curls, bring your reference photos, and prepare to fall in love with your hair all over again.

    Your curls deserve to be celebrated. The shag is how you do it.

  • The Octopus Haircut for Women Over 50: A Modern Style That Defies Age.

    The Octopus Haircut for Women Over 50: A Modern Style That Defies Age.

    For decades, women over 50 have been told to “cut it short” or “keep it simple”—as if age somehow strips away the right to bold, expressive hair. The octopus haircut begs to differ.

    Named for its distinctive “tentacle-like” layers, this modern shag-mullet hybrid is redefining what mature hair can look like. The cut features short, choppy layers on top that create lift at the crown, with longer, wispy ends cascading downward—a silhouette that adds volume, movement, and undeniable personality .

    What makes the octopus cut particularly genius for women over 50 is how it addresses the natural changes hair undergoes with age. As hair becomes finer, thinner, or more brittle, traditional blunt cuts can look flat and heavy. The octopus cut solves this by strategically removing weight from the top and mid-lengths while leaving soft fullness at the ends . The result? Hair that moves with you, frames your face gently, and creates the illusion of density exactly where you want it.

    Whether you’re embracing natural silver, working with fine strands, or looking to soften facial features, this cut adapts to you—not the other way around. It’s low-maintenance, effortlessly cool, and proves that style has no expiration date.


    13 WELL-STRUCTURED IDEAS FOR THE OCTOPUS CUT

    1. Embrace the Signature “Tentacle” Layers for Instant Crown Volume

    The octopus cut’s defining feature is its short, choppy top layers that lift naturally at the crown. This creates the illusion of thicker, fuller hair—a game-changer for women experiencing age-related thinning . Ask your stylist for concave layers on top that pivot from the crown for maximum lift .

    2. Opt for Soft, Face-Framing Layers

    Rather than harsh lines, request gentle, wispy layers around the face. This softens jawlines and highlights your best features without looking severe or dated . The key is “featherlight” layering that feels organic, not choppy .

    3. Add a Wispy Curtain Fringe

    A curtain fringe—longer bangs parted down the middle—blends seamlessly into the octopus layers. It beautifully covers forehead lines while adding a romantic, youthful bounce . For women with round or square faces, this soft framing creates balance and draws attention to the eyes .

    4. Keep Length at the Back for Versatility

    Leaving the back slightly longer than the front gives you options: tuck, twist, wear it down, or even pull it into a low pony for casual days. This makes the cut equally suited for grocery runs and elegant nights out .

    5. Use Texturizing Spray to Define the Layers

    A lightweight salt or texture spray enhances the piece-y separation between layers, making the octopus shape read clearly and stylishly . For women with fine hair, this is especially helpful—it creates grip and texture without weighing hair down .

    6. Add Subtle Highlights for Dimension

    Balayage or baby highlights create depth and movement, drawing the eye through each layer. The result is a multidimensional, expensive-looking finish that makes the cut appear even more intentional . This is particularly striking on natural grey or silver hair, as the texture catches light beautifully .

    7. Go Chin-Length if Your Hair Is Very Fine

    For women with very fine hair, a shorter octopus cut ending at the chin prevents dragging and keeps the bounce where it’s needed most. The shorter length means less weight pulling layers down, maintaining lift at the crown .

    8. Style with a Small Round Brush at the Crown

    Using a round brush just at the roots while blow-drying activates the octopus’s signature lift. This simple technique banishes flatness and gives you volume that lasts for days . Pair with a root-lifting mousse for double the height .

    9. Let Grey or Silver Hair Shine

    The choppy layers of an octopus cut look stunning on natural grey or silver hair. The texture catches light beautifully and reduces any “drab” appearance that can come with solid grey lengths. This is a cut that celebrates, rather than hides, natural color .

    10. Taper the Nape for a Neater Finish

    A slightly tapered or cleaned-up nape prevents bulk at the bottom, ensuring the octopus shape remains intentional rather than messy. This is especially important for women with thick hair, where weight at the nape can cause a “triangular” shape .

    11. Try a Deep Side Part for Extra Drama

    Shifting your part to one side instantly boosts volume at the root and gives the octopus cut an asymmetrical, modern edge. For women with fine hair, this simple trick creates the illusion of more density at the crown .

    12. Use Dry Shampoo for Grip and Lift

    A quick dry shampoo spritz at the crown absorbs oil and adds grip, helping those top “tentacle” layers stay separated and lifted between washes. It’s a volumizer and refresher in one bottle .

    13. Commit to Regular Trims Every 6–8 Weeks

    To maintain the distinct separation between shorter and longer layers, schedule regular trims. Without them, the octopus shape will collapse into a plain shag within about eight weeks . Consider this non-negotiable if you want the cut to keep delivering its voluminous effect.


    IS THE OCTOPUS CUT RIGHT FOR YOUR HAIR TYPE?

    Hair TypeVerdict
    Fine or thinningYes—but opt for a chin-length version and use lightweight volumizing products 
    Medium-densityIdeal. The layers hold their shape beautifully with minimal effort 
    Thick or coarseYes—ask for internal layering to reduce bulk while keeping the silhouette 
    Curly or wavyAbsolutely—request softer, wider sections to avoid a triangular shape 
    StraightWorks well, though you may need texturizing spray to encourage “tentacle” separation 

    WHAT TO TELL YOUR STYLIST (WORD FOR WORD)

    Take this script to your next appointment:

    “I want an octopus haircut. Please keep the top layers short and choppy for volume at the crown, and leave the bottom longer. I’d like soft, wispy face-framing pieces and no harsh lines. Please do not over-layer the back, and keep the nape slightly tapered. I want it to look airy, not chunky.” 

    If your stylist isn’t familiar with the term “octopus cut,” ask for a modern shag with concave layers on top and disconnected length at the ends . Bringing a reference photo is always helpful.


    DAILY STYLING ROUTINE (UNDER 10 MINUTES)

    1. Apply a root-lifting mousse to damp hair at the crown 
    2. Blow-dry the crown using a small round brush, lifting at the roots 
    3. Flip your head upside down for 10 seconds to break the cast
    4. Spritz dry shampoo at the roots if needed for extra grip 
    5. Scrunch in a texturizing spray to define the “tentacle” layers 
    6. Either air-dry the rest or give a quick diffuser blast

    Pro tip: The octopus cut is designed to look effortless—perfectly polished hair actually works against the style. Embrace a bit of “undone” texture .


    COMMON MISTAKES TO AVOID

    • Asking for too many layers → You’ll lose the distinct “octopus” shape and end up with a flat shag 
    • Skipping trims → The tentacles merge together within 8 weeks 
    • Using heavy oils or butters → These weigh down the top layers and kill volume 
    • Parting in the middle → A deep side part gives much more lift 
    • Letting your stylist thin out the ends → Insist on keeping the bottom weight for that signature silhouette 

    CONCLUSION

    The octopus haircut is far more than a passing trend—for women over 50, it represents a genuinely liberating shift away from flat, aging cuts toward volume, movement, and personality. Whether you have fine straight hair, natural curls, silver locks, or anything in between, this cut adapts to you, not the other way around .

    With the right layers, a few minutes of daily styling, and regular trims, the octopus haircut delivers something priceless: hair that looks effortless, modern, and undeniably yours—at any age. It’s proof that bold style doesn’t fade with the years; it evolves .

    So go ahead. Book that appointment. Show your stylist the reference. And let those “tentacles” fly.

  • Modern Shag Haircuts for Women Over 60: A Complete Guide to Effortless Style

    Modern Shag Haircuts for Women Over 60: A Complete Guide to Effortless Style

    The shag haircut—once the rebellious anthem of 1970s rock ‘n’ roll—has undergone a remarkable transformation. Today’s modern shag is no longer just about choppy layers and carefree attitude; it has evolved into one of the most versatile, flattering, and rejuvenating hairstyles for women over 60 .

    What makes the shag so appealing for mature women? The answer lies in its genius architecture. By creating layers of varying lengths—shorter pieces at the crown for lift, longer textured ends for movement—the shag naturally builds volume where aging hair tends to flatten . It softens facial features, draws attention to the eyes, and requires minimal daily maintenance . Whether your hair is fine, thick, curly, or straight, there’s a shag variation designed to celebrate your natural texture while making you look and feel effortlessly stylish .

    In this guide, we’ll explore 18 distinct shag haircut ideas for women over 60, complete with styling tips, maintenance advice, and everything you need to know to find your perfect match.


    Understanding the Modern Shag

    What Is a Shag Haircut?

    The shag haircut is defined by its layered structure, where the shortest layers sit around the fringe area and gradually lengthen toward the nape of the neck . Celebrity hairstylist Tom Smith describes it as a style “designed to be worn forwards onto the face, with numerous layers softly framing the face” . This forward movement creates a flattering, face-framing effect that naturally lifts and softens features.

    Why It Works for Women Over 60

    The beauty of the shag lies in its adaptability:

    • Adds volume to thinning hair: Strategic crown layers create natural lift and body 
    • Softens angular features: The curved, rounded shape balances square or angular face shapes 
    • Removes bulk from thick hair: Internal layering reduces weight while maintaining shape 
    • Celebrates natural texture: Air-drying often produces better results than intensive styling 
    • Low-maintenance appeal: Designed to look better the less you fuss with it 

    18 Modern Shag Haircut Ideas for Women Over 60

    1. Classic Medium Shag with Curtain Bangs

    The medium shag with curtain bangs is the quintessential modern take on this retro style. Shoulder-grazing layers create natural movement, while the signature middle-parted fringe sweeps gracefully to both sides, softening facial features and drawing attention to the eyes Best for: Straight or slightly wavy hair, most face shapes.

    2. Short Pixie Shag

    Combine the ease of a pixie with the texture of a shag for a sassy, low-maintenance cut. Tousled layers on top create height and fullness, while tapered sides keep the look neat and polished . A few minutes with texturizing paste gives you effortless all-day style. Best for: Women wanting maximum convenience with plenty of personality.

    3. Voluminous Crown Shag

    This style features abundant layers around the crown area that create natural volume and movement . The feathered layers at the top and sides make hair appear fuller around the crown while softening throughout the ends. Best for: Medium to thick hair textures, those seeking dramatic lift.

    4. Silver Feathered Long Shag

    Embrace your natural gray with this elegant, airy style. Soft, wispy layers cascade beautifully while adding natural lift around the crown . The cool silver shade creates a refined, modern glow that catches light magnificently. Best for: Women transitioning to or celebrating their natural gray.

    5. Shaggy Bob with Full Bangs

    Razor-cutting techniques create a soft, textured finish in this chin-to-shoulder length style. Full bangs frame the face beautifully while the choppy layers add movement and reduce bulk Best for: Both thick and fine hair—it can reduce bulk or create the illusion of volume.

    6. Textured Shag with Wispy Bangs

    Soft, choppy layers create natural movement, with wispy bangs resting at eyebrow level and extending longer on the sides. The midsection features plenty of layers that add body without looking too choppy Best for: Medium to thick hair textures.

    7. Modern Mullet Shag

    Not your 1980s mullet! This contemporary take features softly blended layers that are shorter around the face and longer in the back . The gentle transition creates a flattering frame that works beautifully with gray hair. Best for: Wavy hair, square faces, confident women making a statement.

    8. Shaggy Wolf Cut

    The wolf cut combines shag layers with mullet-inspired shape for dramatic volume . Heavy layers around the crown create a full, rounded silhouette that tapers toward the ends. Celebrity hairstylist Benjamin Mohapi notes that while the wolf cut emerged from the shag family, modern interpretations are “more solid-looking shapes with less tapered ends” Best for: Making fine hair look thicker instantly.

    9. Curly Shag

    Strategic layers remove bulk while encouraging springy definition in natural curls . The rounded silhouette creates a youthful bounce that moves beautifully with minimal product—just scrunch and go! Best for: Naturally curly or permed hair, those wanting to celebrate their texture.

    10. Caramel Balayage Wavy Shag

    Warm caramel highlights beautifully illuminate layered texture while adding depth and dimension . The structured yet relaxed waves amplify the shaggy layers, creating a radiant, sun-kissed effect. Best for: Medium-textured hair, those wanting to add warmth and brightness.

    11. Ash Brown Layered Long Shag

    Cool ash brown tones provide a modern, sophisticated alternative to warmer shades. Blended layers create graceful flow without appearing overly structured . The cool undertones blend harmoniously with silver strands for those transitioning to gray. Best for: Most face shapes, especially those with cool skin undertones.

    12. Face-Framing Shag

    Well-placed layers highlight facial features and create a flattering, slimming effect . This versatile cut removes bulk from thick hair and adds movement to fine hair, making it perfect for different face shapes. Best for: All hair types and textures.

    13. Long Honey-Blonde Soft Shag

    Wispy layers create a natural, lived-in look with incredible movement . The warm honey-blonde color adds dimension while face-framing layers gently contour the cheekbones. Best for: Fair to medium skin tones, those wanting to brighten their complexion.

    14. Tousled Beach Shag

    Capture a vacation vibe year-round with this carefree, mid-length cut . Long, piece-y layers create natural-looking waves even in straighter hair types. A salt spray enhances texture without stiffness. Best for: Women who want a wash-and-go lifestyle.

    15. Short Shag with Side-Swept Bangs

    A classic short shag that combines ease with elegance. Side-swept bangs gracefully disguise forehead lines while drawing attention to the cheekbones . Light texturizing around the crown creates natural lift. Best for: Most face shapes, those wanting to soften their features.

    16. Razored Shag

    Lots of texture and a messy layered look define this edgy style . The razor-cut ends create a lightweight, lived-in finish that opens the face and highlights facial features. Best for: Various hair types and textures, whether thin or thick, straight or curly.

    17. Long Bohemian Shag

    Who says you can’t have long hair after 60? This below-shoulder cut incorporates face-framing layers and long bangs . Strategic layering removes weight while maintaining length. Best for: Free-spirited women who refuse to follow conventional age-related hair rules.

    18. Shaggy Pixie with Curtain Bangs

    This style merges structure with softness, featuring textured layers throughout the crown and curtain bangs that transition smoothly into the layered top . The style draws attention to cheekbones and eyes, giving a subtle, graceful lift to the entire face. Best for: Round faces, those wanting to elongate their appearance.


    Choosing Your Perfect Shag

    Face Shape Considerations

    According to expert hairstylist Tom Smith, “The curved and softly rounded nature of the shag haircut makes it ideal to balance those with squarer or more angular faces, and the forward framing layers can really help to shorten a longer face” . For round or wide faces, he recommends layers that “start longer than the widest part of the face” .

    Quick reference guide:

    Face ShapeBest Shag FeatureStyles to Consider
    Square/AngularSoft, rounded layersClassic medium shag, feathered shag
    LongForward framing layersShag with curtain bangs, face-framing shag
    Round/WideLayers starting below widest pointLong bohemian shag, side-swept bangs
    OvalAlmost any styleAll shag variations

    Hair Type Considerations

    • Fine/Thin hair: Look for strategic crown layers and choppy ends that create the illusion of fullness . Avoid over-thinning, which can make hair look stringy .
    • Thick hair: Internal wispy layers remove bulk and weight while maintaining body .
    • Curly/Wavy hair: The shag can be incredibly low-maintenance—layers encourage bouncy definition .
    • Straight hair: Will likely need more styling to achieve texture; volumizing products are essential .

    Styling Your Shag

    General Styling Principles

    Tom Smith recommends starting with rough drying without creating a specific parting, then “adding definition to the mids and ends with a styling product choice or hot tools as desired” .

    Step-by-step routine:

    1. Apply volumizing mousse or texturizing spray to damp hair 
    2. Rough-dry roots for volume—don’t fight your natural texture
    3. Define layers with a round brush for bangs or face-framing pieces
    4. Finish with texturizing spray rather than heavy creams or oils 

    Product Recommendations

    • Volumizing mousse: For initial styling and root lift 
    • Texturizing spray: Adds grip and movement without weighing hair down 
    • Sea salt spray: Enhances natural wave and texture 
    • Dry shampoo: Refreshes between washes and maintains volume 
    • Avoid: Heavy serums or oils that can flatten the layers 

    Maintenance and Care

    Keeping Your Shag Fresh

    • Trim schedule: Every 6-8 weeks to maintain shape; bangs every 2-3 weeks if included 
    • Between trims: The shag grows out gracefully due to its intentionally imperfect nature 
    • Daily care: Less is more—embrace the lived-in texture 

    Common Myths Debunked

    Myth: The shag is high-maintenance and hard to style.
    Reality: The layers are designed to fall into place with minimal effort—it often looks better after a night’s sleep than after an hour of styling .

    Myth: Shags only suit thick hair.
    Reality: Fine hair is one of the best matches because strategic layers fake volume and density .

    Myth: You need heavy product to hold the texture.
    Reality: Heavy creams flatten a shag. A light texturizing or sea-salt spray is all it needs .


    Conclusion

    The modern shag haircut represents a beautiful shift in how we think about age-appropriate style. Rather than limiting options, the shag expands possibilities—celebrating natural texture, adding volume where needed, and creating movement that breathes life into aging hair .

    Whether you choose a classic medium shag with curtain bangs, a bold shaggy wolf cut, or an elegant silver feathered style, the shag offers something for every woman. Its genius lies in its versatility and its celebration of individuality—qualities that only grow more valuable with age.

    As the experts confirm, the shag isn’t just a trend; it’s a timeless shape that continues to evolve because “it works well on a lot of people” . For women over 60 seeking a rejuvenating, modern, and effortlessly chic look, the shag might just be the perfect choice.